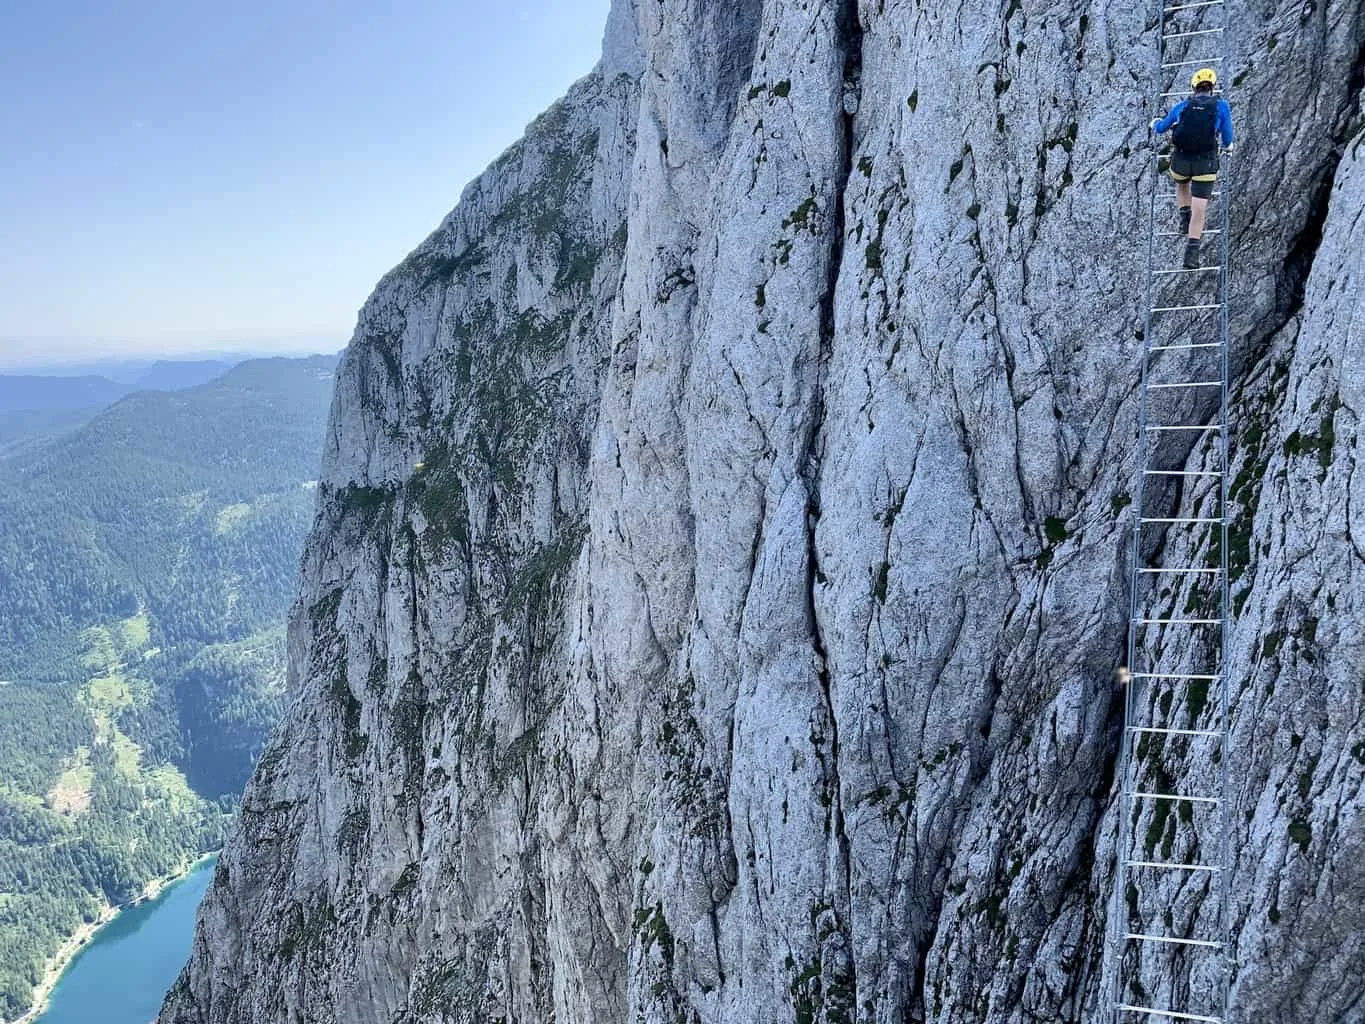
This overview will talk through the travel photography gear that I have been using over the years, including cameras, lenses, tripods, accessories, and more.
When I first started TripTins, the only pictures I was taking came from my phone. Even as I started my around the world trip, I still did not have a professional camera.
However, as I began to travel more, I soon realized what I was missing out on by not having real photography gear. After buying my first mirrorless camera, the world of photography changed for me.
I am hoping this list can better help you make some informed decisions when choosing what gear is best for your camera bag.
* Affiliate Disclosure: This post may contain affiliate links, which means I may receive a commission if you make a purchase through the links provided, at no additional cost to you. Thanks for supporting the work I put into TripTins!
1) My Top Camera Gear Picks
To get an idea of what my travel photography gear entails, check out this list of my top recommendations. Throughout the rest of this overview, I will be diving deeper into these items.
What’s in My Bag?
- Main Camera: Sony A7IV
- All Around: Tamron 28-200
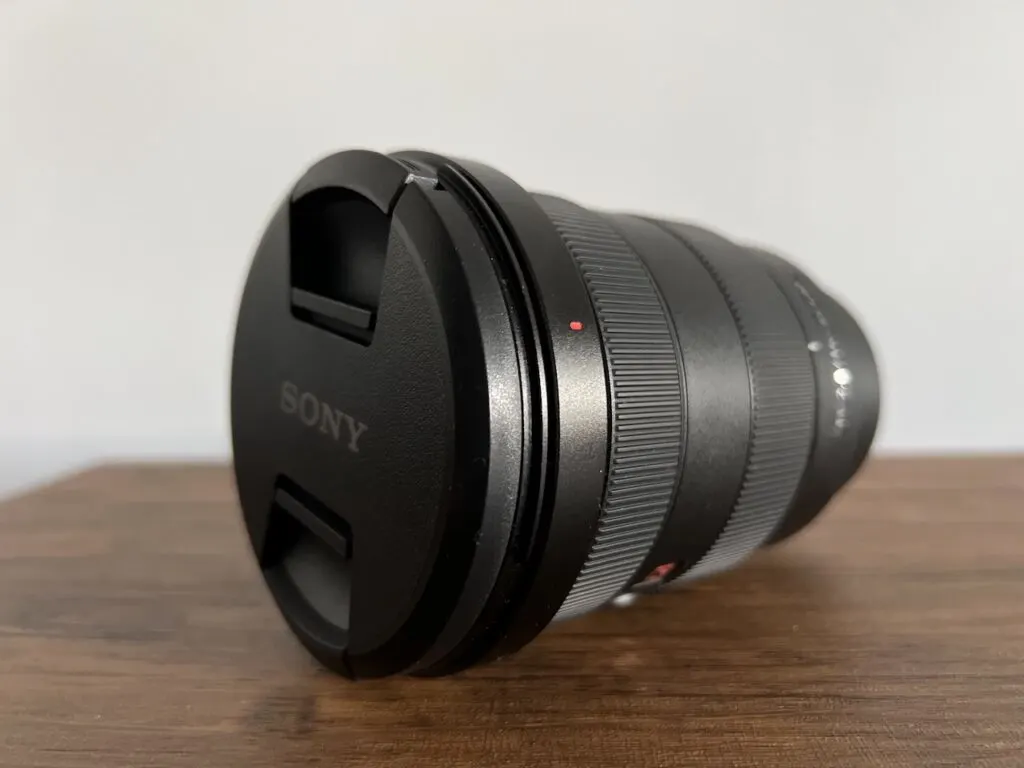
- Wide Angle: Sony FE 16-35 f/2.8
- Telephoto: Tamron 50-400
- Camera Bag: Peak Everyday
- Tripod: Peak Travel Tripod
- Camera Clip: Peak Capture
- Action Camera: GoPro Hero
- Read on for More!
There are so many cameras, lenses, and accessories out there. The purpose of this list is to recommend products that have been working for me, in order to better help you with your decision making.
So whether you already have some experience, or are a complete beginner, I hope you can gain some knowledge when it comes to putting together a camera gear list.
2) Travel Photography Gear Overview
When I bought my first mirrorless camera, I did not know what I was getting myself into. I knew I wanted better photos compared to my phone, but I never picked up a professional camera in my life.
As I went about the process of picking the camera best for me (and the associated gear), there were a few considerations at play that you should think about too.
Quality
After consistently seeing other travel bloggers’ photos, I knew that picture quality was going to be one of the most important factors at play.
I wanted my photos to look clean, crisp, and professional – something that phone cameras and lower priced cameras/lens didn’t offer (especially if I ever decided to make prints out of the photos).
When picking a camera & lens, I was keen on balancing out the quality factor with the other factors mentioned below.
Weight
As a travel photographer, I am always on the move from one place to the next. That means that I need to be consistently be carrying all of this gear around.
Even when I am just shooting in my hometown of New York City, I think about what to bring along so I don’t feel overburdened with too much weight in my bag.
The weight of a camera bag can add up quickly – camera, lenses, tripod, etc. When purchasing gear I think to myself what is important to me, and what do I really need when it comes to photography.
While this list in particular won’t be the lightest, it still does work well for me during my travels.
Price
Of course, price is going to be a major factor when it comes to picking out travel photography gear. There will always be a balance between buying higher quality gear and the cost associated with it.
This will depend from person to person based on an overall budget. Usually camera gear is not all bought at once either. Over time, you may begin to add (and subtract) from your list to spread out the costs.

3) The Travel Photography Gear List
So, what’s in my camera bag now? Below is a complete breakdown to what I have been using lately. Over time the list has consistently changed (and I am sure there is more to come).
- Main Camera: Sony A7IV Mirrorless
- All Around Lens: Tamron 28-200mm f/2.8-5.6
- Wide Angle Lens: Sony FE 16-35mm f/2.8 GM
- Telephoto Lens: Tamron 50-400mm f/4.5-6.3
- Camera Bag: Peak Design Everyday Backpack
- Camera Clip: Peak Design Capture
- Tripod: Peak Design Travel Tripod
- SD Card: SanDisk Extreme Pro
- External Hard Drive: Seagate Portable Drive
- Cleaning Kit: Altura Photo Kit
- Camera Filters: K&F Concepts
- Action Camera: GoPro Hero
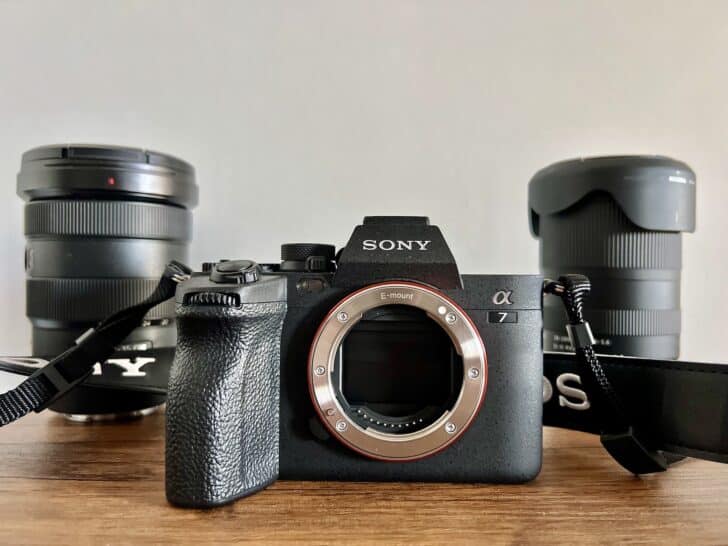
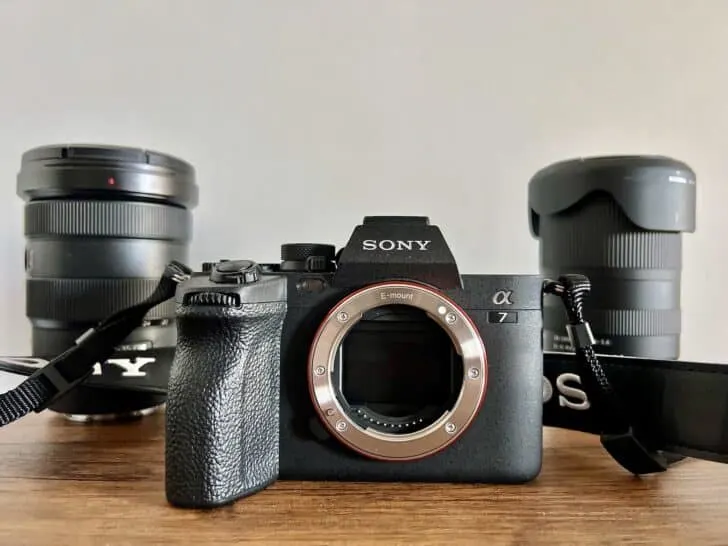
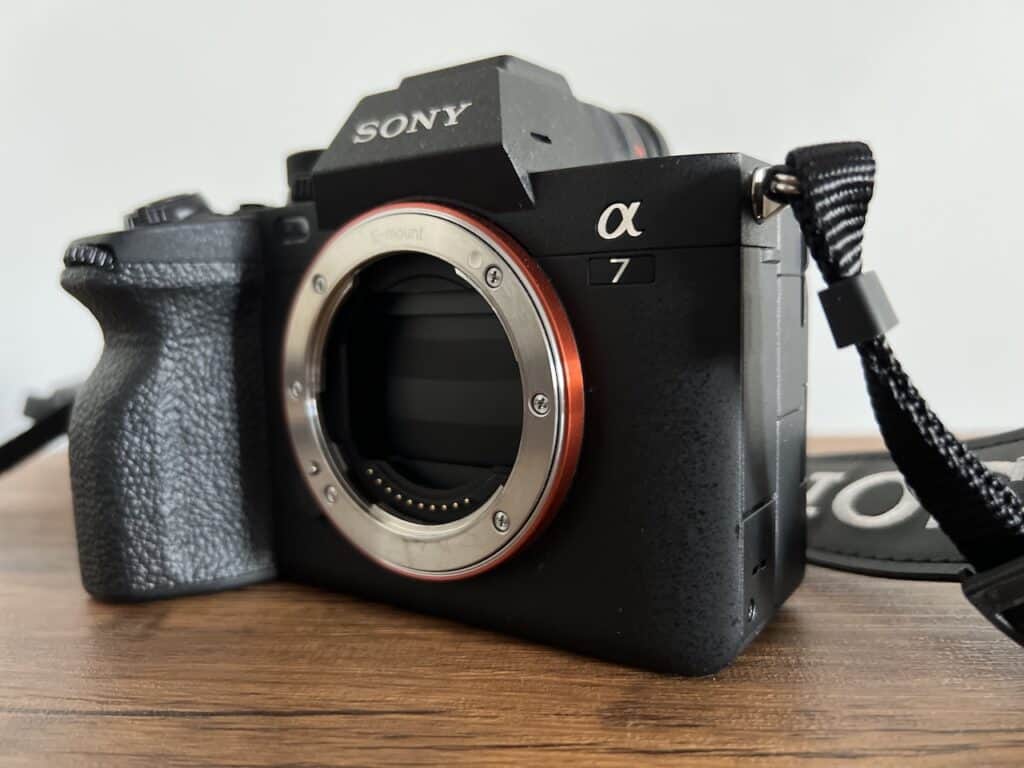
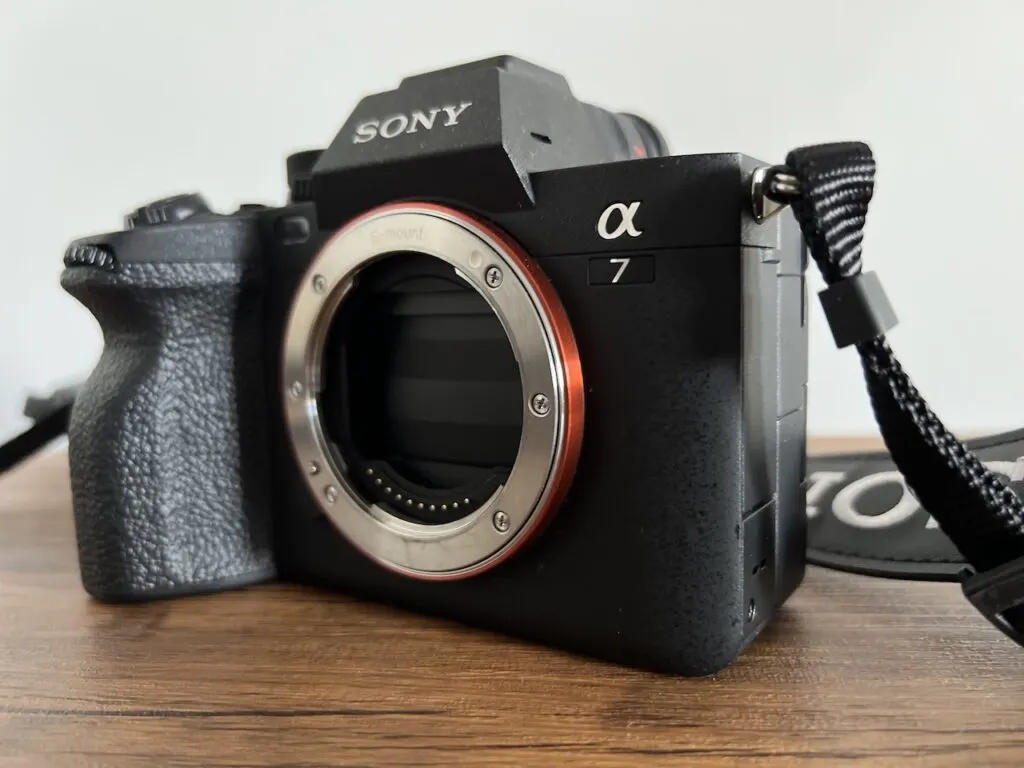
4) Mirrorless Camera (Sony A7IV)
We might as well start with the camera itself. As someone who has only really been exposed to Sony cameras, I am currently using the Sony A7IV, which was released in 2021.
I had seen many top travel & landscape photographers use this camera, so I knew it was going to be a solid all-around choice for what I wanted it for.
The Sony A7IV is a full frame mirrorless camera that offers exceptional quality no matter what time of day. It has 33 megapixels, which is right in the sweet spot for most photographers out there.
Extra Batteries: don’t forget to buy an extra battery (or two), so you are always prepared on the go.
Are you a complete beginner (just like me back in 2019)? If the Sony A7IV seems like too high end for you, I would highly recommend checking out the crop sensor Sony A6700 and 18-135mm kit lens. This is a very similar camera to when I first started photography. It is a lightweight setup with plenty of dynamic range while shooting.
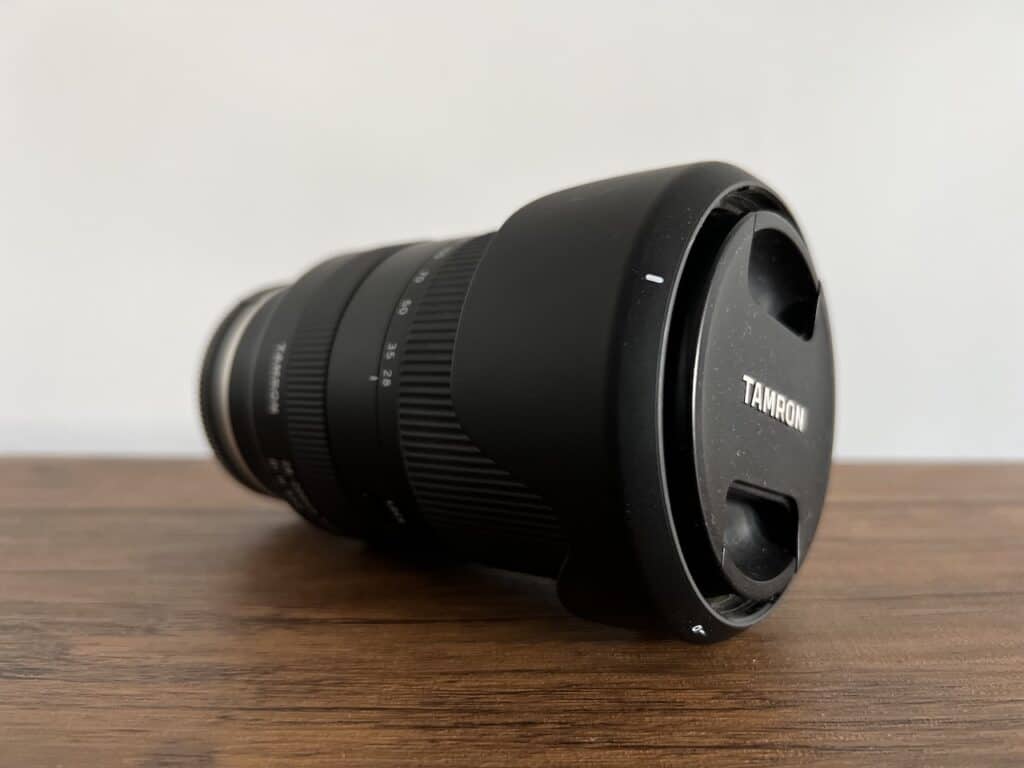
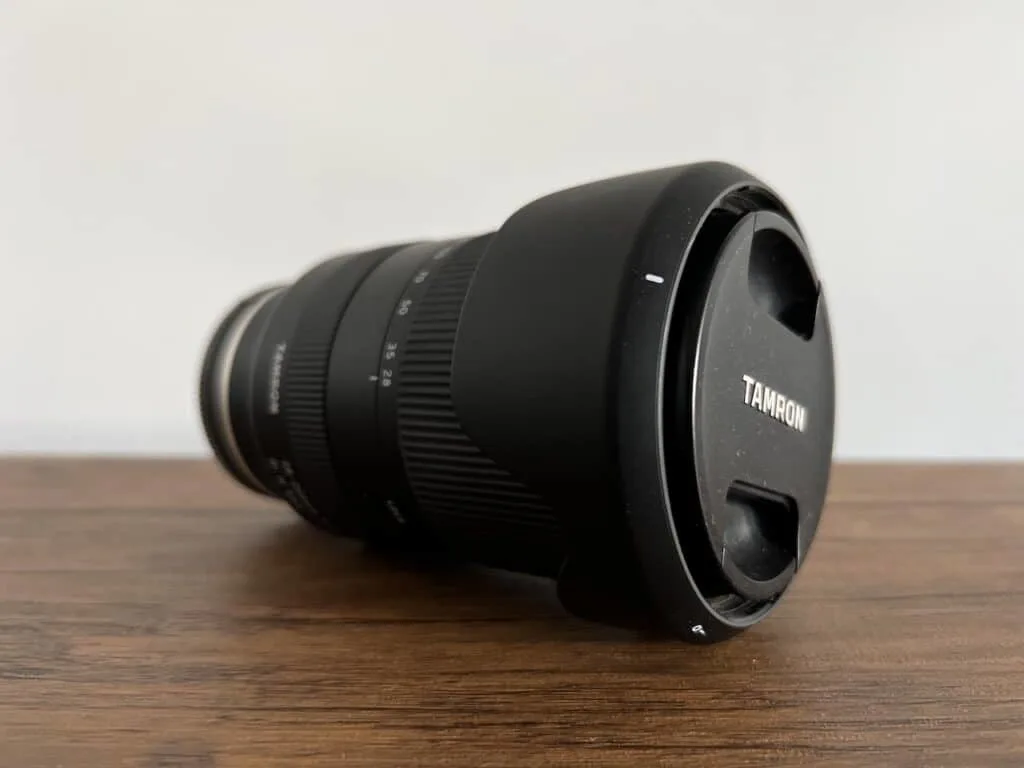
5) All Around Lens (Tamron 28-200 f/2.8-5.6)
This is where I really struggled making a decision – what lens was going to be on my camera for the majority amount of time.
When I go out taking photos, I love having the flexibility zooming in and out and getting various types of shots, while not needing to change lenses. I see some people out there switching lenses constantly or having multiple cameras on them just so they can quickly shift from one lens to another.
After tons of research, I came across the Tamron 28-200 f/2.8-5.6. This gives me the ability to shoot real wide at a 2.8, while then zooming in all the way into 200mm, giving me a completely different type of compressed shot.
Understandingly, some photographers only like going with the official lenses made by Sony. However, given the amount of professional landscape photographers that are using this lens, it made my decision a bit easier at the end of the day.
While the f/5.6 on the long end is not ideal for every situation, the flexibility of the camera more than makes up for it in my mind.
If you were wondering, the other main options I was going back and forth with were the Sony 24 – 105 f/4 (not enough zoom flexibility for me) and the Sony 70-200 f/2.8 (would then need three lenses to cover the 16-200 range).
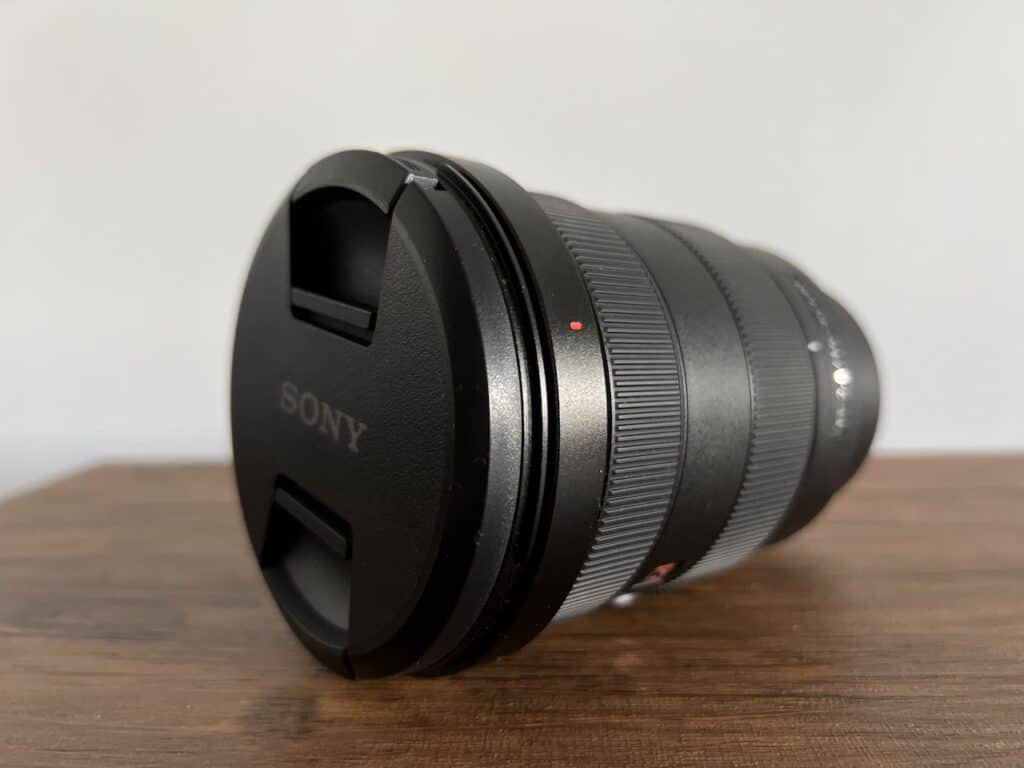
6) Wide Angle Lens (Sony 16-35 f/2.8 GM)
Here is where I got more higher end, as I went with the Sony 16-35mm f/2.8 GM as my wide angle lens camera. The quality of this camera is unmatched and it gives me exactly what I want when it comes to getting the full landscape in frame.
I never imagined how much impact going down to 16 millimeters would be. But whether I am photographing a lake, waterfall, or viewpoint, it is so nice having the ability to capture everything out in front of me.
Another reason I went with the f/2.8 instead of the cheaper & lighter f/4, was due to it also doubling as my astrophotography lens. While I certainly could buy another lens just for astro, I decided to simplify my lenses and just use this wide angle for both daytime and nighttime shots.
Overall, I would say I have my Tamron lens on most of the time, and then when I arrive at the top of a mountain or at a lake, I swap into the wide angle to get more expansive shots.
7) Telephoto Lens (Tamron 50-400 f/4.5-6.3)
My most recent purchase was a Tamron telephoto lens that will be used mostly for wildlife photography (and I am sure a bit more).
This was another choice I was going back and forth about between a Tamron lens (50-400mm) and a Sony lens (100-400mm).
The Tamron lens is +$1,000 cheaper, and according to the photographers I trust, only true experts / pixel peepers would be able to tell the difference between the two.
There is no doubt that the Sony lens is the higher quality option, however this is one of those choices where price and size comes into play too.
When it comes to traveling, I mostly will stick with the all-around and wide-angle lenses in my bag. If I happen to be heading on a safari or a similar type of adventure, then all three will make the trip.
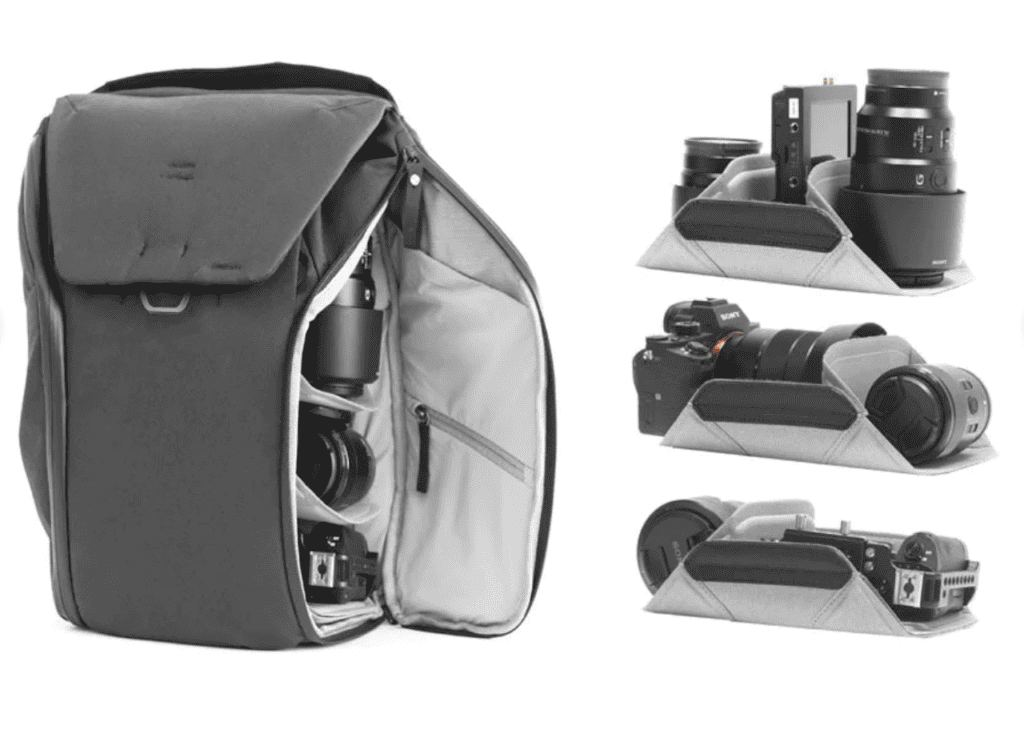
8) Camera Backpack (Peak Design Everyday)
Now we start to get into everything beyond the camera and lenses. First up is the camera bag – the Peak Design Everyday Backpack.
You will see Peak Design pop up again on this list, but the brand has become one of the key players in the photography and travel space. Their gear is super high quality and well thought out for the consumer.
I have been very impressed with their gear so far and have visited their NYC store a few times to test things out.
As for the Everyday Backpack, the bag is all about organization and protection. Within the bag there are multiple dividers that helps better organize your camera gear (and other items you may be bringing along with you).
You will find the bag to be very functional and easy to access as there is a top zipper and also a side zipper to open the bag up with. The weatherproof material is also a big draw as you will have some peace of mind in case the weather turns for the worse.
The bag comes in both 20L and 30L sizes depending on how much gear you carry around.
Lens Case Note: while you can simply put your lenses in your bag, I also like to have a very simple, flexible lens case as well. I use these more when I am hiking without a standard camera bag.

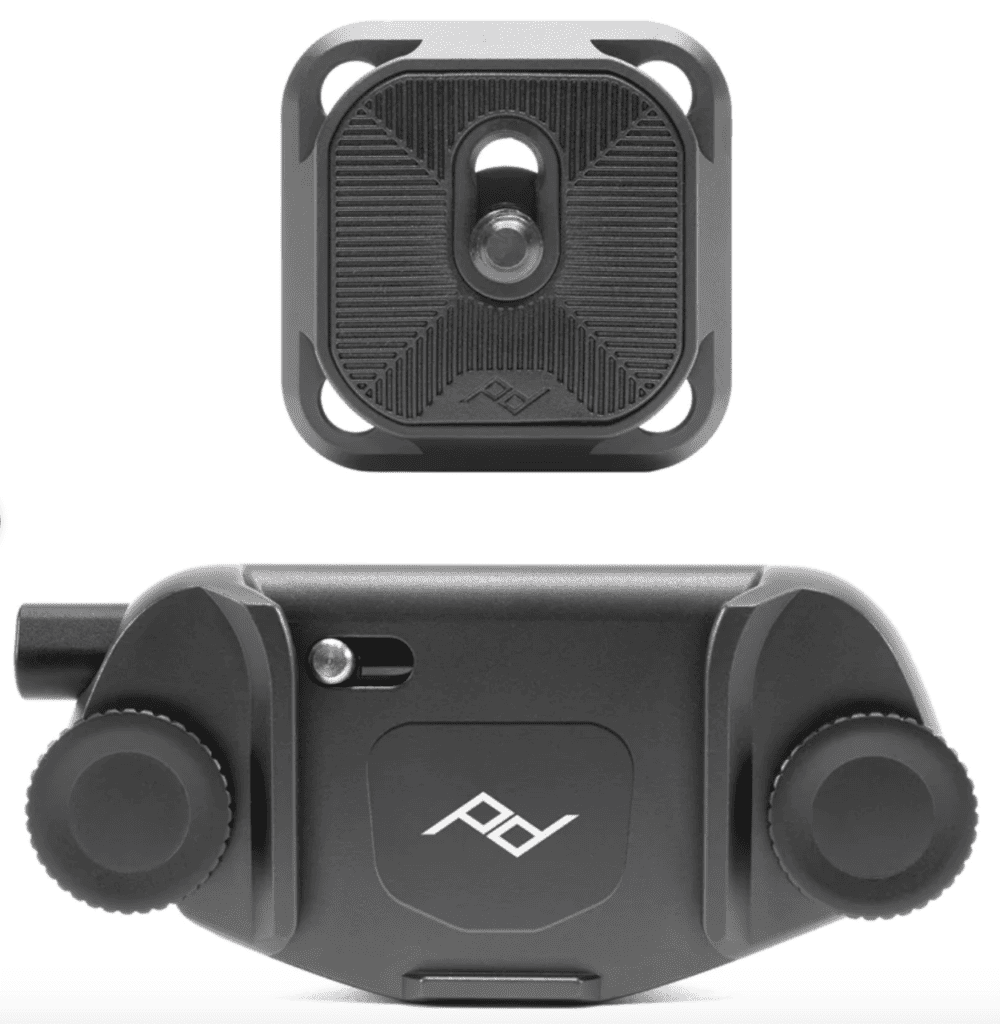
9) Camera Clip (Peak Design Capture)
For those that always want to have their camera nearby and ready for that next shot, a camera clip is the way to go.
The Peak Design Capture Clip is another one of the brand’s high quality and performance products. Simply attach the clip to your bag, and then attach the camera to the clip.
With just a quick sliding motion, you can slip you camera in and out of the clip with ease.
The ability to not need to carry a camera in a bag or by hand, and still have the flexibility to get your next shot in a moment’s notice, is what makes the Capture Clip a must need accessory on your travel photography gear list.
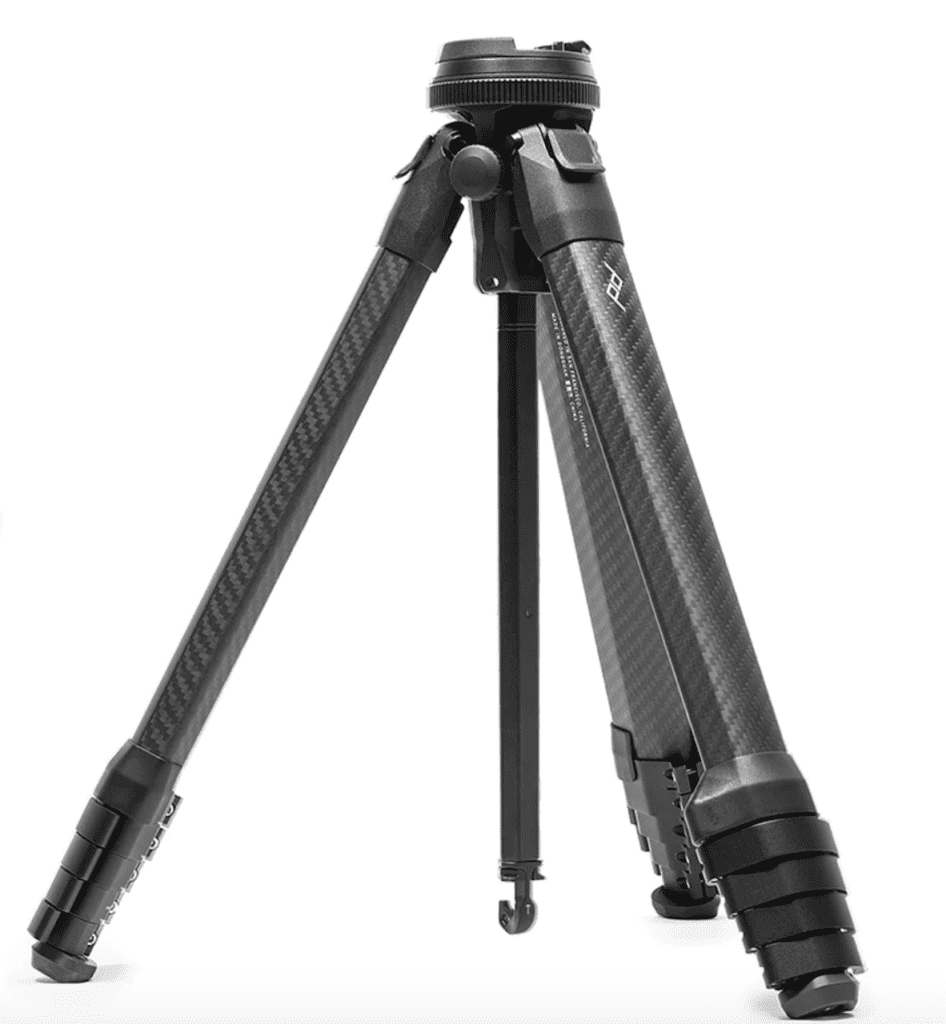
10) Tripod (Peak Design Travel Tripod)
The final Peak Design item on the list is the carbon fiber travel tripod.
If you start searching for the “top travel tripods”, I would say that 90%+ of lists has this tripod at the top or very close to it.
That is because no other tripod has had the years of development that went behind this one. It packs down small, expands big, is lightweight for its size, and is as durable as it gets.
You can fit it anywhere in your backpack, whether on the inside or the outside, and then be able to set it up instantly when you are ready for your shot.
Whether you want to shoot from up high or down low (or even upside down), the Peak Travel Tripod has it all.
The downside with the Peak Design tripod is certainly its price. But if you have the budget, and want to future proof your gear, this one is the choice.
Secondary Option: Another very highly rated option are the Manfrotto carbon fiber tripods, that come in at a lower price point but still offer high quality.
Mini Travel Option: This Manfrotto Mini Tripod comes along with me on longer hikes, when I am trying to keep my overall weight down.

11) SD Card (SanDisk Extreme Pro)
You can’t take any pictures if you don’t have an SD card in your camera!
While there are some very high end SD cards out there, I simply go with a SanDisk Extreme Pro card. These come in a variety of sizes from 64gb to 1tb.
In order to have to worry very little about storage, I have a 256gb card. For most people, that will be more than enough. But if you are shooting thousands of pictures over multiple days, you may want to consider a higher storage capacity.
I always have a backup SD card with me as well, just in case something goes wrong with the main one.

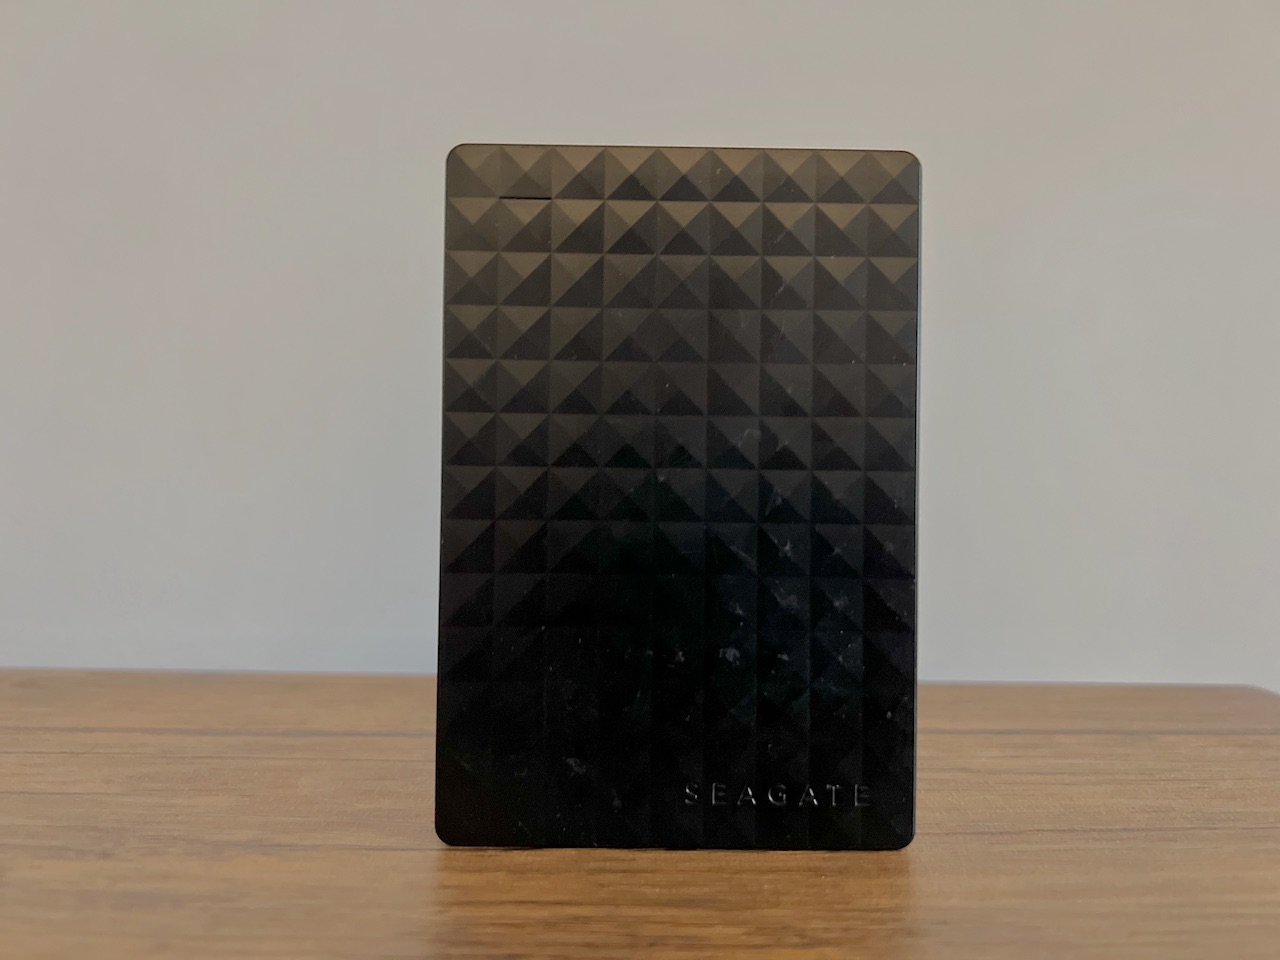
12) External Hard Drive (Seagate)
While I do not want to get too far away from travel photography gear, I figured I add one of the most important “non camera” pieces of equipment to purchase.
Having an external hard drive is absolutely essential when it comes to photography. After taking your photos for the day or during a trip, you don’t want to just leave them on your SD card.
Instead, you need to keep them backed up somewhere to store and edit. I have a couple of these Seagate hard drives. They range anywhere from 1tb to 20tb in size, so you will be able to fit all your photos on them.
It is not uncommon to store the same photos on multiples drives either, just in case something happens to one of them. The safer, the better in my opinion! No need to take risks when it comes to your photos.

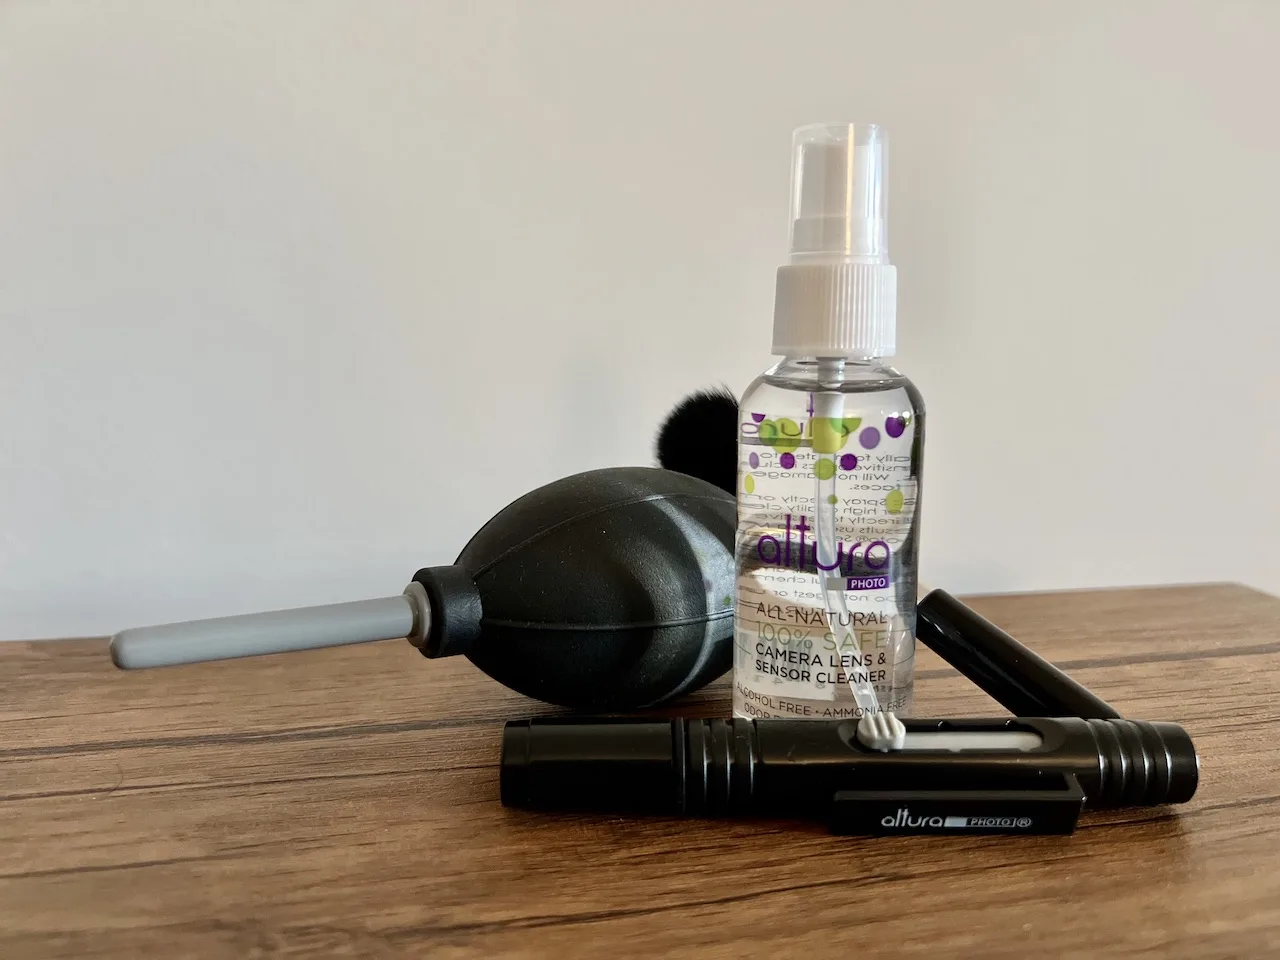
13) Cleaning Kit (Altura Photo)
One of the more frustrating parts of photography is when you don’t realize there are tiny specs on your lens or sensor. While you can easily get rid of these in post processing, it can get annoying doing it for picture after picture.
To help solve this, bringing along a camera cleaning kit can go a long way. This Altura Photo kit is the perfect starter package. It includes a cleaning spray, cleaning pen, brush, blower, and more.

14) Camera Filters (K&F Concepts)
While it took me a little while to use filters, these can be game changers when it comes to creating new types of photos and bringing out colors.
There are a whole array of filters including UV, polarizing, ND, and more.
UV filters are mostly used to simply protect your lens and can help improve the photo quality along the way.
Polarizing filters can really bring out colors and help get rid of any glaring effects. While post editing can do some of this, having the photo shot with a polarizing filter will make the outcome that much better.
ND filters are key for being able to have longer exposure times in brighter settings. So, if you are trying to get that blur effect during the day (whether it is people, cars, or water), an ND filter can help with that.
I have been using filters made by K&F Concepts, which I am so far happy with.
Filter Note: there is a WIDE range of filters available. There certainly can be a difference in image quality based on what type of filter glass you put on. Depending on your comfort level with quality, can dictate whether you want to go more high end or not.

15) Photography Books
Are you a beginner and just looking to get into photography? While there is no better way to learn from than by getting out there and shooting on your own, I would recommend reading & practicing along the way.
A few books that I read back when I first was teaching myself included:

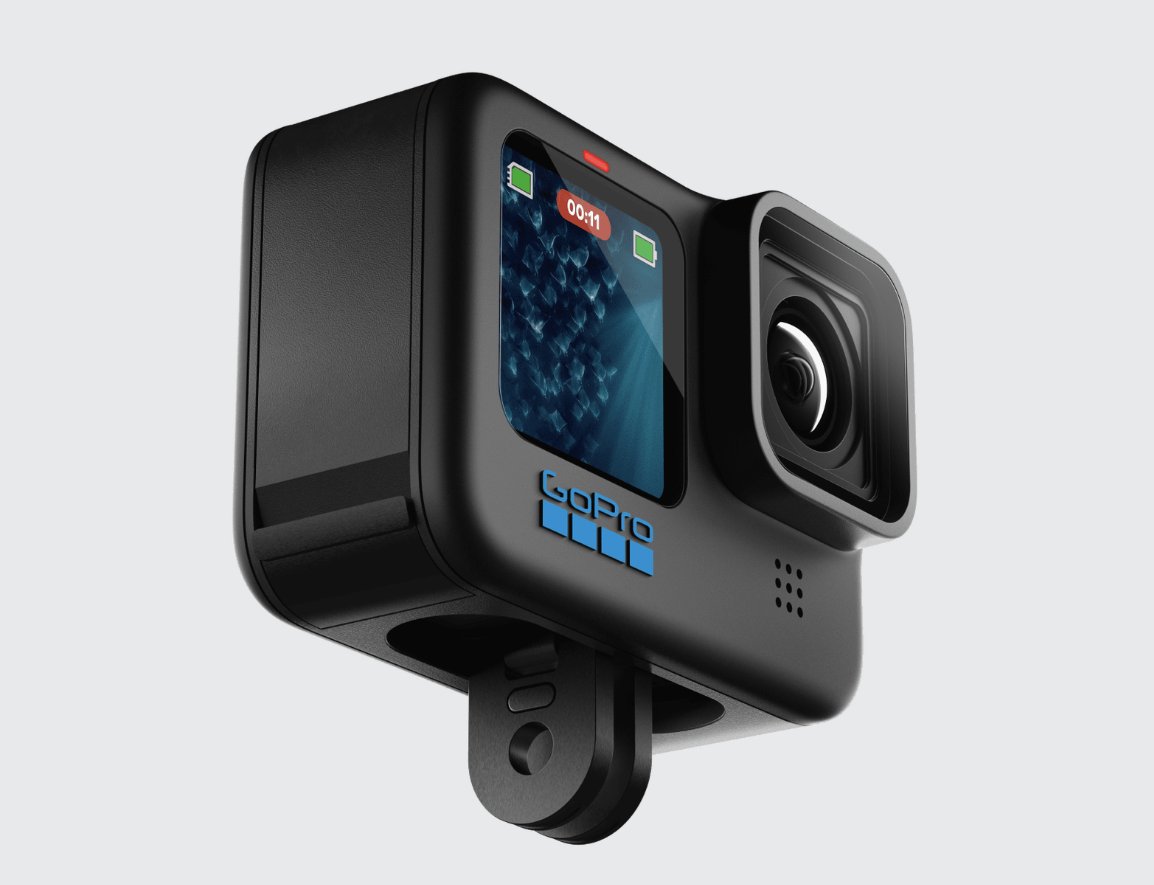
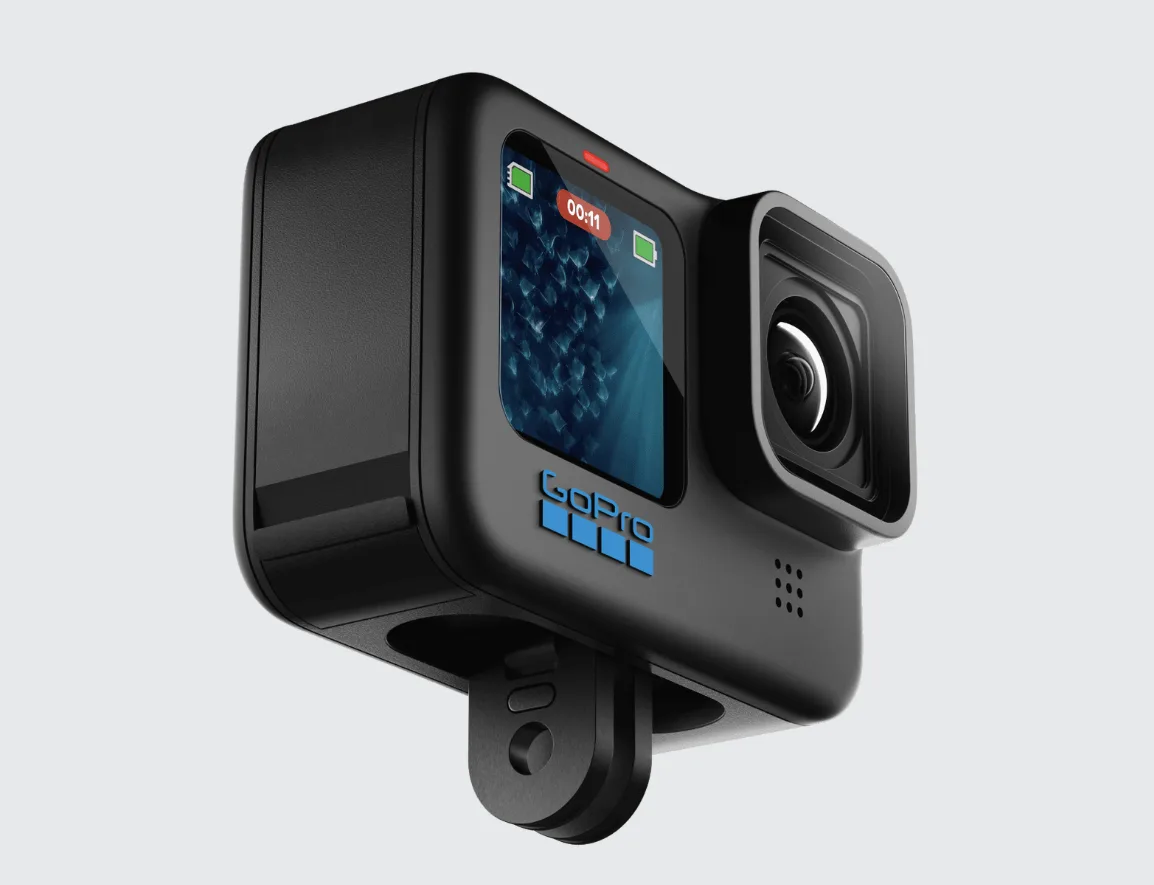
16) Action Camera (GoPro Hero)
While all of my still photos these days are shot on my Sony camera (or phone), I also bring around a GoPro when I want those actions shots.
Whether I am heading down into the ocean to scuba dive, or hiking up in the mountains, I love taking some cool shots with the GoPro.
The latest GoPro out there is the Hero 11, which has gotten some rave reviews for its video and image quality.
You may also want to consider picking up some extra batteries, and some accessories to always be ready for that next shot.
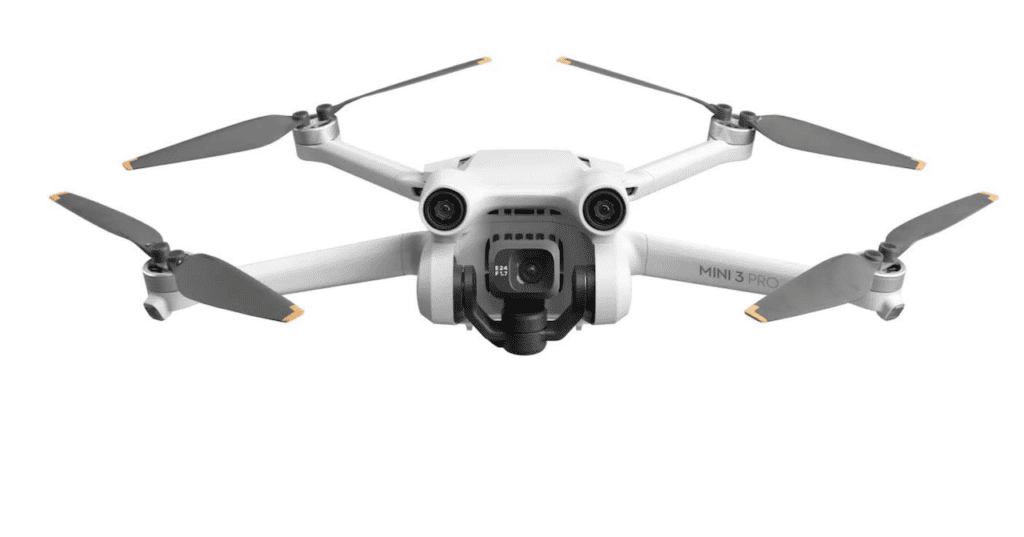
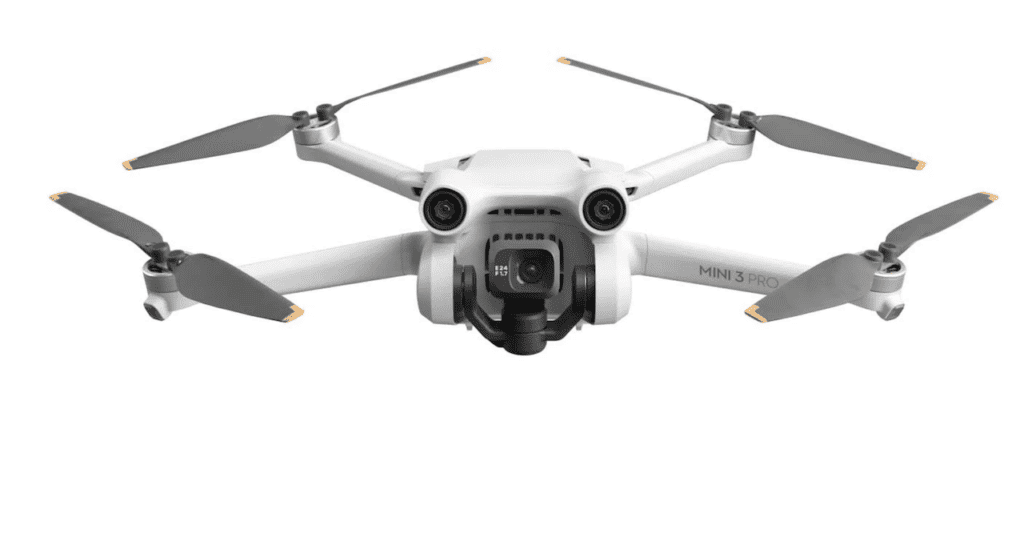
17) Drone Photography (DJI Mini 3)
So, while I have shot extensively on my mirrorless camera and action camera, I still have not made my way into aerial photography.
It has always been something I wanted to familiarize myself with, but I have yet to make the leap into the world of drones.
Although I can’t be the expert in this topic, the one I have my eye on is the DJI Mini 3 Pro.
Hopefully one day I can review that for myself!
I hope this travel photography gear overview has given you a bit more insight into what a camera list is all about.
If you have any questions or comments, be sure to add them in below.
Have fun out there and safe travels!