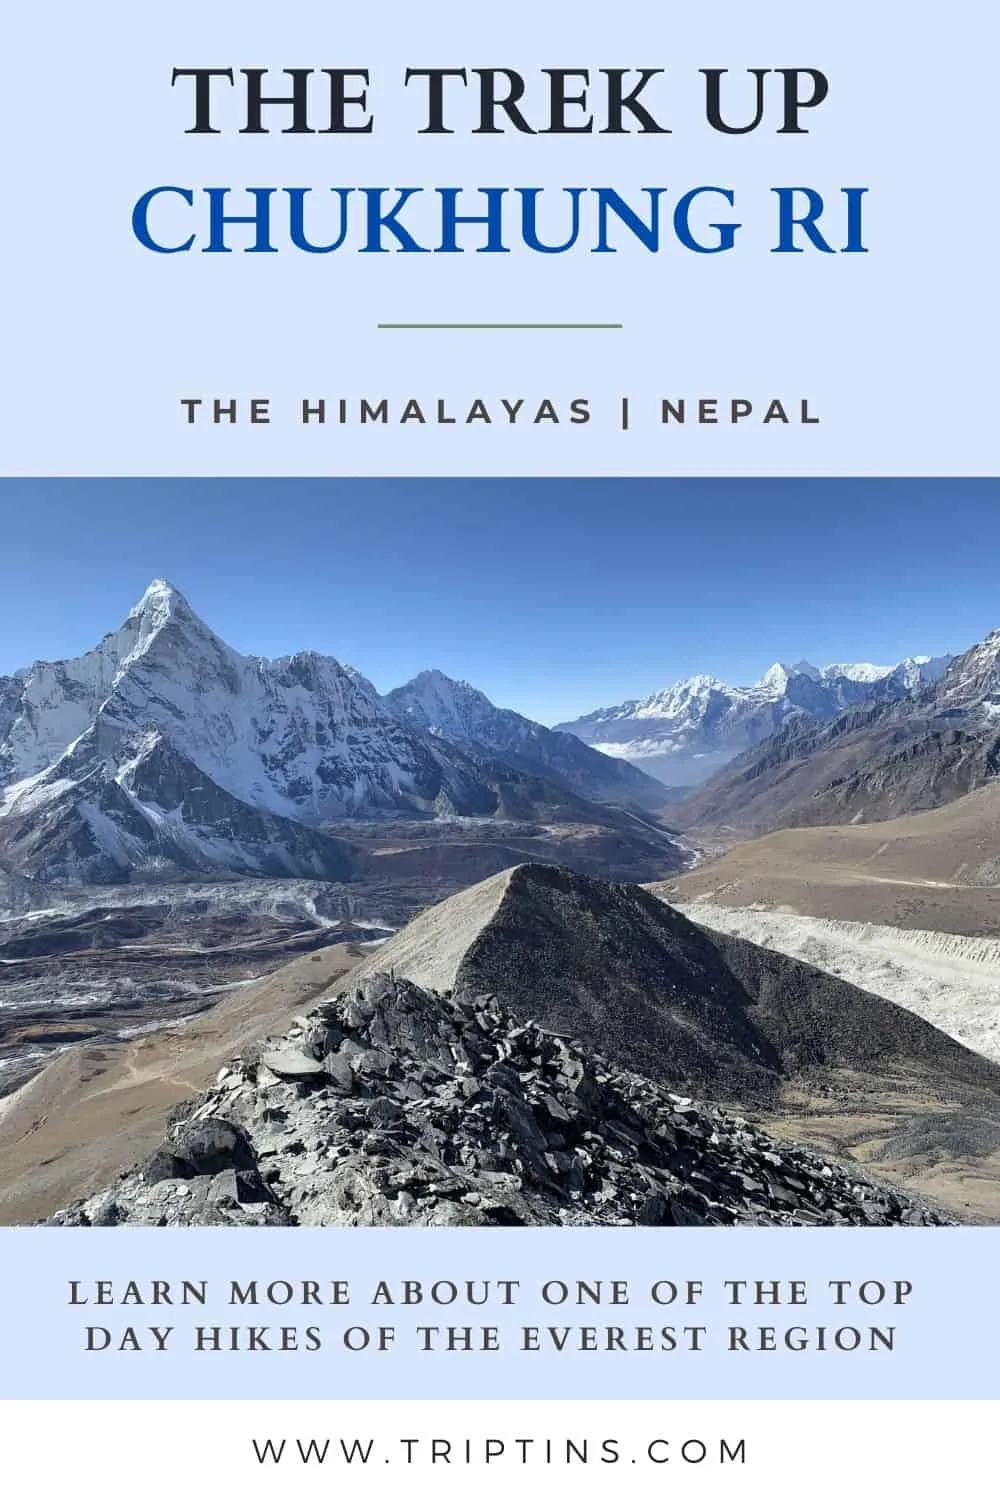

One of the top day hikes to take part of while visiting the Everest region has to be the trek up Chukhung Ri.
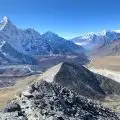
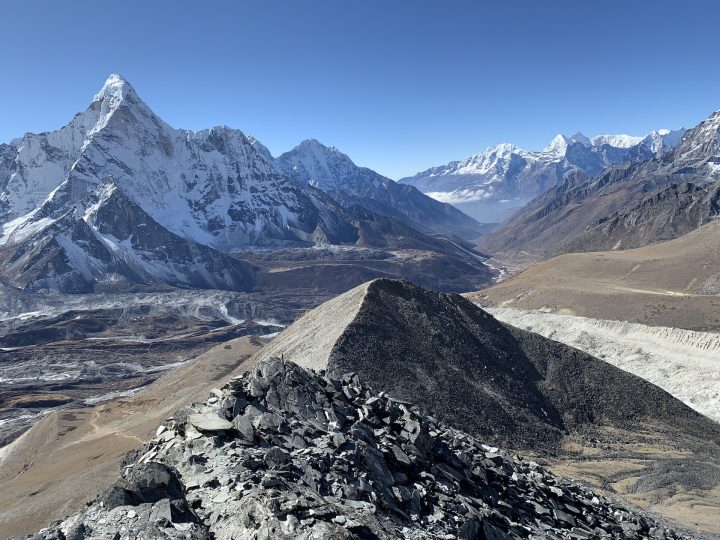
From the summit you will get some breathtaking views of multiple glaciers and mountain peaks in every which direction. You will be up close and personal to the faces of Nupste and Lhoste out in front of you and Ama Dablam behind you.
This guide will walk you through how to conquer Chukhung Ri during a visit to Sagarmatha National Park and what to expect along the way.
* Affiliate Disclosure: This post may contain affiliate links, which means I may receive a commission if you make a purchase through the links provided, at no additional cost to you. Thanks for supporting the work I put into TripTins!
1) How to Take Part of the Chukhung Ri Hike
It is important to note that Chukhung Ri is not part of the typical Everest Base Camp route. While most people head this direction if taking part of the Three Passes trek (or a portion of the Three Passes trek), it is also possible to take part if you wanted to avoid the high pass.
Here are a few different ways in which you can add Chukhung Ri to your overall itinerary starting in Dingboche (a village on the classic Everest Base Camp trek route):
1) Normal Three Passes Route
→ Dingboche to Chukhung
→ Chukhung Ri Day Hike
→ Chukhung to Lobuche via Kongma La Pass
2) Out and Back Route
→ Dingboche to Chukhung
→ Chukhung Ri Day Hike
→ Chukhung to Lobuche via Dingboche
*Essentially skipping the Kongma La Pass by heading backwards and around the mountainside
3) Aggressive Route
Nearly everyone who takes part of the EBC or Three Passes trek will spend two nights in Dingboche to acclimatize correctly.
While many do an acclimatization hike up Nangkartshang Peak, I have heard of some people who are super aggressive and do their acclimatization hike up Chukhung Ri.
This would require a 2 hour trip from Dingboche to Chukhung, a 4 hour trek up and down Chukhung Ri, and then a 2 hour hike back down to Dingboche in a day. I would not necessarily recommend this option but if you really want to climb Chukhung Ri but are short on time, then this may work for you.
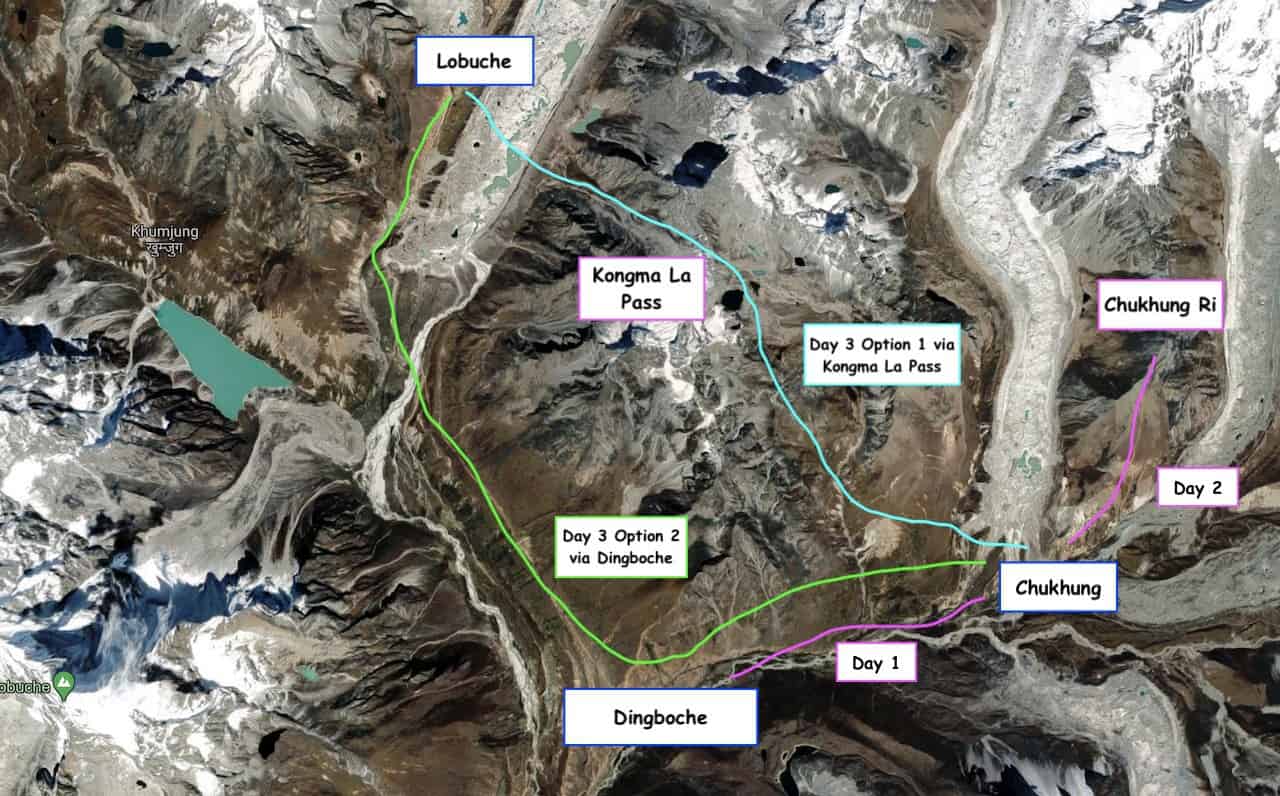
Below is a map of the region showing where Chukhung Ri is located with the first 2 route options (note day 1 & 2 are the same here for both options):

2) Do You Need a Chukhung Ri Permit?
The short answer is no, you do not need any additional permit to make your way up to the Chukhung Ri peak.
However, you still need the two permits for Khumbu Pasanglhamu Rural Municipality and Sagarmatha National Park.
The first can be purchased right on the outskirts of Lukla as you begin your trek on day 1, and the second can be purchased between Phakding and Namche Bazaar on day 2 of your trek.
Be sure to keep these two permits in a safe place during the entirety of your trek as you will need to show these at one point or another at some check in spots.
As for Chukhung Ri though, you should be good to go once you have these two permits, so don’t worry about anything additional.
Considering travel insurance for the Himalayas?
World Nomads offers coverage for more than 150 adventure activities as well as emergency medical, lost luggage, trip cancellation and more.
For years, World Nomads has been protecting, connecting & inspiring independent travelers, offering travel insurance & safety advice to help you travel confidently. Their mission is to support and encourage travelers to explore their boundaries.
World Nomads has simple and flexible travel insurance that has been designed by travelers for travelers. Even if you leave home without travel insurance or your policy runs out, you can buy or extend out on the road.
Get a quote for a World Nomads travel insurance policy today!
3) Trekking Details
Here are some helpful trekking details to note so you can be better prepared for a climb like this. Note that these are round trip data points, starting and ending in the village of Chukhung (at the base of Chukhung Ri):
Starting & Ending Point: Chukhung Village
Chukhung Elevation: 15,518 feet / 4,730 meters
Mid Point: Chukhung Ri
Chukhung Ri Elevation: 18,209 feet / 5,550 meters
Duration: 4 hours
Distance: 3.5 miles / 5.7 km
Elevation Gain: 2,690 feet / 820 meters
Difficulty: Hard
As you can see, the trek up to the summit of Chukhung Ri is no joke. You will be gaining nearly 3,000 feet of elevation in under 2 miles.
The terrain can be steep and uneven, making the climb one of the tougher ones to conquer for an everyday trekker.
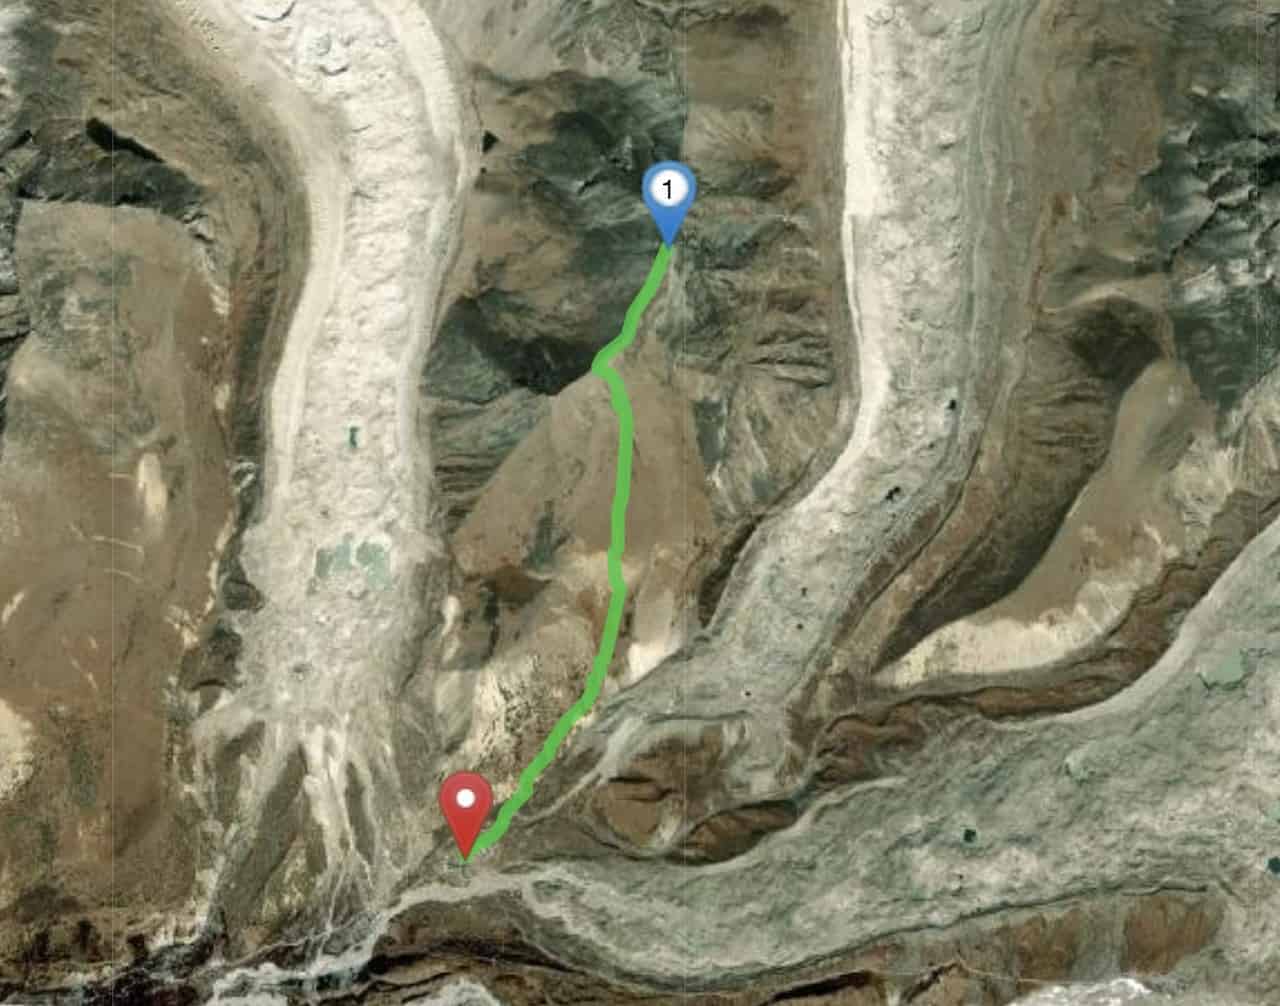
4) Chukhung Ri Map
Below is a map screenshot of the Chukhung Ri trek. You will start down below in the village of Chukhung, which is at the meeting point of three different glaciers.
From there, you will follow the path behind town and begin the hike up the mountain’s ridge.

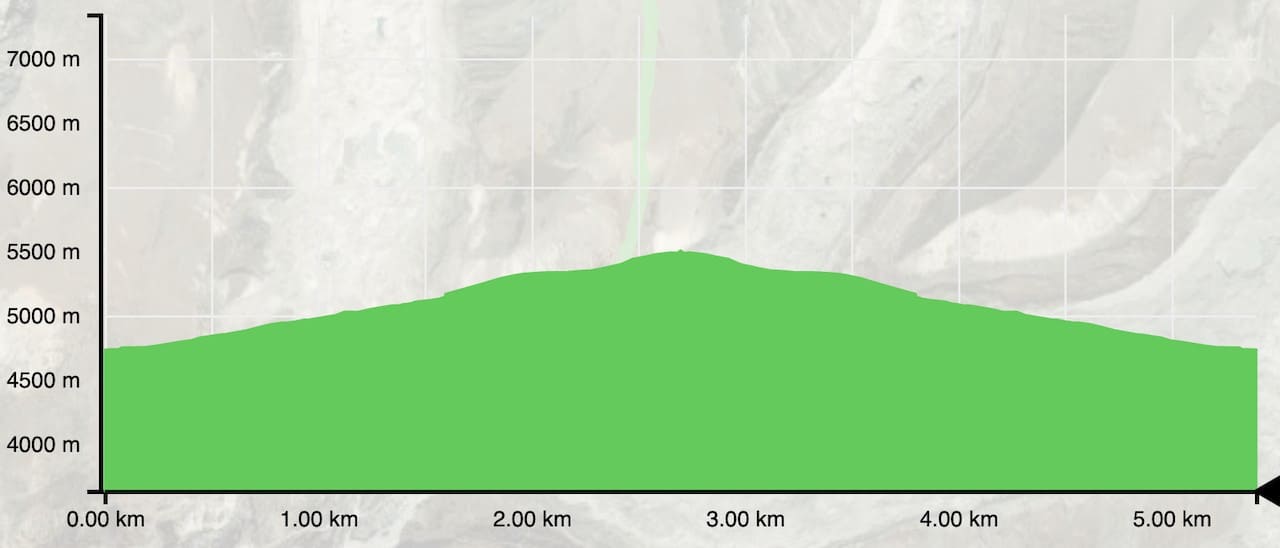
5) Elevation Gain Profile
The elevation gain profile here is pretty simple to understand. Essentially it is a straight shot up from Chukhung village to the summit with little no flat portions during the duration of the climb.
Once you make it to the summit and are ready to head down, it is back the same way you came.

6) Chukhung Ri Trek
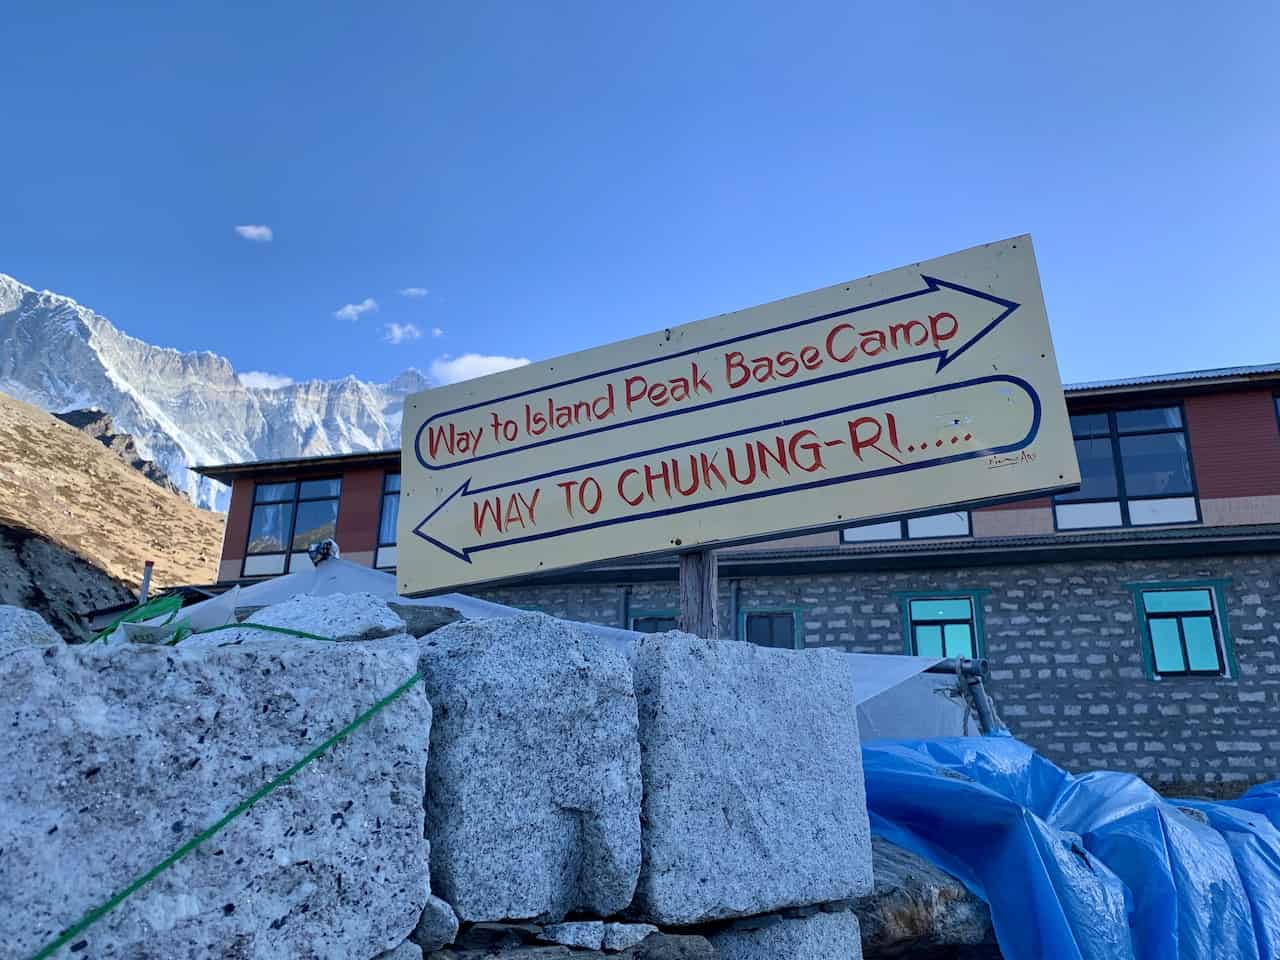
After taking in a nutritious breakfast at your teahouse, it is time to begin the hike up to the Chukhung Ri summit. You will want to make your way behind the village by following a sign or two pointing you in the right direction.
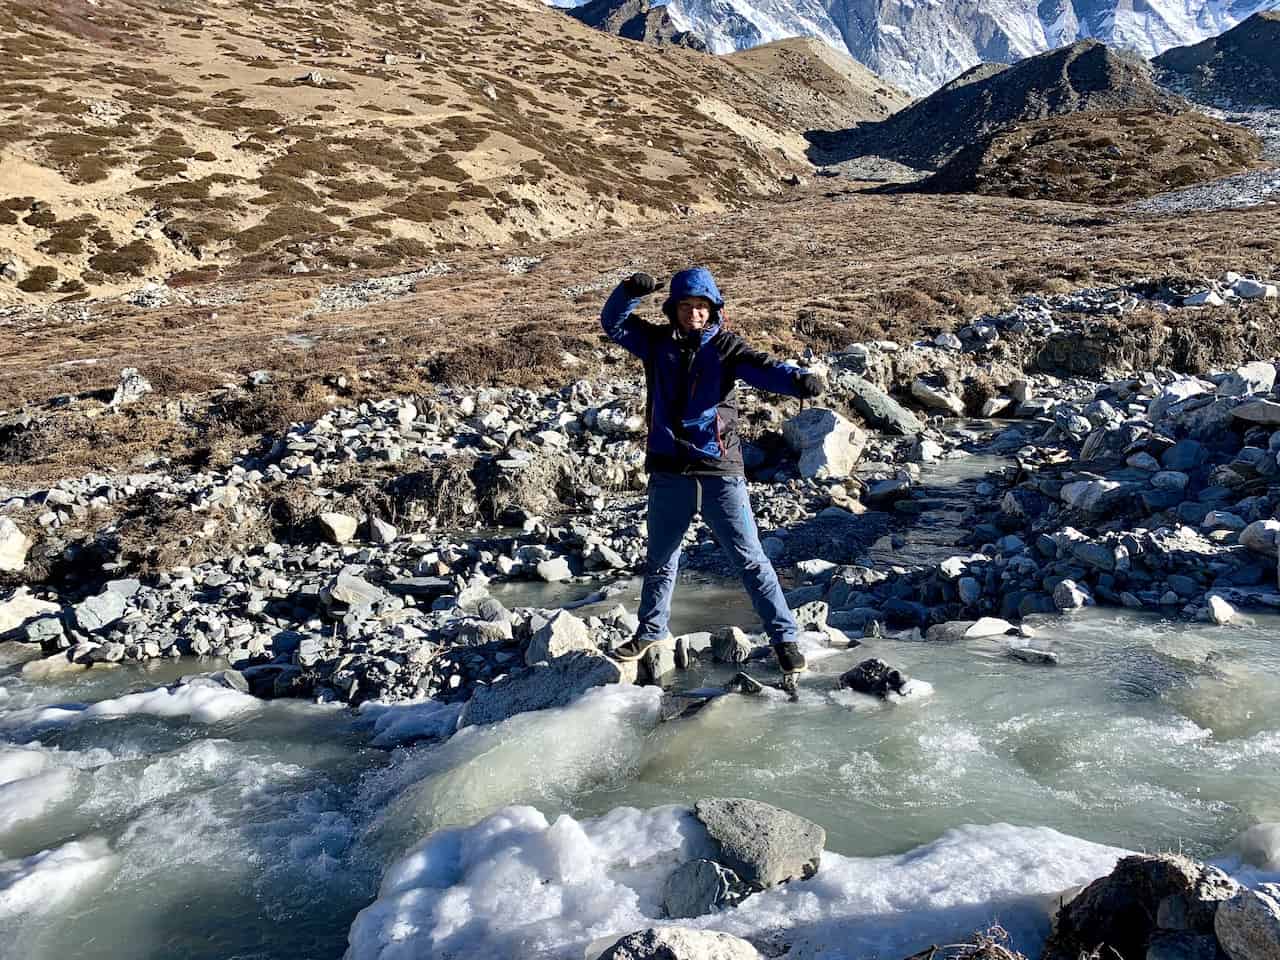
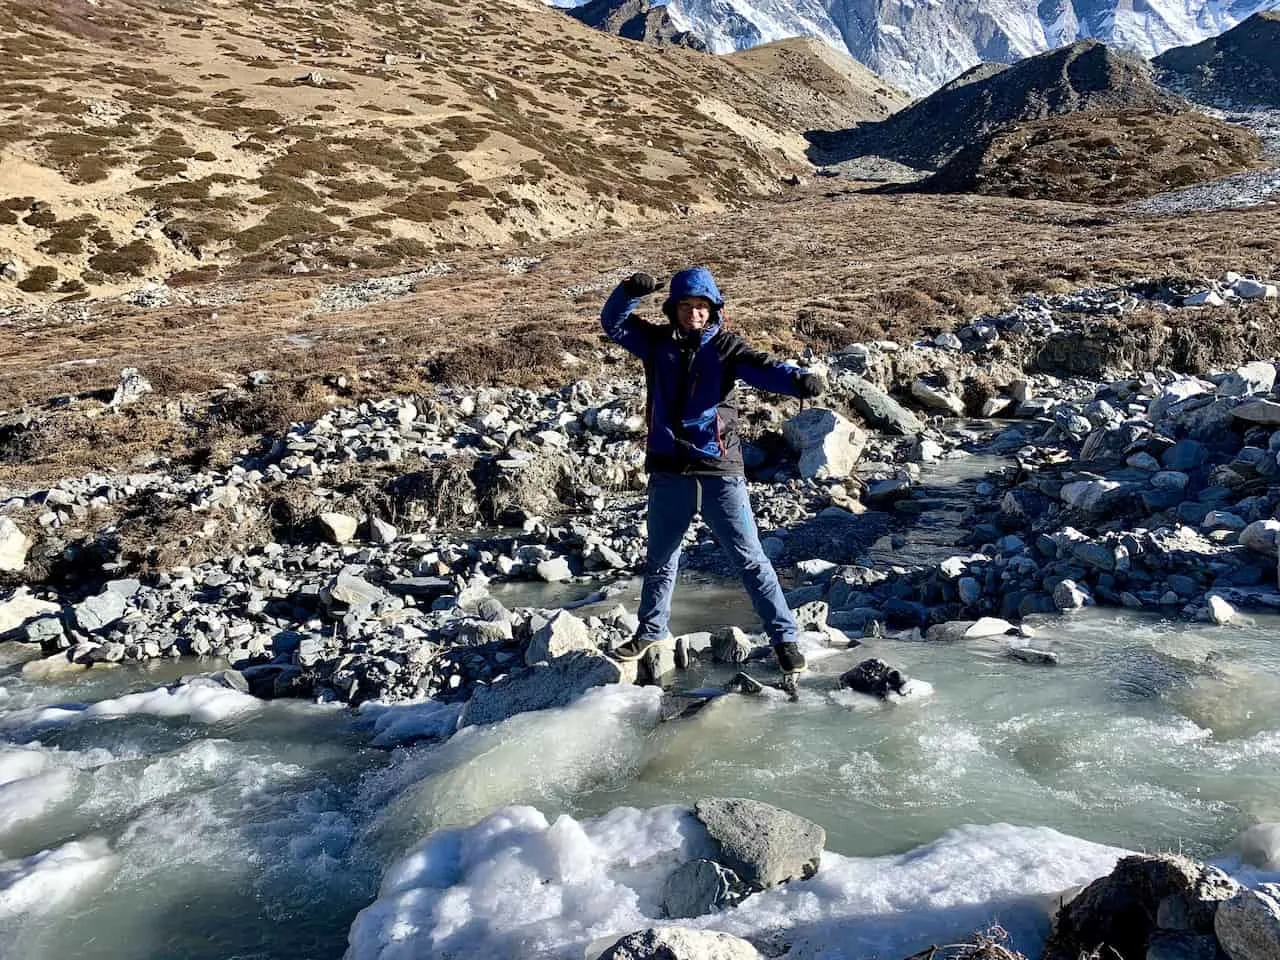
You will soon see the path to follow that will take your further up the mountain but do note that you will need to carefully cross a river. There are plenty of rocks to balance on but just watch your step as you hop on across.

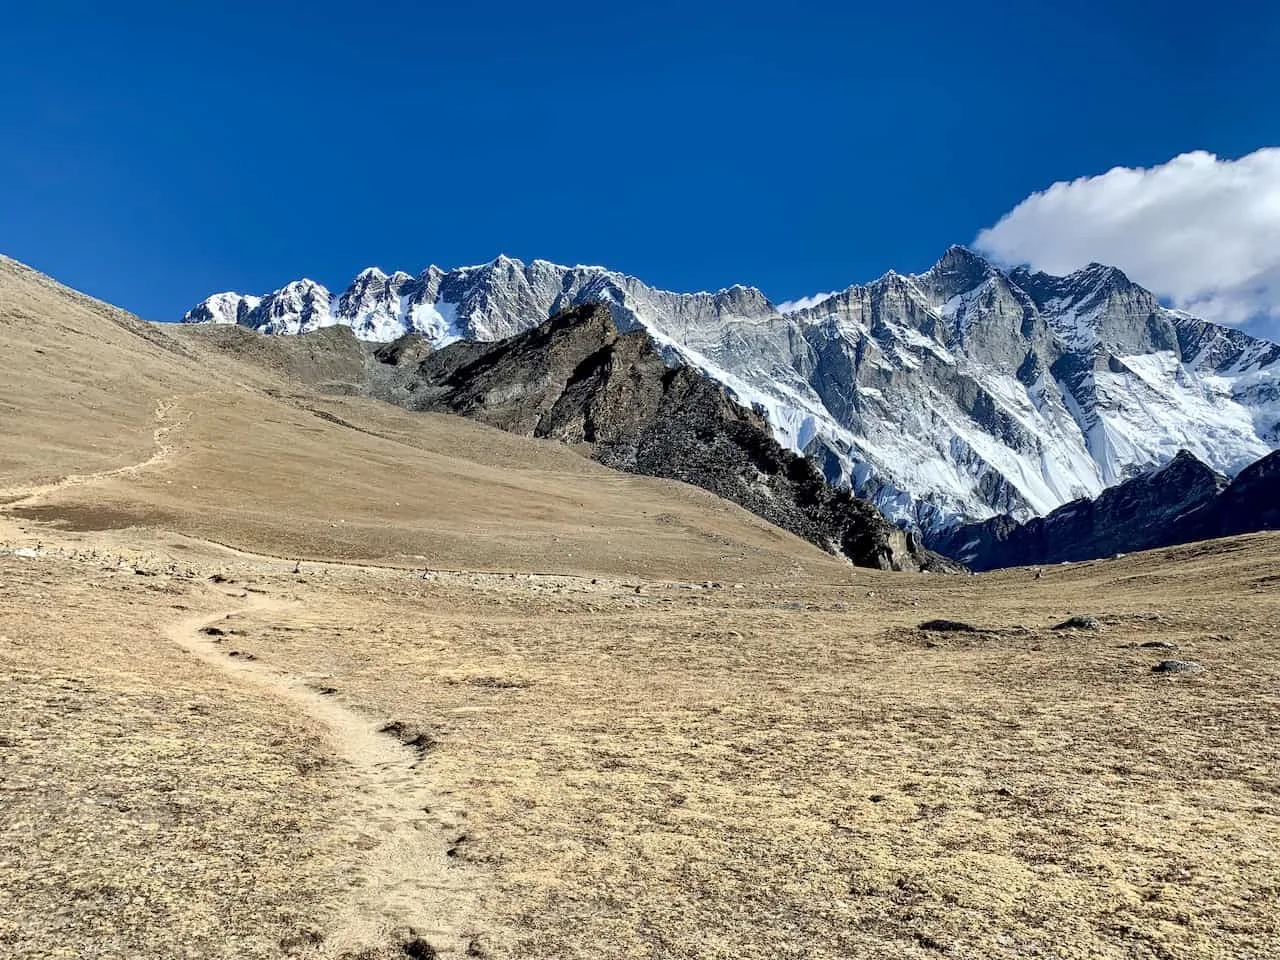
Once on the opposite side of the river and leaving Chukhung village behind, it is time to start the elevation gain up the mountain. The first portion of trail is on the easier side as you follow the sandy path through the valley with Nupste and Lhotse towering out in front of you.
Soon enough though the real climbing will begin as the hike starts to become tougher and tougher as the terrain gets trickier and the elevation gain gets higher.
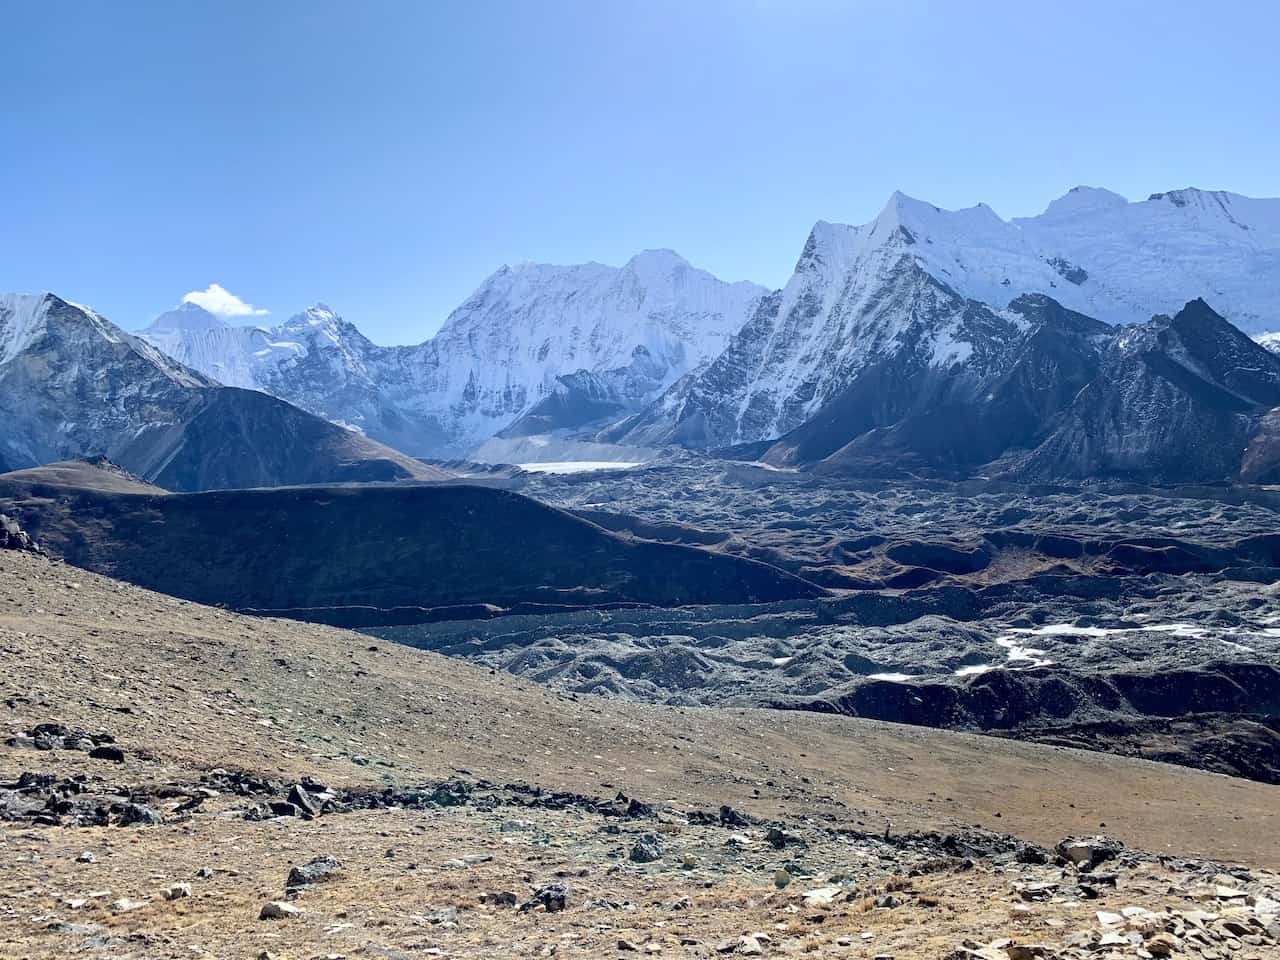
Off to the side though you will just have some breathtaking views of the a couple nearby glaciers, lakes and rivers.
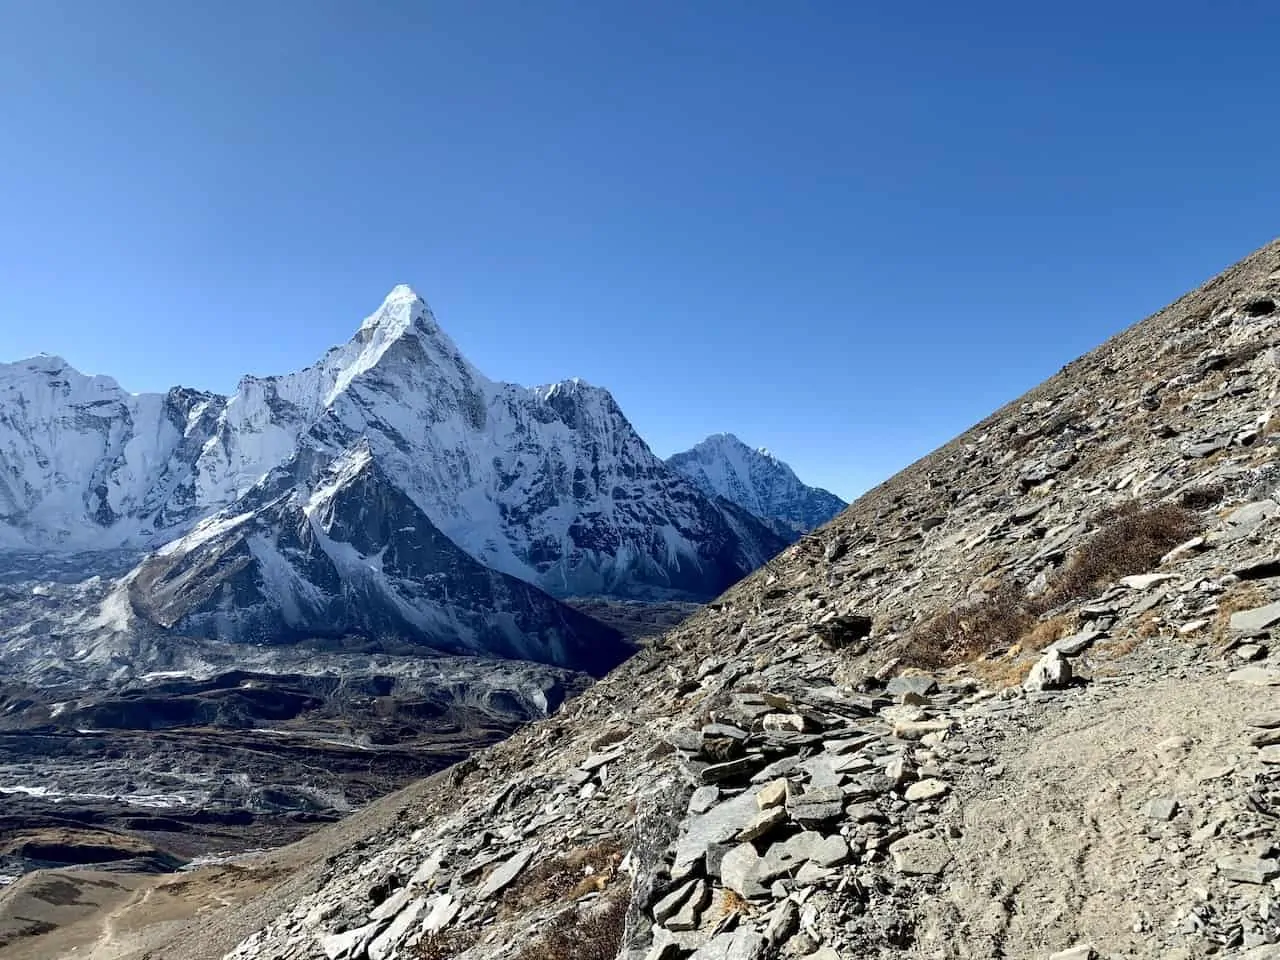
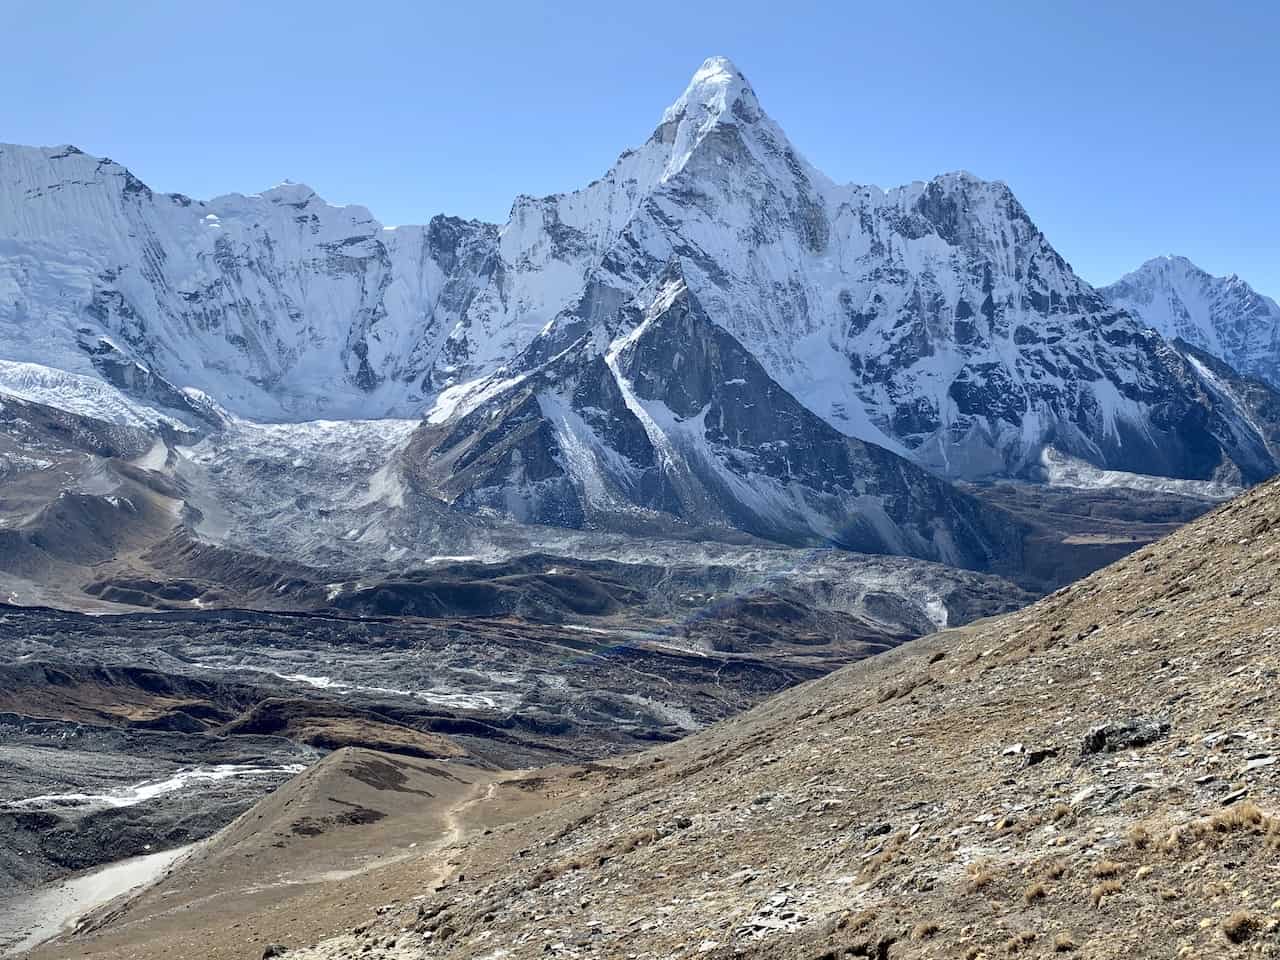
You will also have uninterrupted views of Ama Dablam and several other surrounding mountains as you wind your way up the trail.


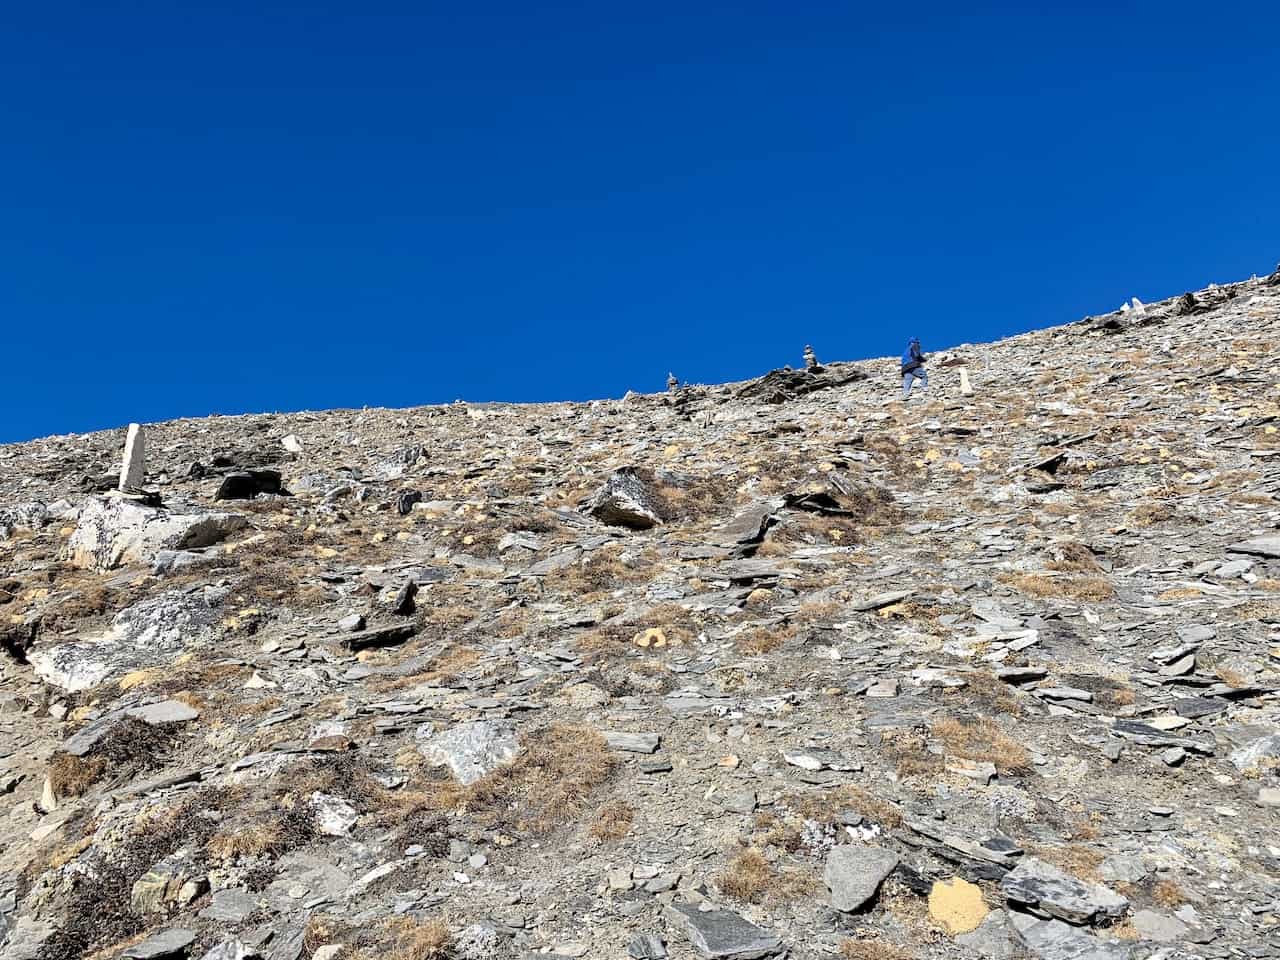
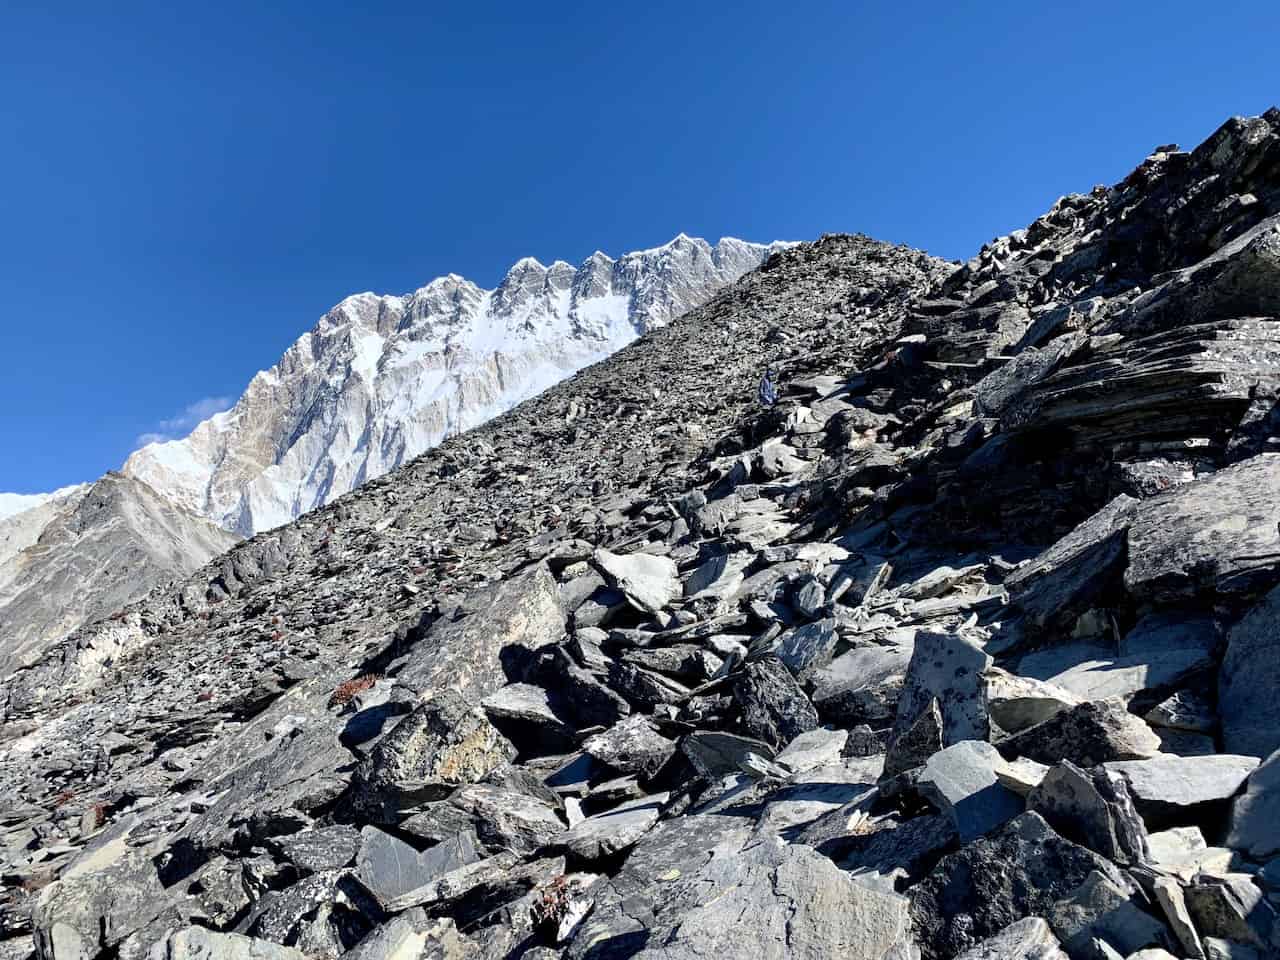
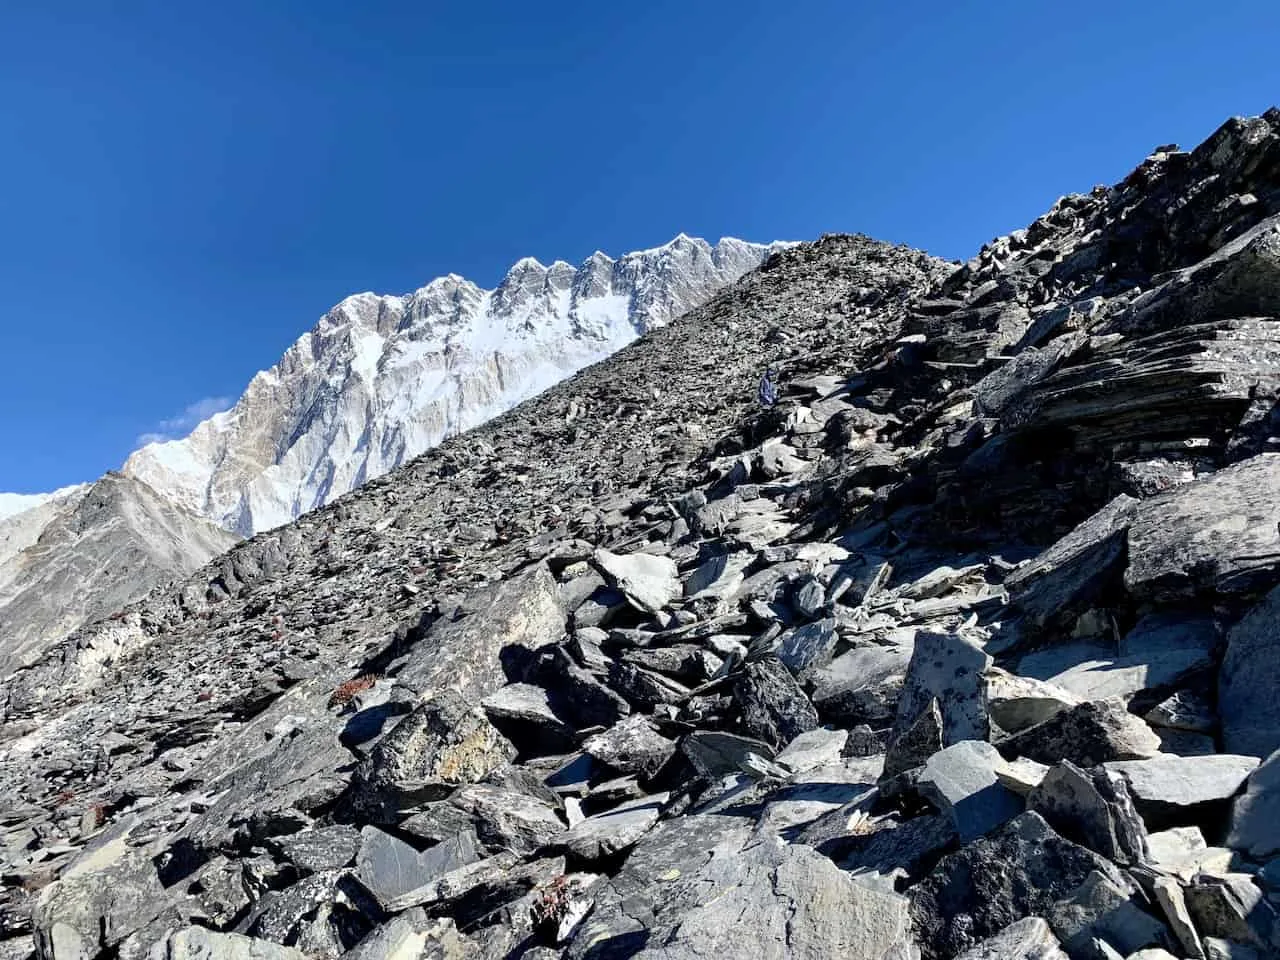
As you push through the steepest part of the climb towards the ridge, be sure to watch your step and take breaks as needed. There will be plenty of uneven rock and terrain, and you also do not want to over exert yourself.
Soon enough those you will reach the ridge of Chukhung Ri, where things will flatten out just a bit. You will now have views of yet another glacier off to your left and be welcomed to a full on view of Lhotse and Nuptse out in front of you.
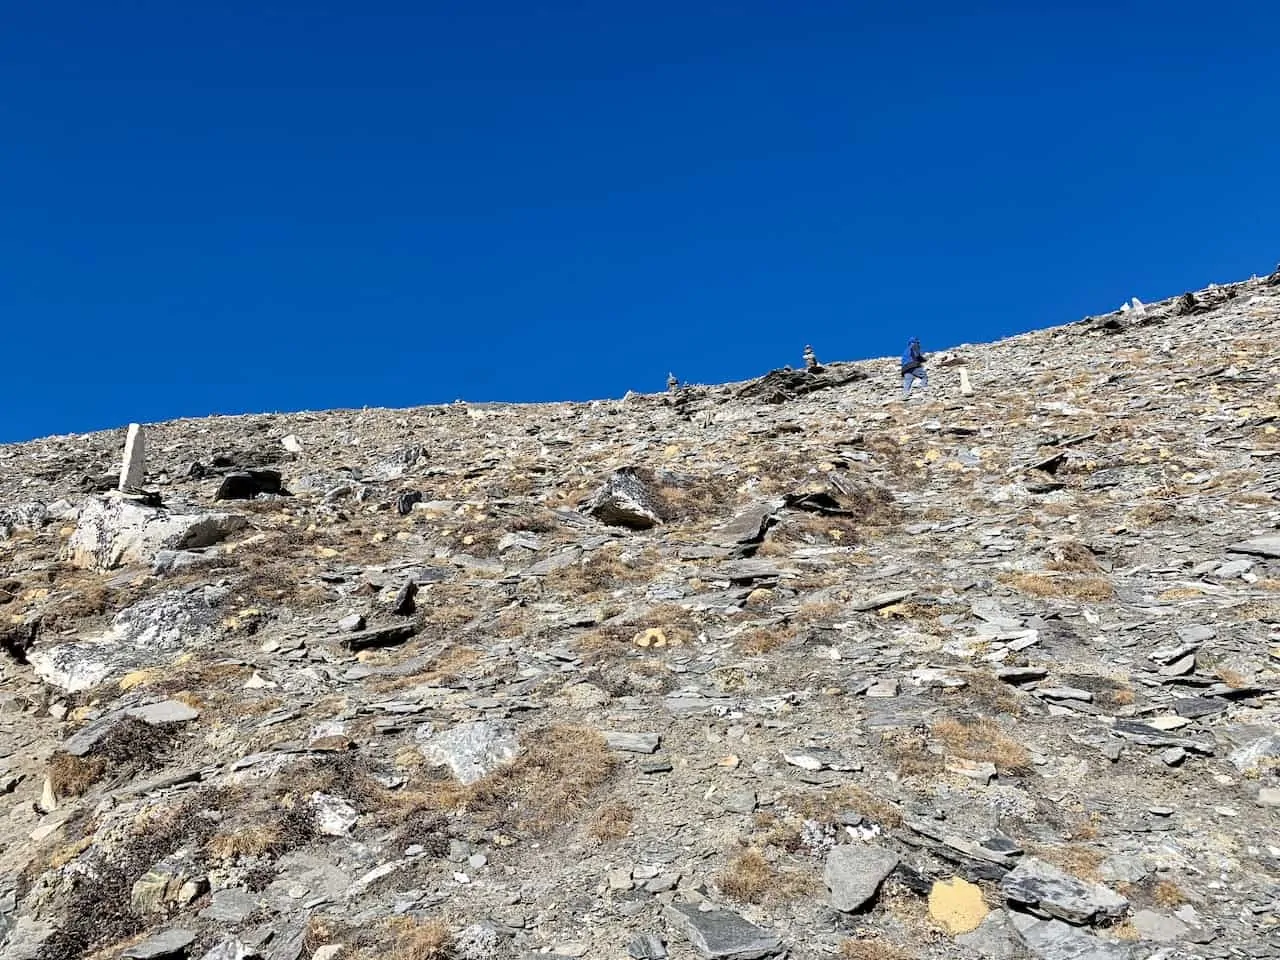


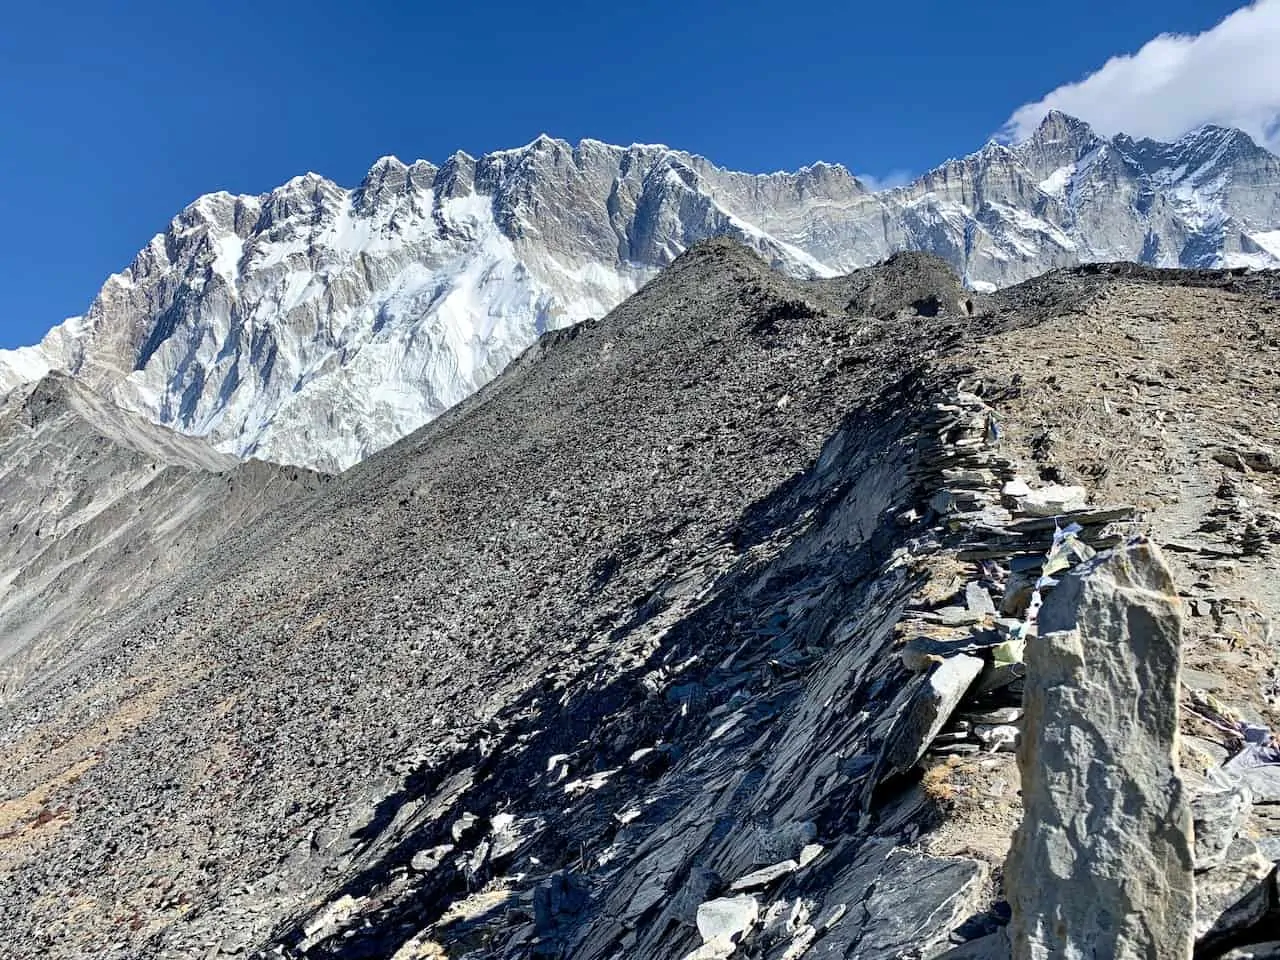
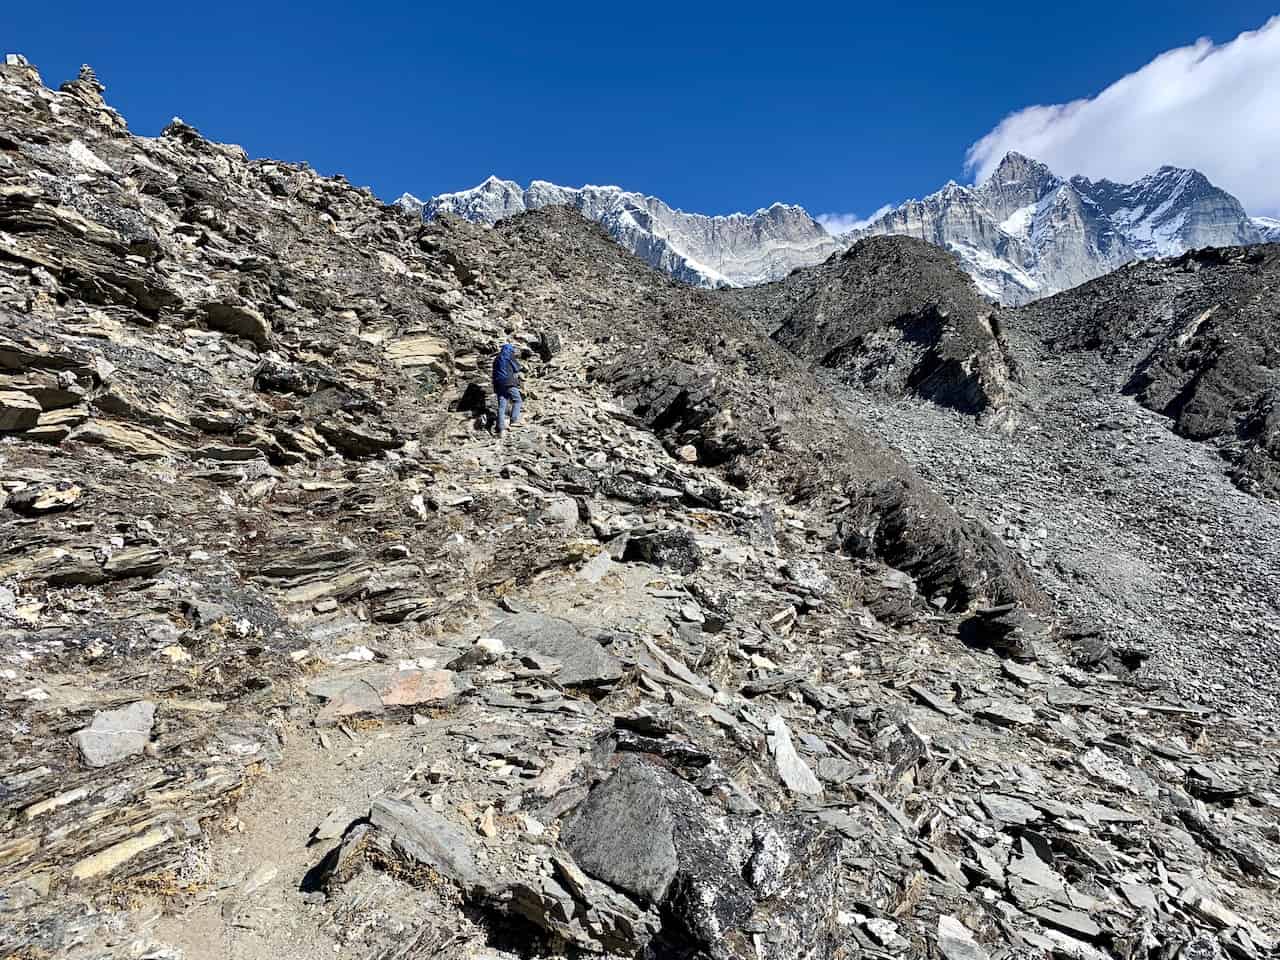
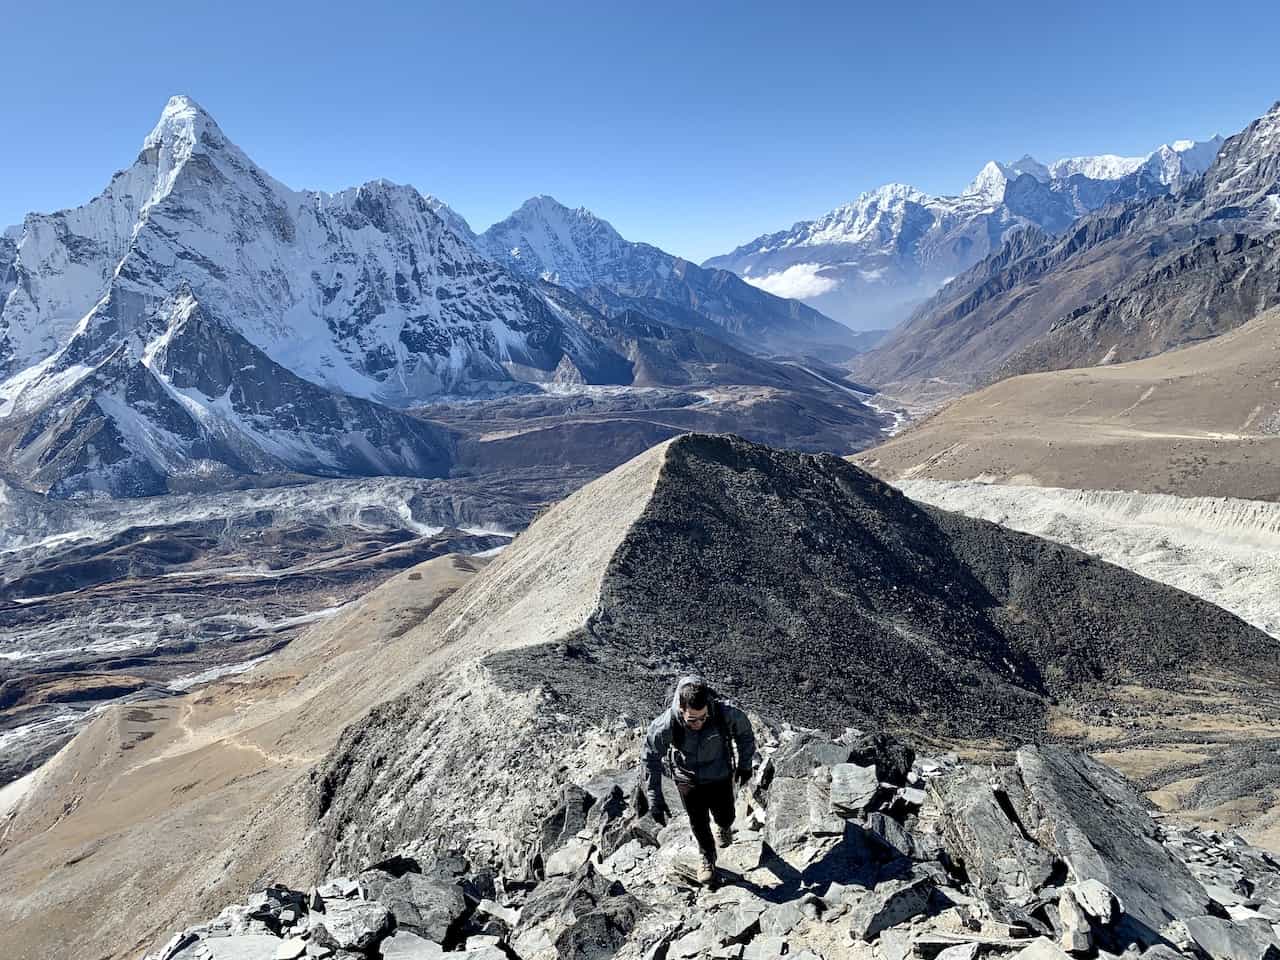
Enjoy walking through the fields of rock piles, as you then continue your climb up along the ridge towards the Chukhung Ri summit. Here things begin to get very tricky and dangerous from a terrain standpoint. It is less so a path and more so a very rocky climb up.
Be sure to get your feet set on more stable rocks during this portion and don’t be afraid to use your hands to get you further on up the mountain.
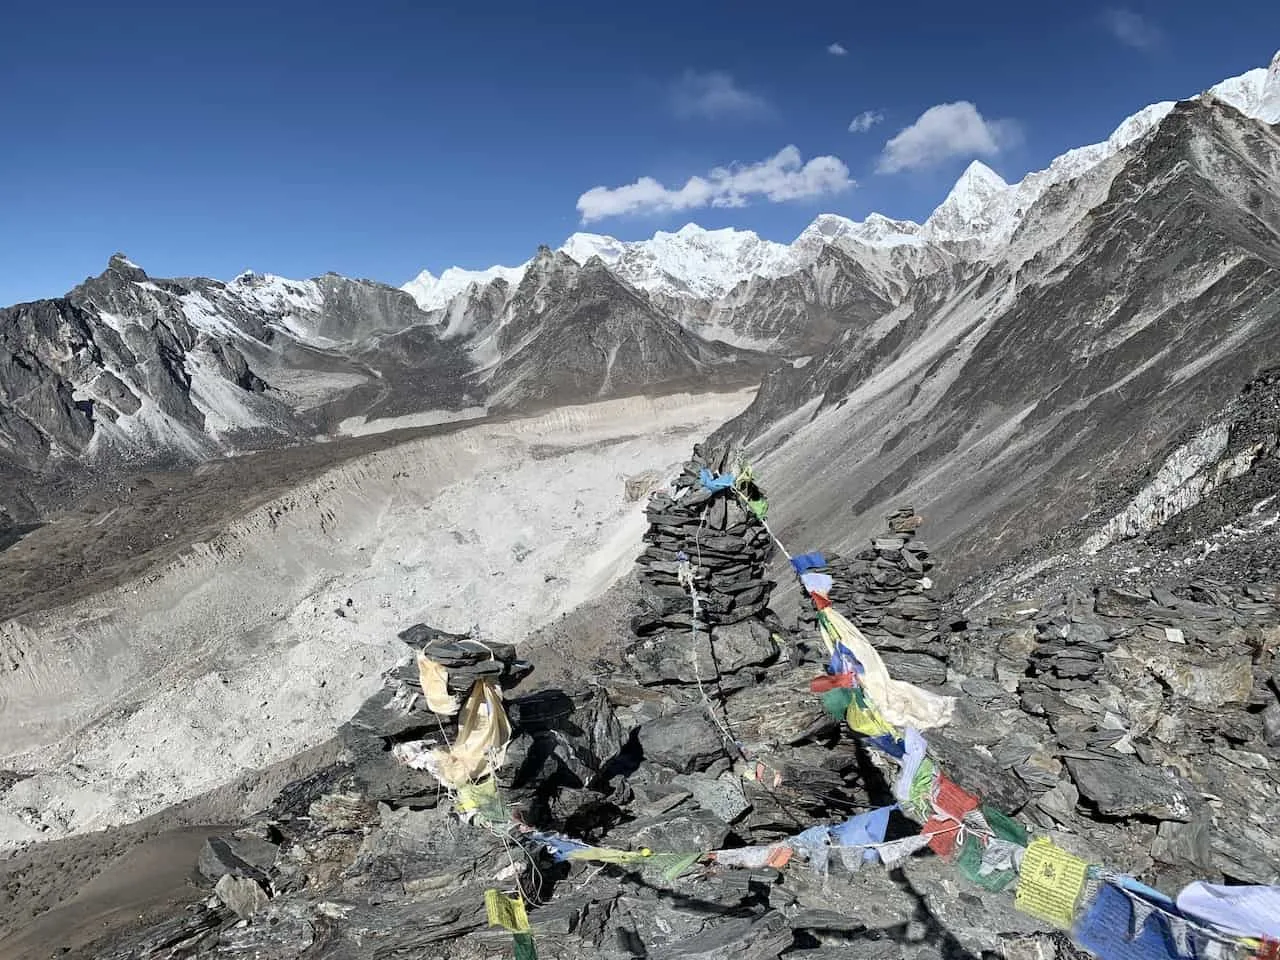
Soon enough though the summit and its Sherpa flags will be in sight as you make the final last push to the top of Chukhung Ri.

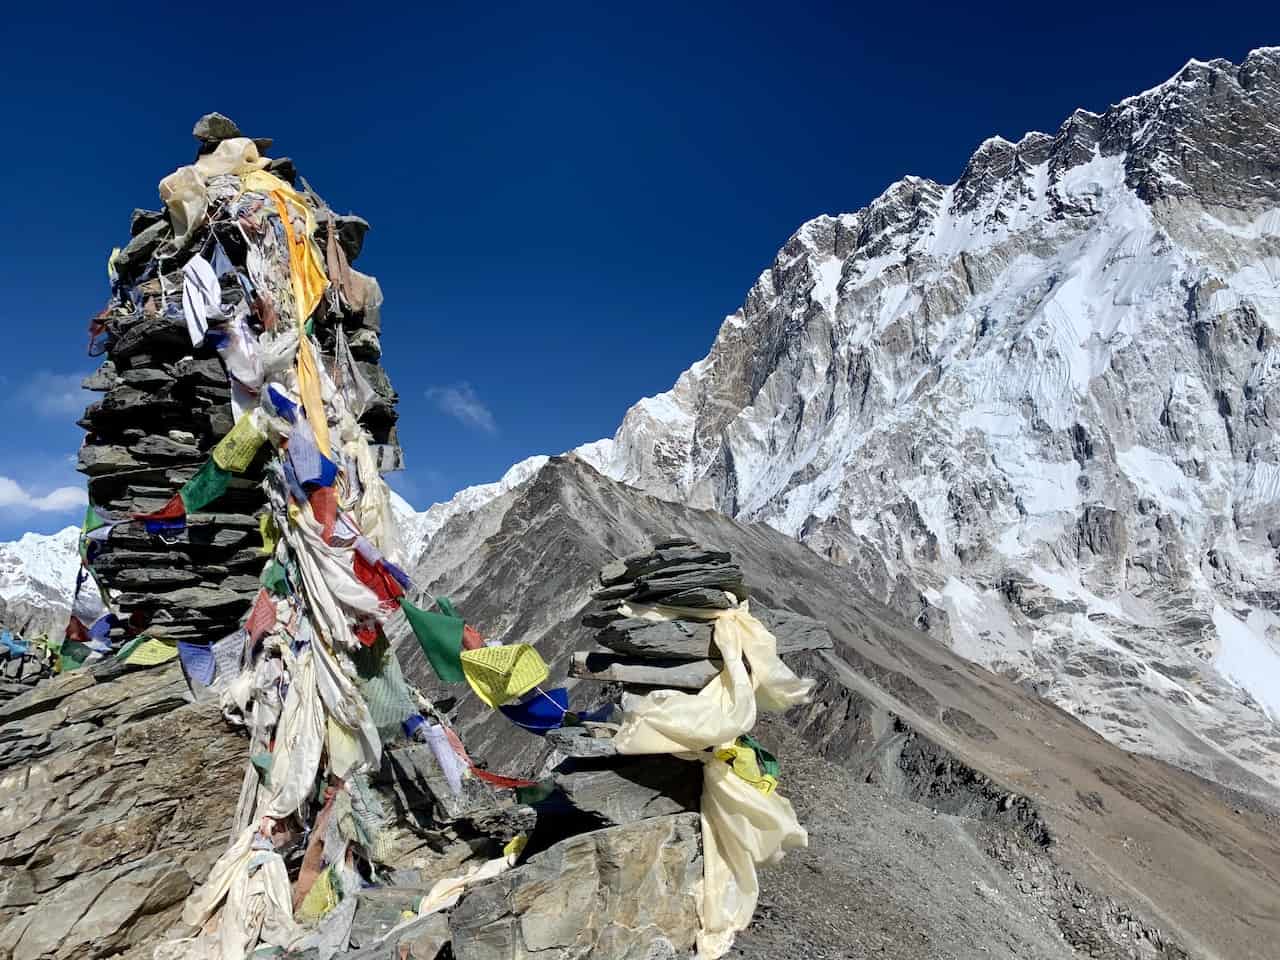

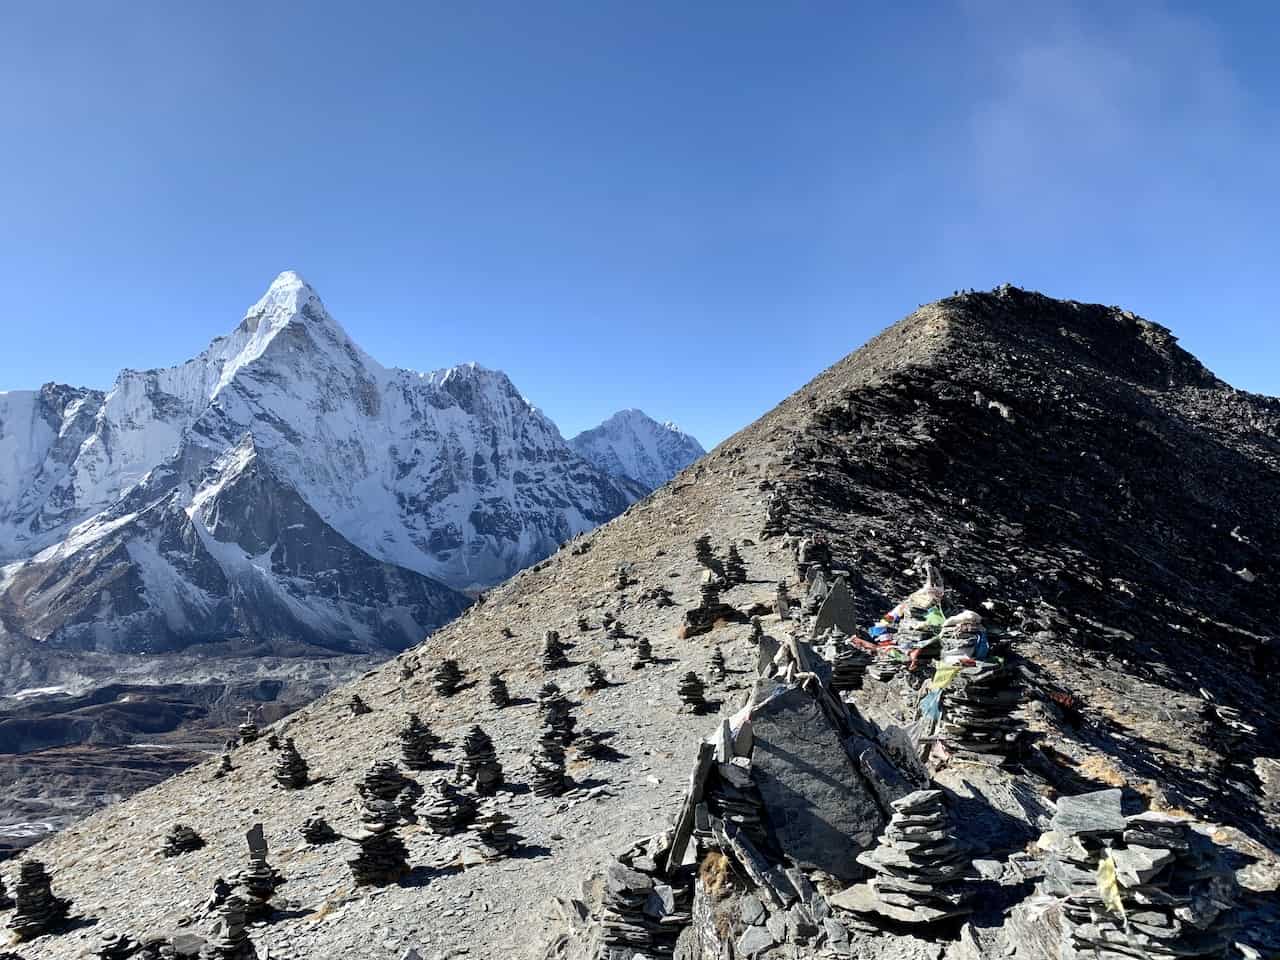
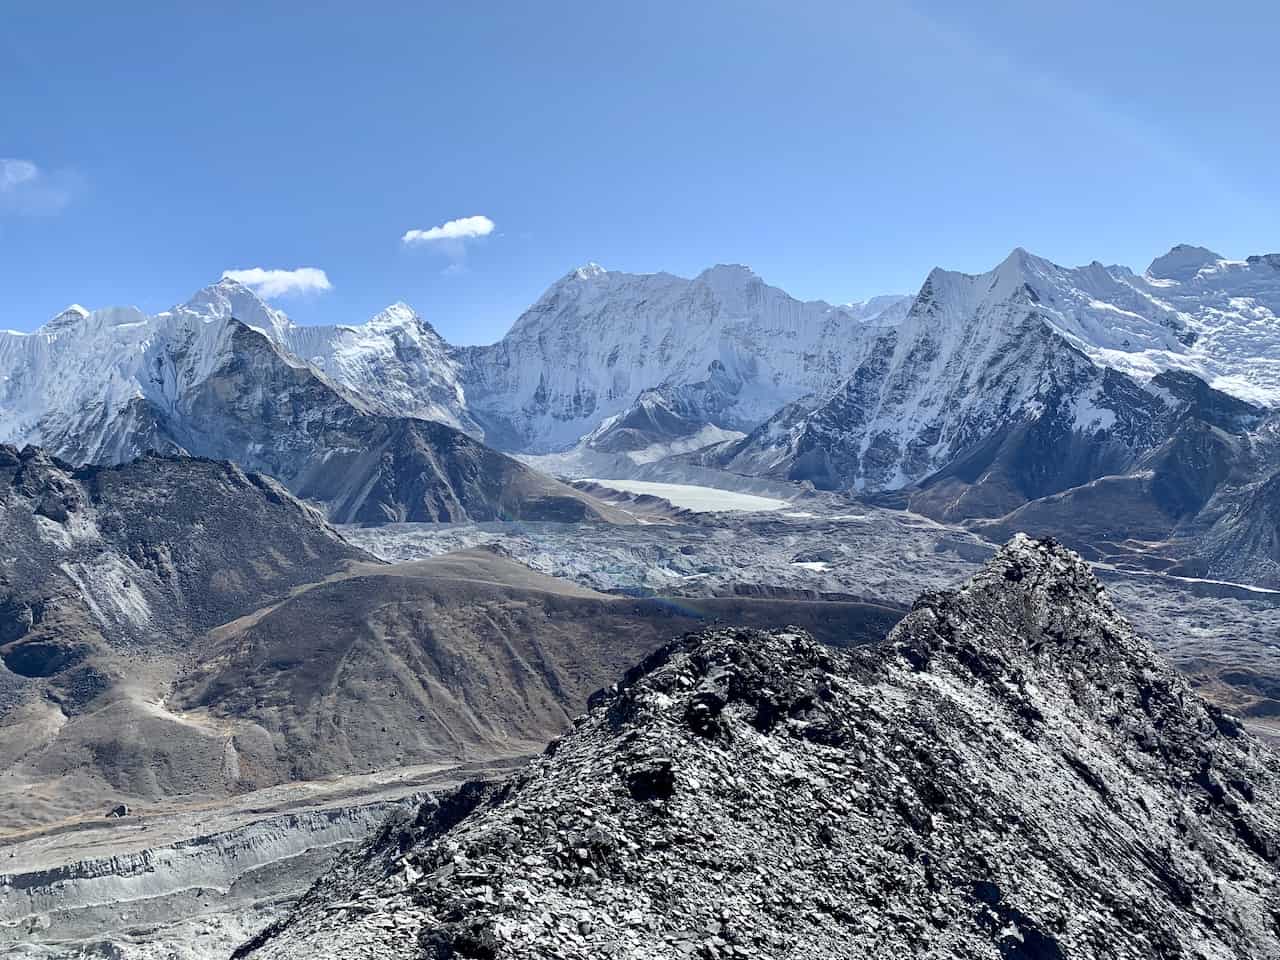
Straight out in front of you will be Nuptse and Lhotse – the closest you will get to these two magnificent peaks. To both your right and left will be never-ending glaciers, lakes, and mountainsides.
And behind you is truly one of my favorite views of the entirety of the Everest region – you will have the Chukhung Ri ridge, with Ama Dablam out behind it, as well as glacier and mountain views surrounding you.
It is views like this that make the Himalayas one of the best natural landscapes in the world.


After enjoying the Chukhung Ri summit, it is back down the same way you came up. While the hike down should be quicker and easier to take part of, you will still need to take your time as you watch your step on some of the more technical parts of the trail.
The views heading down can be just as special as the ones from the summit, as you will now have a continuous line of sight to Ama Dablam and the surrounding glaciers during the duration of the hike back.

Once back down to the village of Chukhung, you can head back to your teahouse to rest and recover for the remainder of the day.
Up next is most likely the village of Lobuche (via Kongma La or Dingboche), so you will want to get plenty of rest for the following day.
Hope you enjoyed this guide to the Chukhung Ri trek. Feel free to check out the other Nepal itineraries and guides up on the site for your time around the Himalayas.
Have fun out there and safe travels!