When taking part of a trek like the Huayhuash Circuit, one of the most important aspects to consider is your packing list. Since you will be spending time out in the mountainous elements for an extended period of time, you will need to make sure to come fully prepared with all the essentials.
This guide will go through a complete Huayhuash Circuit packing list at an item by item level. I will touch upon everything you will want to think of bringing if going without a guide, and also point out which items you will not need if you decide to join a group/private tour.
I hope by reading through this packing list, you will be all prepared for your time out in the Cordillera Huayhuash.
* Affiliate Disclosure: This post may contain affiliate links, which means I may receive a commission if you make a purchase through the links provided, at no additional cost to you. Thanks for supporting the work I put into TripTins!
1) Cordillera Huayhuash Introduction
If you are already planning your Huayhuash Circuit trek, you may be aware that a hiking experience can last anywhere from just a short three-day hike to a longer 10+ day circuit.
For most people out there wanting to enjoy a full loop around the Cordillera Huayhuash, you should expect to spend at least 7 days out on the trail.
Given the situation that you are taking part of a longer trekking option that fully encompasses the circuit, you will need to bring along gear, food, and other essentials to last that amount of time.
For some people (solo, unguided trekkers) that may result in having nearly 40lbs / 18 kg worth of stuff on your back.
While if you are hiking with a guided trek, you still may have 20lbs+ of gear, but you won’t need to be carrying all yourself and you won’t need to bring along everything mentioned on this list. More on all of that soon!
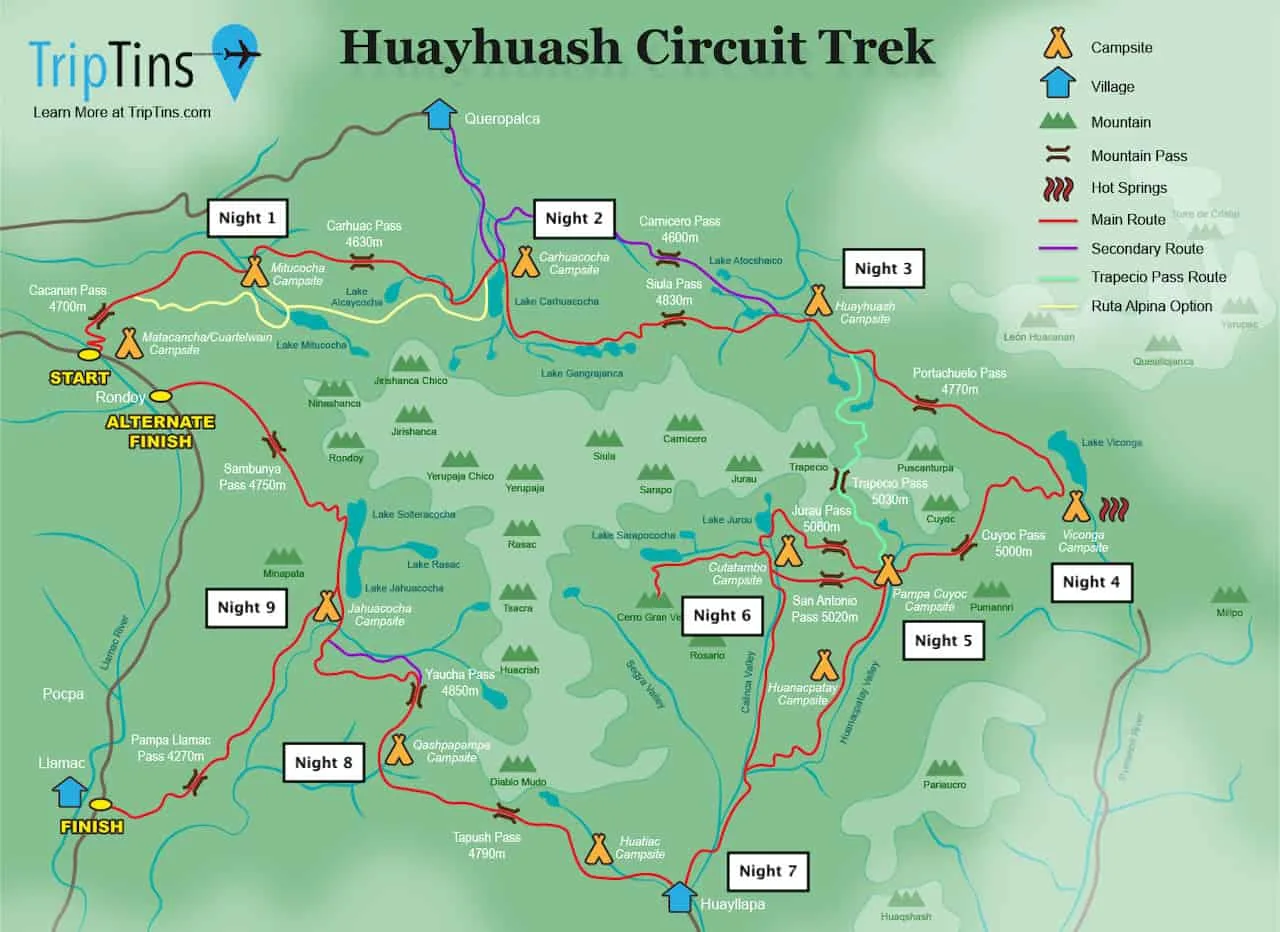
To give you a little bit of background on what a standard 10-day Huayhuash Circuit itinerary would look like, below is one of the main Huayhuash routes out there:
Day 1: Matacancha to Mitucocha
Day 2: Mitucocha to Carhuacocha
Day 3: Carhuacocha to Huayhuash
Day 4: Huayhuash to Viconga
Day 5: Viconga to Cuyoc
Day 6: Cuyoc to Cutatambo
Day 7: Cutatambo to Huayllapa
Day 8: Huayllapa to Qashpapampa
Day 9: Qashpapampa to Jahuacocha
Day 10: Jahuacocha to Llamac
Learn More: Be sure to check out the Huayhuash Circuit resource page that includes many helpful travel guides to get you prepared for the trek.
Now, this is just one variation of the trek and you certainly can mix and match other campsites and routes to come up with something that is best for you. However, I do feel like this is a great option for most that evenly splits out the hike over a 10 day period.
→ For a complete and comprehensive overview of the trek, check out the Cordillera Huayhuash Circuit guide up on the site
Considering travel insurance for the Huayhuash Circuit?
World Nomads offers coverage for more than 150 adventure activities as well as emergency medical, lost luggage, trip cancellation and more.
For years, World Nomads has been protecting, connecting & inspiring independent travelers, offering travel insurance & safety advice to help you travel confidently. Their mission is to support and encourage travelers to explore their boundaries.
World Nomads has simple and flexible travel insurance that has been designed by travelers for travelers. Even if you leave home without travel insurance or your policy runs out, you can buy or extend out on the road.
Get a quote for a World Nomads travel insurance policy today!
2) Buying & Renting Gear in Huaraz
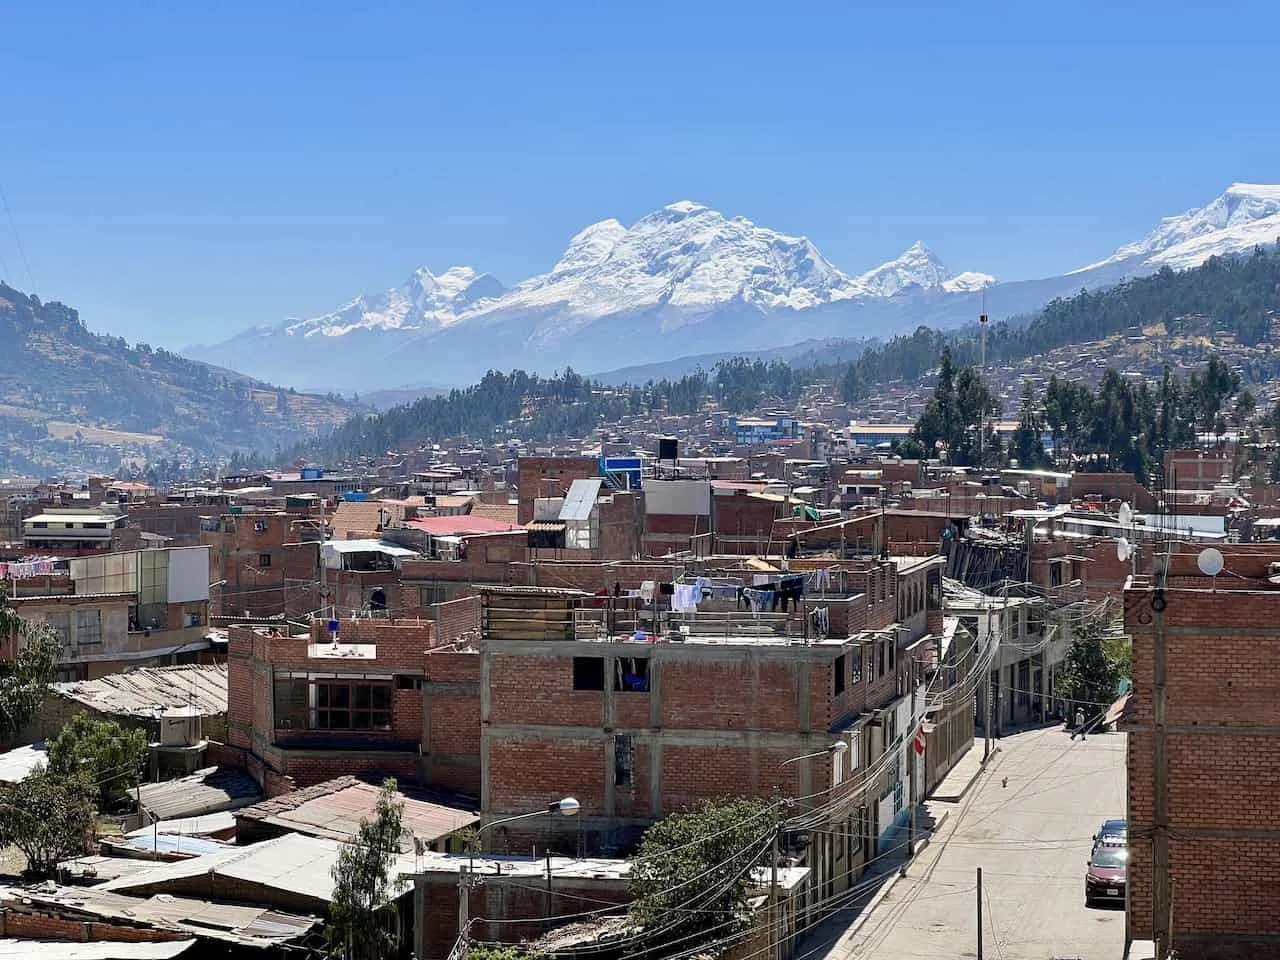
If you are not familiar with Huaraz yet, it is basically the main hub where you will be basing yourself in before and after a Huayhuash hike.
Within Huaraz you will find plenty of hotels to choose from, restaurants to enjoy, and also some great views of the surrounding mountains.
Since you will have some time in the city prior to your hike, you will also have the opportunity to rent or buy gear once you are there. Although you can rent and buy gear here, I would recommend coming prepared beforehand with mostly everything you need instead of waiting until the last minute.
It is nice to have the option though to pick up any last-minute essentials in case you forgot anything or find anything that better suits you for the trek.
Throughout the streets of downtown, you should find several shops selling/renting all sorts of outdoor essentials. I would recommend checking out Andes Camping Mountain Shop or Montañas Mágicas Outdoors Equipment for any gear needs.
For those independent trekkers out there, the only item you will 100% need to buy in Huaraz is a gas canister for heating up cooking water. Everything else, you should be able to bring on the plane in a checked bag or carry on.
3) Huayllapa Village
Surprisingly enough, there actually is a small village on the Huayhuash Circuit route. Huayllapa is located on the second half of the trek and is usually reached on day 6 or 7 (depending on route).
Some routes opt to spend a night within the village itself as you will have the chance to sleep in a guesthouse and have a home cooked meal.
This is a nice change of pace from the tenting and dehydrated meals (if trekking without a guide) you may be having up to that point.
Other routes skip the village and head straight up to the next campsite of Huatiac. The main reason behind this is to save a day on the route. It is essentially taking days 7,8 & 9 in the route mentioned above and combining it into two longer days.
Note: the main trail does not go through Huayllapa. The village is about a 20 minute detour off the route itself.
If you do opt to add Huayllapa to your route, you can plan on just bringing enough food for the 6/7 days, and then purchasing any additional food once you are in the village. This is sure to help save some weight from the start.
Of course, you will have less selection here vs. bringing along the food that you may be more comfortable with eating from back home.
Note: restocking in Huayllapa is mostly just a concern for those independent trekkers out there. If you are joining a guided tour, food will always be taken care of. Although you can still stock out on some snacks, etc. for the rest of the route.
4) A Huayhuash Circuit Packing List
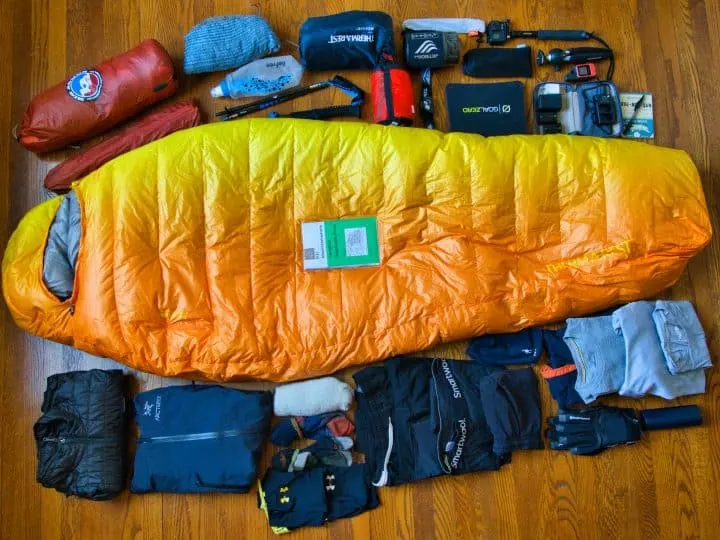
Let’s now get into an item by item breakdown of what should be on your Huayhuash packing list. This is going to be an all-encompassing list as if you are doing the trek independently. I will break it down into various sections so you can get a clear understanding of what the packing list entails.
For most items on the list I have included a link to purchase recommended items. I hope this can help you save some time as you decide what gear works best for you.
In the final section of this article I will also talk through what a guided tour would look like and which items on the list will not be needed.
Hiking Backpack
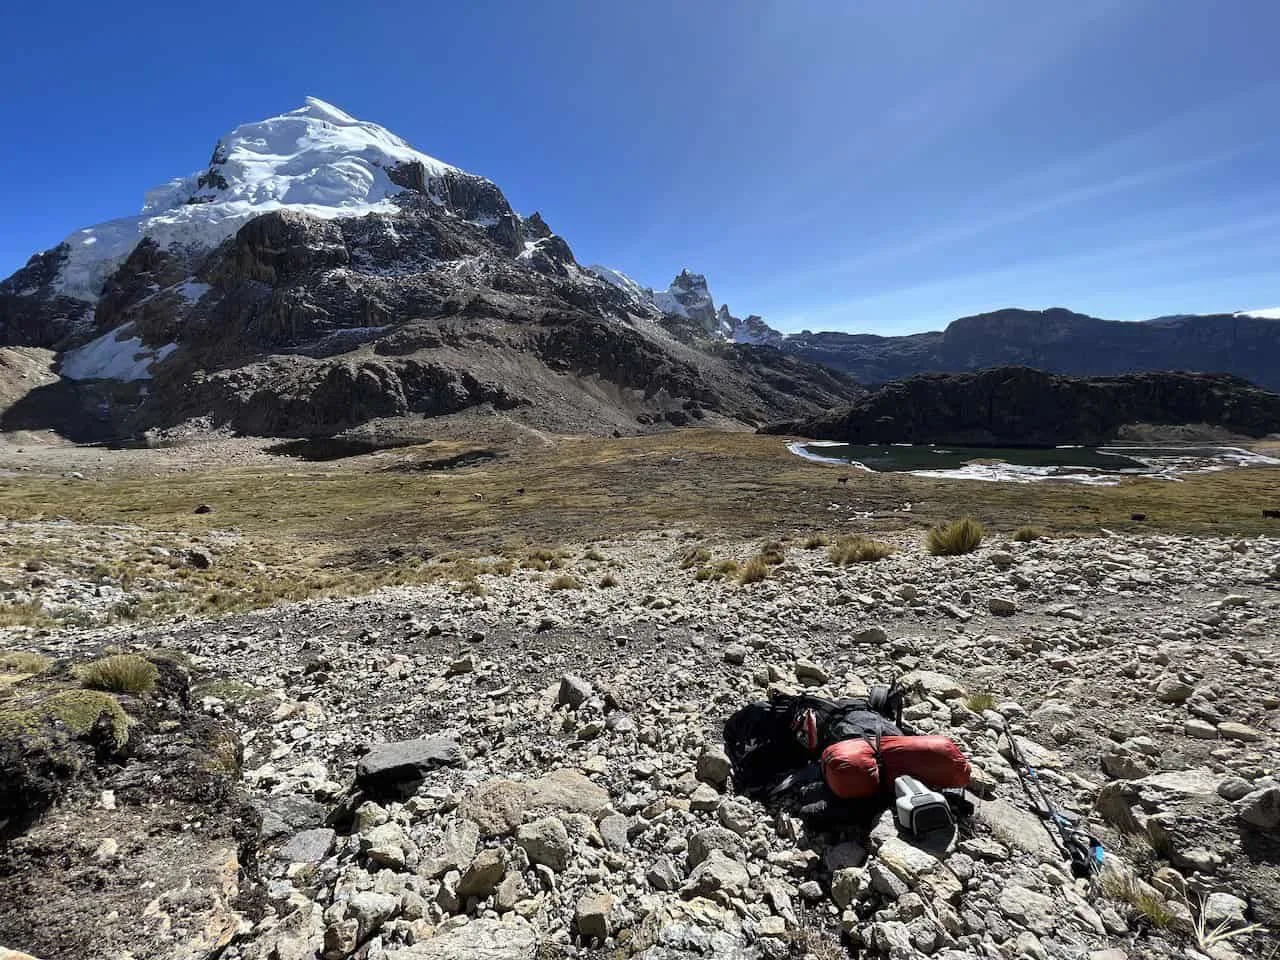
To start, let’s talk about what type of hiking backpack will be needed for a trek like this. Since the entire packing list will need to fit in / on the backpack, you will need to make sure the pack is large enough to accommodate it all.
I would recommend a pack that is AT LEAST 60 liters to fit all the necessary equipment and gear. In addition to that, you want to be sure the backpack is durable and can handle the wear and tear of a trek like this.
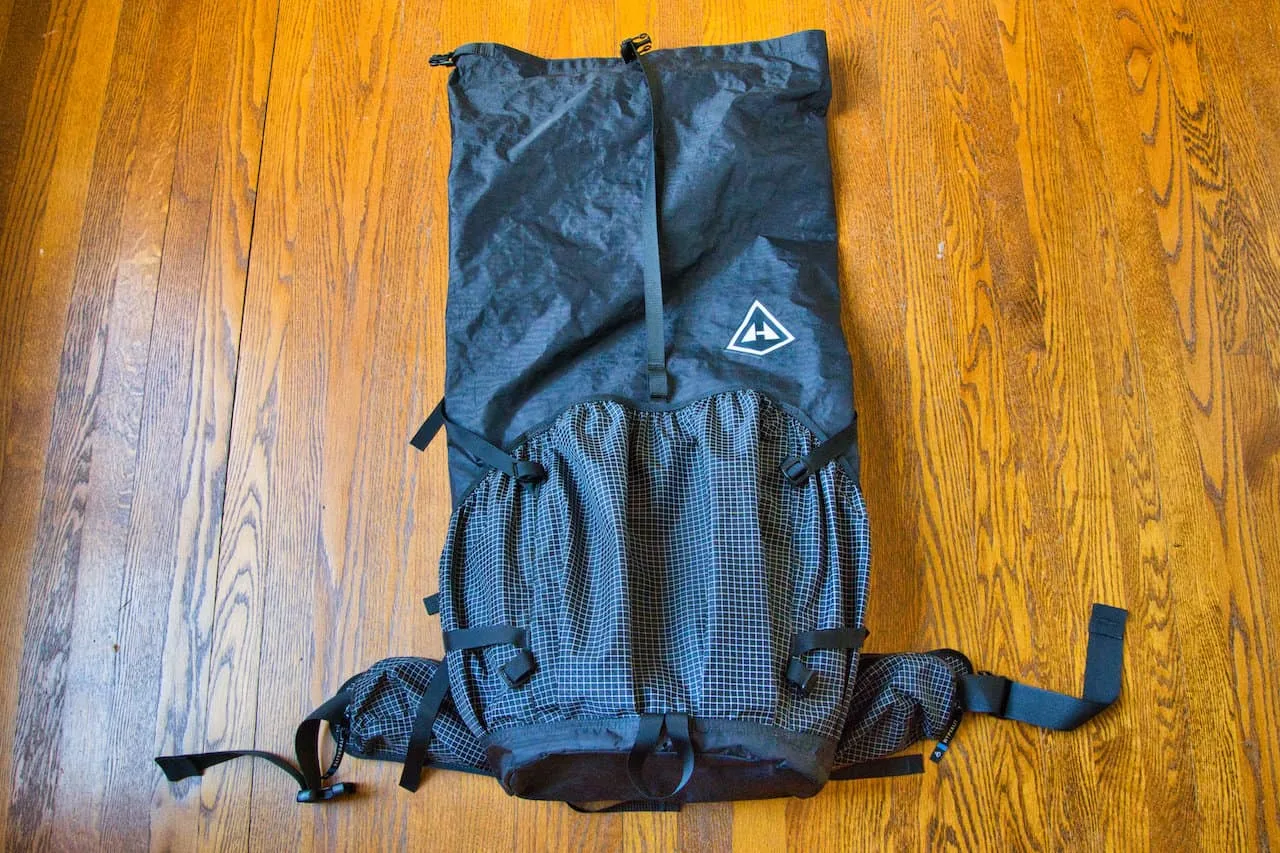
For me, I went with the Hyperlite Southwest 3400 which holds 55 liters inside the pack + 10 liters in the outside pockets. The pack was just large enough to fit this entire packing list (note I did put my tent on the outside of the pack).
If you want to be even more conservative, then feel free to bump up that capacity even more.
For those that are going on a guided trek, you will just need a daypack with you (20L give or take) as well as a duffel bag for the donkeys to carry. You can check out an Osprey Talon 22 for your everyday pack option.
→ Don’t forget to purchase a backpack rain cover too to protect your pack and gear from the rain
Camping Gear
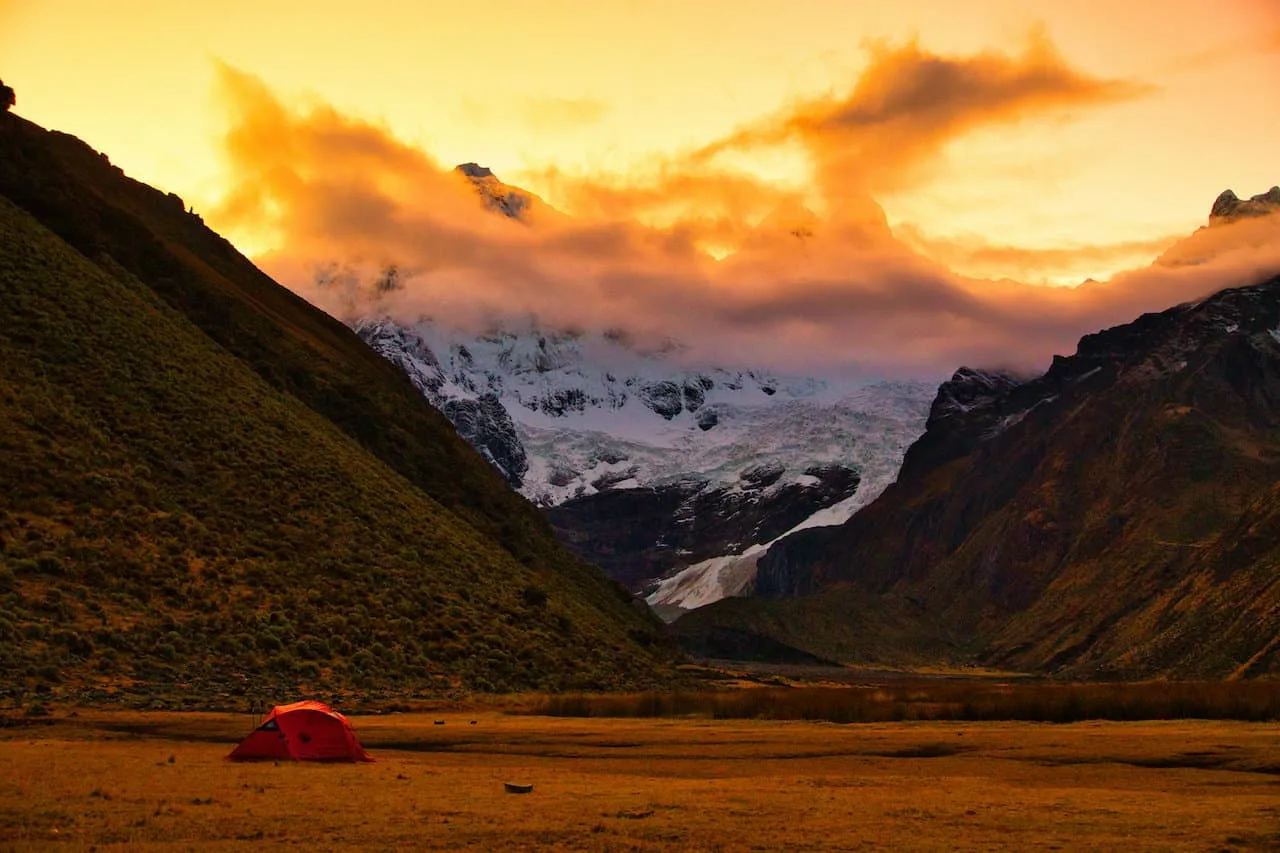
This section will focus on all the various camping gear you will want to bring along with you for the trek. Remember, this is not a trek with teahouses, huts, or refugios along the way (besides a potential night in Huayllapa). So, you will need to camp for the duration of the circuit.
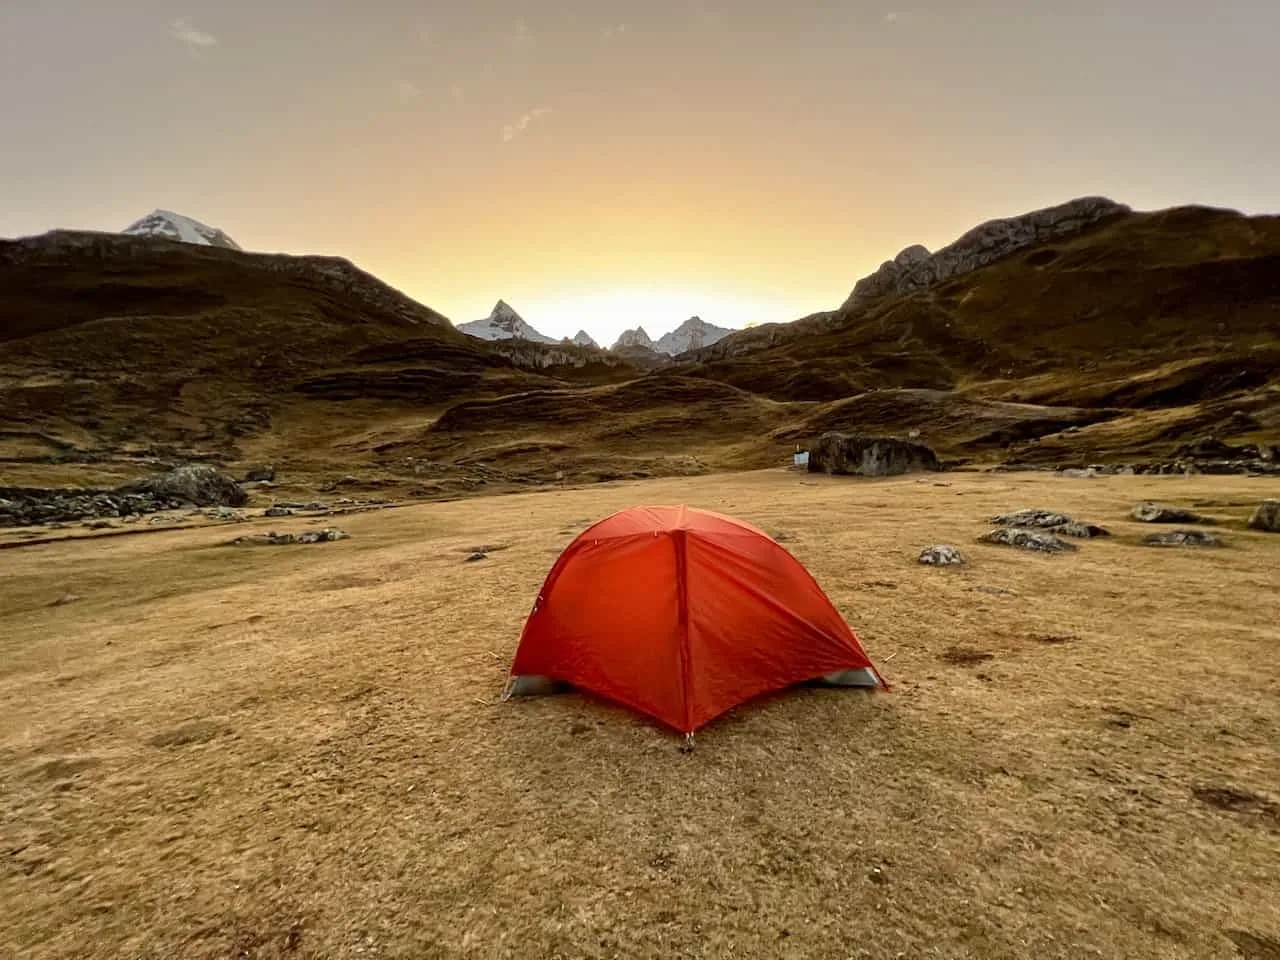
3-Season Tent
You should plan to bring along a sturdy, lightweight, and easy to use 3-season tent. You want a tent that won’t weigh down your backpack and can easily be set up and taken apart each day.
If you are going solo, you can choose to bring a 1 person tent or 2 person tent for that extra room. If you are with another person, you can bring a 2 person tent or 3 person tent, depending on preference.
Tent Recommendation: Big Agnes Copper Spur HV UL
0 Degree Sleeping Bag
The nighttime temperatures in the Huayhuash mountain range can get quite cold, dropping below freezing on a nightly basis. Due to this, you will want to bring a sleeping bag that will keep you warm and comfortable.
I would highly recommend a 0-degree Fahrenheit / -18 Celsius sleeping bag although if you are a warmer sleeper you may be able to bump that up closer to a 20 F / -7 C bag. These temperature ratings usually indicate a “lower limit”, and not necessarily a “comfort” rating.
So, for example, the sleeping bag I went with is called a 0 degree bag but in reality the comfort rating is 14 F / -10 C (while the lower limit was 0 F / -18 C). This comfort rating was right in the range with what the temperatures were each night.
Sleeping Bag Recommendation: Thermarest Questar 0 or Thermarest Parsec 0 (I had a Thermarest Oberon 0 which doesn’t seem to be sold any longer)
Sleeping Bag Liner
To add a little bit extra warmth in addition to just keeping your sleeping bag clean, you can bring along a sleeping bag liner as well.
Sleeping Bag Liner Recommendation: Sea to Summit Liner
Sleeping Pad
It is not just about the sleeping bag, rather your sleeping system. The other part of a sleeping system that goes hand in hand with a sleeping bag is a sleeping pad. There are a whole variety of pads including inflatable vs foam pads.
However, I would recommend an inflatable pad as they have a higher R value than foam pads and can pack down smaller.
A higher R value essentially means it is a warmer pad. Some people opt for both an inflatable and foam pad, but I felt like that would be excessive for myself.
Tip: bring along the repair kit that comes with the sleeping pad just in case of emergency
Sleeping Pad Recommendation: Thermarest NeoAir Xlite
Camping Pillow
It is hard to get a good night’s rest without a small comfortable camping pillow. A solid pillow can really make all the difference when it comes to camping.
While some people like the blow up pillows as they save space, I went for the more comfortable down filled pillow. It was still small enough to stuff in my backpack and it held its form throughout the nights.
Camping Pillow Recommendation: Thermarest Camping Pillow
Hiking Essentials
In this section I will mention some various hiking essentials that will more often than not be used throughout your days on the trail.
Trekking Poles
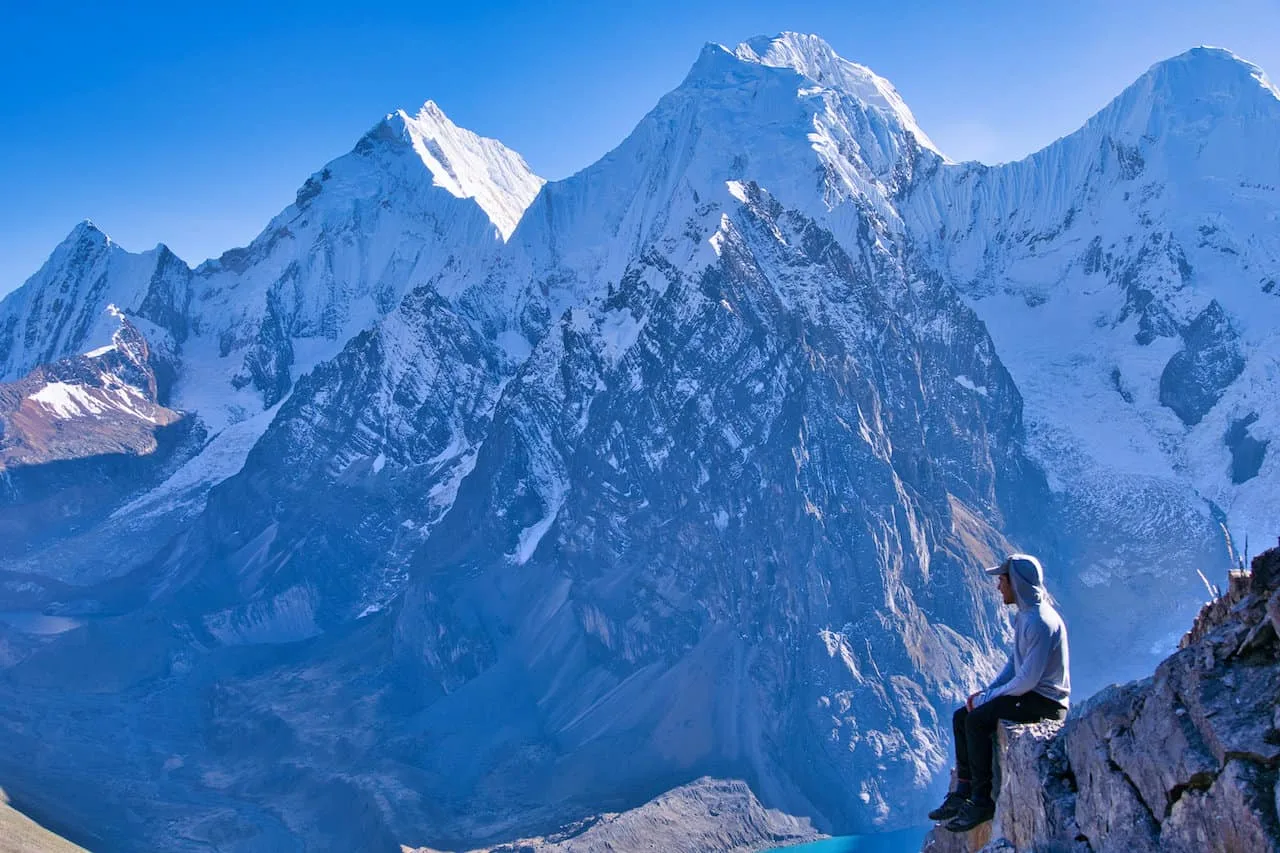
In the past, I have very rarely used trekking poles. However, for this trek in particular, I can say trekking poles were some of my most important items. There are some long inclines and declines throughout the Huayhuash Circuit.
Having a pair of trekking poles (or even a single), will help you greatly as you make your way up and down passes each day. I would recommend getting some lightweight foldable ones for the trek.
Hiking Poles Recommendation: Black Diamond Distance Carbon FLZ Trekking Poles
Water Bottle
Each day you should be drinking plenty of water to keep you hydrated. Whether it is the multiples miles of hiking, the elevation gain, or the high altitude, it is of upmost importance to continuously drink water.
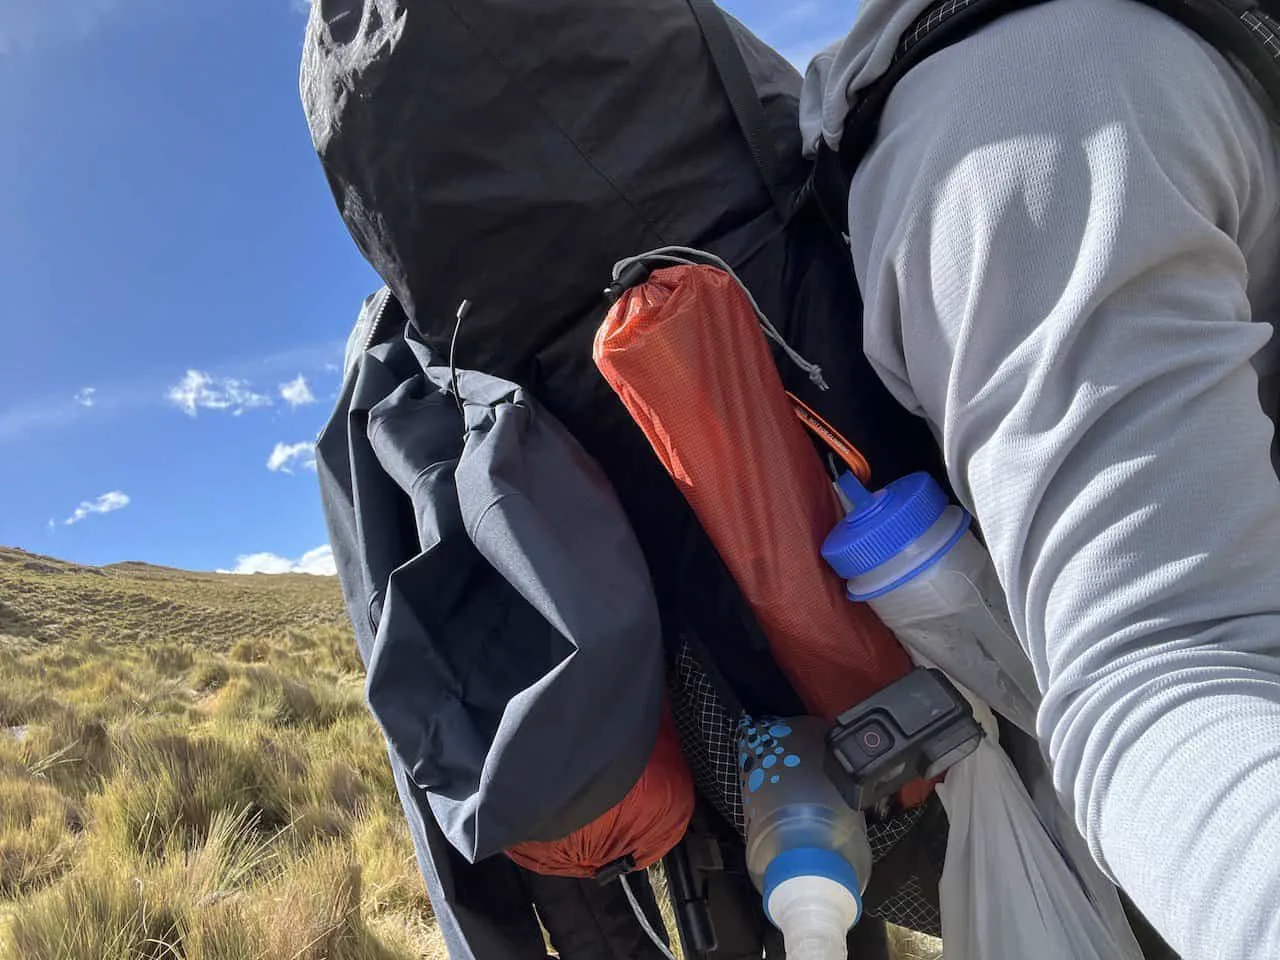
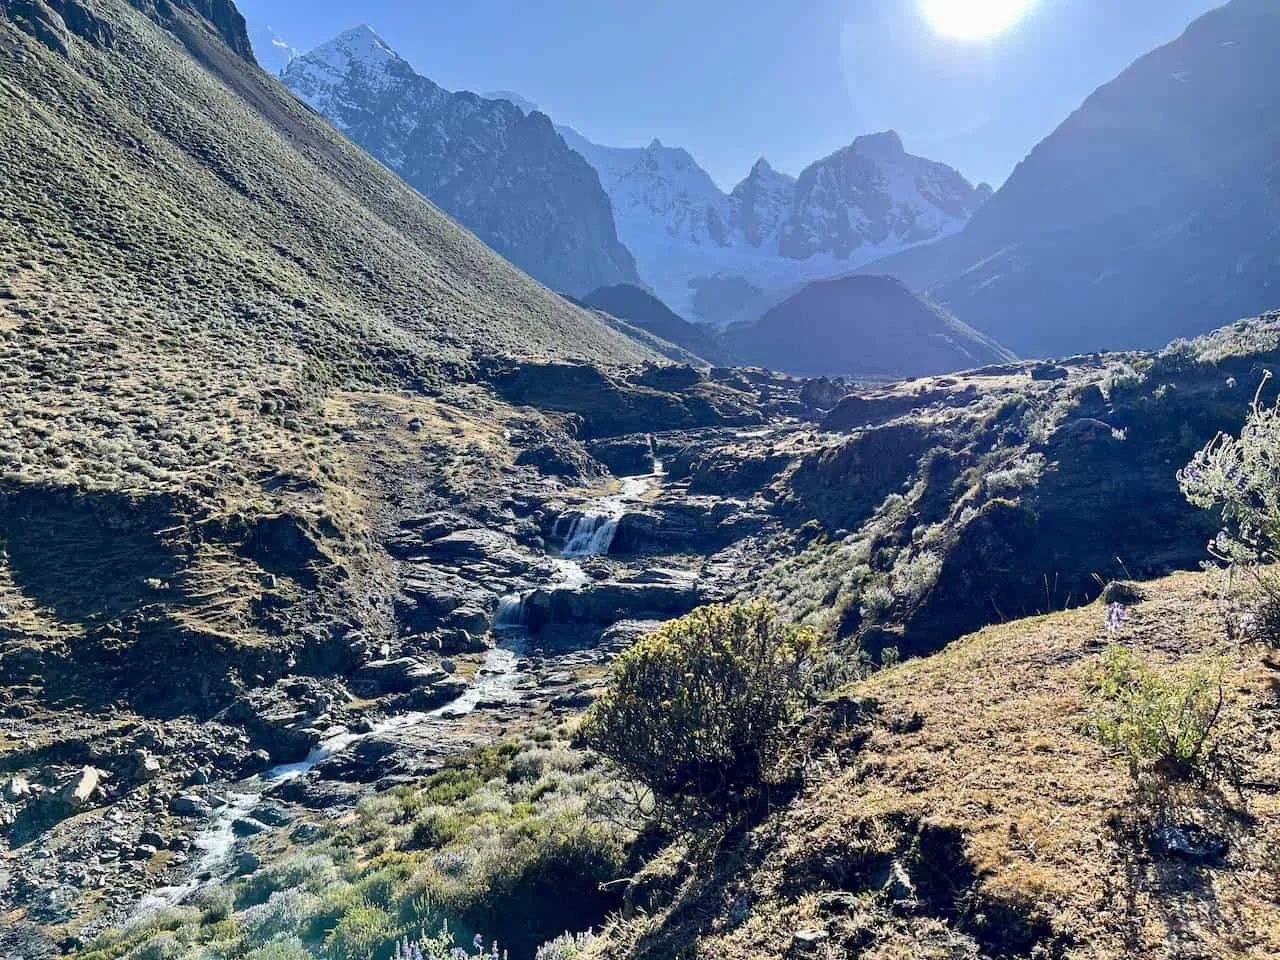
Luckily, there are lakes, rivers, and streams throughout the circuit. So, you should always be able to fill up a bottle during a hike.
However, you should not just be filling up your bottle without having some sort of purifying device. There are a lot of animals on the trail that can contaminate water, so it is safer to filter all the water you drink.
While there are tablets out there to do this, I would recommend either a water bottle filter or a UV Steripen. The water bottle filters are advertised of killing 99.9% of bacteria, while the UV pens also take care of potential viruses.
Tip: keep the filters and/or pens in your sleeping bag at night as you don’t want the filter to freeze and break, or the pen to quickly run out of battery in the cold.
Recommended Water Bottle: Katadyn BeFree 1 Liter
Recommend UV Sterilizer Pen: SteriPEN UV Water Purifier
Sunglasses
While the temperatures on paper may not be so high, the sun is quite strong in the Cordillera Huayhuash. Be sure to bring a solid pair of sunglasses to keep your eyes safe on a day to day basis.
Cash
Be sure to bring enough cash to pay the campsite fees each night + any cash you may need to get to/from the start of the trail. In addition, if stopping in Huayllapa, you may need some extra cash to purchase any more food, etc.
I would recommend bringing along smaller denominations as the campsites did not always have change for larger bills.
Map & Guidebook
There are two purchases that you should make prior to your trip to better acquaint yourself with the route.
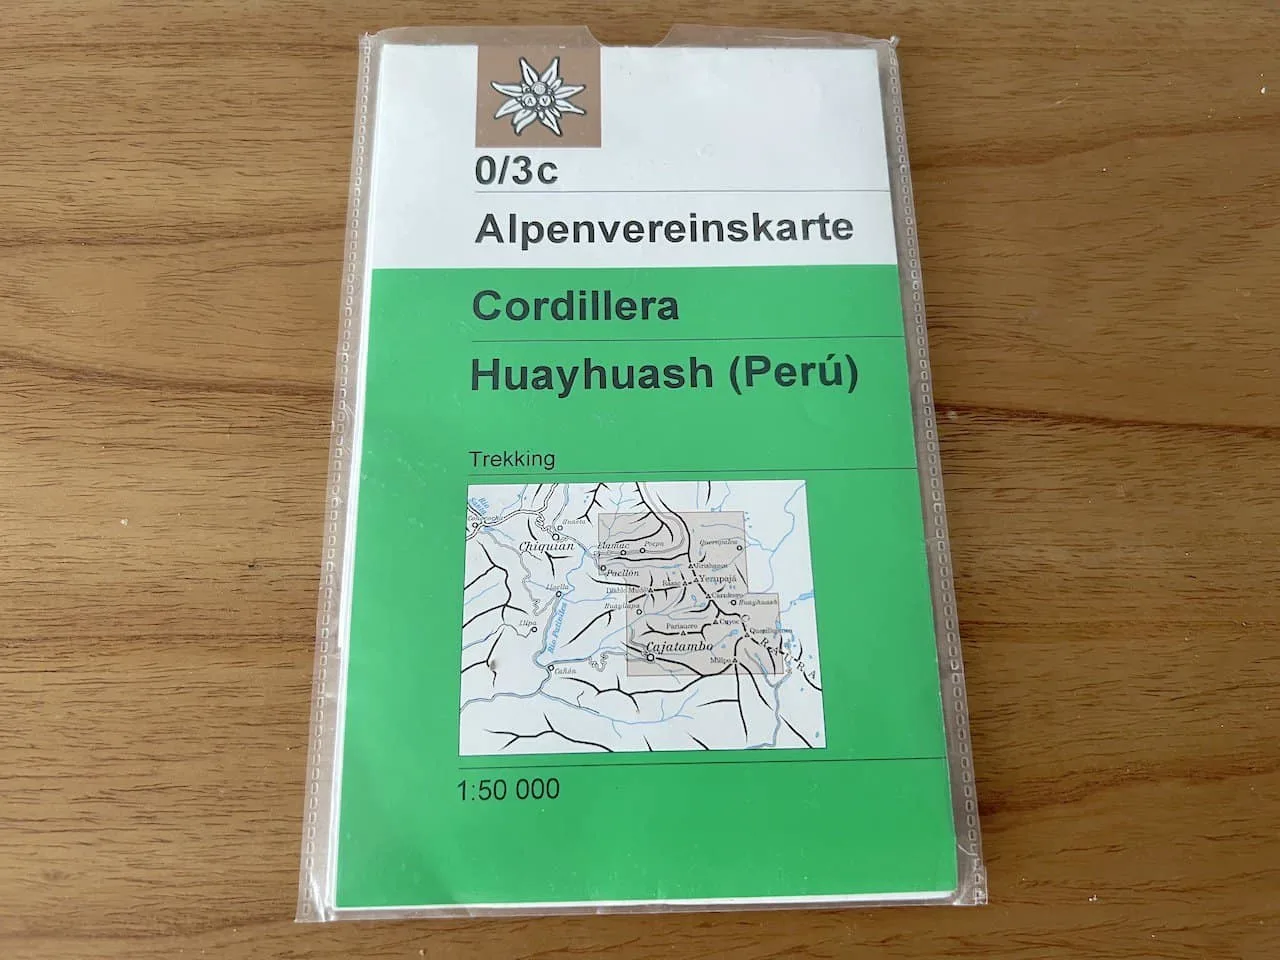
First is the Alpenvereinskarte Huayhuash Map. This is the best paper map out there at the moment. However, do note that the map does not include all the various routes. Using the map in conjunction with the Huayhuash map I put together should get you going in the right direction.
The next item is the Peru’s Cordilleras Blanca & Huayhuash: The Hiking & Biking Guide. I found it helpful to an extent, however this is another item that just hasn’t been updated in a while. The route certainly can change a bit over the years, and not everything necessarily holds true.
I still think it gives some good background information and overall tips for a more successful Huayhuash experience.
→ Learn more about the Huayhuash Trek map and all that it entails (including a Huayhuash Trek GPX)
Electronics
Let’s now talk about all the electronics you may want to consider as you put together your packing list. This could change by person depending on personal photography interests, etc. With that said though, there are certainly several must need items for the circuit too.
Tip: keep all your electronics in a stuff sack and then put the sack in your sleeping bag to keep the batteries warm at night
iPhone & USB Cable
Whether it was taking photos, videos, tracking my route, or using the GPS, my phone was the most used electronic item I had. Be sure to bring a charging cable (and backup one) to charge your phone with your portable charger (more on that soon).
Headlamp
Whether you are waking up prior to sunrise, spending some time outside after sunset, or waking up in the middle of the night to use the bathroom, a headlamp is an absolute must.
I found myself using it every day of the trip and would highly recommend bringing one along with you.
The headlamp I purchased (see below), had the option to charge the battery or change batteries if need be. I liked having this option just in case something went wrong either way.
Recommended Headlamp: Petzl Actik Core
Portable Charger / Solar Panel
While you wont have cellular service to use your phone to text, email or make calls, I am sure you will be using it for other reasons.
As mentioned, during my time on the trail, I used it for photos, videos, GPS, as well as tracking my route. Each day I probably used around 30% of the battery life on my phone.
To make sure it was always fully charged for the following day, I would charge the phone in the evening using a portable charger. When I did so, I would turn off the phone so it would charge faster.
Now, there are two ways to go about a portable charger – you can either bring the biggest ones out there that can charge the latest iPhone/Androids around 5 times. Or you can bring a smaller one in addition to a solar panel.
By bringing a solar panel, you are more so guaranteeing that you won’t run out of battery since you can charge the portable charger throughout the day. I went with that option two since I knew I was going to be on the circuit for 10+ days. If going on a shorter circuit, then you may not even need to consider a solar charger.
My routine was to keep the solar panel on my backpack as it charged the portable charger. Once I got to camp, I would also set it up outside so it would continuously charge.
After the sun went down, I would then take the portable charger and charge my phone.
Portable Charger Recommendation: Anker Portable Charger 10,000 mAH or Anker Portable Charger 26,800 mAh
Solar Charger Recommendation: GoalZero Nomad 10
GoPro Action Camera
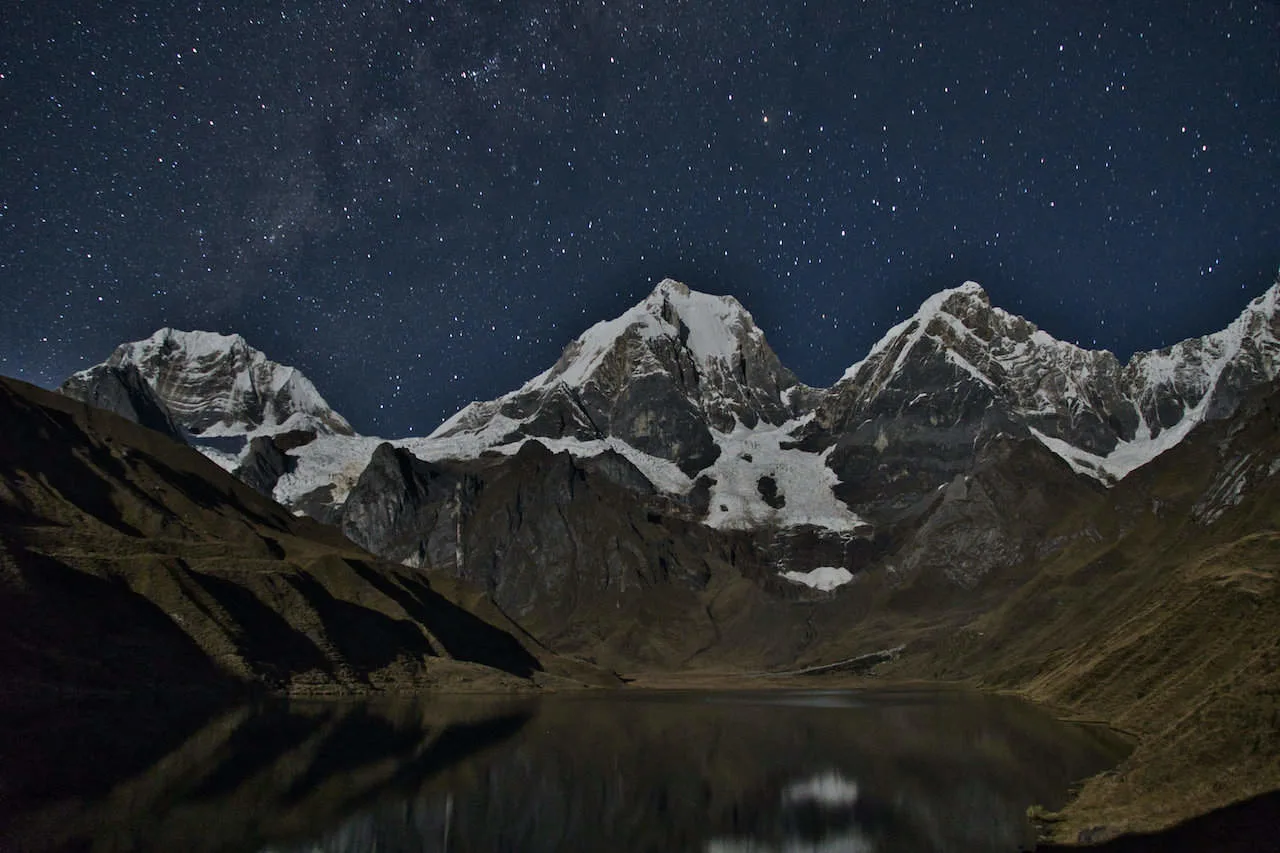
I enjoy bringing along a GoPro on hiking trips as I can get some more unique videos of myself on the trail. In addition, there are some great opportunities to use the nightlapse mode with the vast amount of stars in the sky. Below is what I ended up bringing along.
→ GoPro
→ GoPro Stick
→ Extra GoPro Batteries
Mirrorless Camera
This certainly won’t be for everyone, especially on a longer hiking trip, but I also brought my Sony A6600 mirrorless camera. A camera adds some overall weight but I feel it was well worth it for the amazing photos I was able to capture.
For the camera, I ended up bringing along the following items:
→ Sony A6600
→ Extra Battery
→ 256GB SD Card
→ Mini Tripod
Photography Gear: Check out my latest travel photography gear list to see what is my camera bag these days
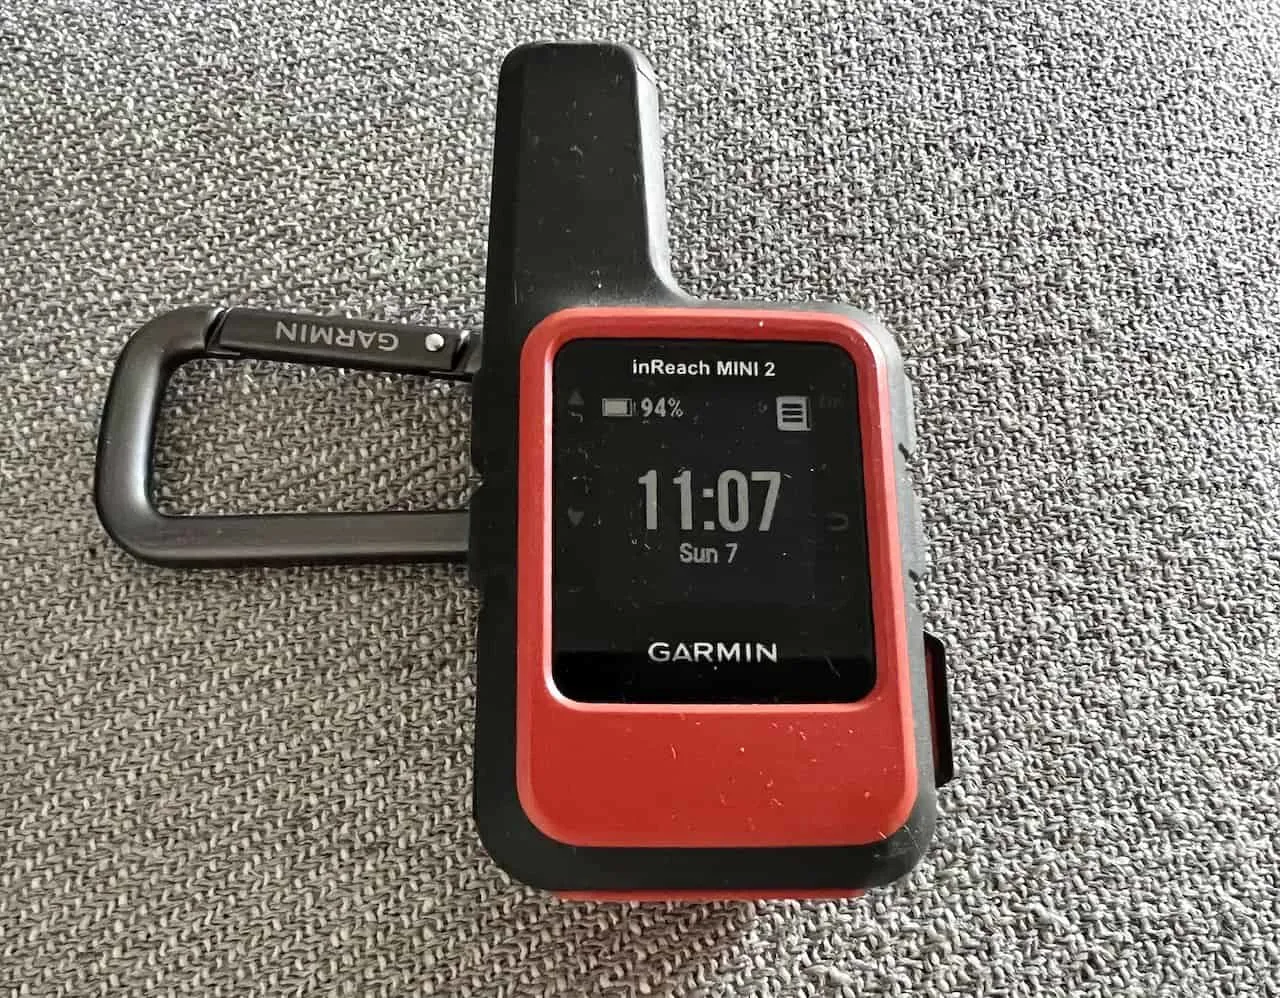
Garmin inReach 2 Mini
Lastly on the electronics list is the Garmin inReach 2 Mini. While a more expensive purchase, it was important for me as a solo independent hiker to buy one.
I used the Garmin to track my route in real time so my family could see where I was and make sure all was going well. In addition to that, I was able to communicate with my family to let them know I reached a campsite and to receive weather updates.
In case of an emergency (which thankfully did not happen), the Garmin also gives the ability to send an SOS for evacuation.
→ Take a look at the Garmin inReach 2 Mini for purchase
Clothing
Having the appropriate clothing for the Huayhuash Circuit is of upmost importance. While the day temperatures can be pretty comfortable for hiking, the nights and early mornings can get quite cold.
Due to this, you will want to make sure your clothing packing list is well thought through. Overall, the items I brought along worked very well for me. However, for some, I can imagine some additional (or heavier) layers may be necessary.
I will break it up into three sections – hiking clothes, sleepwear, and miscellaneous.
Note: this is a bit more geared to a male packing list but it certainly can be leveraged for a female list too.
I would advise that all layers of your clothing be made of breathable, moisture wicking fabric such as dri fit or wool material. That way you will stay nice and dry during your hike.
Hiking Clothes
Below are all the hiking clothes I brought along with me on the trail. I went lightweight here as I was carrying all of my own gear. But if you are traveling with support, you can certainly bring a bit more with you.
Hiking Boxers (3) – I brought along 3 Under Armour Men’s Tech hiking boxers that I washed throughout the trek in the rivers at the campsite.
Hiking Socks (3) – Similarly, I also brought along 3 pairs of hiking socks that I washed and cycled through during the trail. The Darn Tough socks I brought along are some of the best hiking socks out there.
Hiking Pants (1) – Every day of the hike I wore a pair of durable hiking pants. I ended up wearing the pants 90%+ of the time on the trail. I found having pants kept my legs more protected from rocks, bushes, etc. that could rub against me on the route. You can check out brands such as Arcteryx, Patagonia, and North Face to find something that works for you.
Hiking Shorts (1) – While I did not wear the hiking shorts too much on the trail, I did change into them at some campsites during the afternoon when the sun was still out.
Long Sleeve Sun Hoodie (1) – Just like the pants, I ended up going with a long sleeve The North Face Wander Sun Hoodie for most of my time on the trail. It was lightweight enough so I was not sweating, but also strong enough to protect me from the sun and the elements on the trail.
Short Sleeve Shirt (1) – I also brought along a short sleeve The North Face Wander T-Shirt that was used on occasion during the route, but more so once I arrived back at camp each day.
Puff Jacket (1) -Here is where some additional layers come into play. I brought a Patagonia Nano Puff jacket as my insulation layer for those colder mornings and evenings. While it is a lighter jacket, I found it worked well for me. However, for some people who may get colder more easily, I would advise a heavier down jacket.
I usually only wore the jacket for an hour or so in the morning while hiking before getting too hot. So, it was mostly used prior and post the hiking portions of the day such as packing up my tent or hanging out at the campsite in the evening.
Hard Shell Jacket (1) – A second important jacket to bring along is a hard shell waterproof and windproof type of jacket. I went with a more intense Arcteryx Beta AR, but there are many options out there. You can take a look through other Arcteryx, Patagonia and North Face jackets to find one that works for you.
I found myself using this layer more than the puff jacket during the hiking portions of the day. This is because it can be quite windy on the trail, especially getting up to those higher passes.
So I usually threw this on when needed throughout a day on the trail. If you happen to get caught in a rainstorm, then the jacket will be even more helpful as it will keep your upper body dry and comfortable.
Note that I did not bring hard shell pants but some may recommend, especially if going closer to rainy season.
Sleepwear
Once it was ready to head into the tent for the night, I would change into the following clothes.
Sleeping Boxers & Socks – I also brought along a pair of more comfortable sleeping boxers and socks to change into once at camp for the night.
Thermal Top & Bottom – While I did not wear thermals during the day, I did wear a thermal top and bottom during the nighttime. I found these to be the perfect base layer to get a warm and good night’s rest. I ended up getting a Smartwool Baselayer Bottom and Smartwool Baselayer Top.
Base Layer Pants – For my sleeping pants, I opted for a base layer type of pants that some may even wear hiking. I found them comfortable and warm for the nighttime throughout the trek.
Fleece Hoodie Pullover – For my top layer, I wore a fleece hoodie pullover – an item that I actually usually wear hiking from time to time. I had this as a potential additional layer for hiking if need be, but I only ended up using it at night for sleeping.
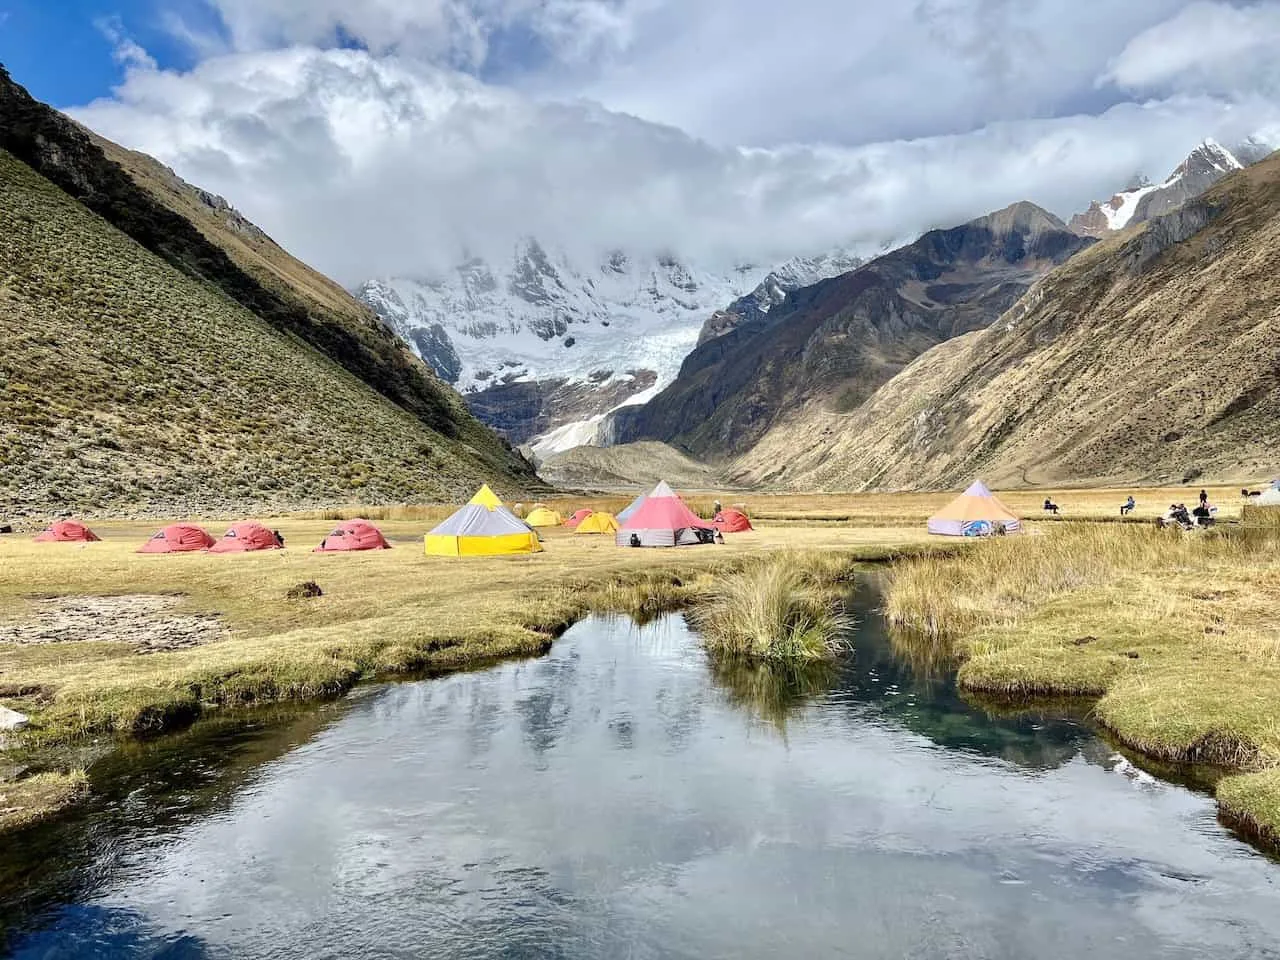
Miscellaneous
In addition to hiking and sleeping layers, I did want to list out a few more items.
Baseball Hat – As mentioned earlier, the sun can be very strong in the Huayhuash range. I always had a baseball hat on me to protect my face from the sun.
Gloves – Bring along a lightweight pair of gloves for the trail too. I found them most useful when packing up my gear in the morning when it was still very cold out and I had to remove frost from the outside of my tent.
I rarely wore them hiking as they usually came off pretty soon after I started my route for the day (mostly took them off as I took my puff jacket off). While you may be able to just wear liners, I would probably recommend one layer heavier than that.
Beanie Hat –In addition to the baseball hat, you can bring along a beanie hat too. Once again, I found it most useful during the nights and early mornings. I know some people like to sleep in beanies too to keep warm, but I never ended up doing that. Take a look at some Smartwool beanies to start with.
Quick Dry Towel – A packable quick dry towel is a great item to have after washing your body & face. Just be sure to hang it up after use so it can dry before heading out the next day. My go to has been the Rainleaf Microfiber Towel.
Packing Cubes & Laundry Bag – Packing cubes are a great way to organize your belongings and not have so many loose items in your bag. You can easily separate your trekking clothes and nighttime clothes by bringing along a couple Shacke Pak Packing Cubes & Laundry Bag.
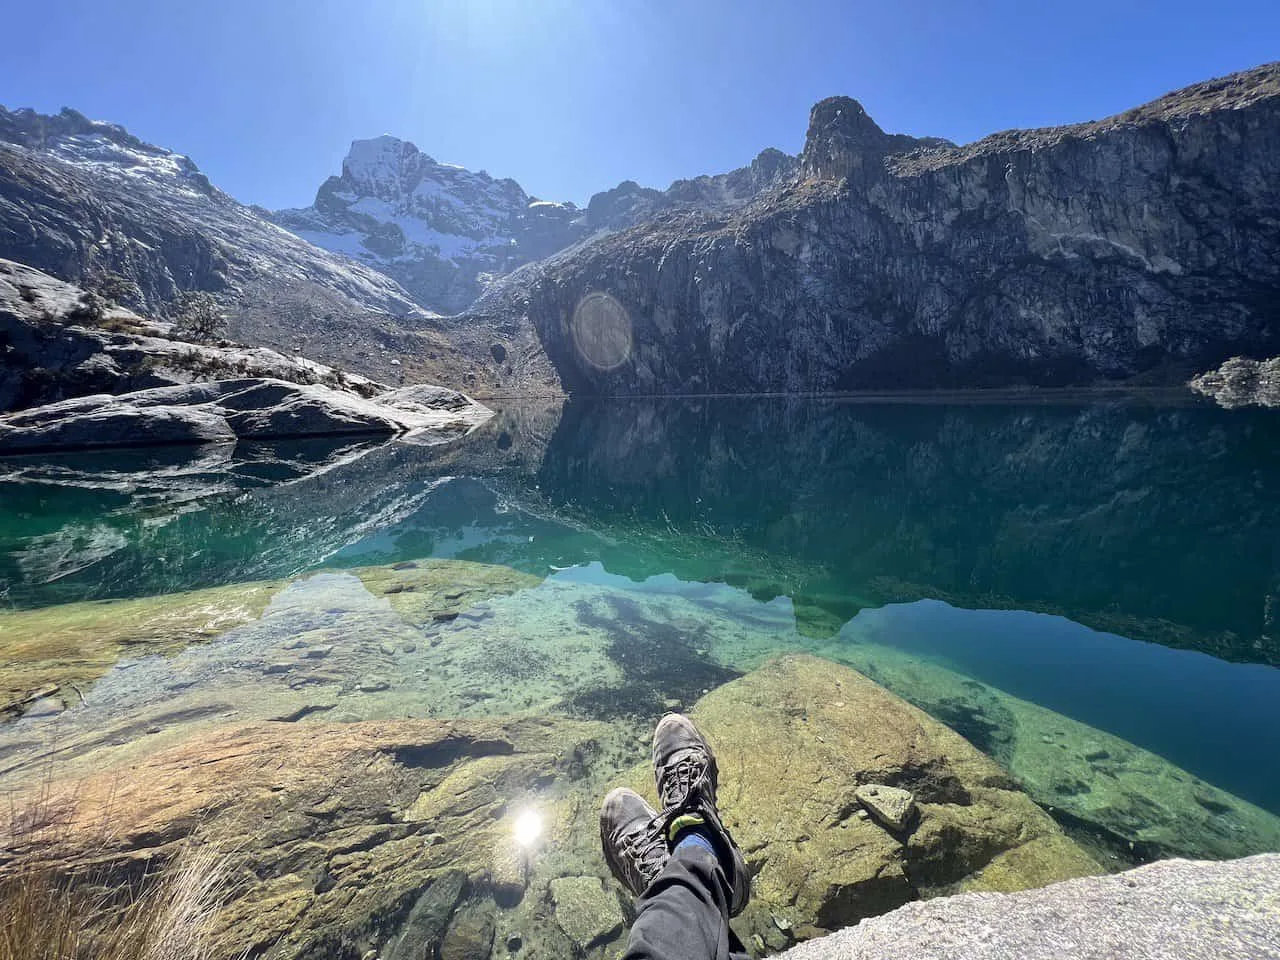
Hiking Shoes
The last clothing related item to think about are your hiking shoes. Hiking shoes are going to be one of your most important purchases as you will be heavily using them on a day to day basis.
Each person is different when it comes to hiking shoes and comfort so I would recommend trying on a few different brands and finding something that works for you. Below are a few options to choose from:
If you have more experience hiking, and want to drop some weight, trail running shoes could be an option too. This is something I have moved to recently and have been thoroughly enjoying them. The downside is they don’t offer much ankle support, so I cant recommend this for everyone.
→ While I did not bring any alternate shoes to change into at the campsites, if you have the capacity, I would recommend some sort of lightweight shoe that you can wear. This way you don’t need to walk around with hiking shoes once at the campsite.
Food & Hydration
To be able to hike for an extended period of time, you have to be well nourished. A food packing list will therefore be of upmost importance to keep yourself in top shape on the trail.
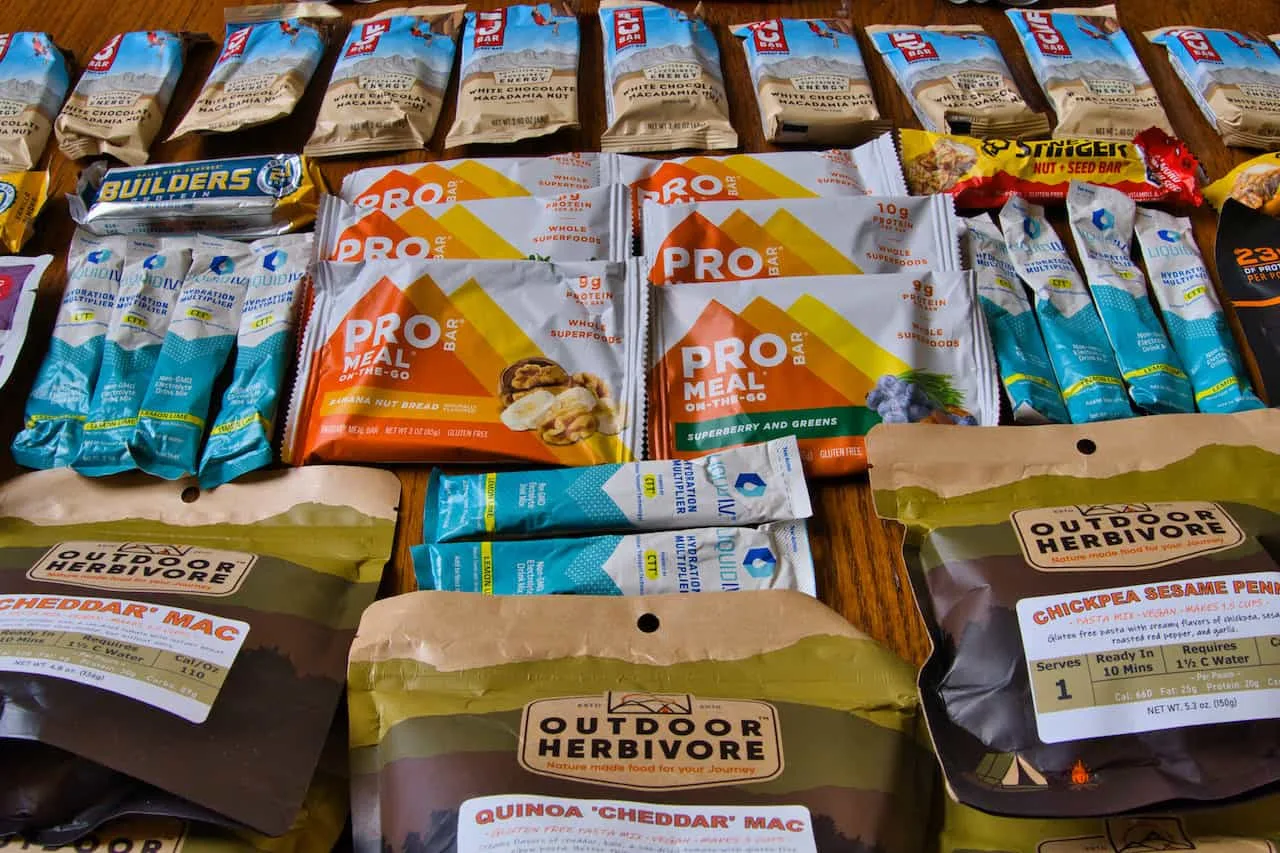
Every person will be different when it comes to food preferences, but below is what I ended up bringing for my 11 days out on the trail:
Breakfast
→ Clif Bars (11)
Lunch/Snacks
→ Variety of Bars including PROBAR Bars, Honey Stinger Bars, Clif Builder Protein Bars (11)
Dinner
→ Variety of dehydrated meals including Peak Refuel, Outdoor Herbivore, and GOOD TO-GO (10)
I ended up bringing all the food necessary to last 11 days on the trail. While I could have restocked in Huayllapa, I was more comfortable just bringing the food that I wanted with me (even though it added more weight to my pack).
Hydration
As mentioned earlier, water was abundant throughout the trail so actual hydration was never an issue. However, I also brought along some Liquid IV hydration packets to increase those hydration levels in addition to some vitamins.
I can’t say for certain on the impact of them, but I always felt well hydrated throughout a day.
Cooking Gear
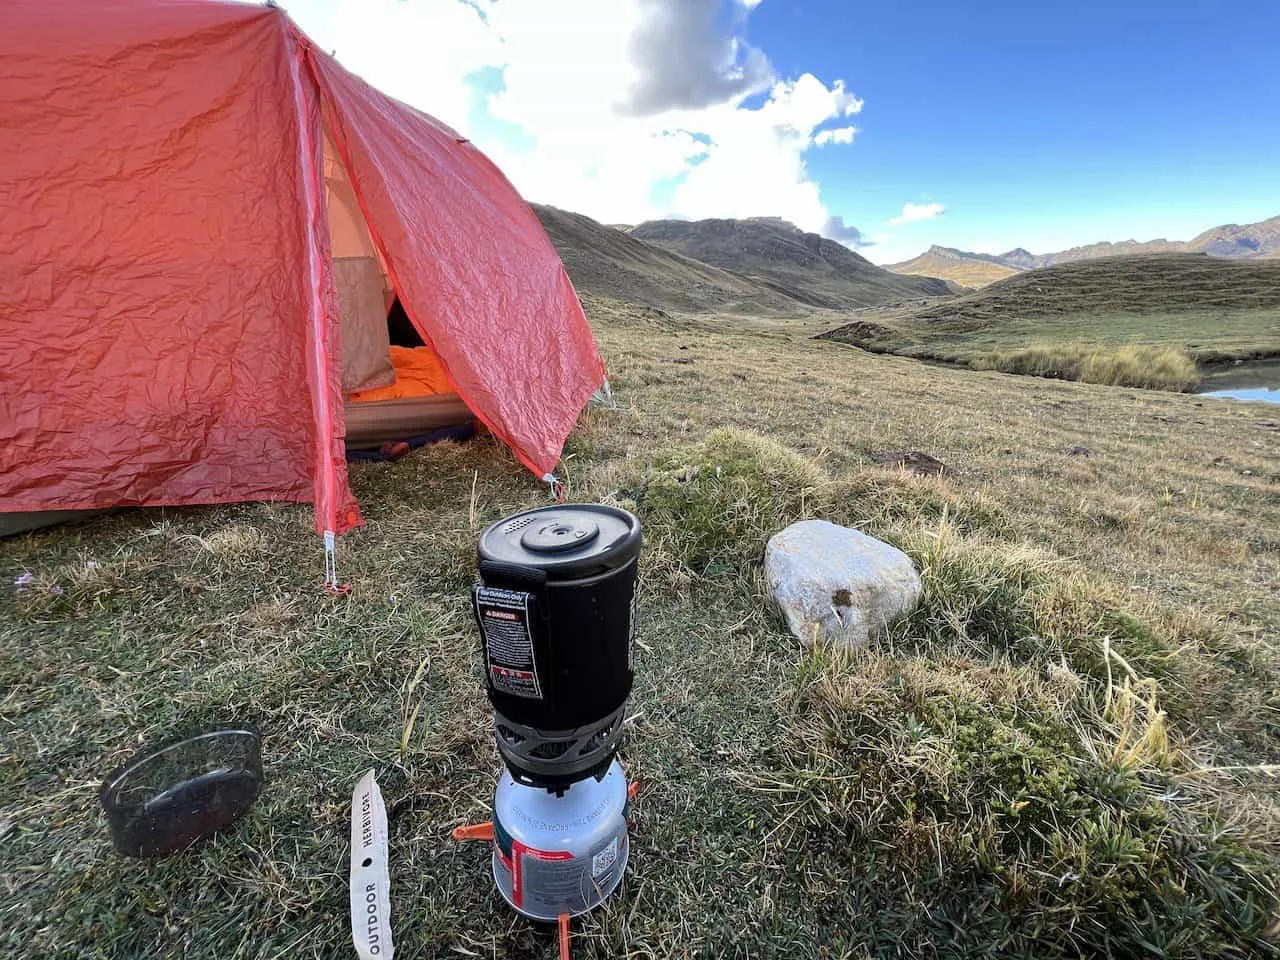
In order to eat those dehydrated meals, you will need to bring along some cooking gear. For me, that was just bringing along a small stove, spork, cooking gas and lighter.
→ Cooking Stove: The Jetboil Micromo was my choice here. Quick, easy, light and portable.
→ Spork: I opted for this TiTo titanium spork that came along with a small bag
→ Cooking Gas: I purchased this in Huaraz at a local store for around $7 USD
→ Lighter: I also brought along a lighter as a backup for the cooking stove ignition (which I used several times)
Extra Plastic Bags – I brought along a few plastic bags to keep trash in before making it to the next campsite. It is also good to have a bag in the cases where toilets are not around and you would need somewhere to put toilet paper before getting to the next campsite.
Toiletries
This last section of the packing list will be toiletries. Each person will also be different here, but below are the main items I brought along with me.
› Deodorizing Body Wipes | Alcala Bamboo Deodorizing Body Wipes
› Body Deodorant
› Toothbrush / Toothpaste
› Contact Lenses / Solution
› Travel Shampoo & Soap ⇔ for the times you do clean up in the river / hot springs
› Moisturizer
› Personal Creams & Medications
› Sunscreen ⇔ even in the cold, the sun is quite strong!
› Lip Balm
› Purell
› Neosporin
› Bandaids
› Nail Clipper ⇔ great to clean nails and to safely release potential blisters
› Small Mirror ⇔ helps with creams and contact lenses
› Toilet Paper ⇔ most campsites have bathrooms but not toilet paper
Medicines / Health Benefits
› Ricola Throat Lozenges
› Advil / Ibuprofen
› Nasal Decongestant
› Pepto Bismal
› Citrucel / Fiber
› Vitamin C
› Apple Cider Vinegar Pills
› Diamox for altitude sickness ⇔ be sure to consult your doctor ahead of time
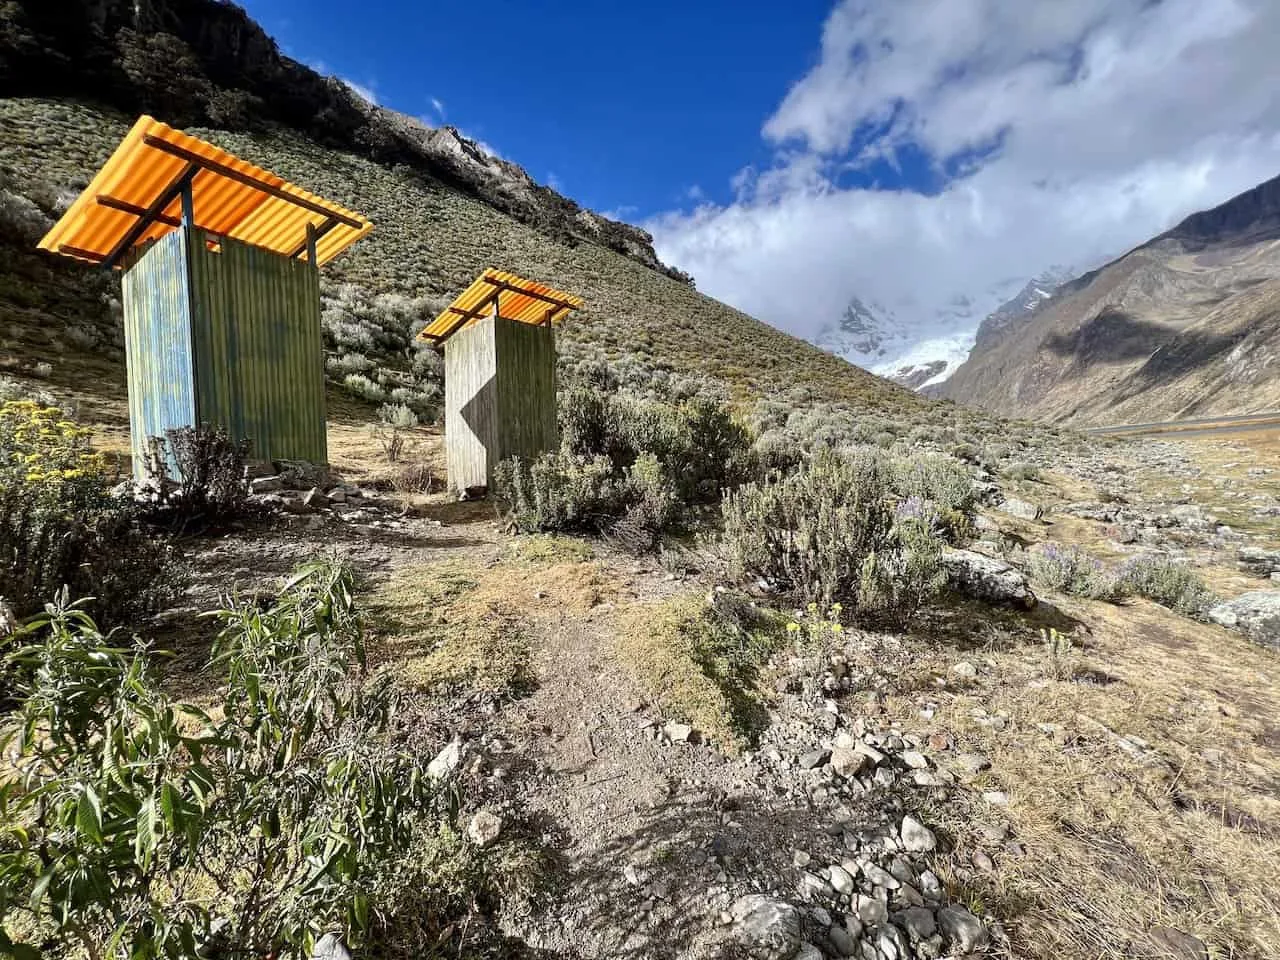
5) Going with a Guided Trek
Now, everything mentioned above is a recommended packing list if going on your own. However, if you are going with a guided tour, there are many items you will not need to bring with you.
Be sure to get a clear understanding with your tour company of what is/is not included as each company may offer different items. Below is a list of those potential items:
→ Hiking Backpack
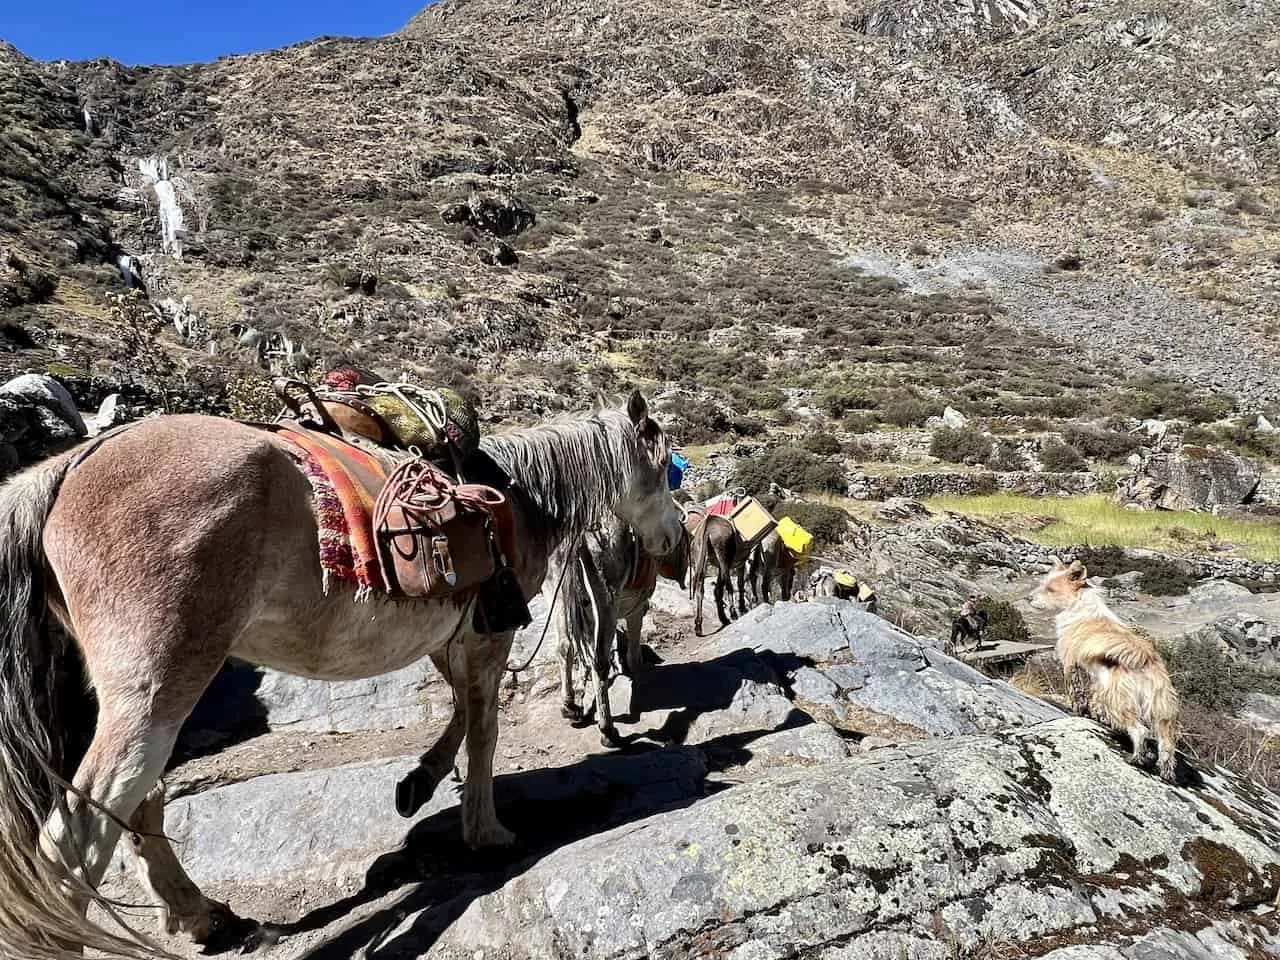
Instead of bringing a large backpack, you can just bring along a smaller ~20L – 30L daypack to carry your everyday essentials. However, do note that you will need some sort of duffel bag, where you will keep the rest of your packing list. The donkeys will be carrying this along for you from campsite to campsite.
→ Tent
→ Sleeping Pad
Note you will need to still bring a sleeping bag but those can be rented
→ Food
While meals will be provided, you may still want to bring along some energy bars and snacks that you enjoy to have during hikes.
→ Cooking Gear
Since you won’t be cooking your own food, you won’t need to bring along a stove, gas, etc.
6) Huayhuash Packing List Recap
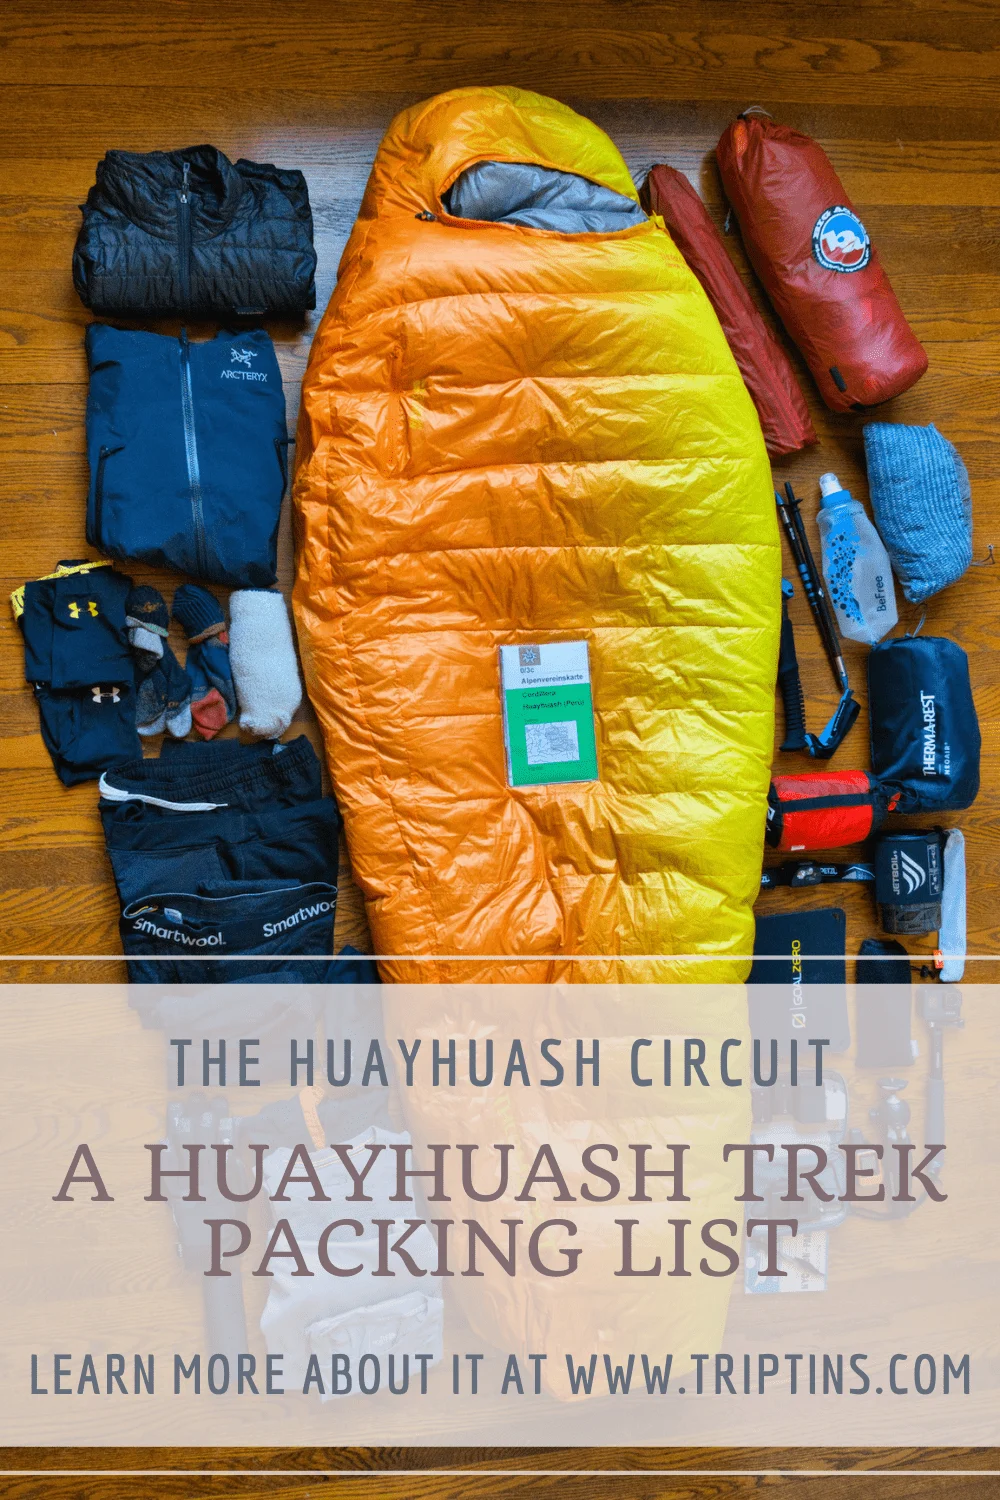
So, to recap, below you can find a Huayhuash Circuit packing list with all the items to consider. Be sure to do some research, take a look at my recommendations, and bring along the items that are best for you.
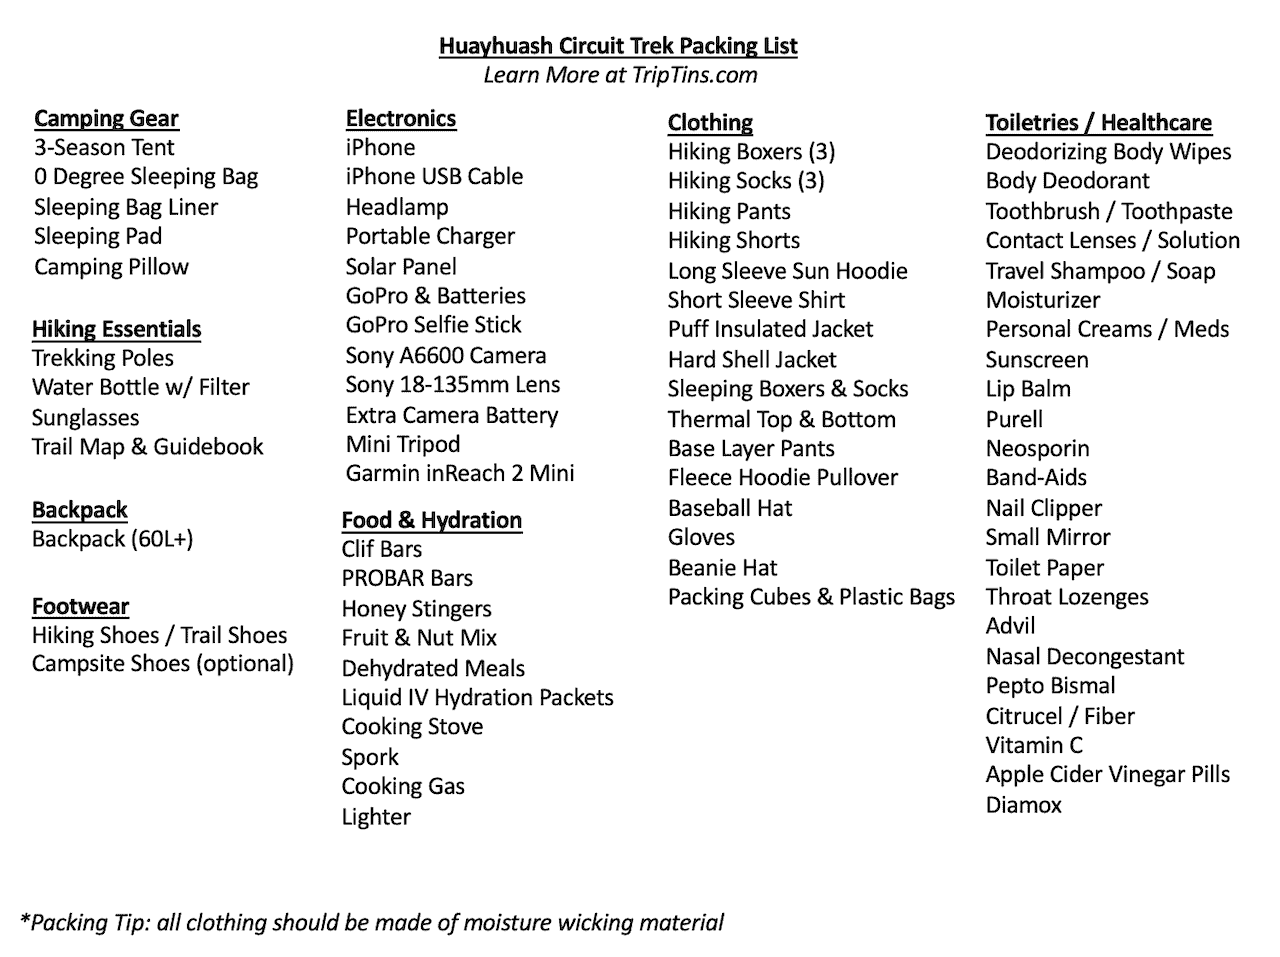
That about does it for a Huayhuash Circuit packing list. If you have any questions about the list, feel free to add them in below. Also, don’t forget to check out the other Huayhuash hiking guides up on the site.
Have fun out there and safe travels!

Aidan Ryan
Saturday 20th of January 2024
Hey!
Thank you for all this useful info :) I am going backpacking in South America next year, and plan on doing Huayhuash & many other treks. I am looking at options for my sleeping bag...
You said for your one, the lower limit was 0 F / -18 C... Is this the 'extreme' temperature rating? Or the lower end of the 'comfort' rating?
Thanks in advance if you can answer this question and help me out :)
Cheer, Aidan