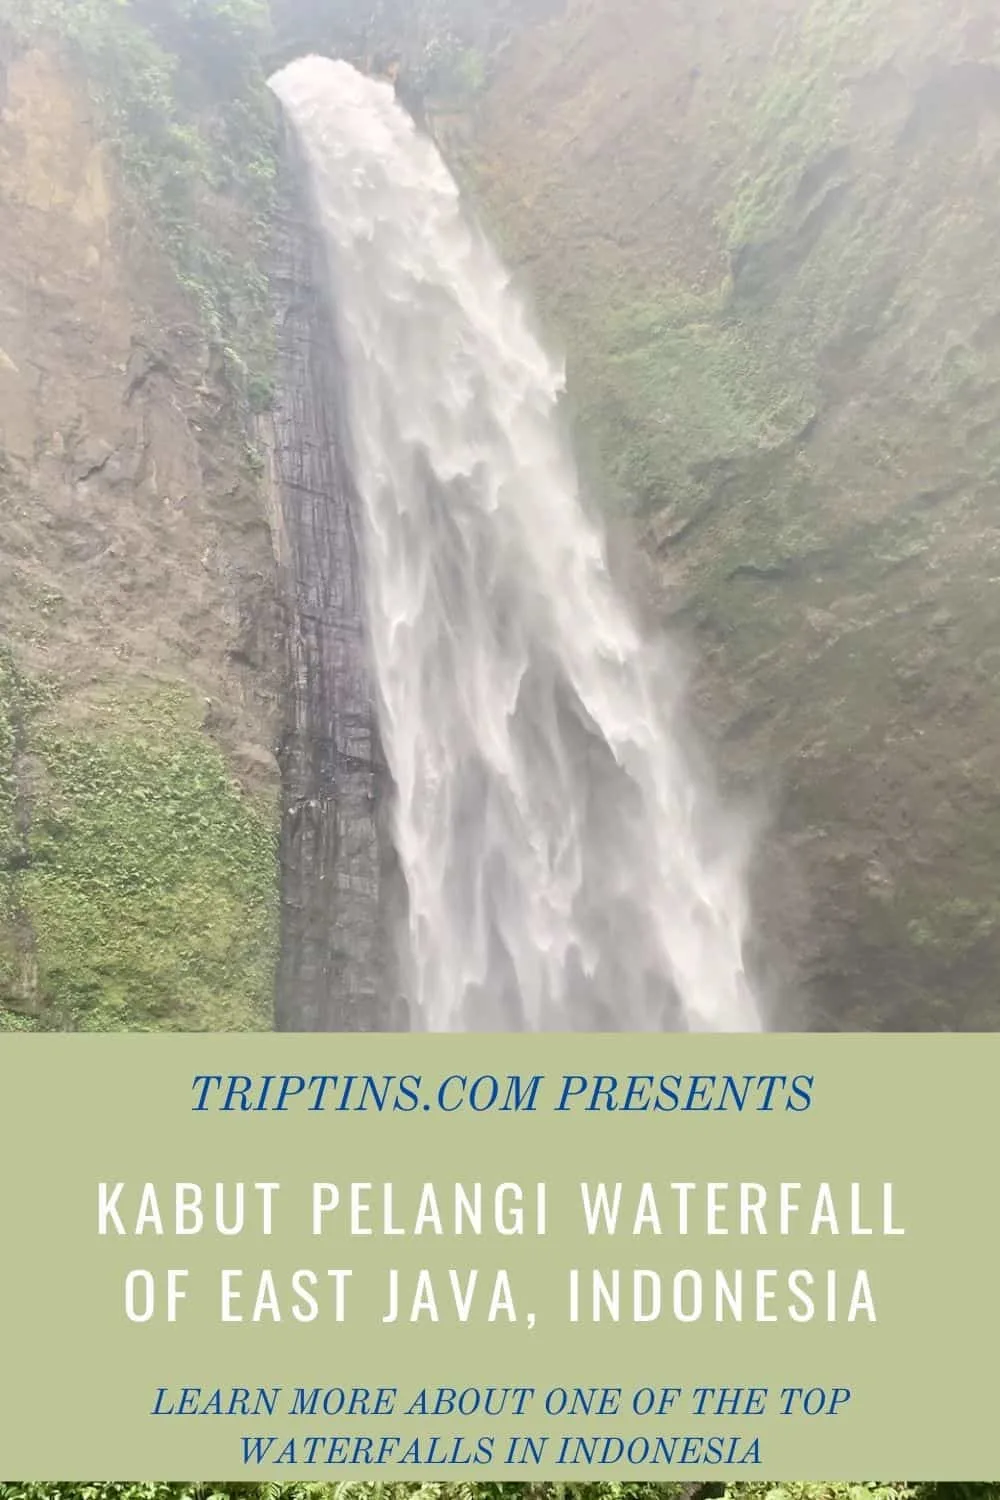
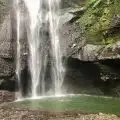
While there are several stunning waterfalls to explore in East Java, Indonesia, I must say that the Kabut Pelangi waterfall is one of the must visits in my book.
Not only will you have the chance to enjoy the view of Kabut Pelangi from afar, but you also have the chance to head directly in the water below the falls and get up close and personal to this massive natural beauty.
Read on to learn more about the waterfall and how to prepare yourself for a visit.
* Affiliate Disclosure: This post may contain affiliate links, which means I may receive a commission if you make a purchase through the links provided, at no additional cost to you. Thanks for supporting the work I put into TripTins!
1) Kabut Pelangi Waterfall Details
Like all of the other waterfalls in the region, to get to Kabut Pelangi you must make the trek down to the valley floor and towards the waterfall itself.
That is one of the things that makes the region so special – it is not only the waterfall but it is also the trekking experience on top of that.
Below are a few helpful details about the waterfall and trek:
Name: Kabut Pelangi Waterfall / Air Terjun Kabut Pelangi
Location: Lumajang Regency, East Java, Indonesia
Nearest Major City: Malang
Where to Stay: Dear Traveller Guest House
Cost: 5.000 IDR ($0.50 USD)
Time Spent: 1.5-2 hours
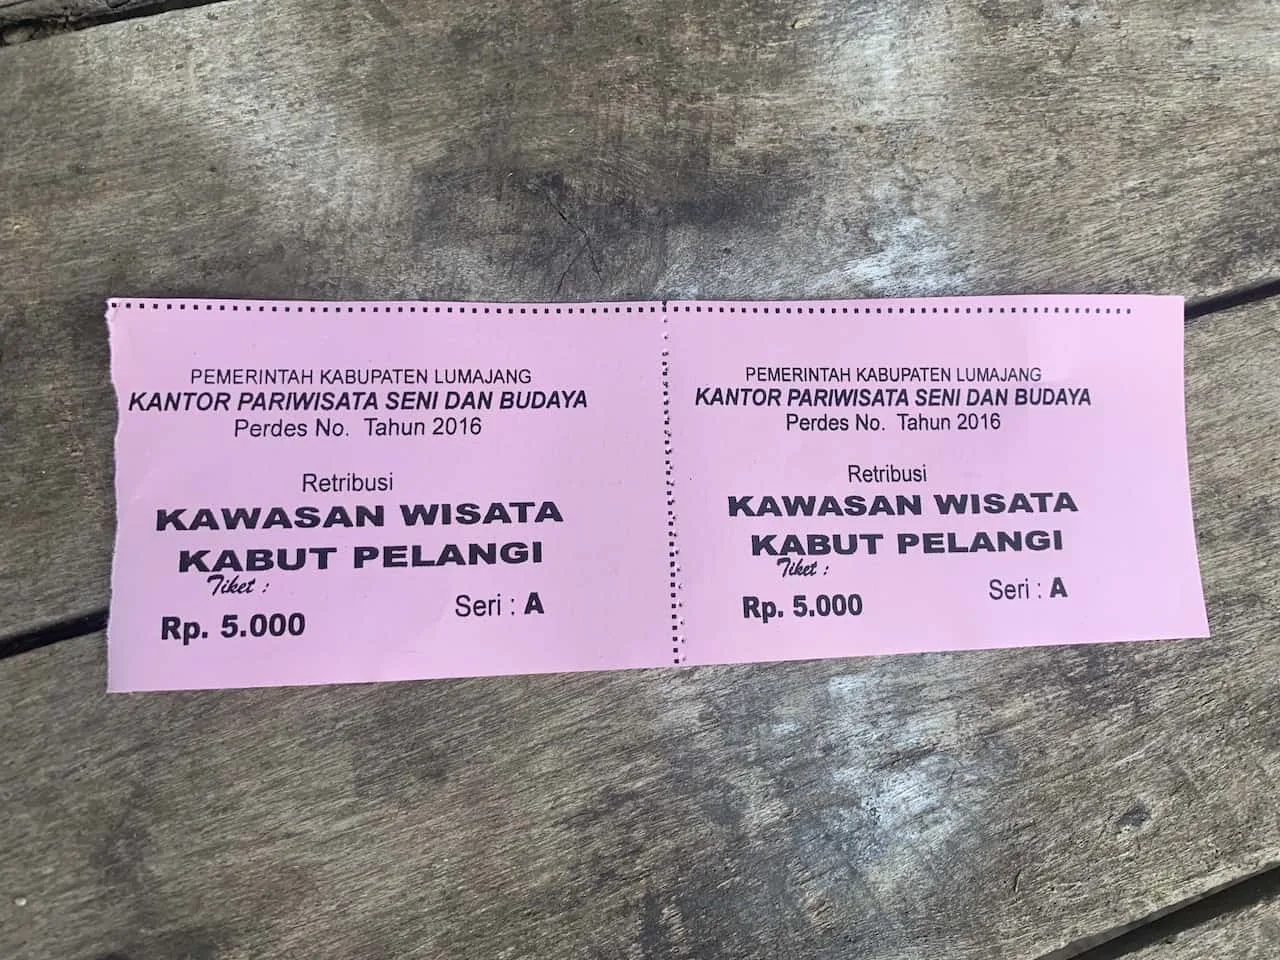
It should take you around 30 minutes to head down to the waterfall and just a bit shorter to head back up. I spent around one hour by the waterfall taking pictures and jumping in the water (which I highly recommend but be careful!)
Remember, there are several other waterfalls to visit right around the same area here. You can easily fit in 2-3 waterfalls in one day if you are up for it.
During my first day in the region I visited Coban Sriti, Kapas Biru, and Kabut Pelangi. On the second day I visited Goa Tetes and the famous Tumpak Sewu waterfall.
If you would like to learn more about those experiences, I would highly recommend checking out the guides linked above.
2) How to Get to Lumajang
There are a few steps in actually reaching Kabut Pelangi Waterfall since it is located a bit off the beaten path. My recommendation would be to first get yourself to the city of Malang (home to a train station and airport).
From Malang I would recommend hiring a driver to take you the remaining route to Lumajang. Expect the cost of a driver to be anywhere around 500,000 IDR or $35 USD.
If you are traveling with multiple people it is well worth the cost and removes any other logistic issues.
Your other option here is to go by public transportation. However after speaking with a few people who did so, I would not really recommend it due to the bus transfers and much longer journey time.
If you do go with a private driver you may be wondering how to go about getting in contact with one.
You have a couple options here – book one through a reputable tour company beforehand, ask around in Malang once you arrive there (or any other city you may be coming from), or get in contact with your accommodation near Kabut Pelangi who can help arrange a car.
I went with the last option as the guest house I stayed in was one of the friendliest and helpful places I could ask for. Are you wondering which place that may be? Well take a look in the next section…
3) Where to Stay in Lumajang
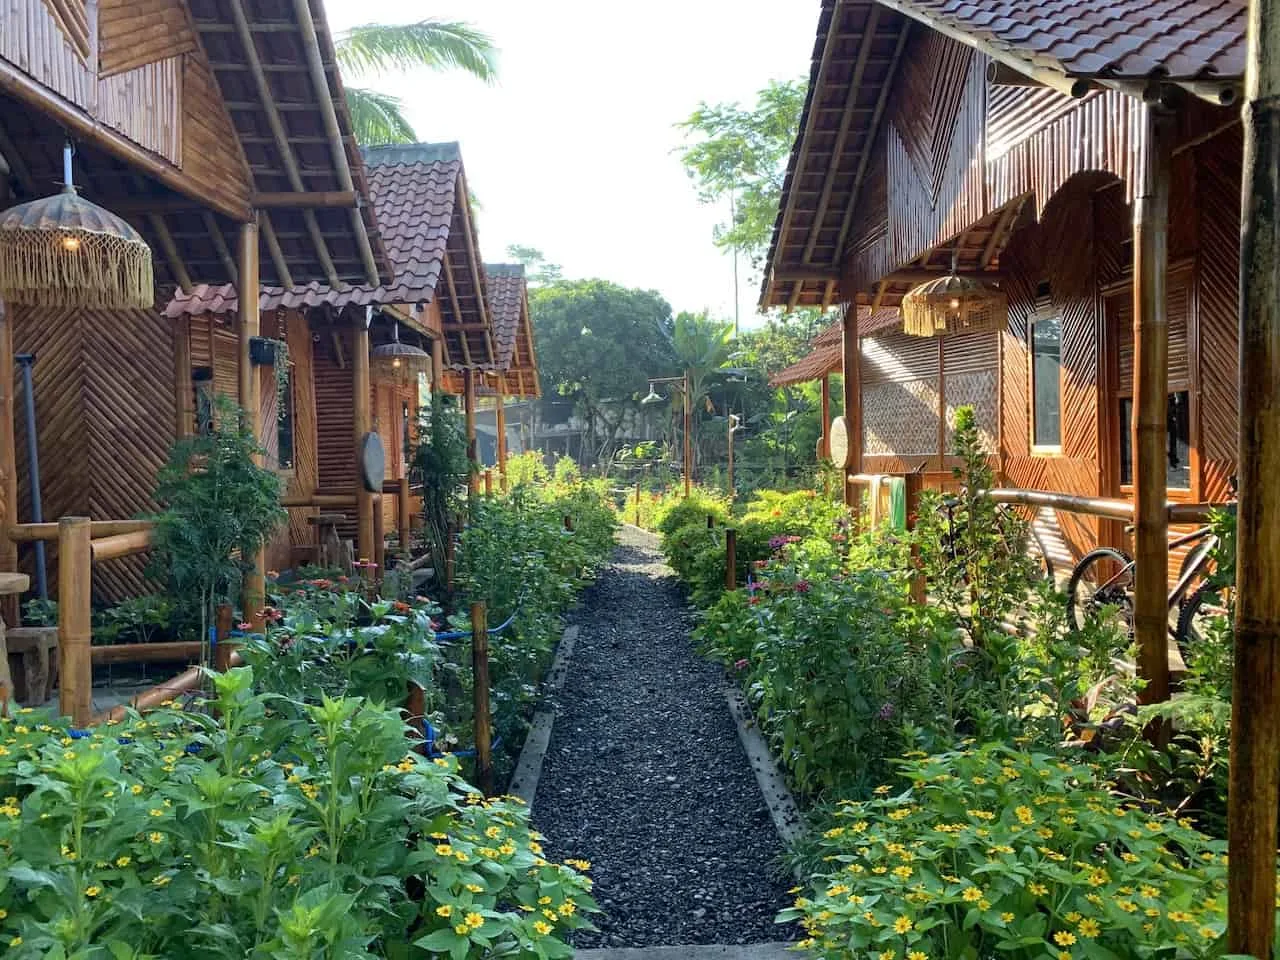
When it comes to accommodation options near Kabut Pelangi, there really aren’t too many out there. Thankfully though, there is one place that I seriously cannot recommend enough – Dear Traveller Guest House and Glamping.
From beginning to end these guys will take care of it all for you. Drivers, accommodation, food, guides – whatever you need, the owners and workers at Dear Traveller will have it covered.
After making my booking with them, I got in contact with the owners through Whatsapp, and they helped arrange a driver to pick me up from the Malang train station and take me right to the guest house.
It could not have been an easier process and it was a fantastic stay overall.
» If you would like to head there yourself feel free to book your room at Dear Traveller Guest House and Glamping ahead of time.
4) Kabut Pelangi Directions
Once you are in Lumajang, you now are set to start exploring the waterfalls of the region including Kabut Pelangi.
The main option here is to have a local take you around on their motorbike to the various waterfalls and guide you down to the waterfalls themselves.
A full day driver and guide can cost as little as $15 USD for your group – a price well worth it to avoid any confusion on where to go (and supporting the locals along the way).
I will say that while the path down is pretty straightforward, once you reach the valley floor you will need to cross over some small rivers. Having a guide will be super useful in these spots.
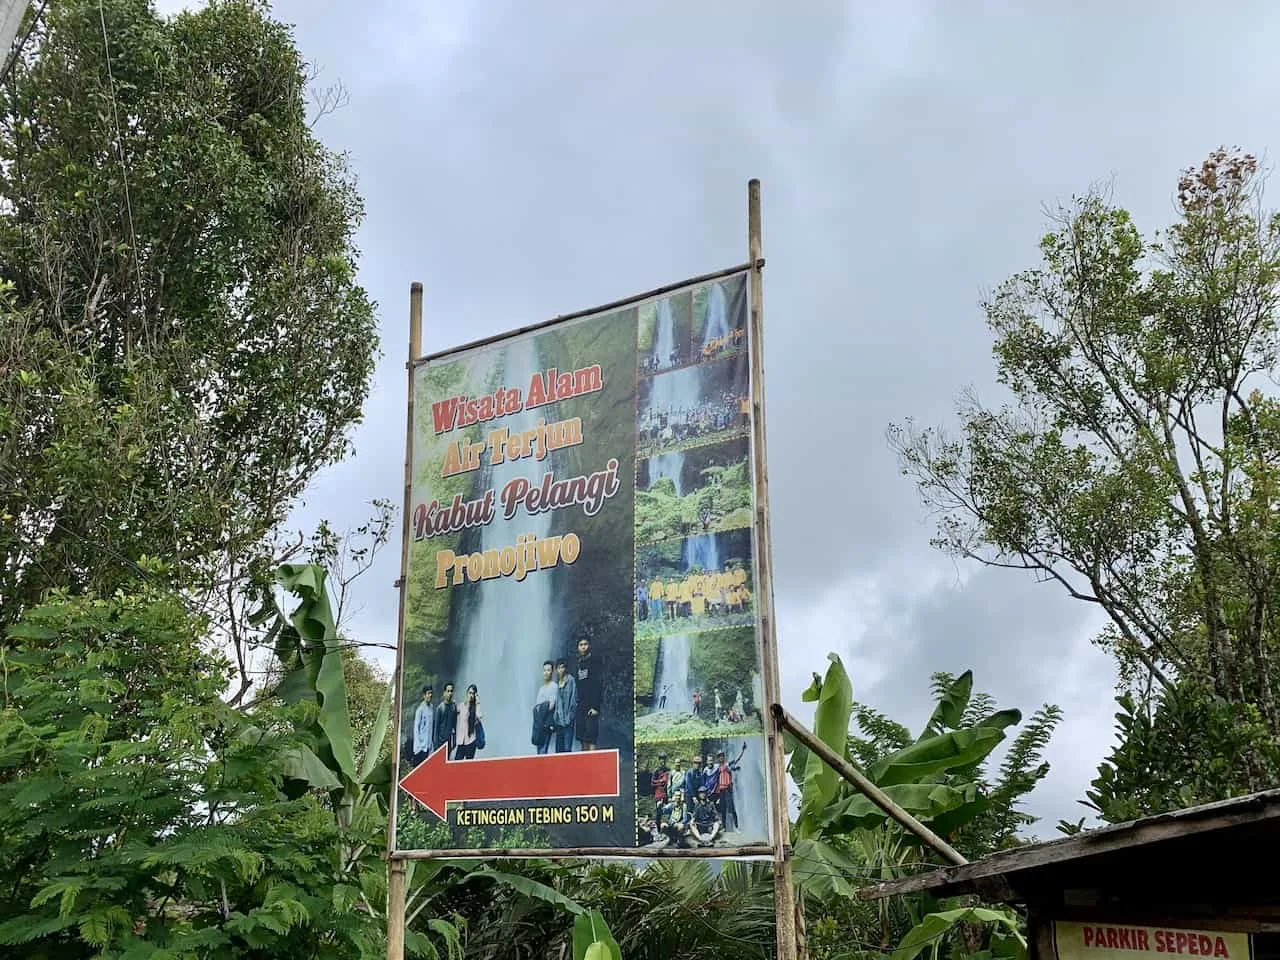
If you did end up driving your own car or scooter around, you can head directly to the Kabut Pelangi parking lot. The GPS coordinates for the lot are somewhere right near 8°13’57.6″S 112°55’57.2″E.
Once you are at the parking lot and pay for your ticket ($0.50 USD), it is time to head onto the pathway and towards the waterfall itself.
5) Waterfall Packing List
Although you may just be visiting a waterfall, there are a few essentials that I would bring along with you to better prepare yourself for the trek down to Kabut Pelangi.
1) Dry Bag: since you may be getting wet during this experience I would highly recommend a dry bag to keep all your valuables safe. Take a look at this Earth Park Dry Bag to hold your belongings.
2) Hiking Shoes or Closed Toe Sandals: you will want to watch your step as you go down the slippery path into the valley. You will also need to go across a couple short river crossings here.
Having hiking shoes or closed toe sandals will be your best bet. I would not recommend going down with flip flops. Take a look at the Keen Targhee III that I have been wearing recently or these Keen Newport H2 Sandals.
3) GoPro: if you want to get up and close to Kabut Pelangi (and some of the other waterfalls in the valley) you will get wet. With that said, your camera equipment may get wet as well.
A GoPro will solve some of those camera issues when dealing with water. Check out the GoPro Hero for your travels.
4) Quick Dry Towel: after getting all wet down in the bottom of the valley, it is nice to have a towel to dry off. This Rainleaf microfiber quick dry towel has been my go to when it comes to traveling.
→ Check out some of the other top waterfalls in Indonesia to add to your trip
6) Visiting Kabut Pelangi Waterfall
After reaching the parking lot and paying for your ticket, you will simply follow the signs pointing you towards Kabut Pelangi. The beginning of the path here is pretty easy to follow and will be composed of packed dirt.
It is not as steep or technical as some of the other waterfall treks, but you will still want to watch your step along the way.
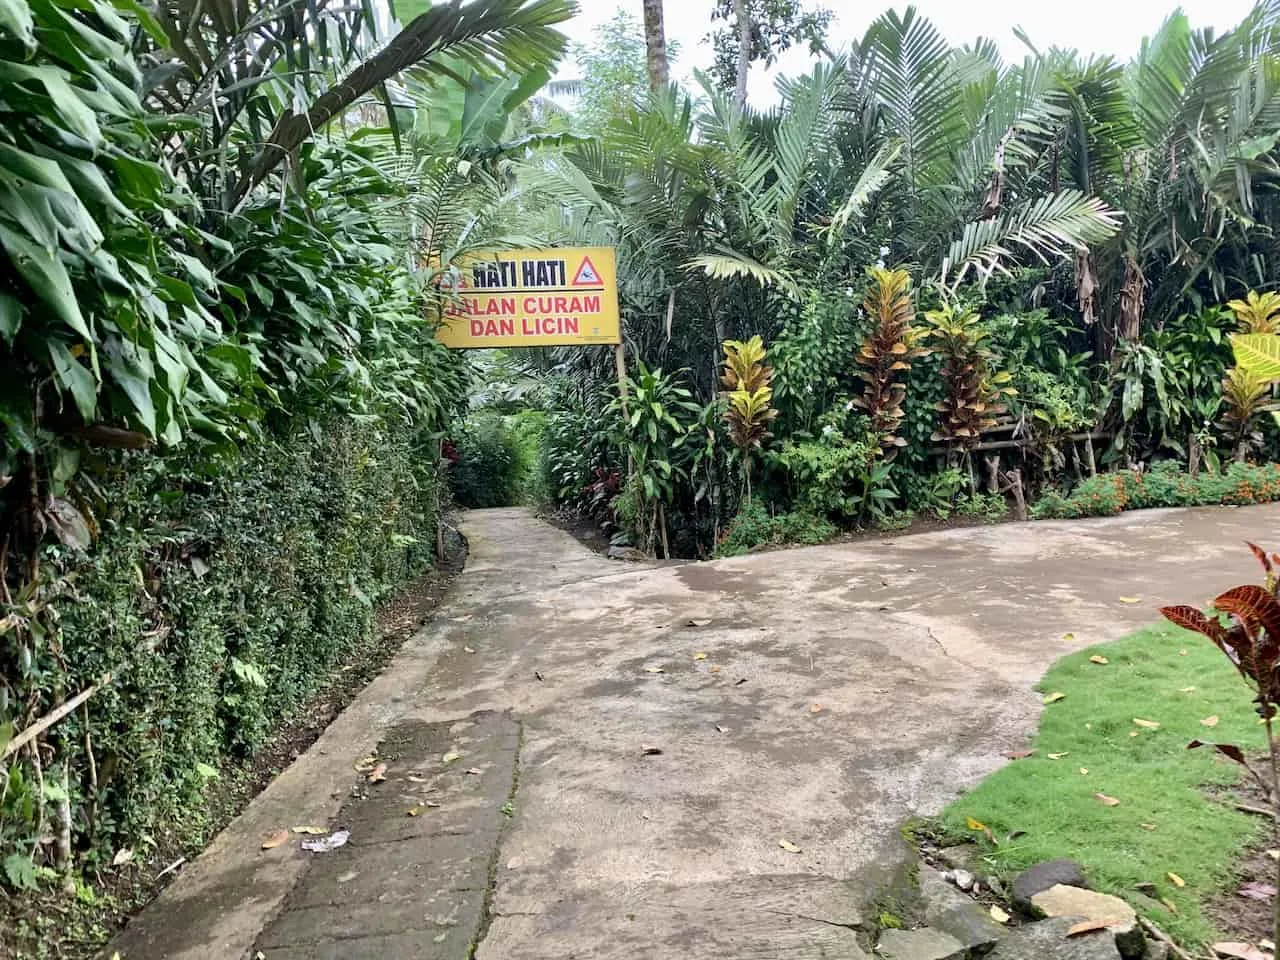
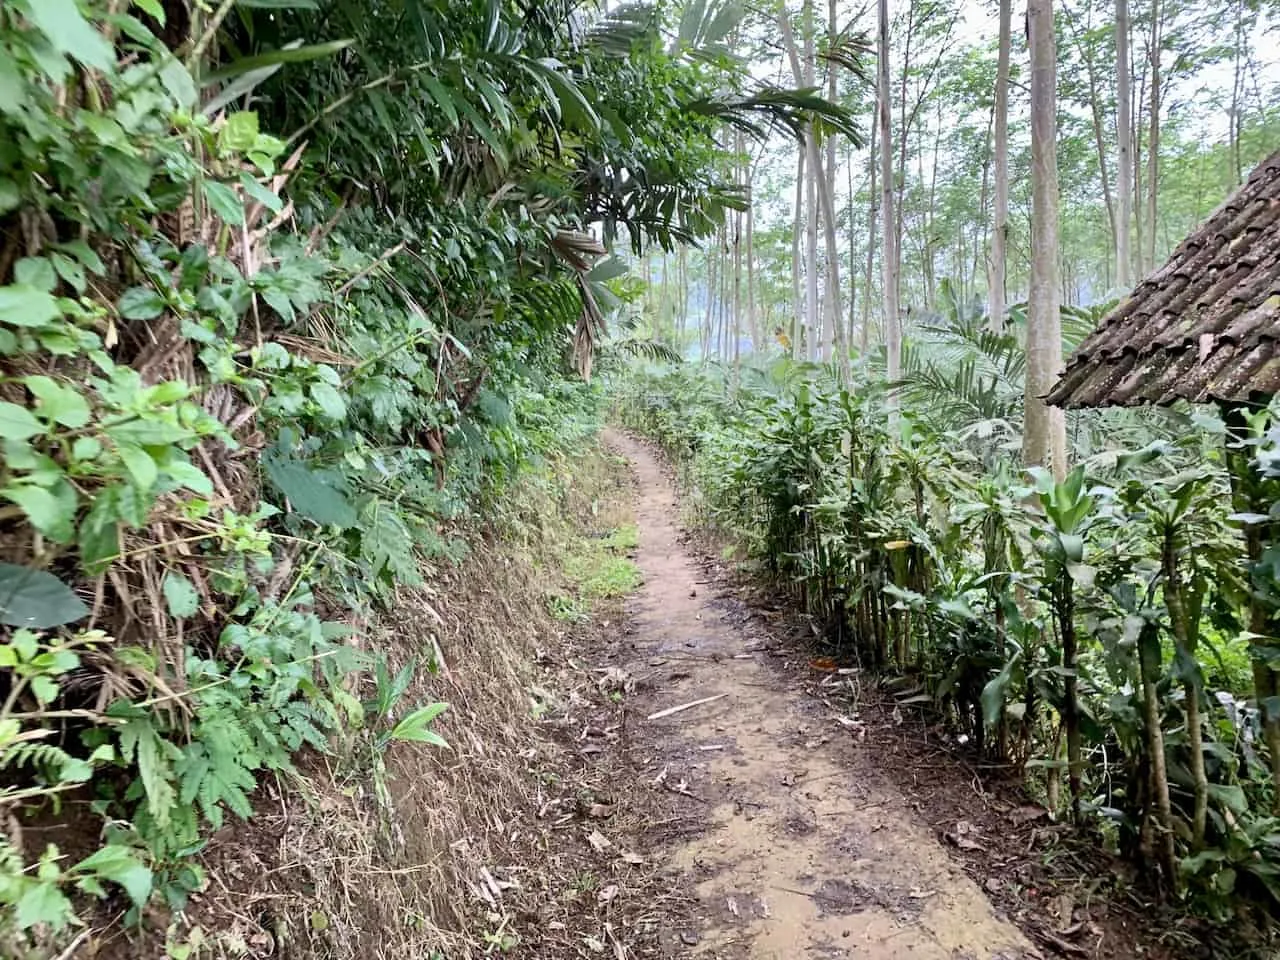
What I really love about these waterfall treks, is that you are truly immersed in the surrounding nature. All around you will be greenery in every which direction for you to take in and enjoy.
As you make your way further along you will start to get some stunning views of the valley itself and the winding river that makes its way through. At one point you will even be able to see Coban Sriti – another well known waterfall in the region.
The path will continue to wind its way down further to the valley floor as you get views of both ends of the valley in either direction. The path will get a bit steeper as you get closer to the bottom but for the most part it should be a pretty simple trek down.
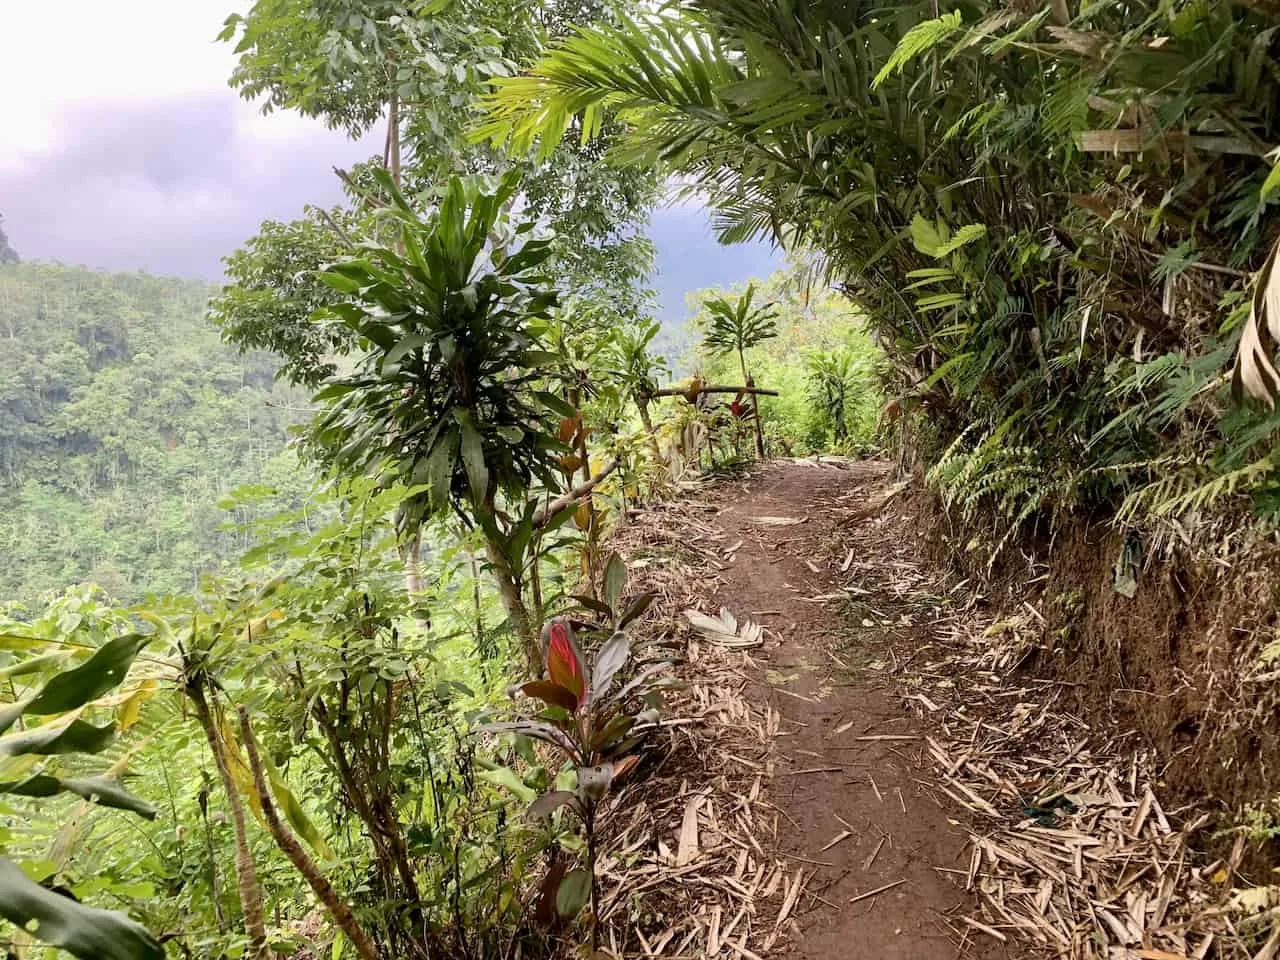
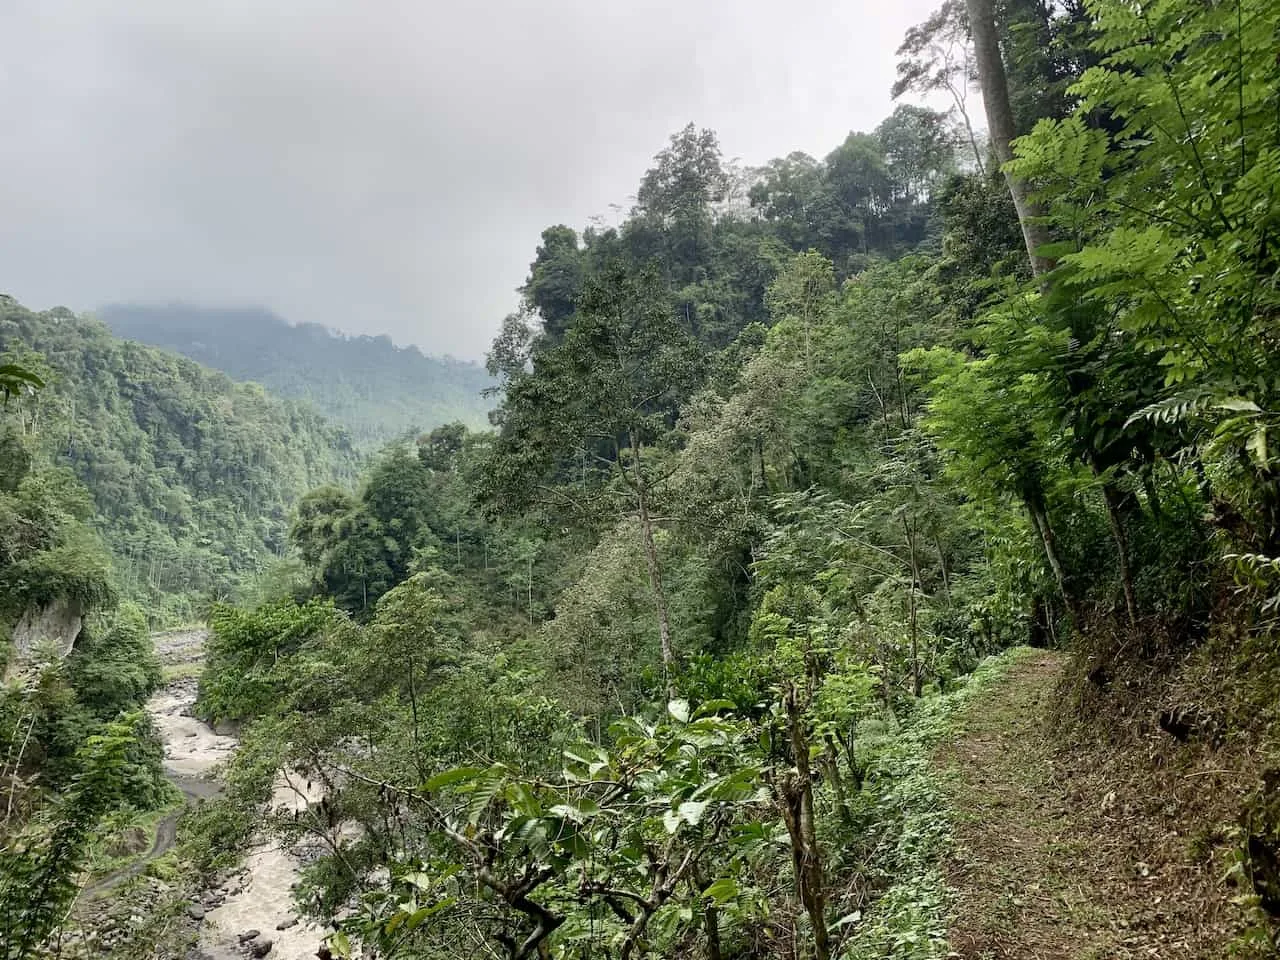
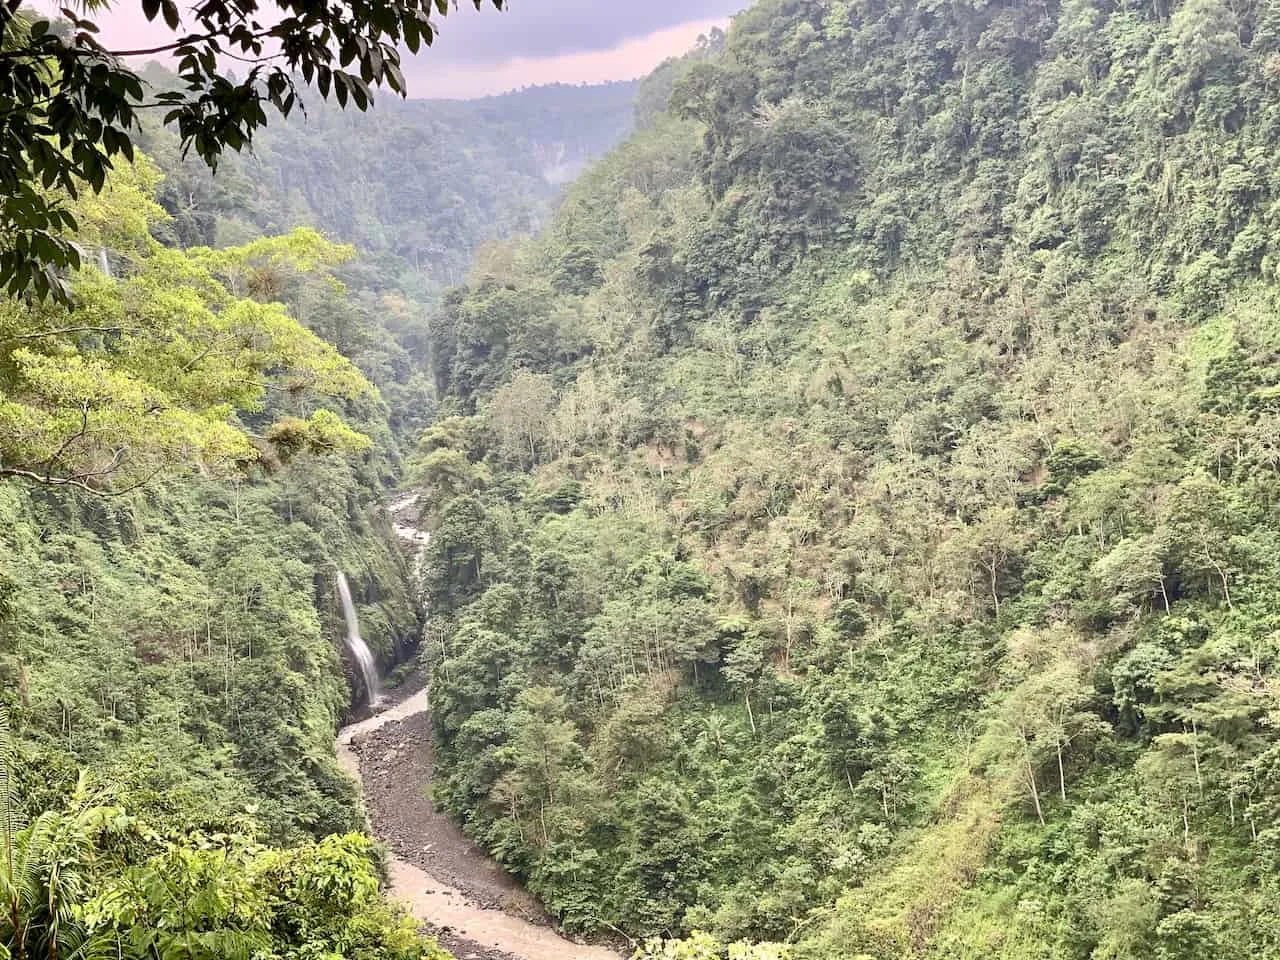
Once you reach the valley floor you will see some smaller waterfalls coming off the cliffsides. You will soon need to cross the shallow river to get closer to Kabut Pelangi (remember – be sure to bring shoes that can get wet!).
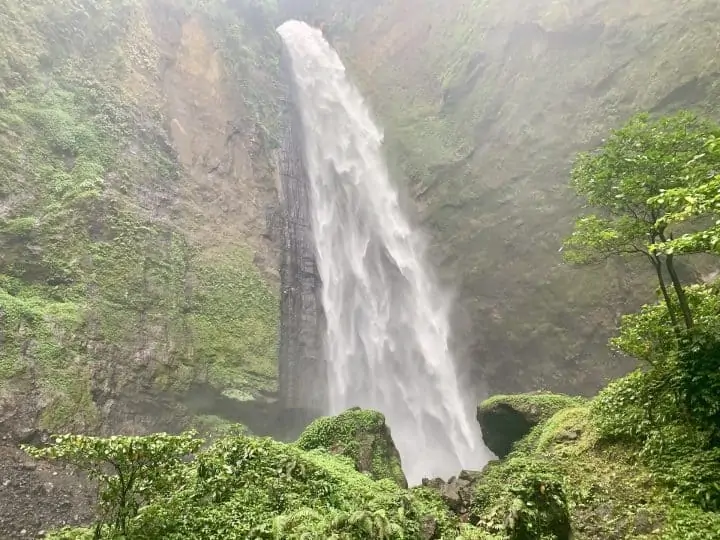
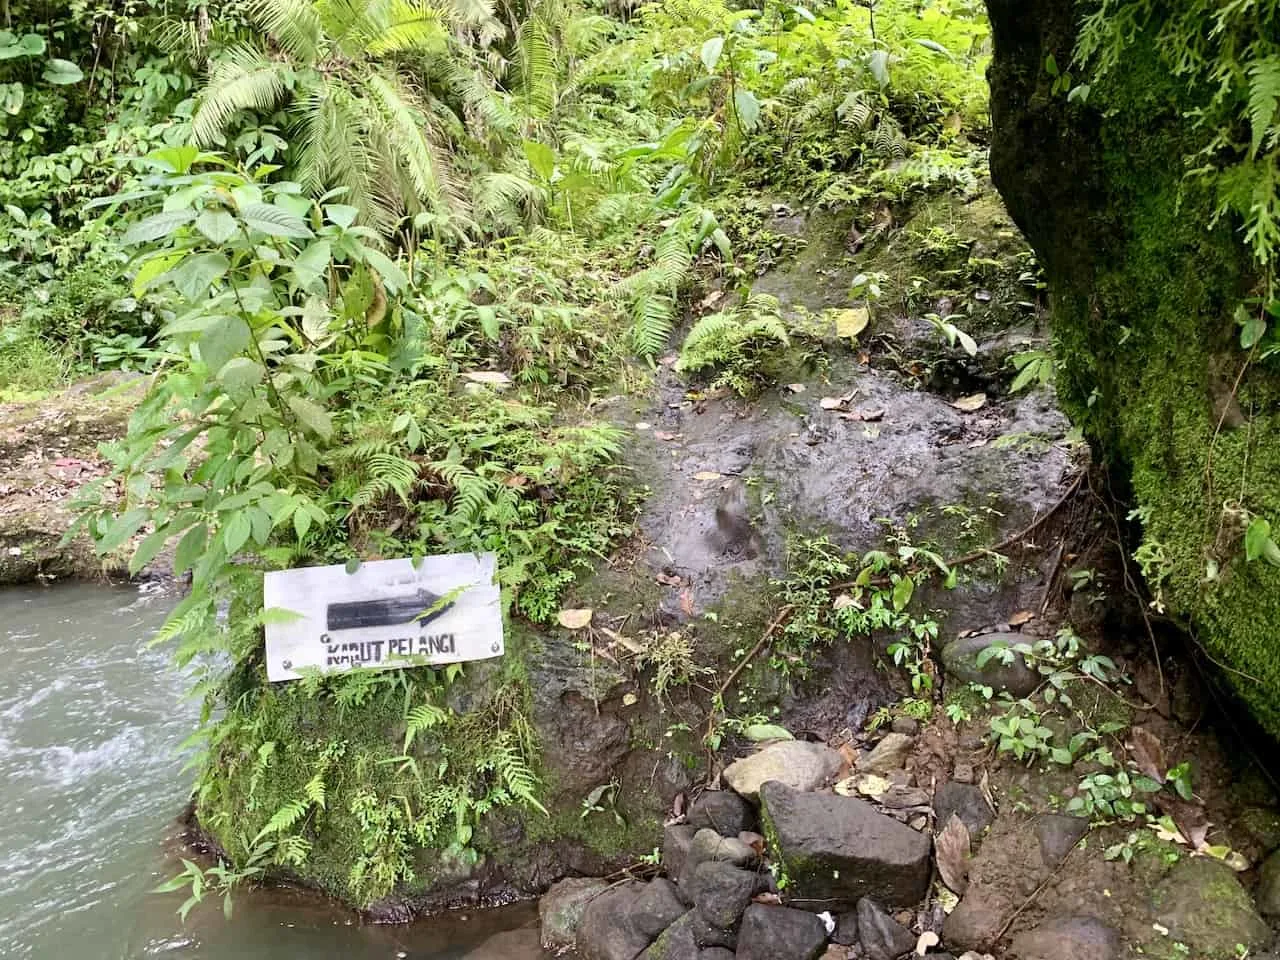
You will get your first glimpse of the top of the Kabut Pelangi waterfall as you follow the river on the rocky terrain. Y
ou may find a few signs here pointing you towards Kabut Pelangi as it is not always so obvious the exact path to take. Again though, if you are with a guide you should have no issues.
Right before reaching the waterfall, you will walk across the river once more. Note that I did come across a couple snakes in the area – while I am unsure of the danger that they impose, I did want to warn you so you can be aware.
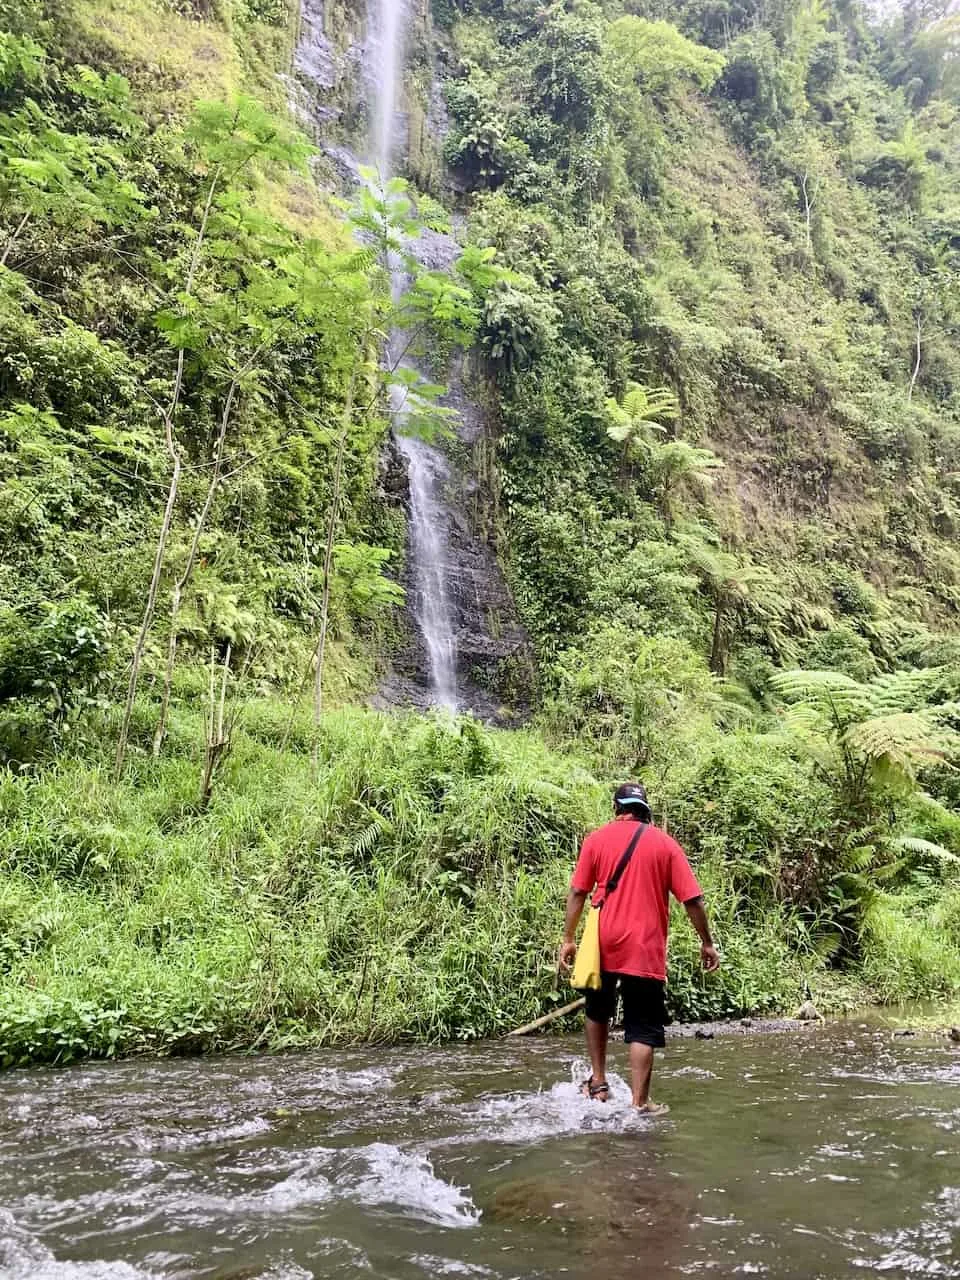
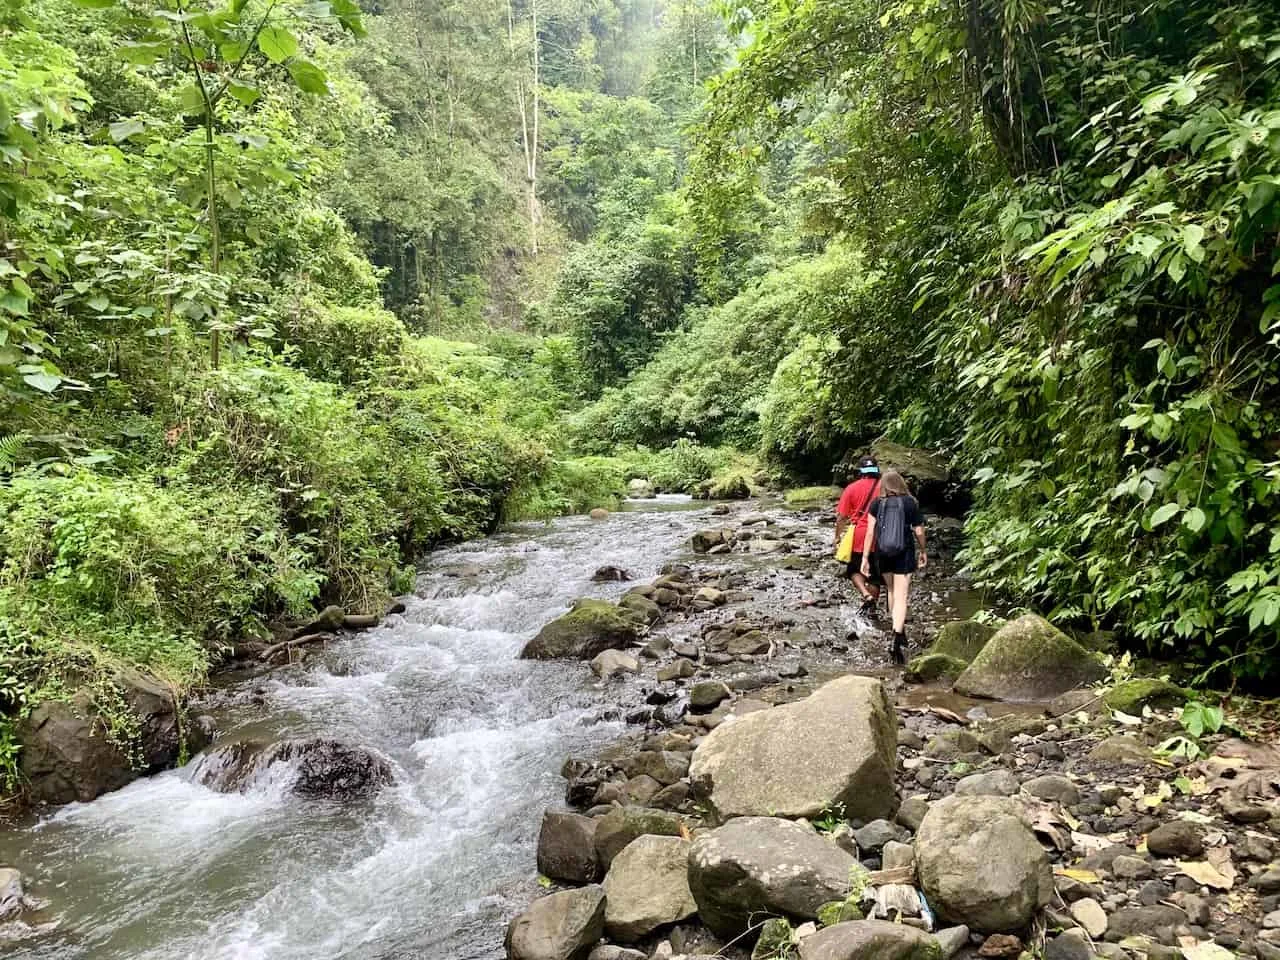
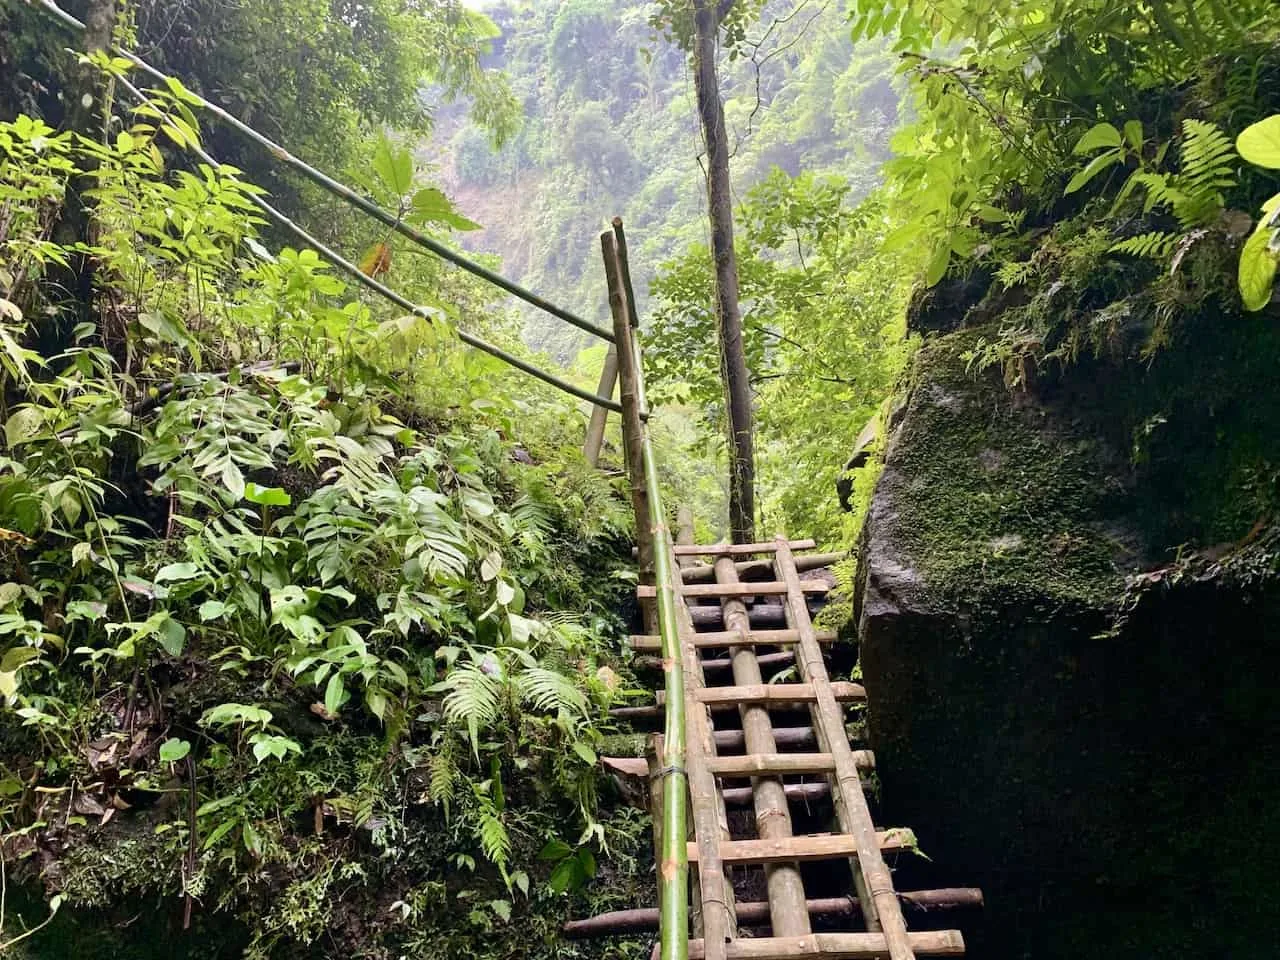
You will head on a short wooden ladder and soon be welcomed to Kabut Pelangi out in front of you.
From a distance you can take some breathtaking photos of the waterfall and even head up on the perfectly placed rock for a little photo shoot.
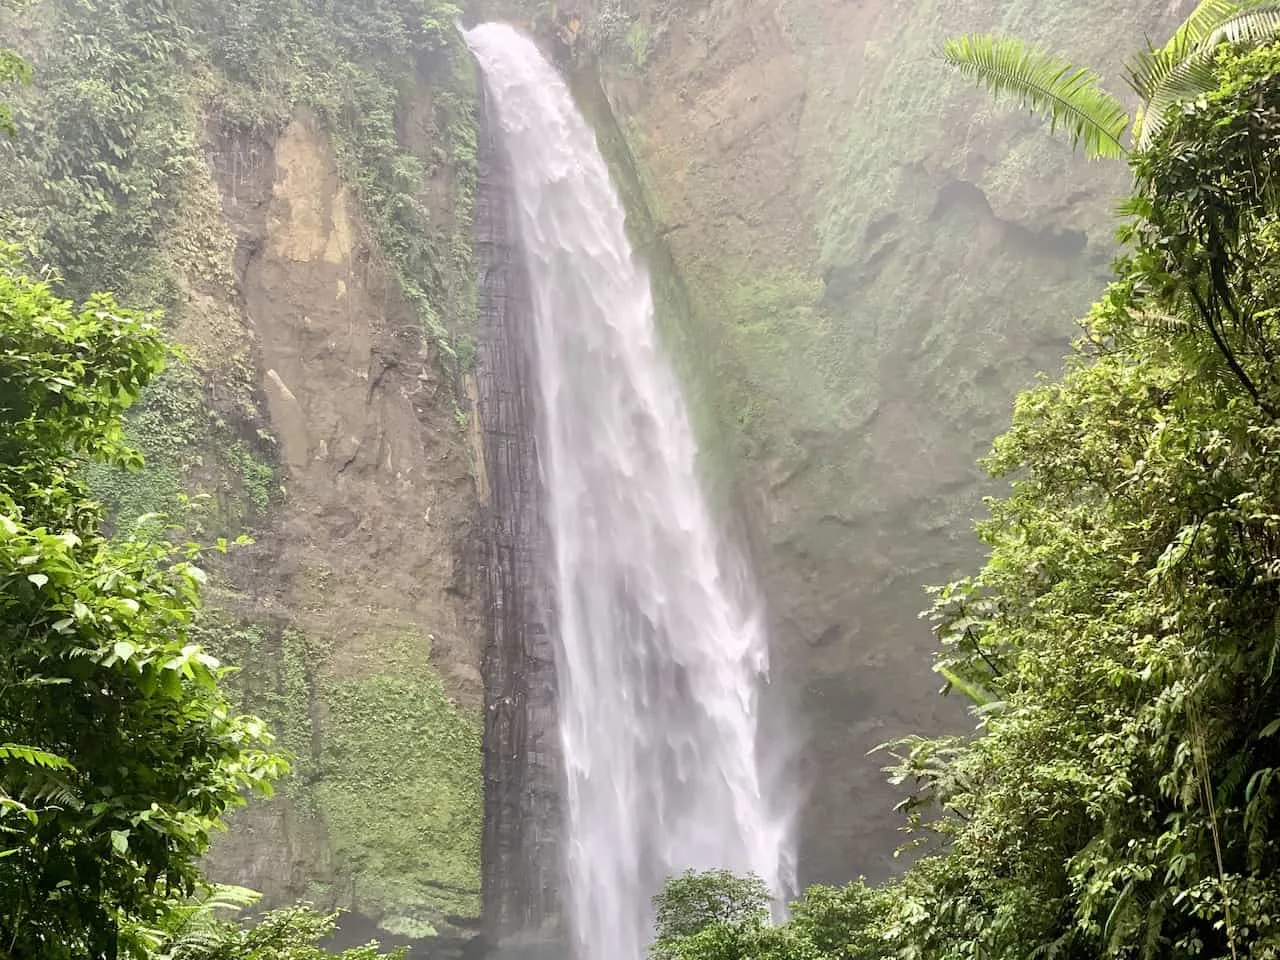
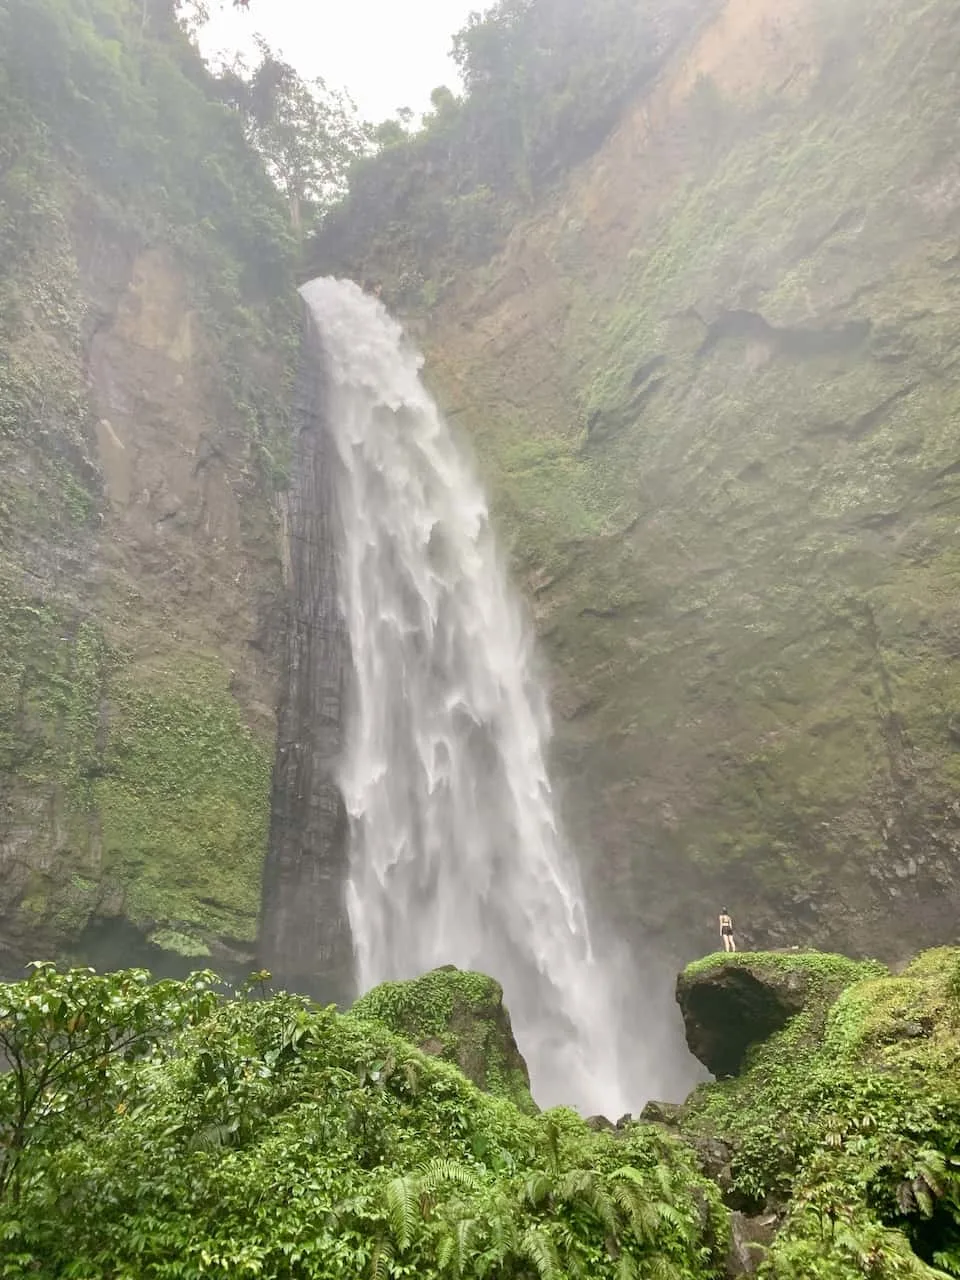
After taking in the view from afar, you can continue along on the trail and head right on down to the base of the waterfall. The closer you get here, the wetter you will get. So be sure to put any of your valuables and electronics in your drybag so they wont get ruined.
Also, be very careful around the bottom of the waterfall. Due to the water spraying everywhere, the ground will be quite wet as well. You will need to watch your step and be sure not to slip on the rocks down below.
While most people don’t head into the water, you can walk in several feet and get to experience the power of the waterfall itself. It was a surreal moment seeing the massive waterfall coming down from above and feeling the force of it hitting the water not too far away from me.
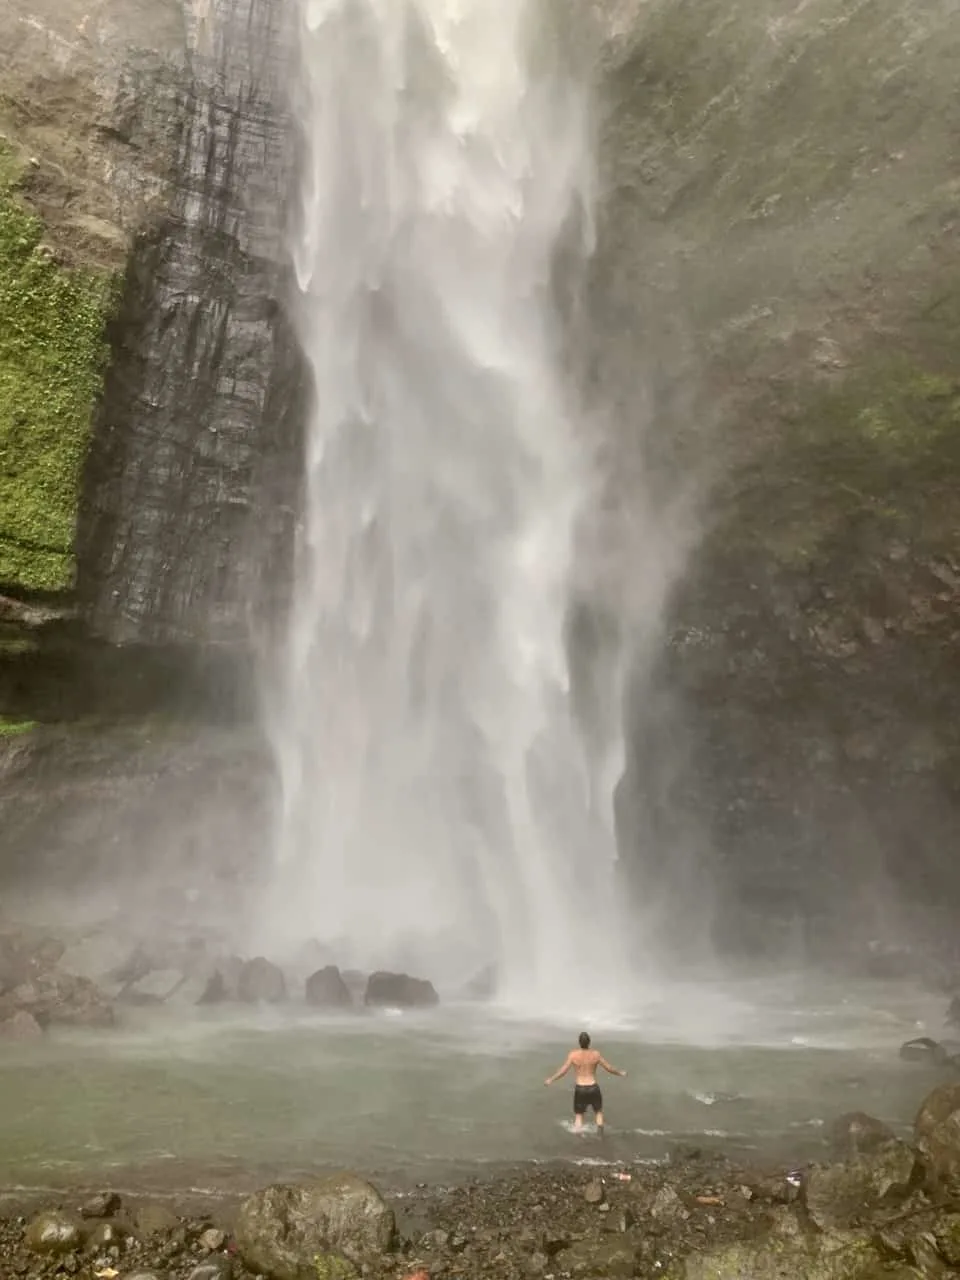
Whether you hop into the water or not, you are surely going to enjoy an experience at Kabut Pelangi. After spending enough time there, it is time to head on back the same way you came.
You will cross the river a couple times more, head out of the valley, and back up towards the parking lot area. Once back to safety, it is time to either head back to your guesthouse or onto the next waterfall for the day.
That about does it for the Kabut Pelangi waterfall trek. If you have any additional questions feel free to write them in below.
Also, be sure to check out the other Indonesia itineraries and guides up on the site like this One Week Java Itinerary. Have fun out there and safe travels!
