When it comes to mountain hikes in Rocky Mountain National Park, it doesn’t get much better than Mount Ida.
The Mount Ida trail traverses across the Continental Divide, offering nearly constant views of the surrounding peaks along the way.
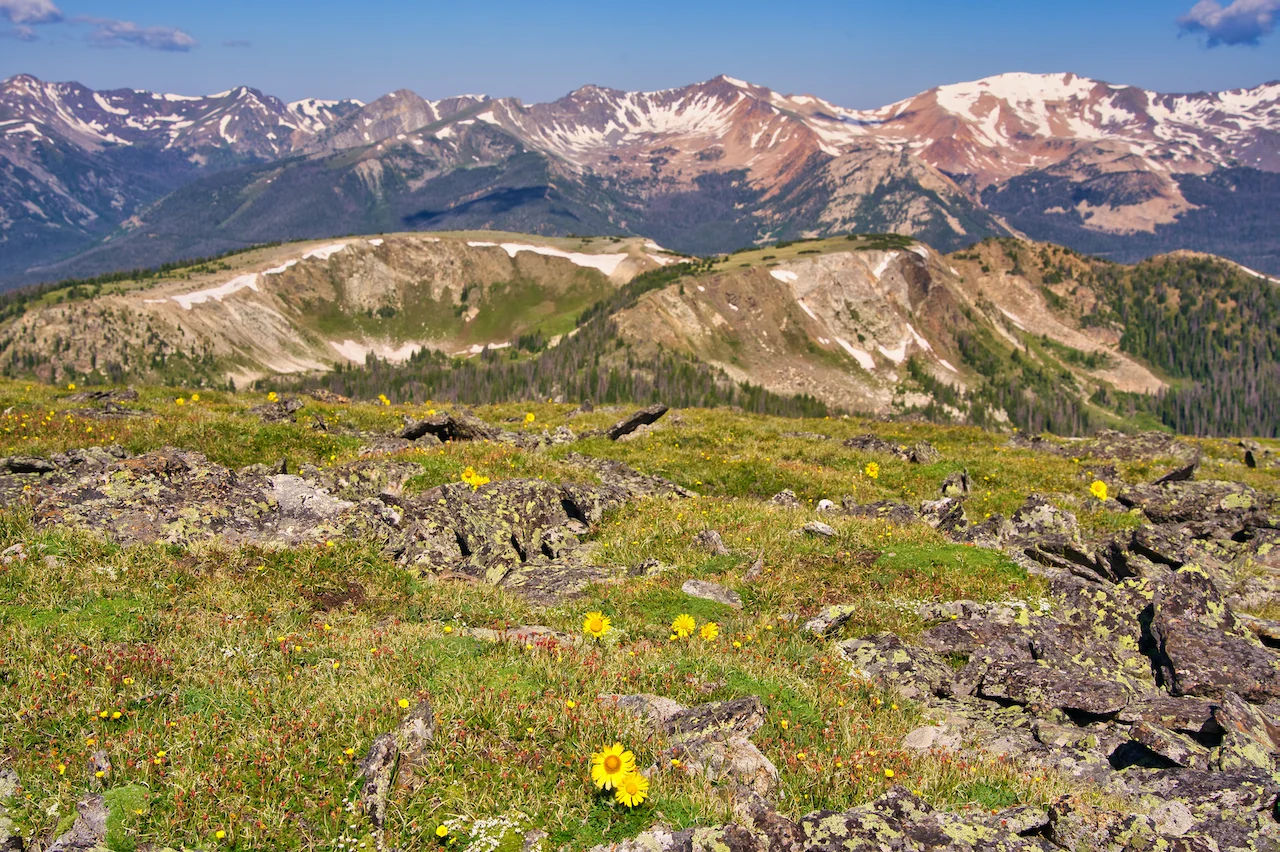
Once at the summit, more mountains, lakes, and 360 degree views will be all around.
Read more about the Mt Ida trail and how to take part of the hike for yourself.
* Affiliate Disclosure: This post may contain affiliate links, which means I may receive a commission if you make a purchase through the links provided, at no additional cost to you. Thanks for supporting the work I put into TripTins!
1) Mount Ida Trail Stats
To start, below are some helpful trail stats for the Mount Ida hike. These represent round trip metrics starting at the Poudre Lake / Milner Pass trailhead.
- Trail Name: Mount Ida
- Trailhead: Poudre Lake / Milner Pass
- Trail Type: Out & Back
- Duration: 5 – 7 hours
- Distance: 9.5 miles
- Elevation Gain: +2,450 feet
- Mount Ida Elevation: 12,889 Feet
The out & back trail takes you through the forest, up along the Continental Divide, and to the Mount Ida summit. Once you reach the top, relax and enjoy the view, before heading back down the same way you came up.
How Hard is Mount Ida? From a trail standpoint, I would not consider Mt Ida that difficult. Besides for the last mile or so to the summit, most of the trail is along a defined dirt path. However, given the altitude of the mountain + the potential weather conditions (which can be very windy), the hike can get more difficult than anticipated.
When to Hike? The trail is usually snow free starting in late June / early July. I would recommend taking part from then until September / early October, before the snow begins to fall again.
2) Mt Ida Trailhead & Parking
The Mt Ida trailhead is located off of Trail Ridge Road within Rocky Mountain National Park (RMNP).
You can search for “Milner Pass” or “Poudre Lake” within your navigation app, and be brought right to the trailhead parking lot.
The lot is located 30 minutes / 16 miles from the Grand Lake RMNP entrance and around 50 minutes / 24 miles from the Beaver Meadows RMNP entrance.
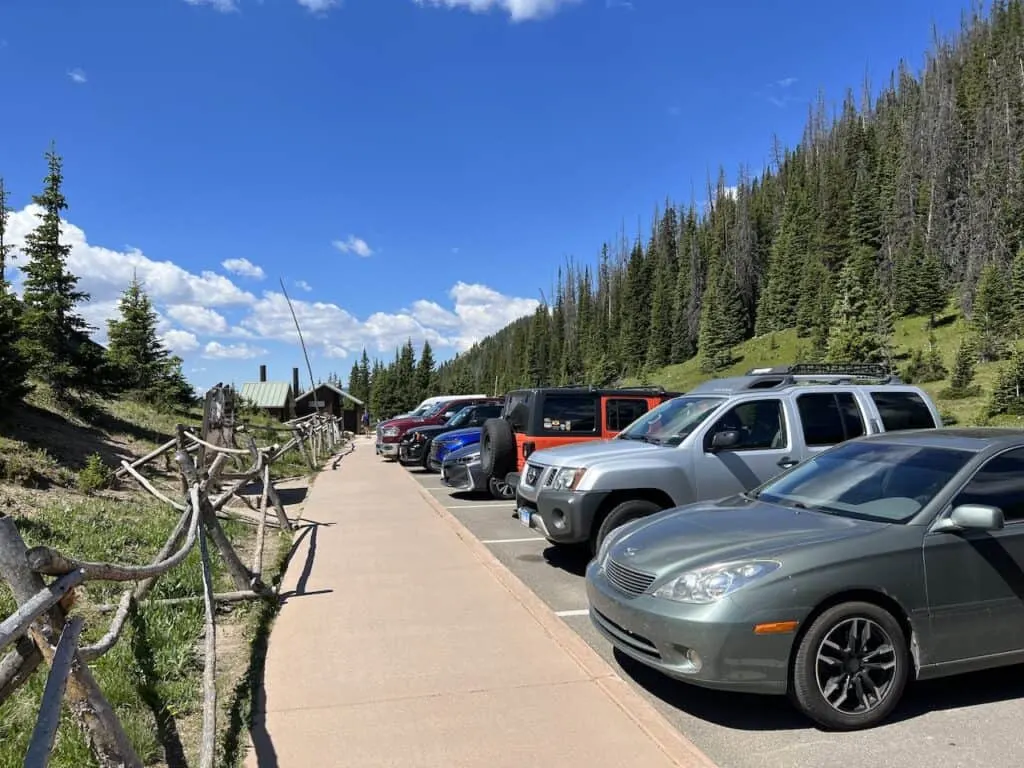
At the parking lot, there is space for approximately 25 cars to park. If the lot is full when you arrive, there are a few secondary pull off parking lots to the north. These are smaller lots that can fit around 5-10 cars each.
In addition, the Lake Irene Picnic Area is about 0.5 miles to the south. This is a larger lot that can hold closer to 20 cars.
Due to the limited parking, I would recommend getting an early start to your day. Arriving before 7:00AM would be my recommendation (or even earlier).
Tip: Be sure to download offline maps for driving around RMNP. There is limited service in the park, and having offline maps will guarantee you will still be able to navigate around.
Colorado Car Rental: Looking for a rental car in Colorado? Check out Rentalcars.com for a variety of options that can work well on your trip.
3) Hiking Trail Map
To get a better understanding of the trail and the parking situation, below is a map that pinpoints it all.
You can see the main Poudre Lake / Milner Pass parking lot, the Lake Irene lot, and some additional roadside parking (in addition to the route itself up to the summit).
4) RMNP Permits
Before continuing on with Mt Ida, I wanted to talk through the Rocky Mountain National Park (RMNP) permit situation.
If you are planning to hike the trail, you will be entering the confines of RMNP. Therefore, a permit will be needed during most of the hiking season.
Below is a high-level overview of RMNP permits. Feel free to read through more details on the RMNP website.
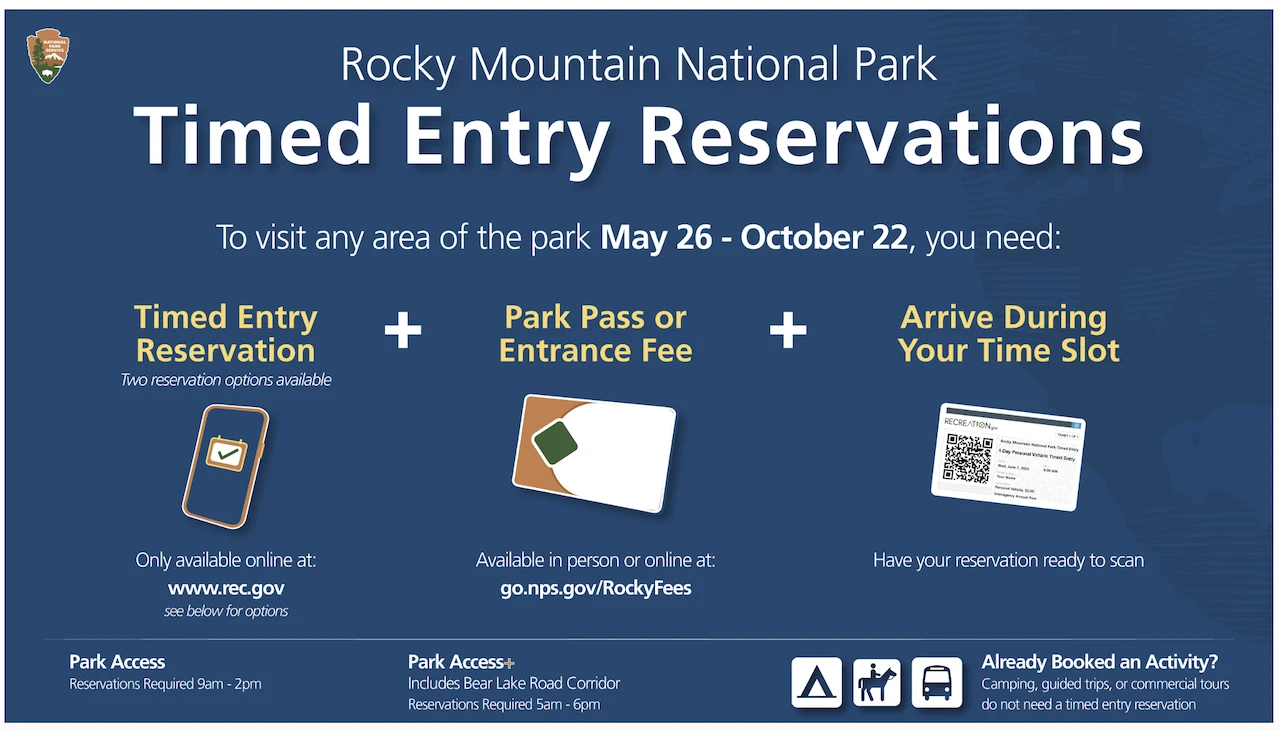
Between May 26 and October 22, a timed entry reservation is needed to enter RMNP during certain hours.
There are two types of timed entry reservations available:
- Park Access (includes access to the entire park besides Bear Lake Road): 9:00AM – 2:00PM
- Park Access+ (includes access to the entire park with Bear Lake Road): 5:00AM – 6:00PM
The Mount Ida hike is not on Bear Lake Road, so just a normal Park Access timed entry is required. However, if you arrive prior to 9:00AM or after 2:00PM, then no timed entry reservation is needed.
Be sure to reserve your spots as soon as reservations open up! This usually happens on the 1st of the month, prior to the following month (example: July reservations open up on June 1).
Also, note that a general Park Pass is required for entry into RMNP no matter what. These can be bought online or at the entrance.
5) Colorado Hiking Tips
For some general Colorado hiking tips, check out some important things to know before hitting the trail:
Be aware of the elevation: hiking at altitude is no joke and you need to ease your way into the trails. Before taking on hikes from the start, give yourself a day or so to acclimatize.
Stay hydrated: to help with the altitude and the hiking itself, stay consistently hydrated. Take plenty of water and consider a Katadyn Filter Water Bottle for the trail.
Bring bug spray: the bugs can be out in full force on many trails. Put on some bug spray to keep yourself protected while hiking.
Apply sunscreen: the sun can be very strong in the mountains. Applying sunscreen (and wearing a hat / sunglasses), will be very important when it comes to protecting yourself.
Keep an eye on the forecast: the weather can turn suddenly out on the trails. Be sure to check the weather forecasts beforehand to avoid rain & thunderstorms. Afternoon storms can be more prominent in the summer months (so start early!).
Download offline maps: to keep yourself on track, download offline maps for the trail. This can be done by using navigation apps such as AllTrails, Maps.me, and Gaia. You should also download offline Google Maps, as cell service does not always work closer to the trailheads.
Check trail conditions: before committing to a trail, I would recommend looking at the latest trip reports on AllTrails (or 14ers.com for 14er hikes). This is more so important as the summer season starts & ends, as you can get a better idea of trail conditions & snow coverage.
6) Weather Conditions
When it comes to hiking up Mount Ida, it will be very important to pay attention to the weather forecast. Since much of the hike is done above the tree line, you have to be cautious for those afternoon thunderstorms that are common in the summer months.
In addition, the views are just so much better without those low lying or thick clouds. Saving this hike for a nice weather day is your best bet.
I would recommend checking out a few different weather forecasts prior to taking on the hike:
In addition, since most of the hike is done above the tree line along a ridge, the wind can be a major factor on the trail. I would recommend paying close attention to the forecast for adverse wind conditions before taking part.
Mount Ida Trail Conditions: for latest trail conditions, I would recommend checking out AllTrails to gain a better understanding of what the route is looking like. During the early/late season, the trail can be affected by snowfall. Reading the latest trip reports will give you a better understanding of current conditions.
Hiking Resources & Checklist
Before heading out for the trails, be sure to read up on some of the hiking resources up on the site. These are here to better prepare you for all types of outdoor adventure.
- Gear: Hiking Packing List
- Weather: How to Prepare for Hiking Weather
- Navigation: Hiking GPS & Navigation
- Tips: 20+ Hiking Tips & Tricks for the Trail
- Accommodation: Book Your Hotel Today
- Rental Car: Book Your Car Rental Today
7) Where to Stay
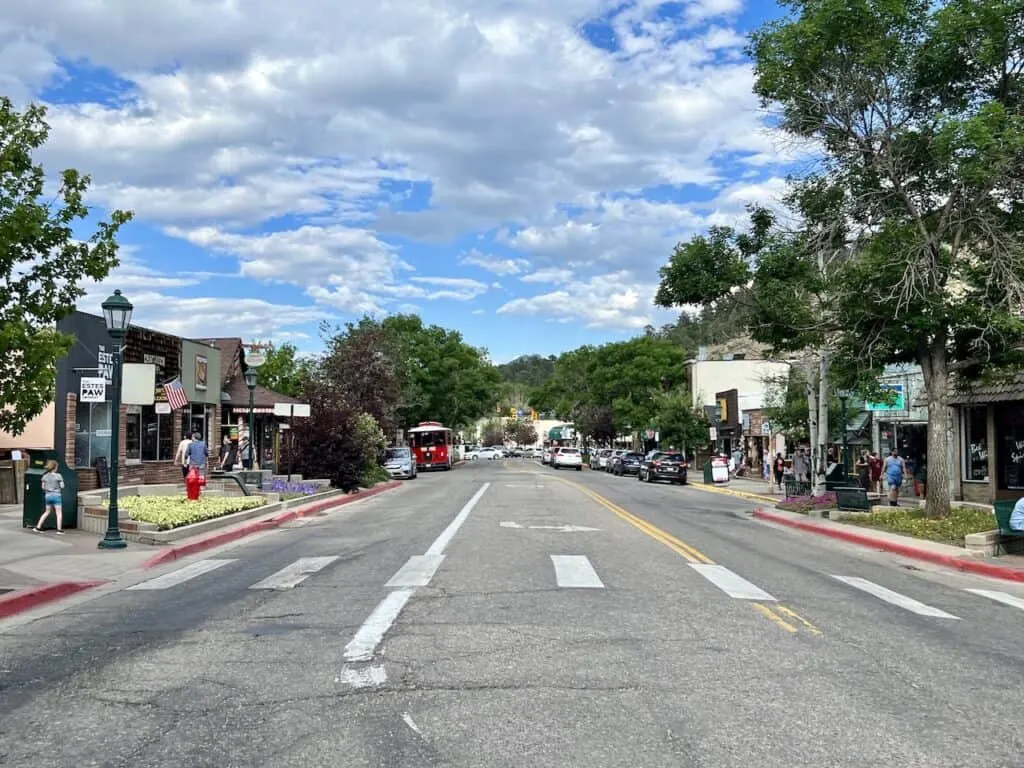
During a visit to Rocky Mountain National Park, most people situate themselves on the eastern side of the park in the town of Estes Park. It gives visitors easy access to most of RMNP and is going to be the best overall option.
Below are a few top accommodation options to consider for your visit – note that these can sellout quickly during prime summer season, so be sure to book well in advance.
- Best Overall Option: Murphy’s Resort
- Best High End Option: Estes Park Resort
- Best Value Option: Blue Door Inn
Grand Lake Note: Mt Ida is one of the few exceptions where Grand Lake is closer to the trailhead than Estes Park. Although that is the case, I would still recommend Estes Park given the proximity to the rest of the park’s highlights.
8) Hiking the Mount Ida Trail
Now that most of the background is taken care of, let’s talk through what to expect out on the Mount Ida hike.
Once you have made it to the trailhead and parked your car, it is time to head out on the trail.
Immediately after starting the hike from the trailhead, you will pass by Poudre Lake. From there, follow the trail up through the forest. Along the way, some helpful manmade wooden and stone stairs will help you gain some elevation.
The first portion of the hike will be a zigzagging trail up through the trees, as you begin to gain the first several hundred feet of elevation towards Mount Ida.
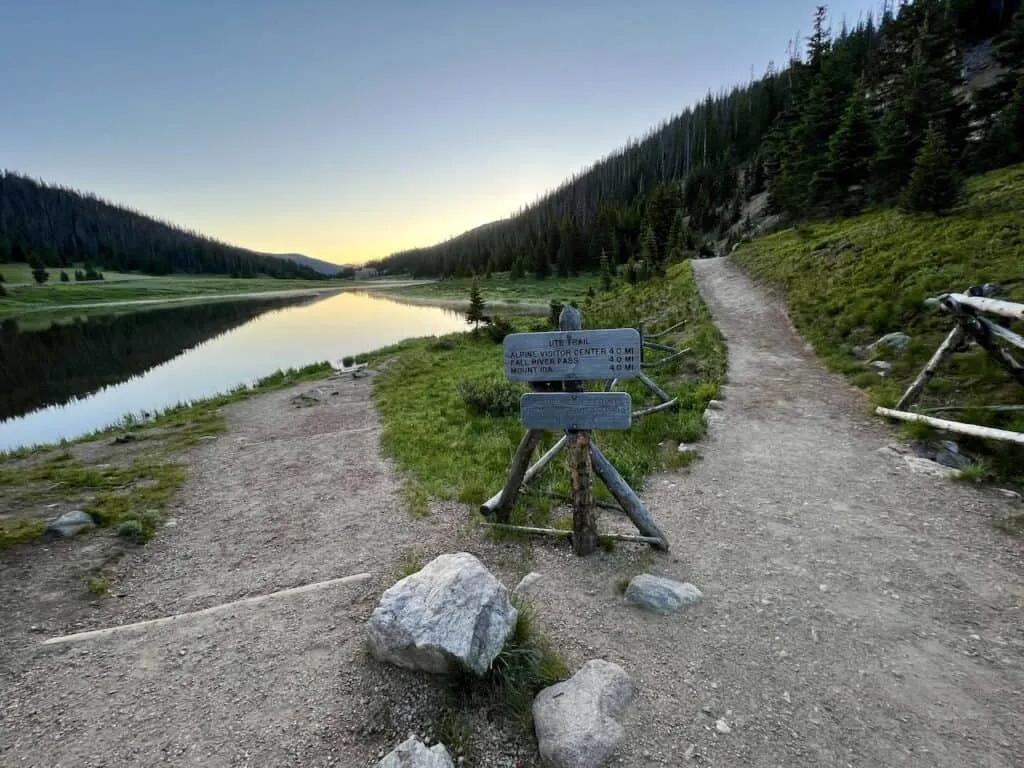
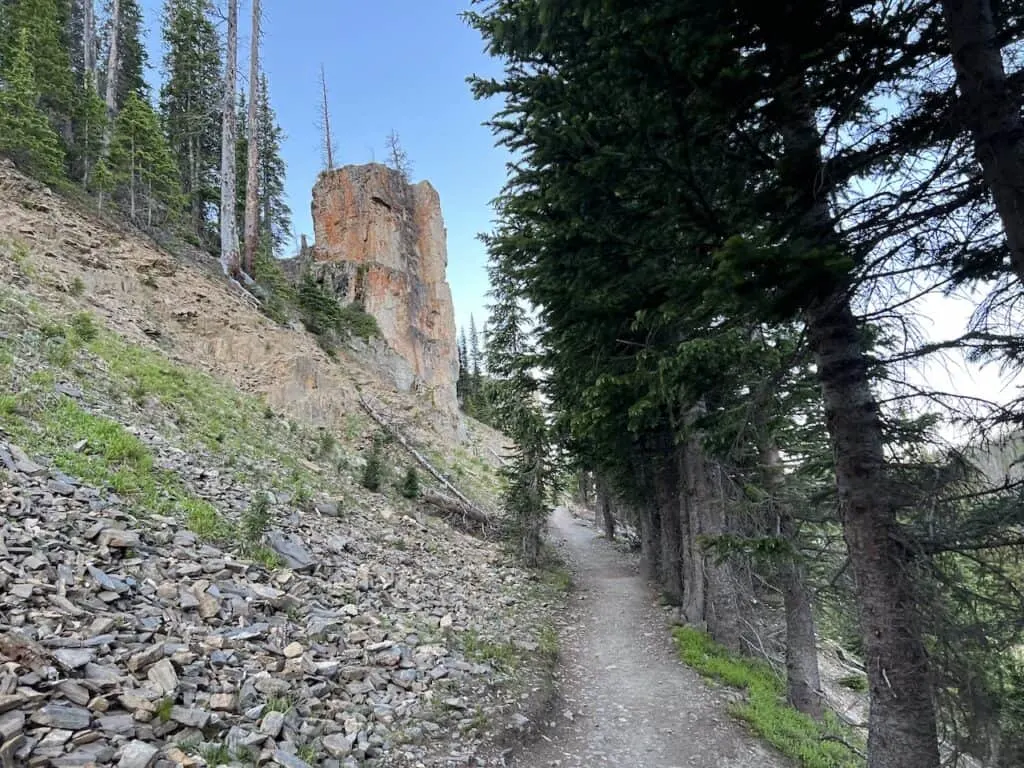
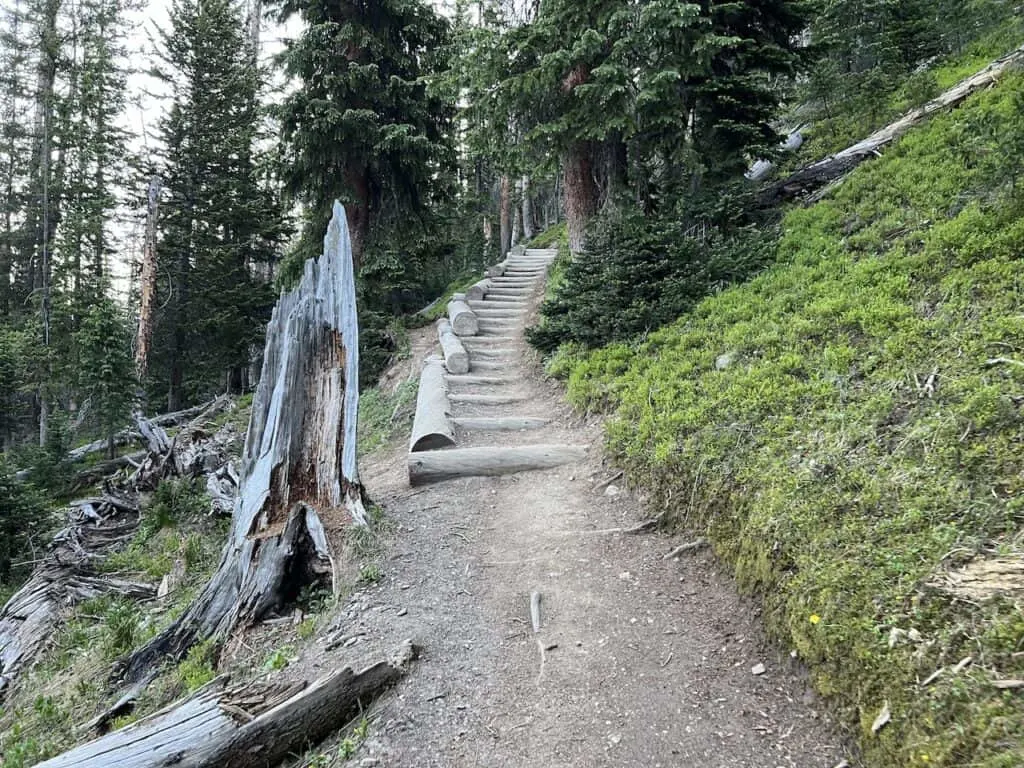
Be on the lookout for a couple of trail signs, where the trail splits into two. As long as you follow the signs to Mount Ida, there should be no issues here.
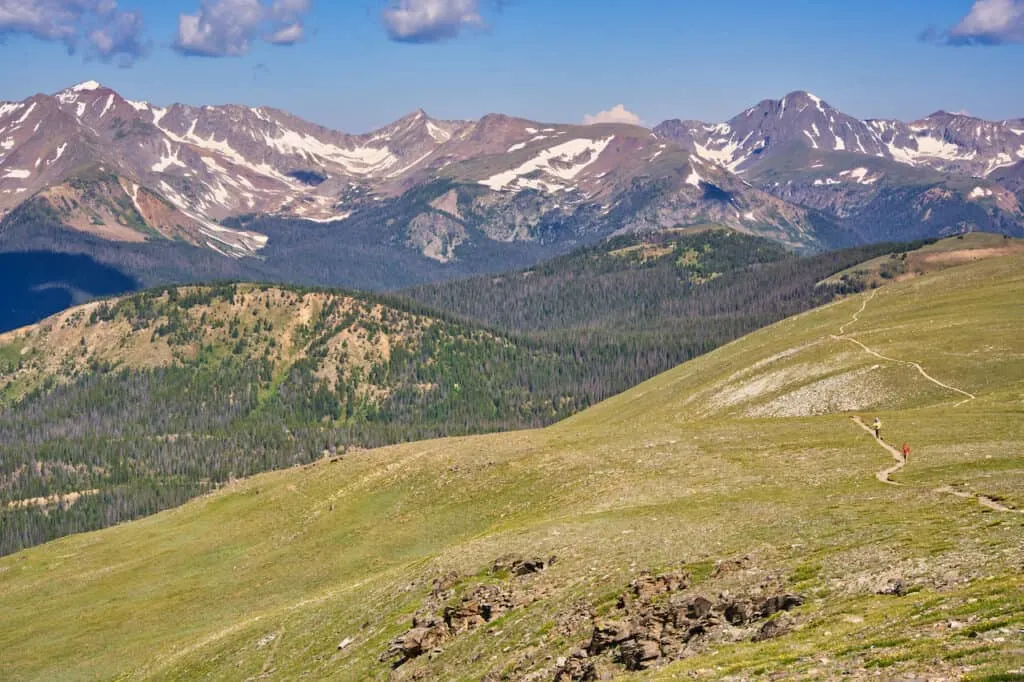
Once out of the trees, you will see the dirt trail etched into the hillside all the way out in front of you. Further in the distance will be Mount Ida, which is still another 3+ miles away.
The trail heads up some moderate incline as it continues to gain elevation closer the ridge. While the route does have constant elevation gain during this portion, it is on a relatively gentle slope.
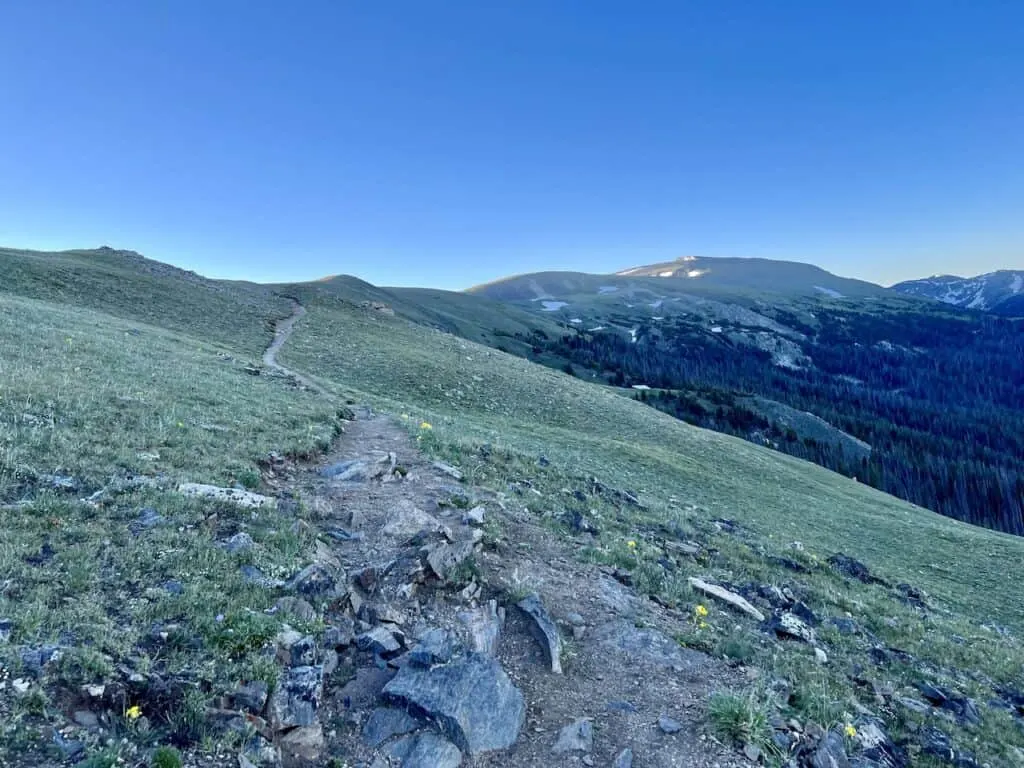
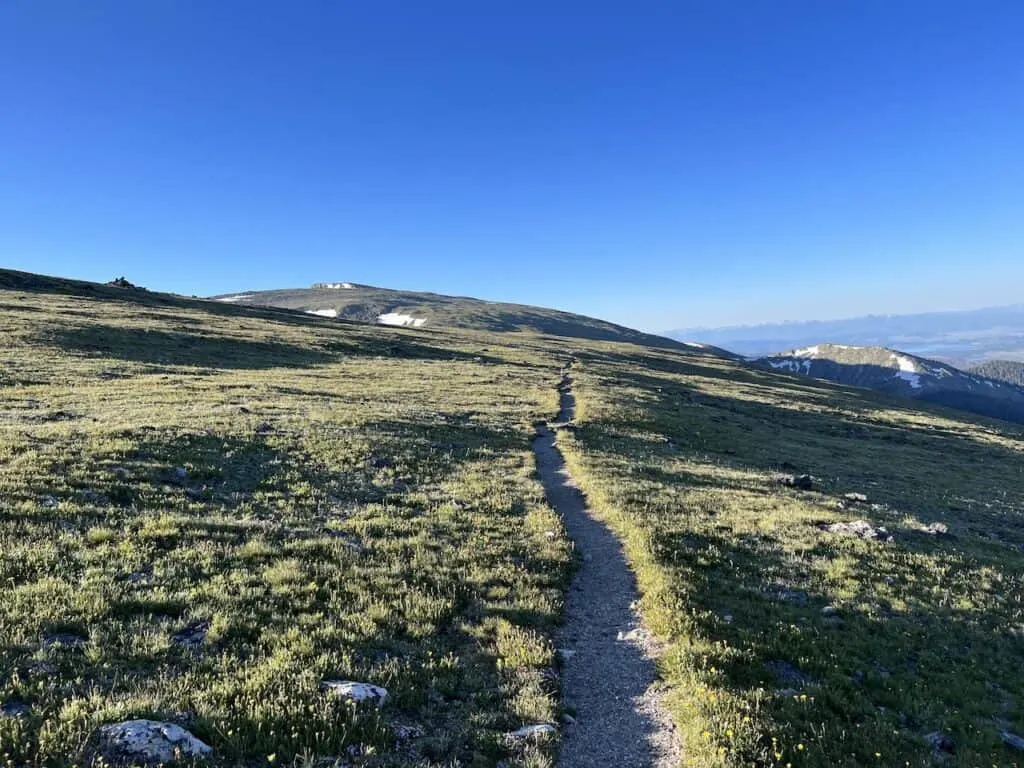
Soon enough, those views will begin to come into play. All along the right-hand side, will be mountain peaks that just continue one after another. Getting to have these consistent views is what makes Mt Ida so special – it is not just about the summit!
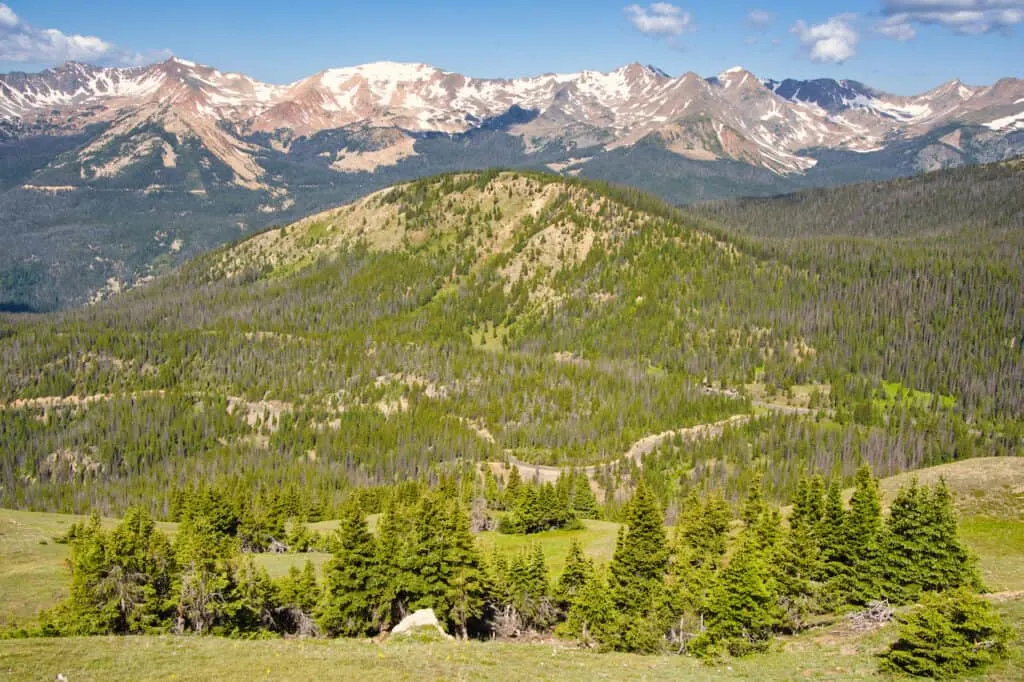
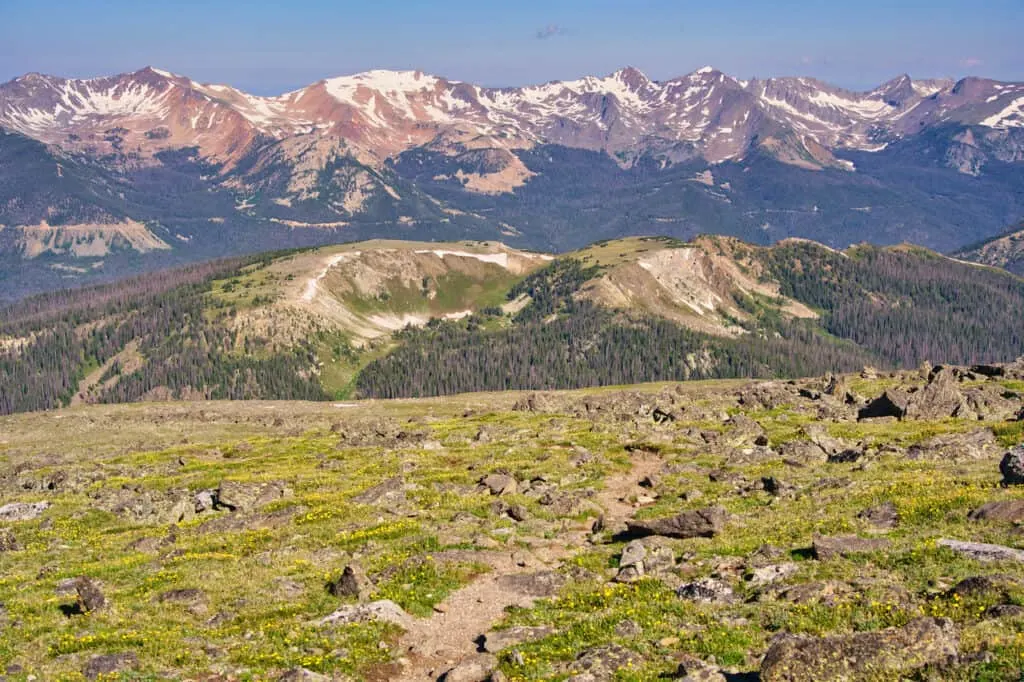
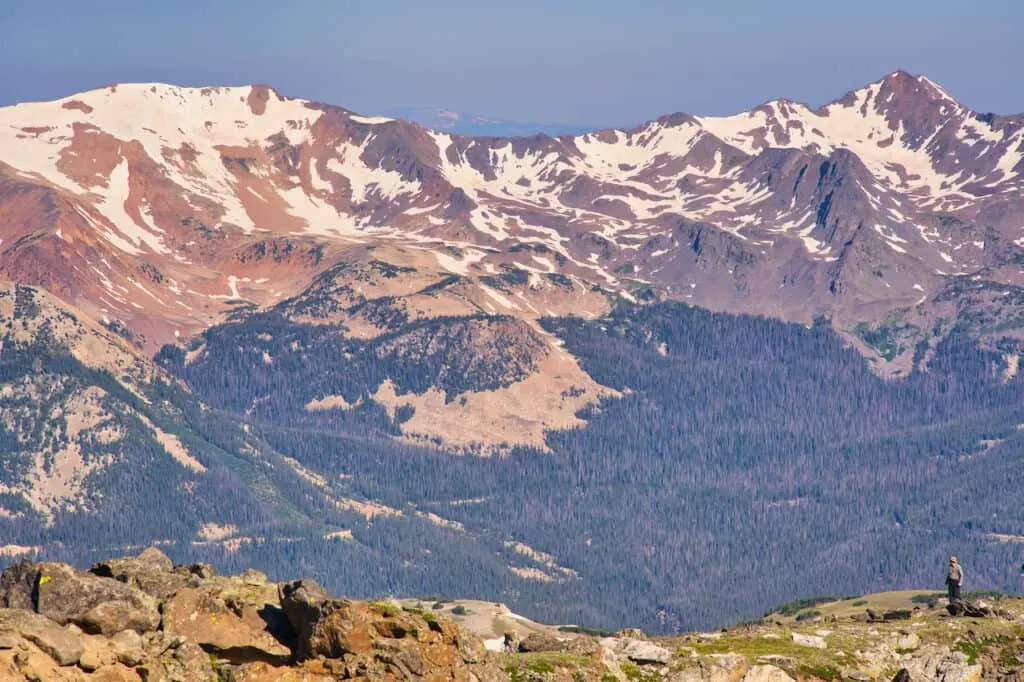
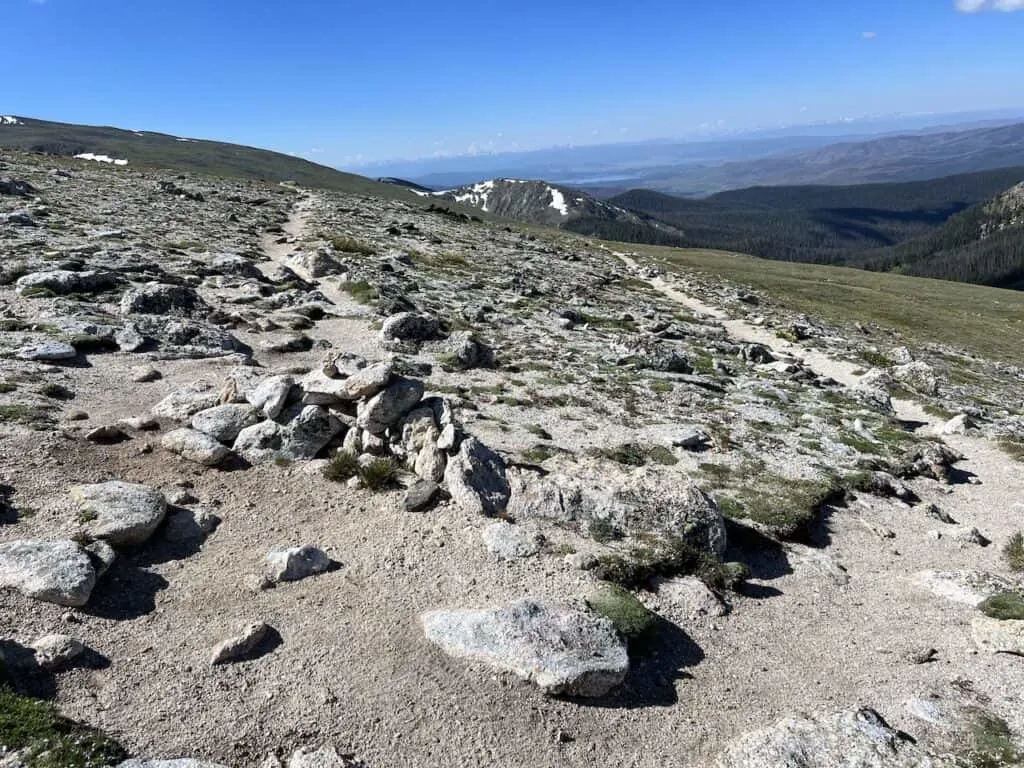
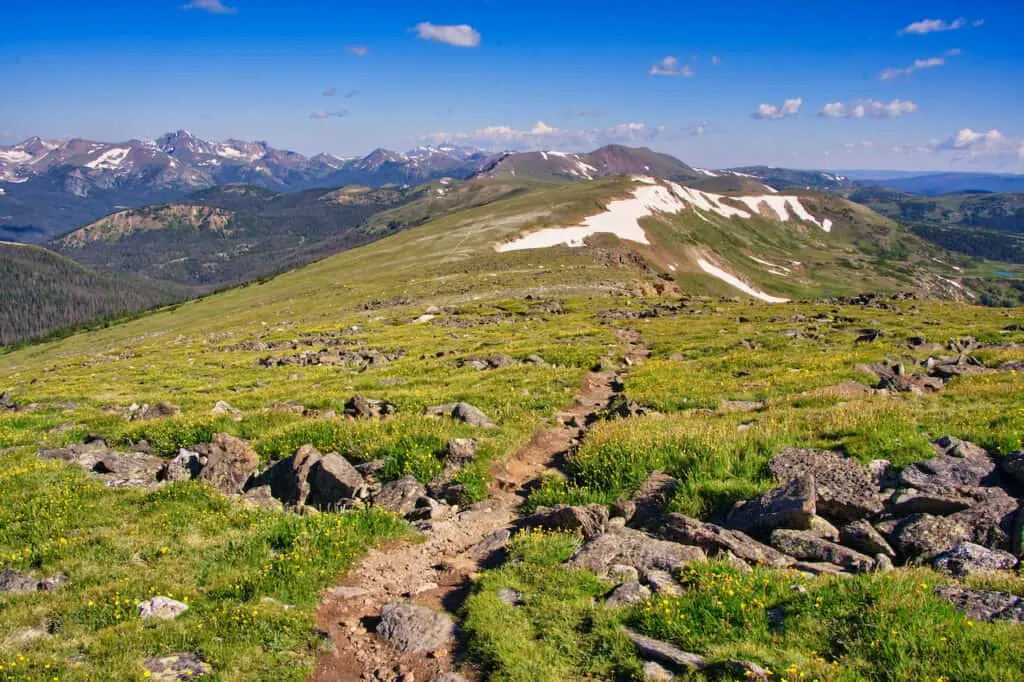
As you get distracted by the views, the trail to Mt Ida will begin to gain some more elevation. And soon enough, that nice dirt path will begin to get a bit rockier.
You will need to start paying more attention to your footing as you maneuver your way along the rocky terrain and lookout for some rock cairns (piles of rocks), that mark the path.
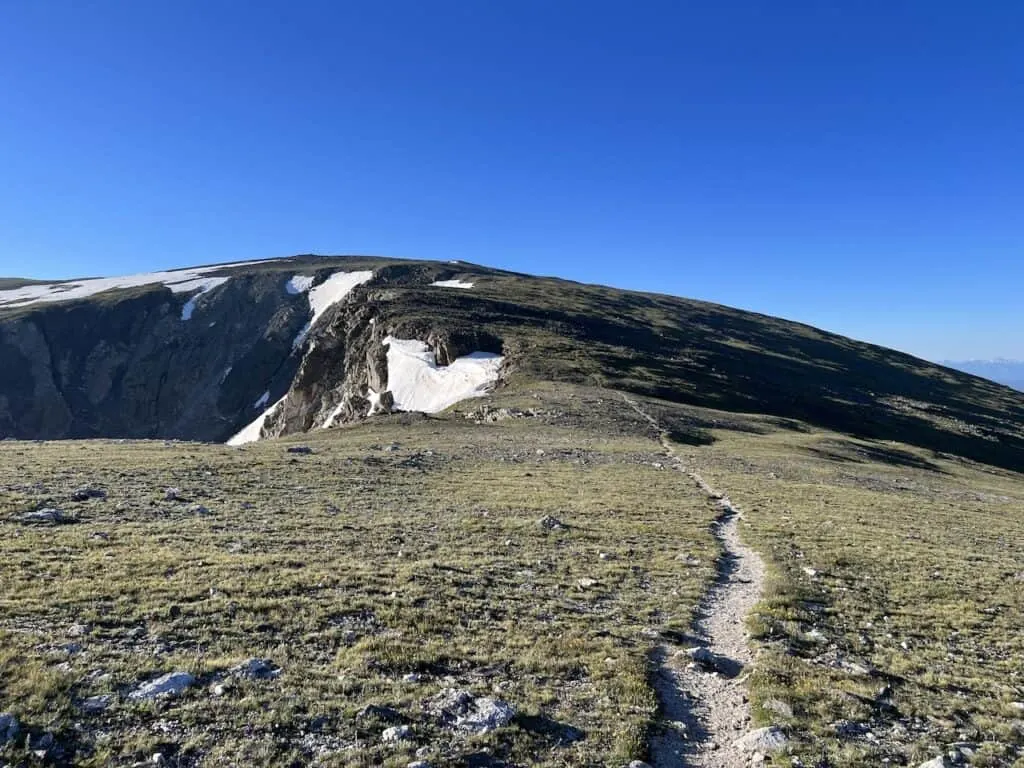
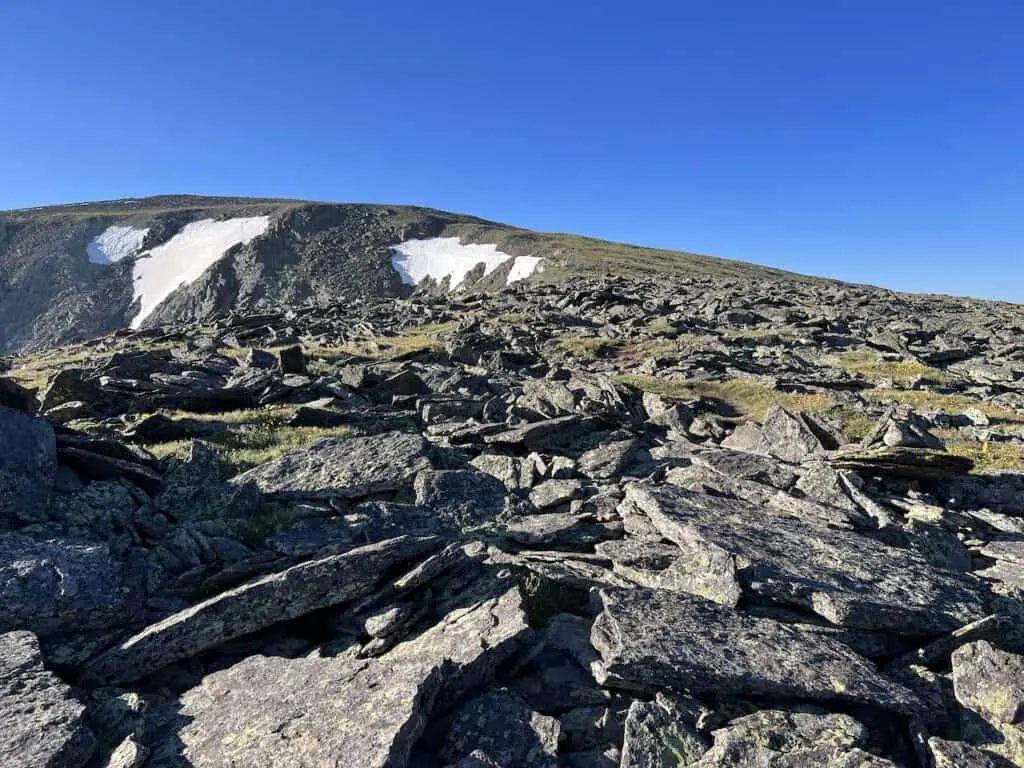
Route Note: heads up! At some portions of the trail, you may come across two different trails. I usually stuck with my navigation apps (AllTrails / Maps.me), but I did see people branching off and then meeting back up with the route.
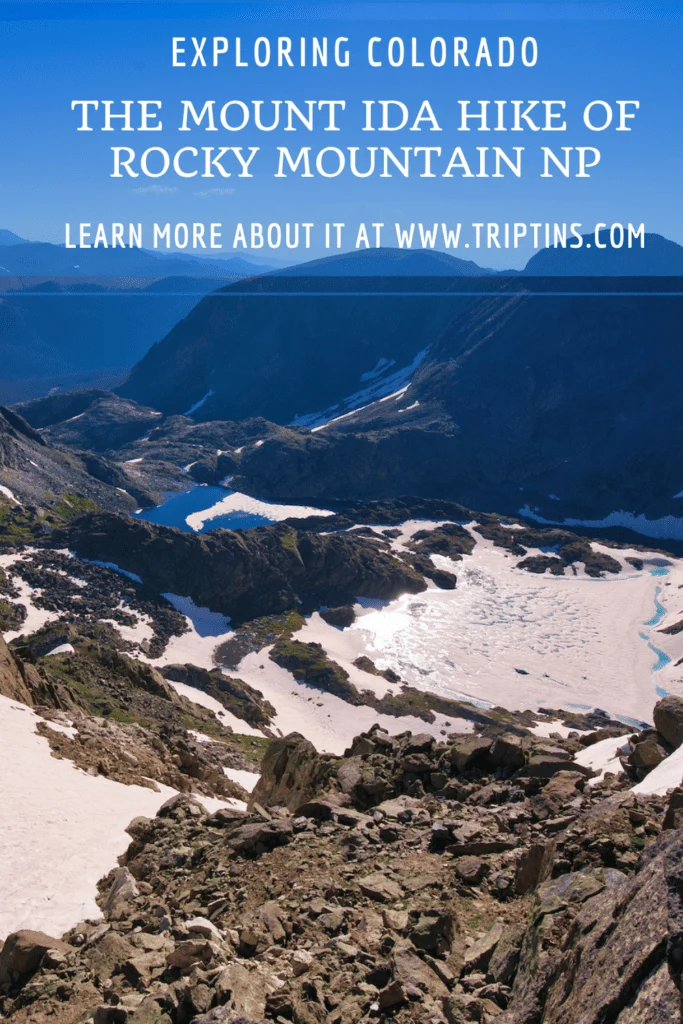
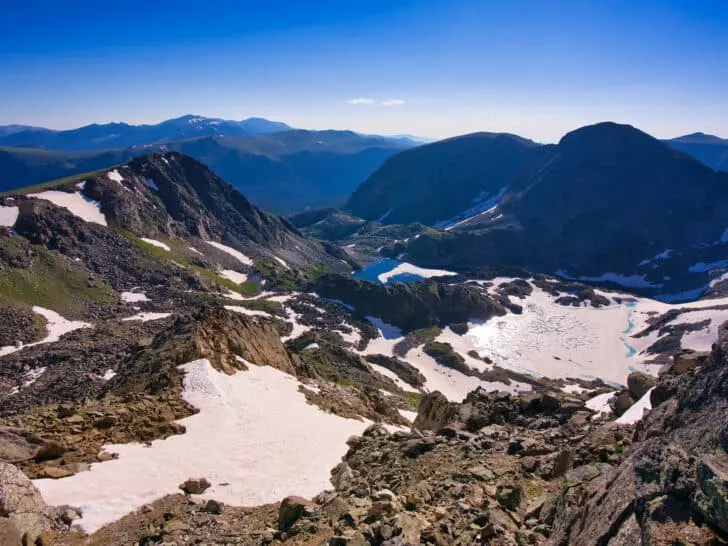
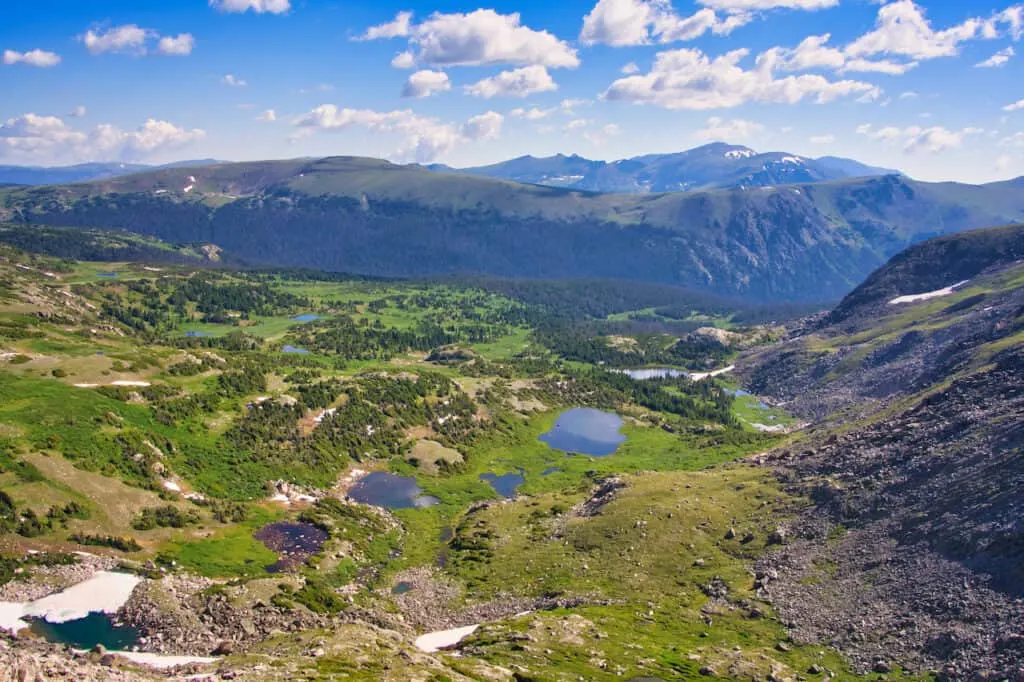
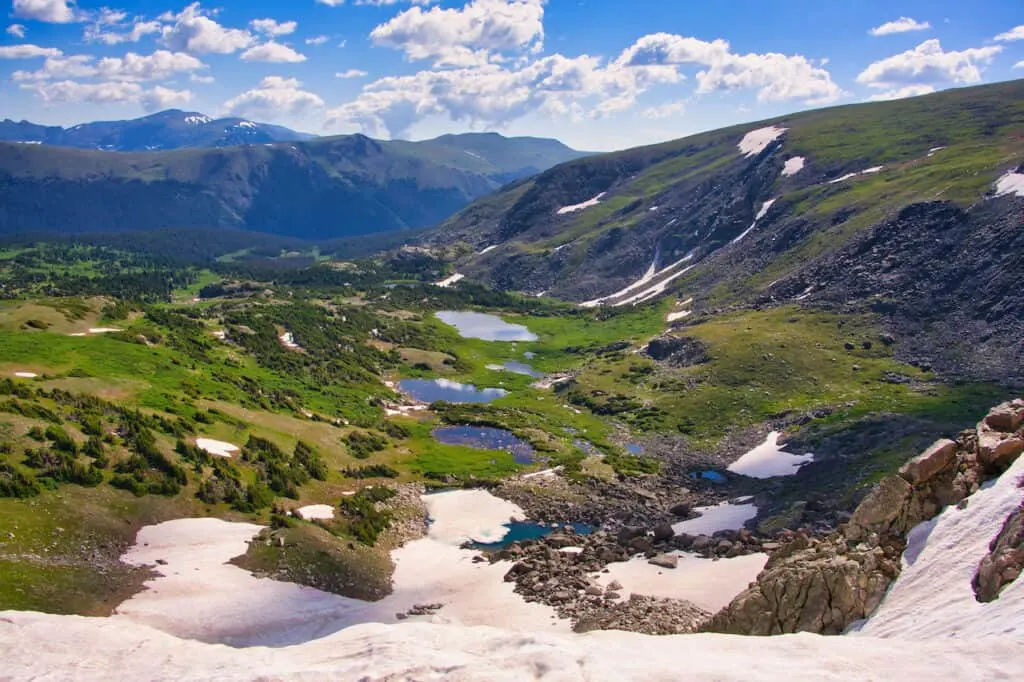
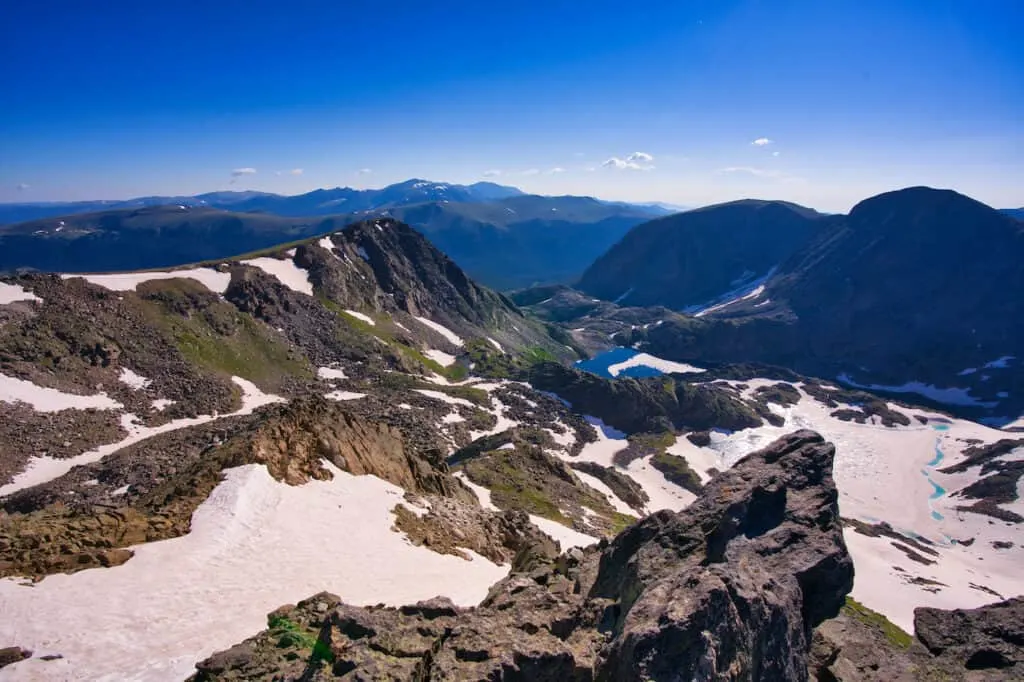
Just within the final mile towards the summit, be on the lookout towards your left-hand side. Here you will find a beautiful lake filled basin down below that has 10+ small lakes in view. This was another of my favorite spots to take in the view during the hike.
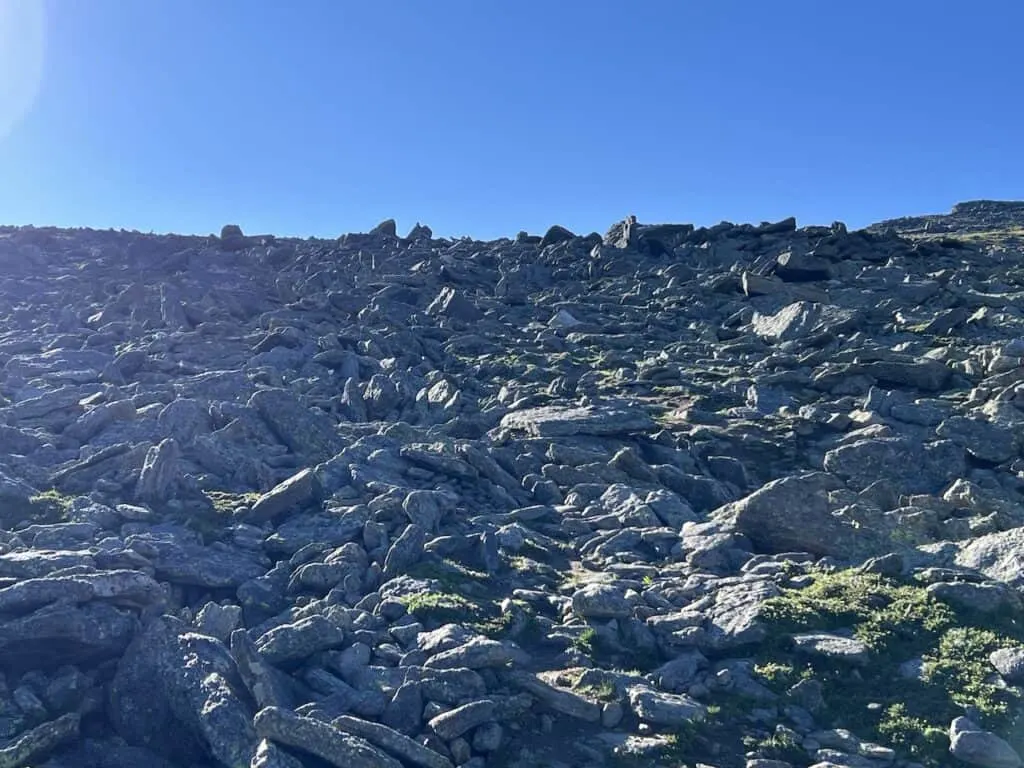
The trail continues onwards on a mixture of dirt path and rocky terrain, as you then gain the final portions of elevation towards the summit.
Once again, watch your step during these rockier portions of trail as it can be quite easy to lose your balance if you are not paying attention.
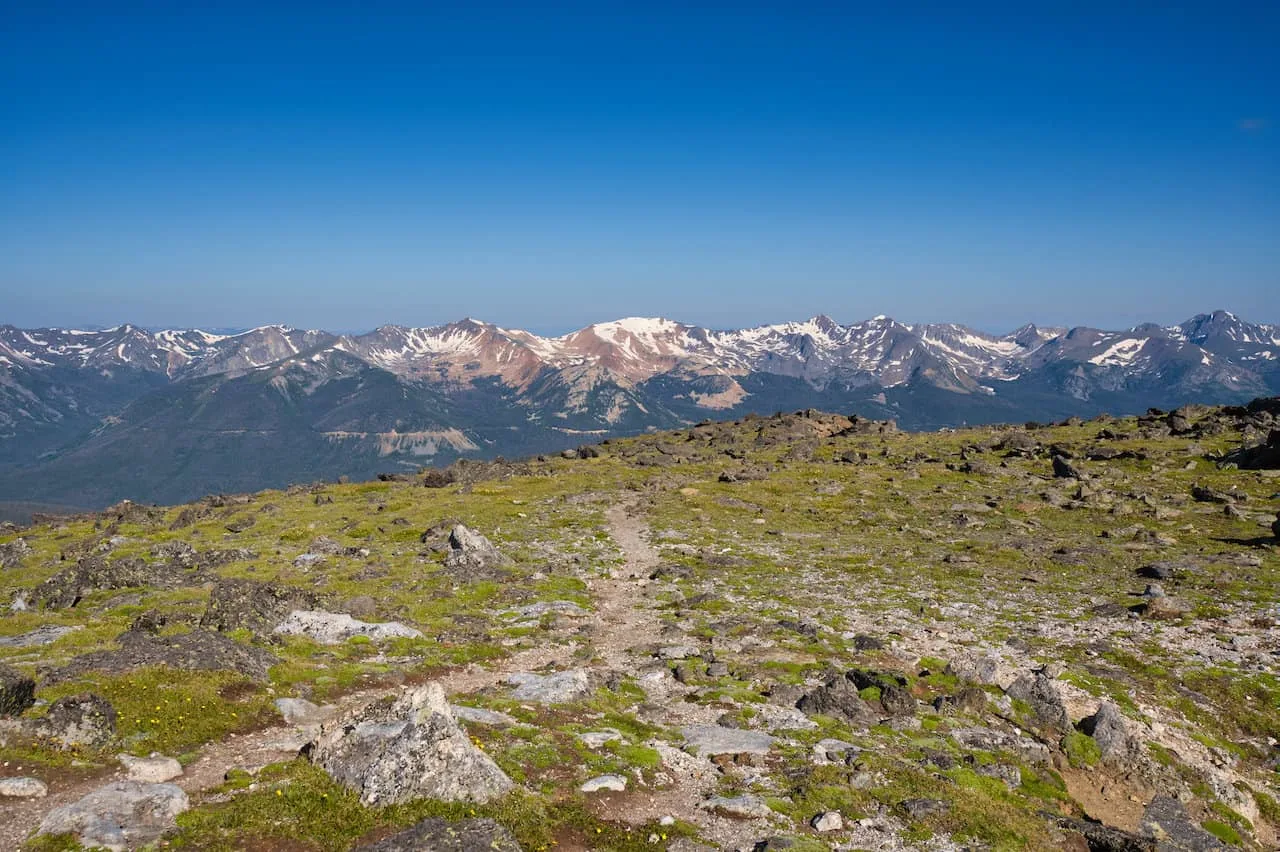
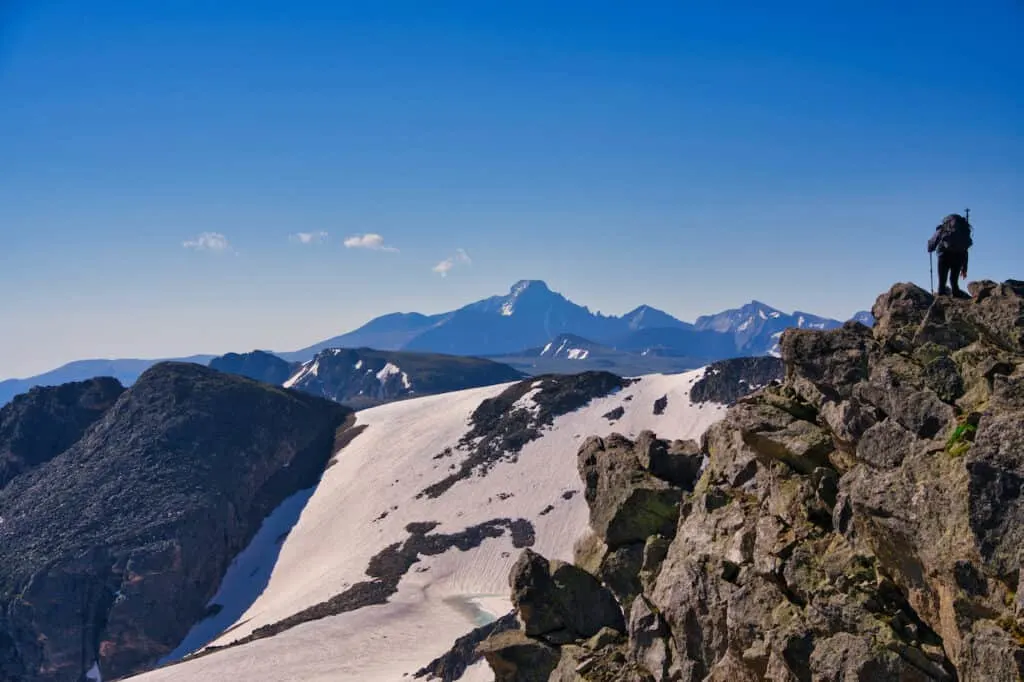
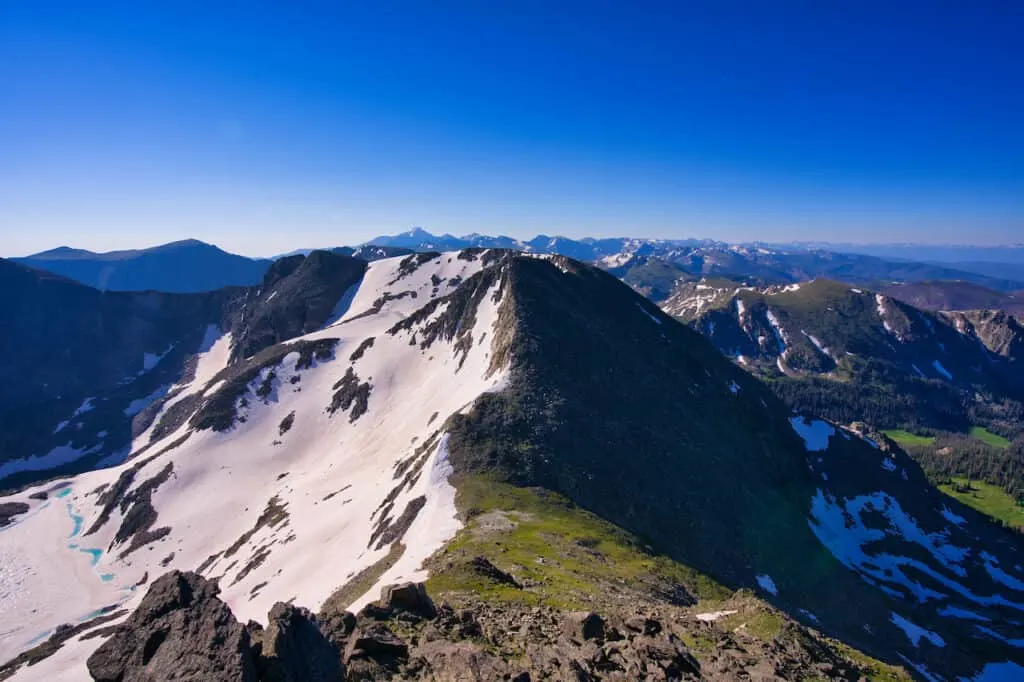
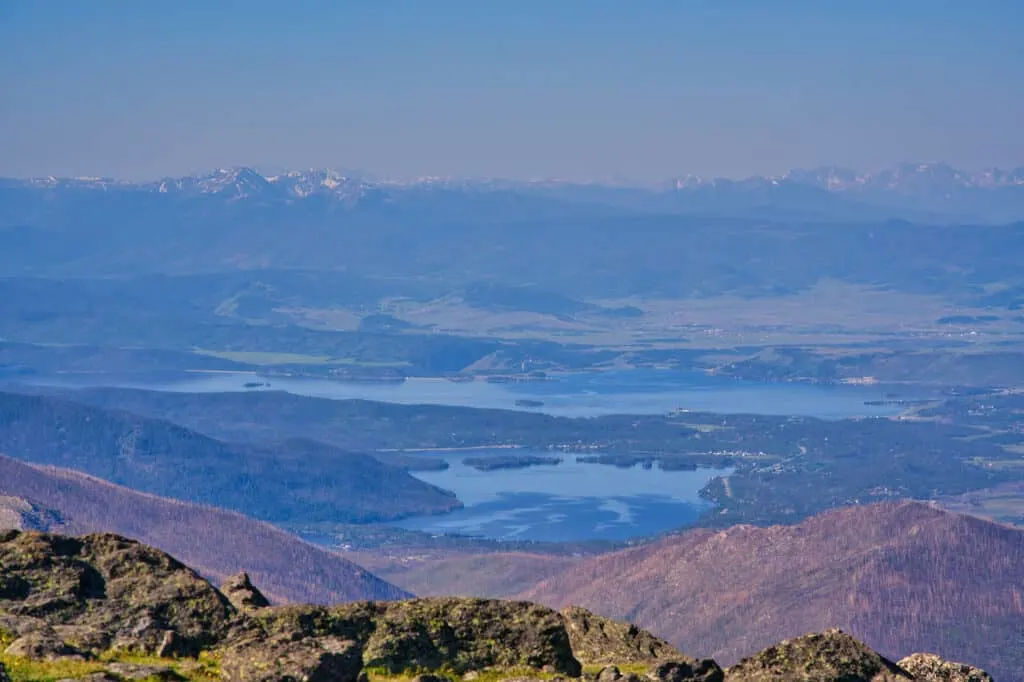
Once at the Mt Ida summit, 360-degree views surround you as you have a never-ending array of mountains, valleys, lakes, and more spread out in all directions.
You will be able to move around the summit area a bit as you enjoy different angles of the views out in front of you.
Some of the main points of interest just nearby include Mt Julian, Terra Tomah Mountain, Inkwell Lake, Arrowhead Lake. But all around there will be plenty more to take in (such as Longs Peak!).
Animal Note: Mt Ida can be frequented by many different animals. Keep your eyes out for marmots, pikas, moose, elk, ptarmigans, and more.
After a successful summit, it is time to reverse course and follow the trail all the way back down to the trailhead. Be careful descending on those rocky portions of trail, before the terrain flattens out and continues downward.
That about does it for the Mt Ida hike of Rocky Mountain National Park. If you have any questions or comments, be sure to add them in below.
Also, don’t forget to read some of the other Colorado hiking guides up on the site.
Have fun out there and safe travels!
