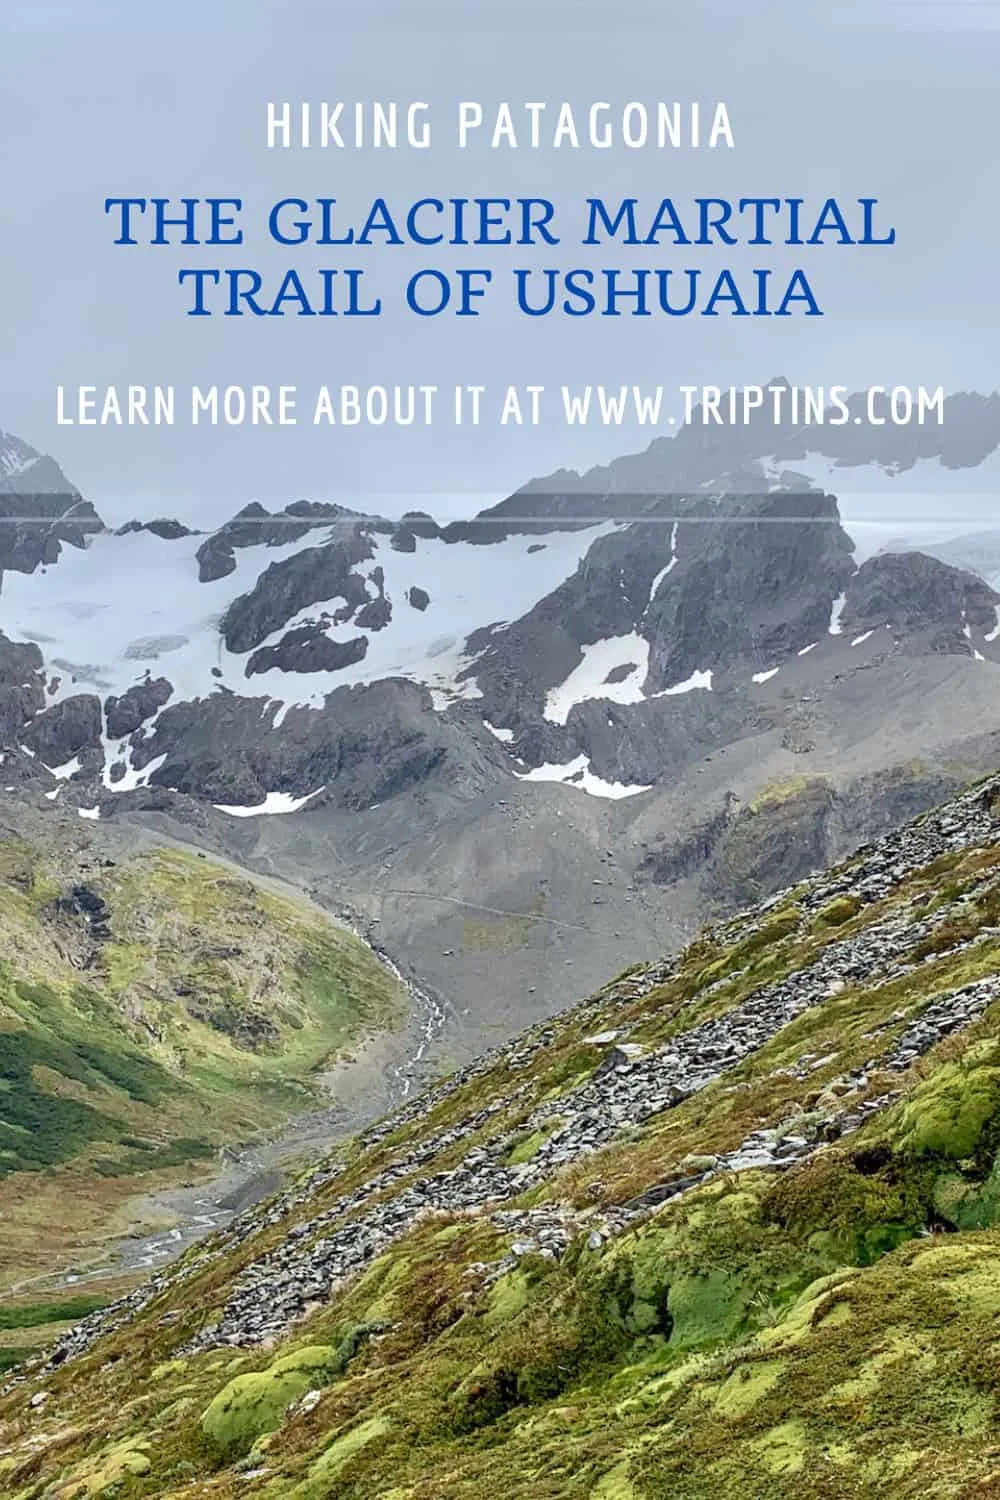
One of the fan favorite activities in Ushuaia is to take part of a Glacier Martial trekking experience. Since the hike is right nearby town, not too difficult, and offers great views, many decide to add it onto their itinerary.
The hike takes you up the mountains surrounding Ushuaia, as you get to enjoy views of the Beagle Channel, the surrounding mountains, and of course the Martial Glacier itself.
This guide will walk you through how to take part of a Glacier Martial trekking experience for your next trip to Patagonia.
* Affiliate Disclosure: This post may contain affiliate links, which means I may receive a commission if you make a purchase through the links provided, at no additional cost to you. Thanks for supporting the work I put into TripTins!
1) Glacier Martial Trekking Details
Below are some helpful stats and details about the Martial Glacier hike to better prepare you for your trek:
- Starting & Ending Point: Refugio de Montana
- Mid-Point: Glacier Martial Viewpoint
- Hike Length: 8.4 km / 5.2 miles
- Elevation Gain: +588 meters / +1,930 feet
- Duration: 3 Hours
Optional Viewpoint: Note that the stats above include an optional viewpoint spot that is off of the main trail. You will see that side trek on the map below. If you exclude the extra viewpoint, then expect to save around 1.9 km / 1.2 miles from the trail.
Hiking Note: I should also point out here and it clear that this is not a trekking guide for a hike on the glacier itself. This is simply a hike to the glacier, where you can a close up view of it. There are longer guided options that do take you onto the glacier with the appropriate equipment.
More Hikes: Feel free to check out some of the other top Ushuaia treks in the areas if you would like to do some additional hiking
Fun Fact: The name of glacier comes from an explorer by the name of Luis Fernando Martial. He was the head of a French scientific expedition that arrived around Ushuaia in 1883.
2) Getting to the Starting Point
There are a few main ways to go about getting to the starting point of the hike. You can either make the walk from town, grab a taxi, or drive there on your own.
By Taxi
The easiest and most convenient way to get to Refugio de Montana is by taxi. You can simply make your way into town and find one for yourself or just have your hotel make a call for you. The one way cost will be around $10 USD.
I wouldn’t worry too much about grabbing a taxi back to town. When I was there, several taxis were waiting in the parking lot, and several more were dropping people off. If you are having issues, the folks in the coffee shop can help call one for you too.
By Foot
The town is located directly beneath the Refugio de Montana starting point. However, it is a windy and tough trek up.
The walk up is as long as the hike itself – just around 8 km / 5 miles, and would take 2+ hours. I would only recommend this if you want to have a longer trekking day out in front of you.
You can also decide to taxi up/down and then walk the other leg. If you do that, I would probably recommend taking a taxi up and walking down as you get some nice views out in front of you.
By Car
Renting a car in Ushuaia is not a bad idea either. Since many of the top hikes and attractions are located outside of the town center, you will constantly need to figure out logistics to get to various places.
While the driving times are not long to get around, having a car will sure make things more convenient for a trip.
Renting a Car? When searching for rental cars, feel free to check out Rentalcars.com for potential options.
3) Glacier Martial Weather
The one tough thing about hiking in Patagonia, is you never know when the weather will turn for the worst. At one moment it may be nice and sunny while the next is windy and rainy. This is exactly what happened to me when I went about my Glacier Martial hike.
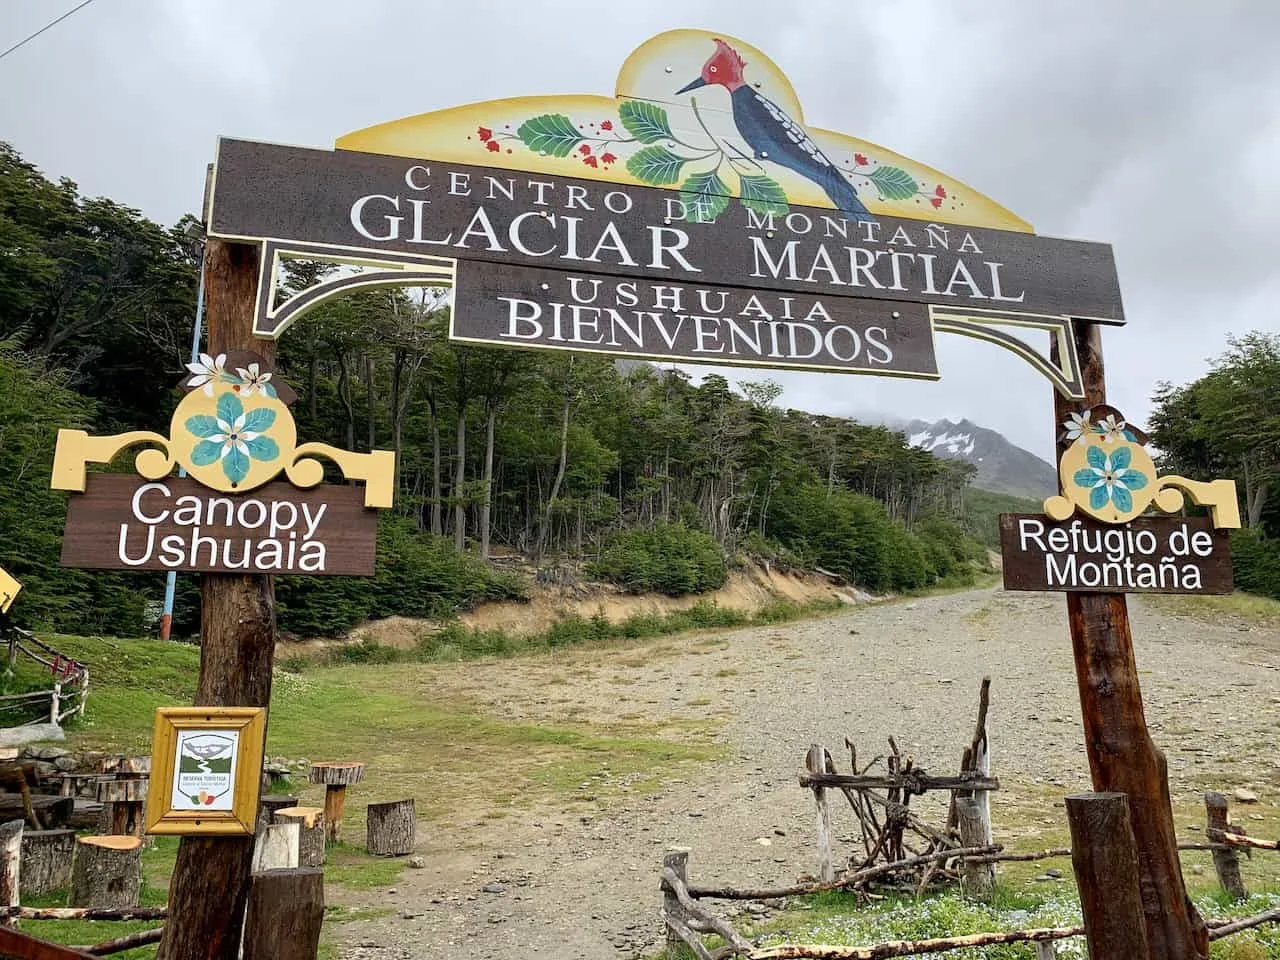
As I took a taxi up from town the weather was looking fine with a bit of overcast. When I got to the starting point, the clouds continuously built up and it starting to rain.
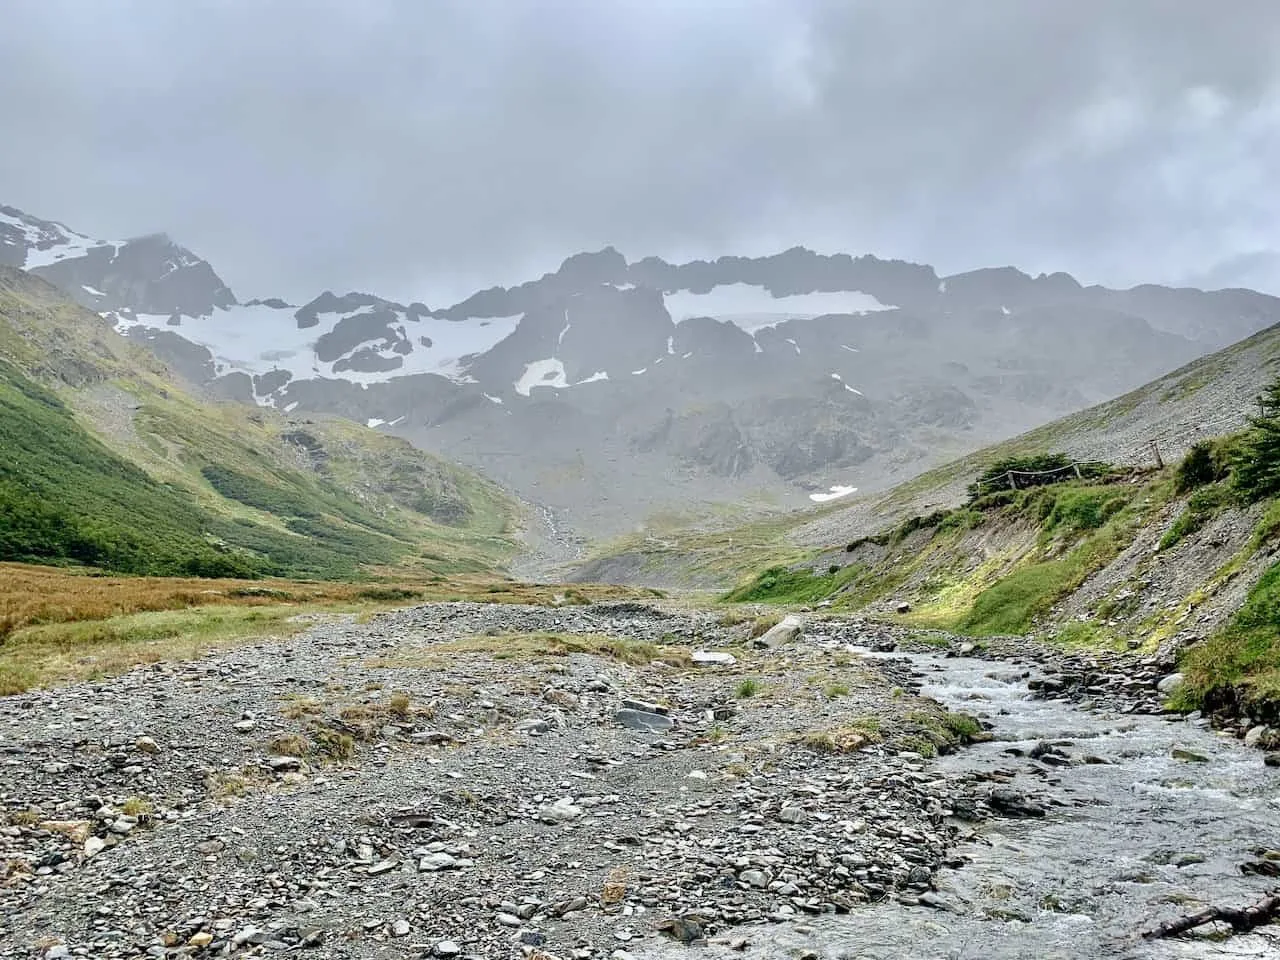
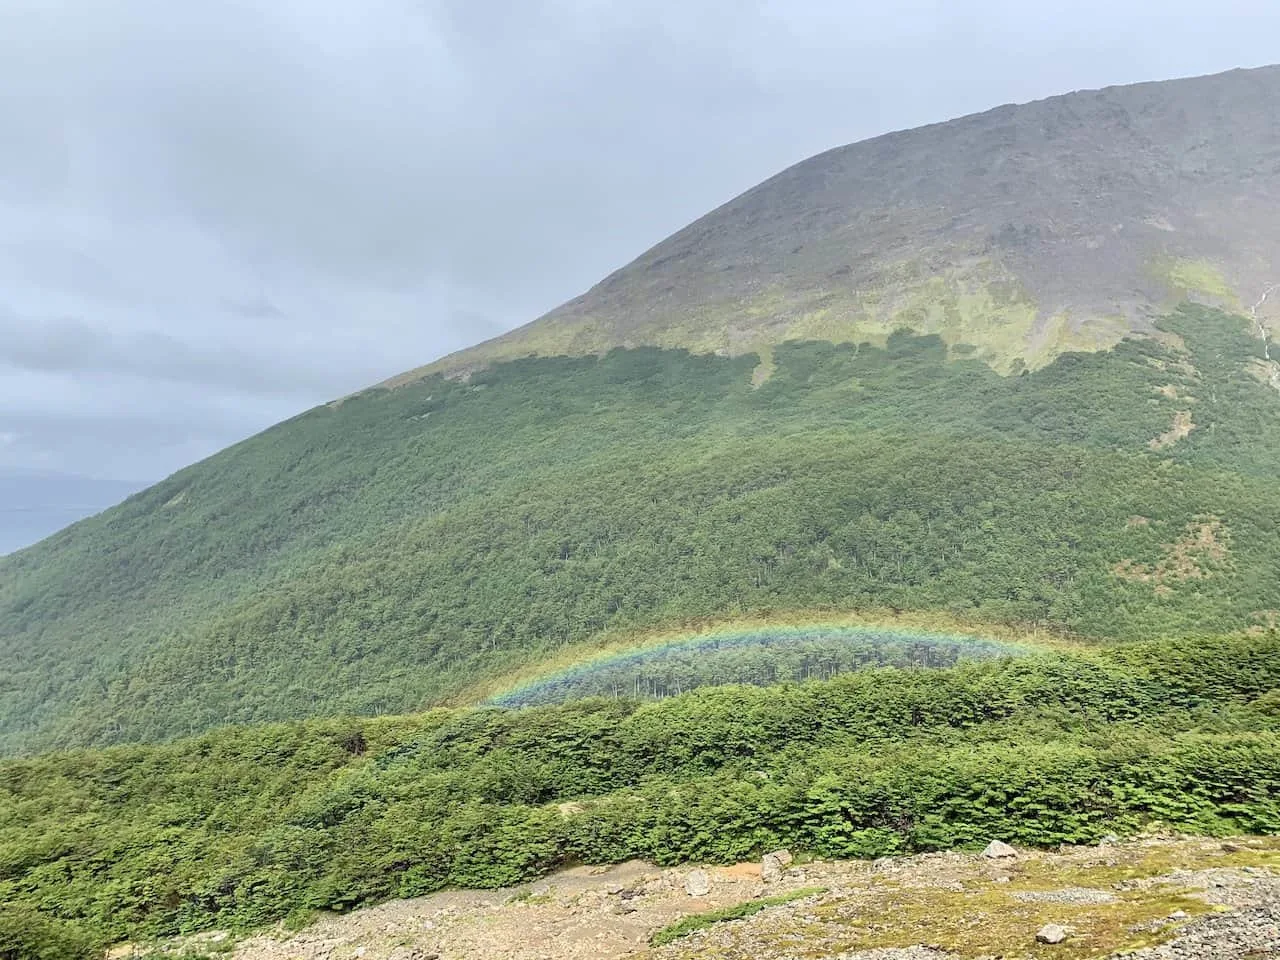
You will see in these photos that the weather was not great for hiking, But overall, I still did enjoy my time on the trail, especially as the weather continued to clear.
While I am sure most of your activities will be weather dependent around Patagonia, it never hurts to take a look at the local Ushuaia weather forecast that can give you a better idea of how a day is shaping up.
4) Patagonia Packing List
With that said, you must come prepared with the appropriate packing list when going about hiking in Patagonia. Layers, rain jackets, good hiking shoes are just some of the essentials.
The weather can consistently change and so can the terrain. You will want to prepare yourself for all situations, so I would recommend you take a look at the day hike packing list I put together for the trails.
There are certain parts of Patagonia trails that can get very soggy and muddy, so having appropriate footwear and socks is a must.
Hiking Resources & Checklist
Before heading out for the trails, be sure to read up on some of the hiking resources up on the site. These are here to better prepare you for all types of outdoor adventure.
- Gear: Hiking Packing List
- Weather: How to Prepare for Hiking Weather
- Navigation: Hiking GPS & Navigation
- Tips: 20+ Hiking Tips & Tricks for the Trail
- Accommodation: Book Your Hotel Today
- Rental Car: Book Your Car Rental Today
5) Hiking Map & Elevation Gain Profile
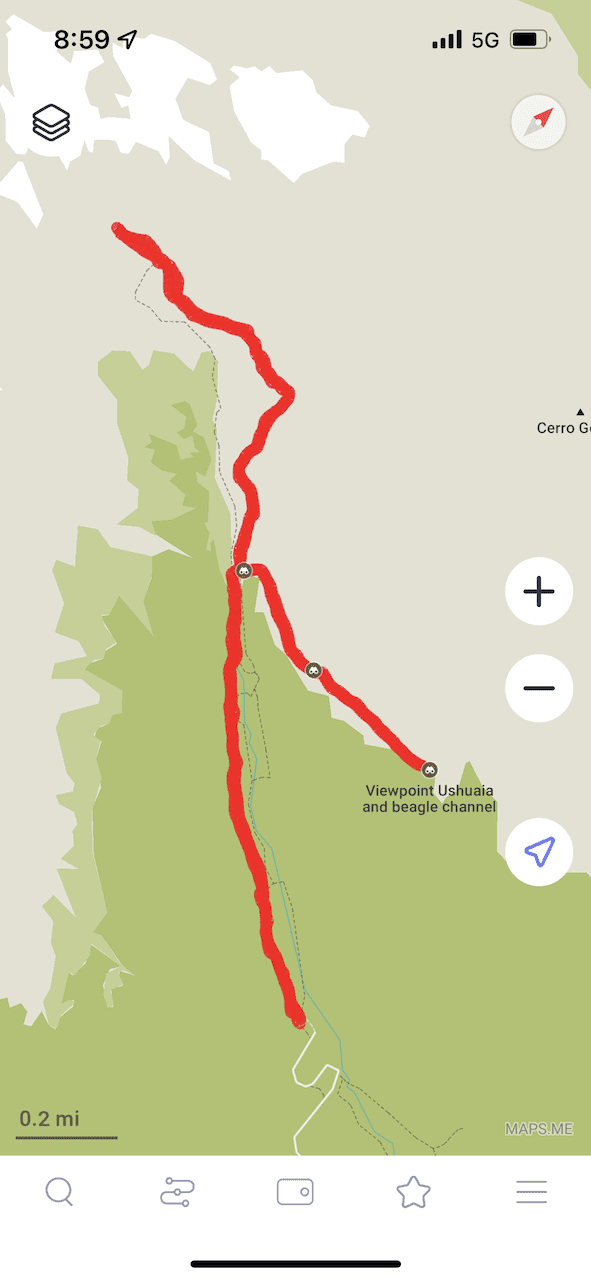
Before I go into the details of the hike, I did want to lay out the hiking map and elevation gain profile for you. There are a couple ways to go about the hike as there are various routes up the mountain towards the glacier.
You can decide to just head up one way and come down the same, or you can mix and match between a couple different trails.
I would recommend having a navigation app handy like AllTrails or Maps.me to better help you understand where you are on the route.
The route I took was the same way up and down (as seen on the map). However, you can opt for a portion of the route to be on the Sendero del Bosque (Forest Trail) -> the right hand trail at the beginning of the hike.
You can also see I added in that side trip off to the right hand side, which takes you to another viewpoint area.
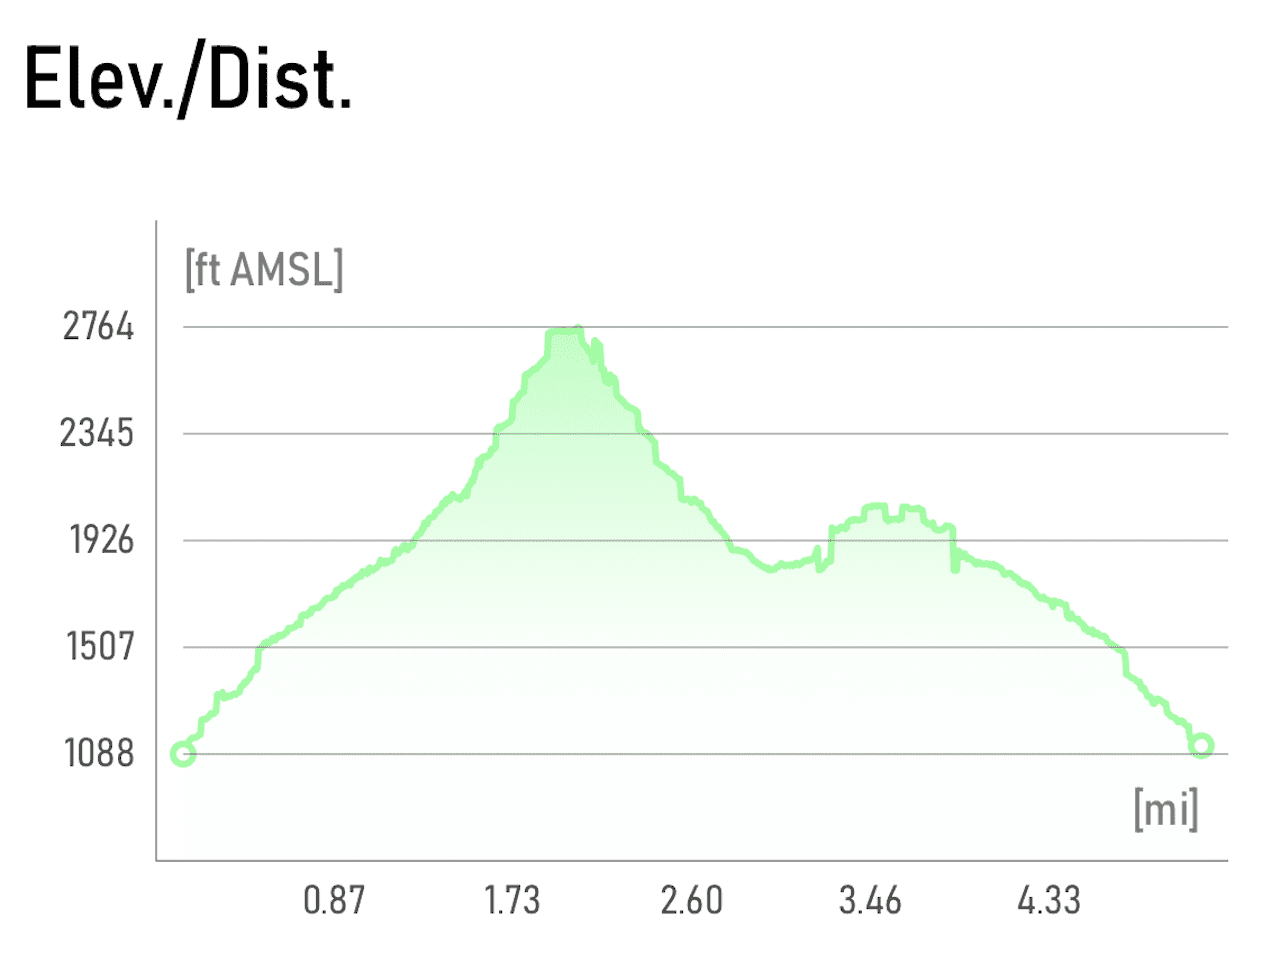
You can also find the elevation gain profile below that shows the ups and downs of the route.
The first portion of the hike is a moderate uphill gain. However, as you get closer to the glacier itself, the elevation gain does get steeper before making it to the end of the trail.
On the way down, I added in the optional viewpoint, which extended the overall elevation gain/decline of the hike.
Learn More: Take a look at this Ushuaia itinerary to get a better idea on how to put together a comprehensive trip to the region.
6) Glacier Martial Trekking Experience
Once you have made it to the starting point of the trail, it is time to begin the hike up to the glacier. Out in front of you, more so on the left hand side, you will see a wide open pathway. This is the main trail that will take you up the first portion of the mountain.
On the right hand side you will find the forest trail that runs along the river. Both of these trails meet up with each other about a mile or so up the route. Looking back on my time, I should have taken one trail up and the other back down, but you can opt for whatever suits you best.
I did enjoy the first portion of the trail as the pathway is quite wide and open. This gave me the chance to see the vast glacier covered mountain range out in front of me.
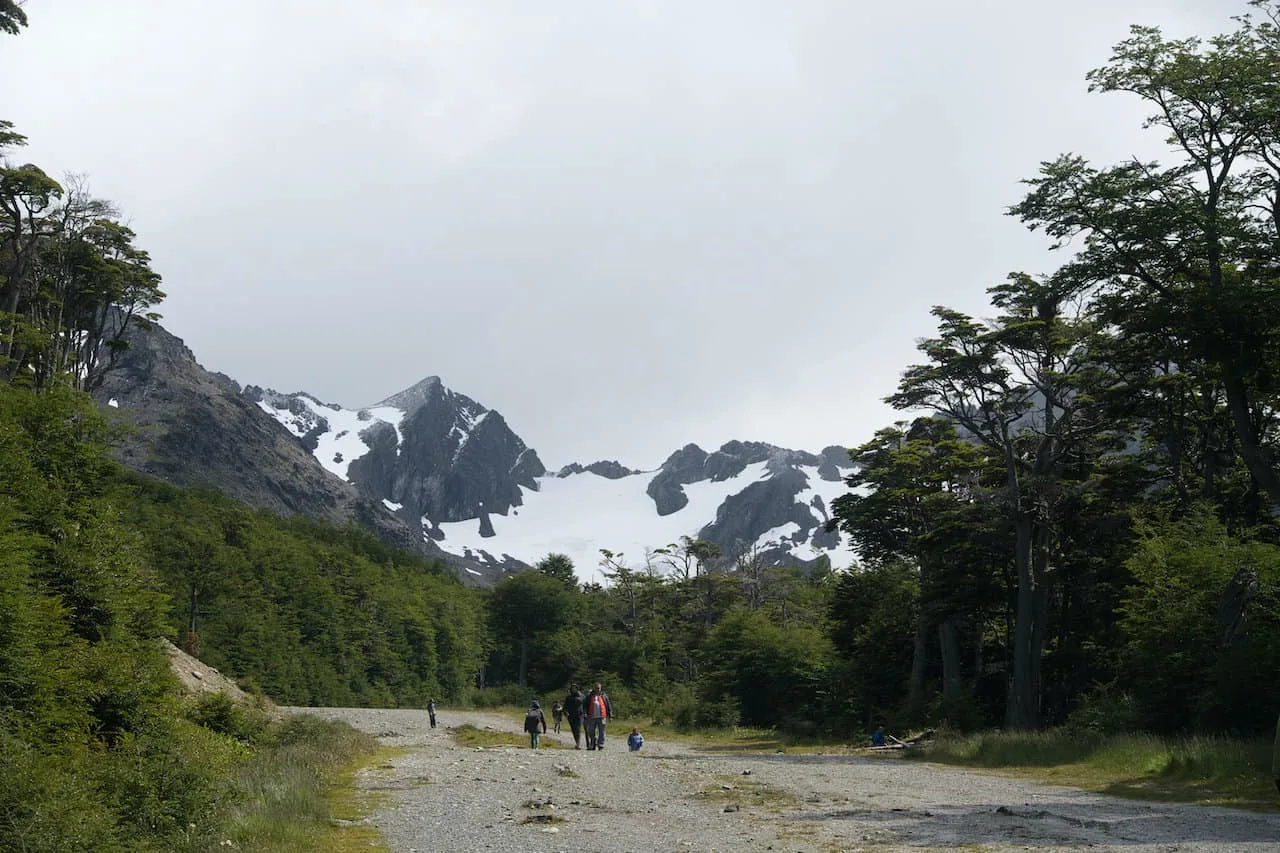
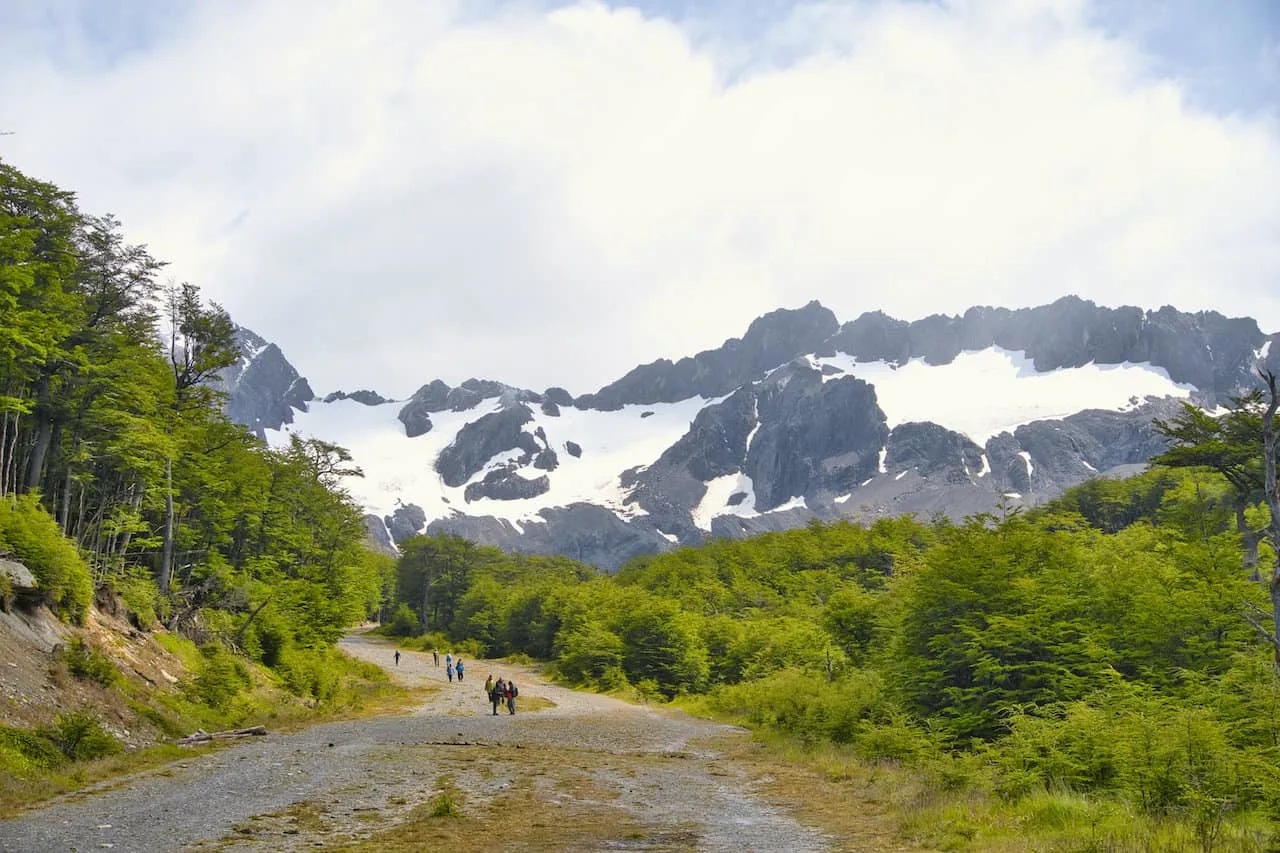
After around 30 minutes of hiking up, the trail begins to merge with the forest trail as you walk alongside the river and then cross over a small bridge. The trail continues upwards, where you will reach the first main viewpoint area.
From here you will see the Martial Glacier just up the mountain surrounded by flowing water and some scenic greenery landscape.
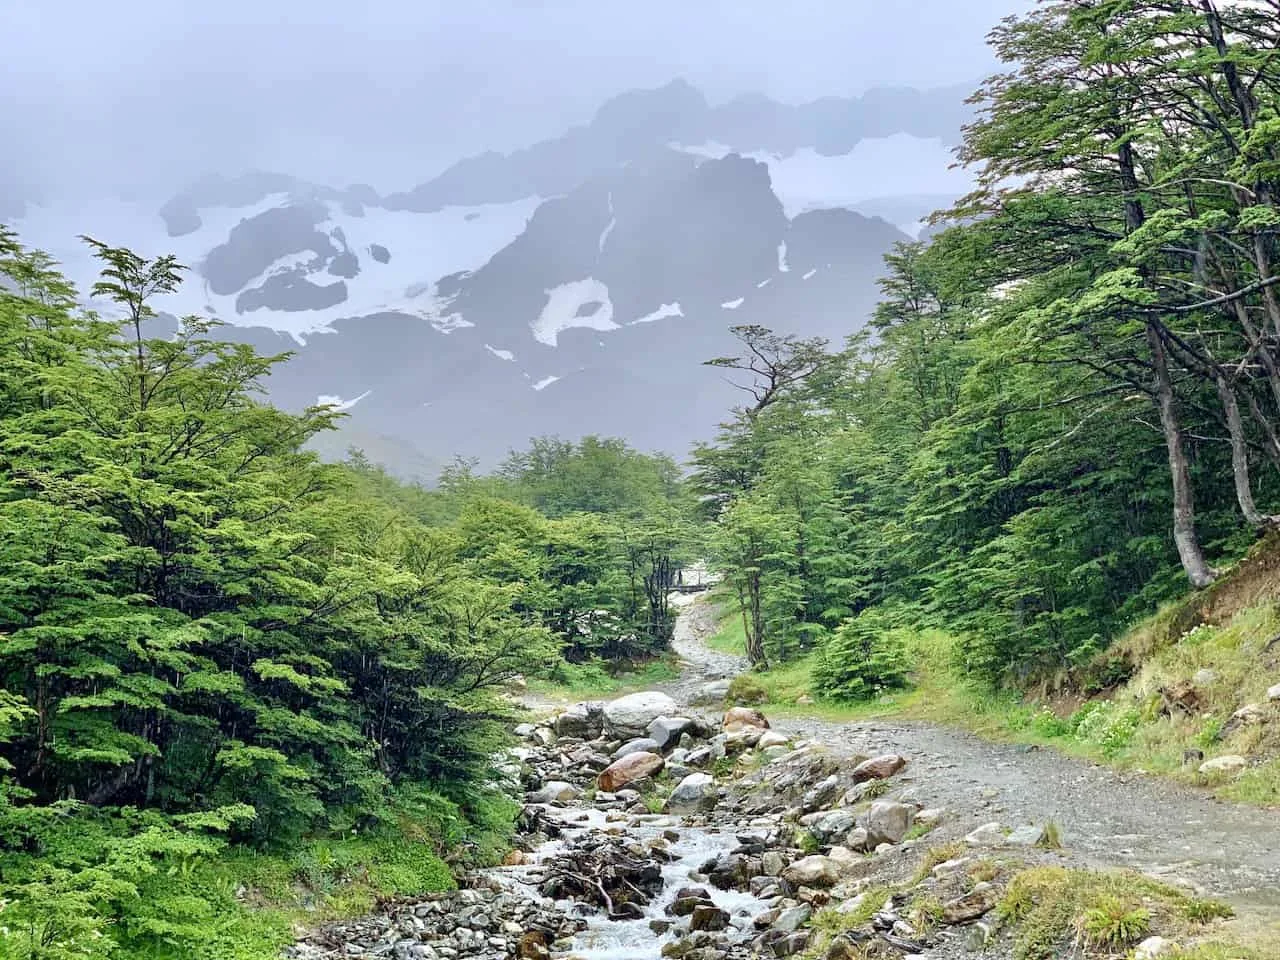
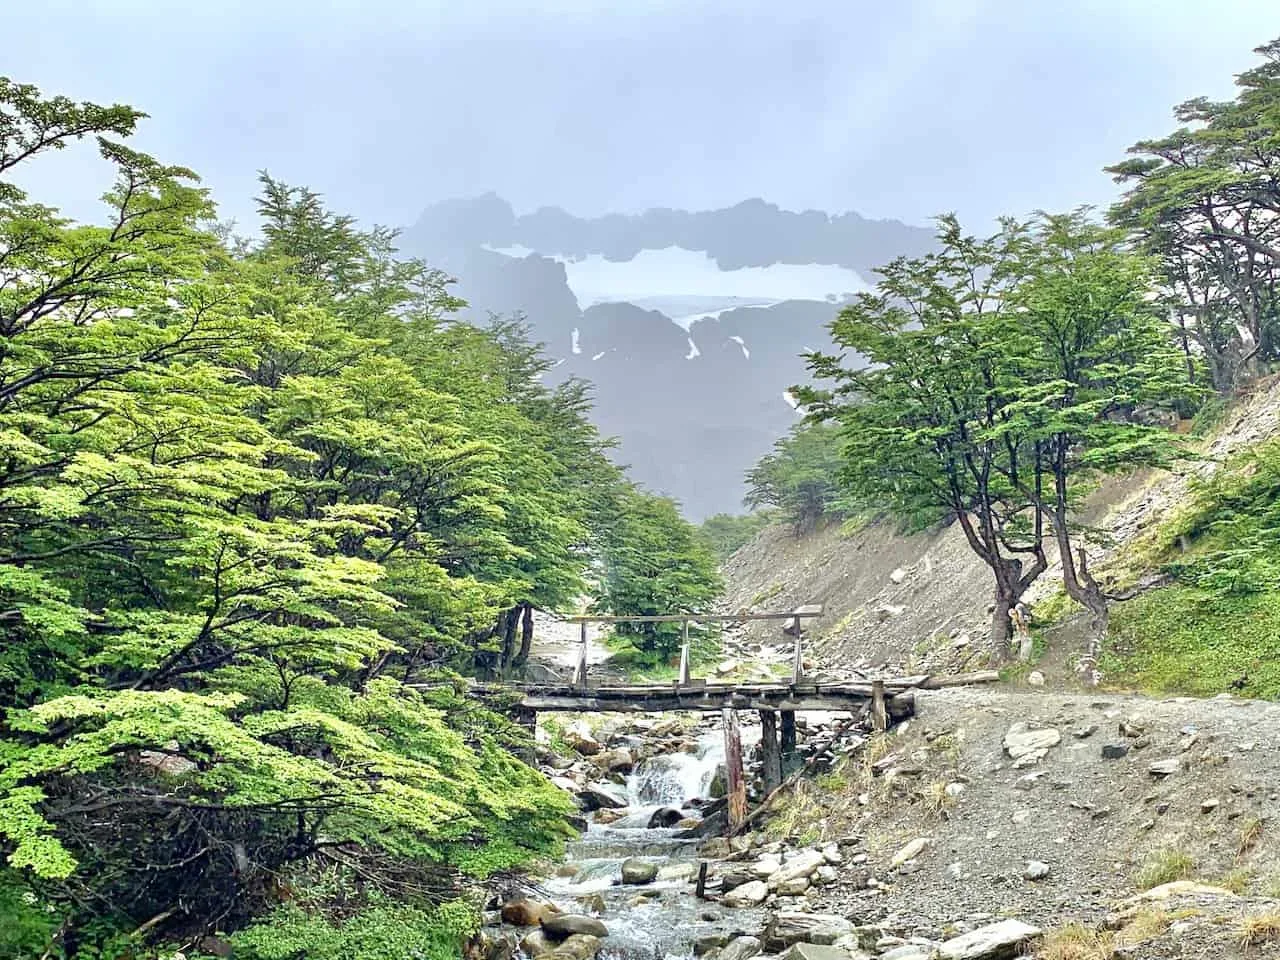
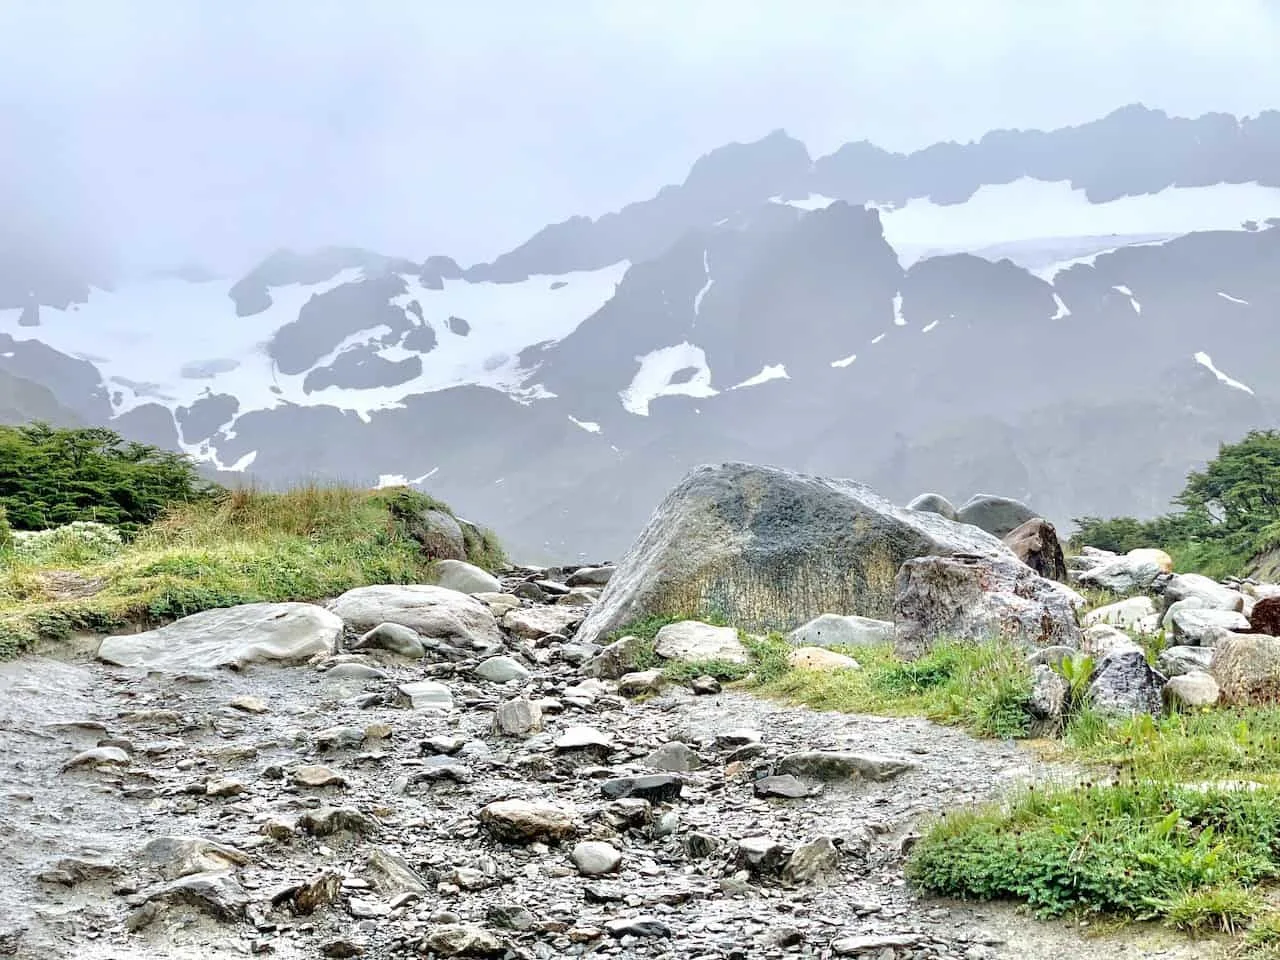
At this viewpoint area, there are three trail options to choose from.
To your right you will find the turnoff to a secondary viewpoint area. This out and back hiking option will add around add a mile or so your overall hike in addition to some elevation gain. I opted to head there on the way back, so more on that soon.
Out in front of you will be two hiking trails that both meet up at the same place by the Glacier Martial itself. If you look closely in the image below, you should see both hiking trails etched into the mountainside.
I opted for the right hand side trail as that seemed like the more frequented route. But this could also be a place where you head up one way and down another.
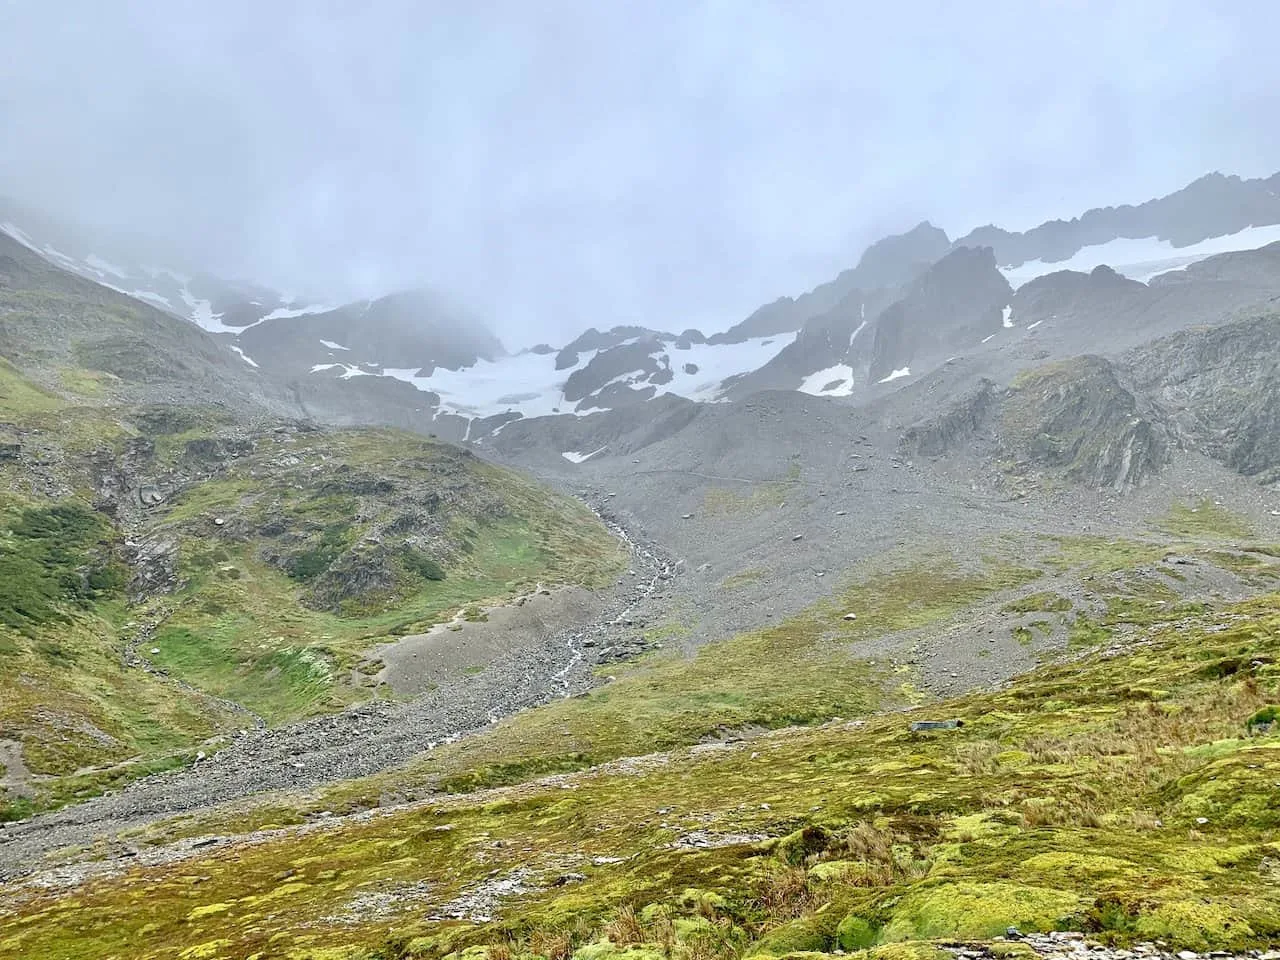
Here is where the climb begins to get steeper as you get closer and closer to the final Martial Glacier viewpoint spot. It should take around an hour from this point to reach the end point.
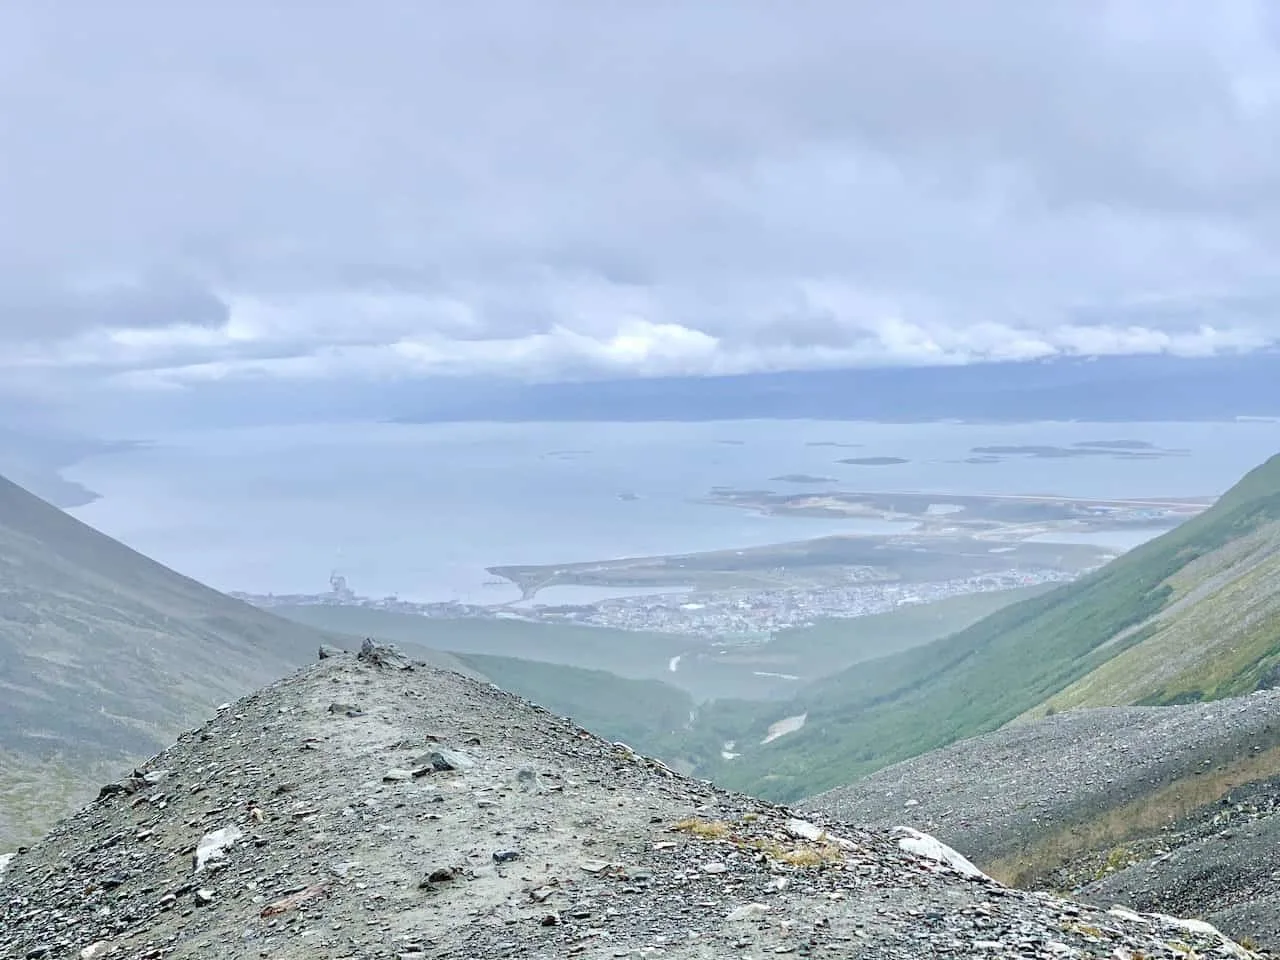
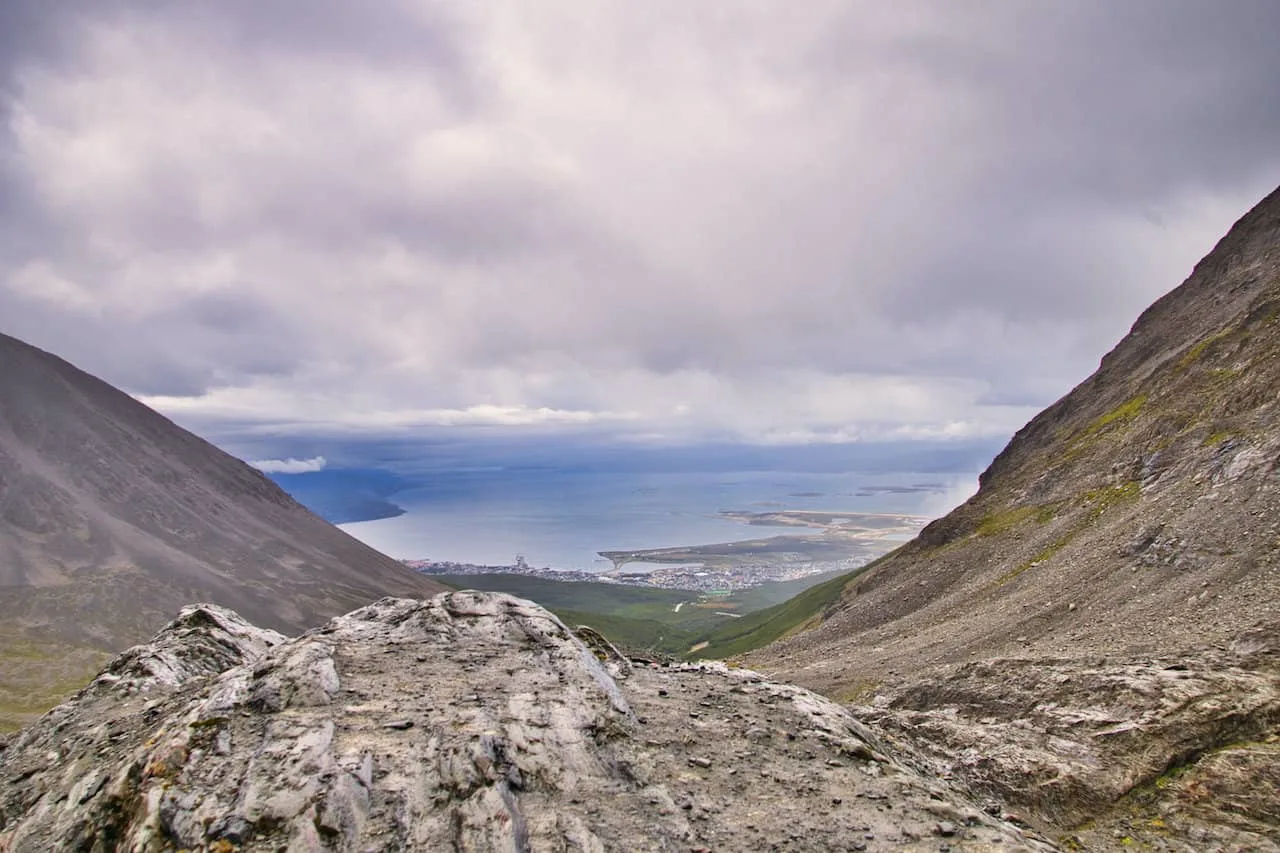
Continue the climb upwards as you enjoy some beautiful Patagonian landscape in every direction. Be sure to turn around from time to time so you can take in the view of the Beagle Channel and the valley down below.
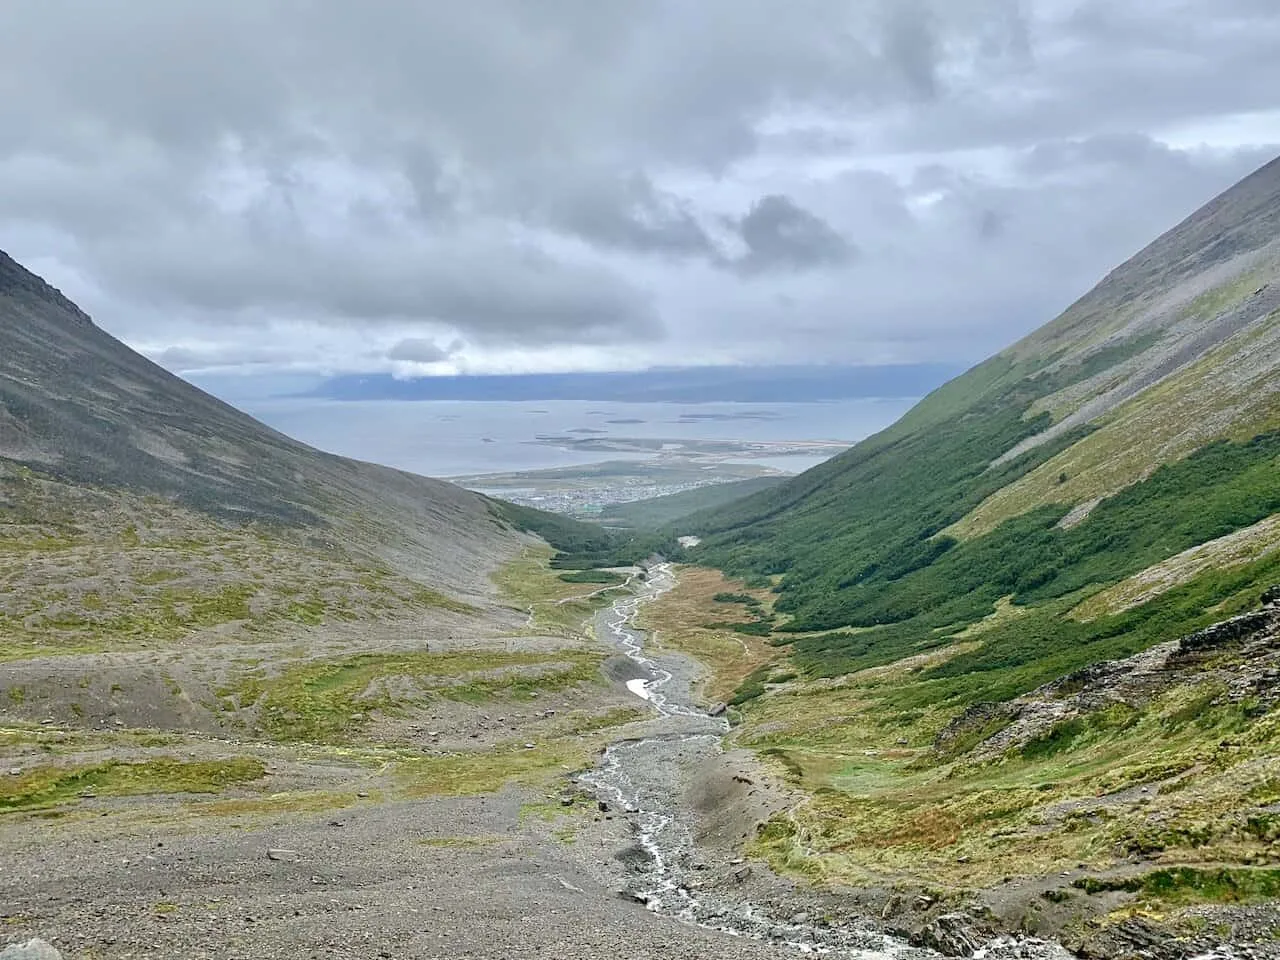
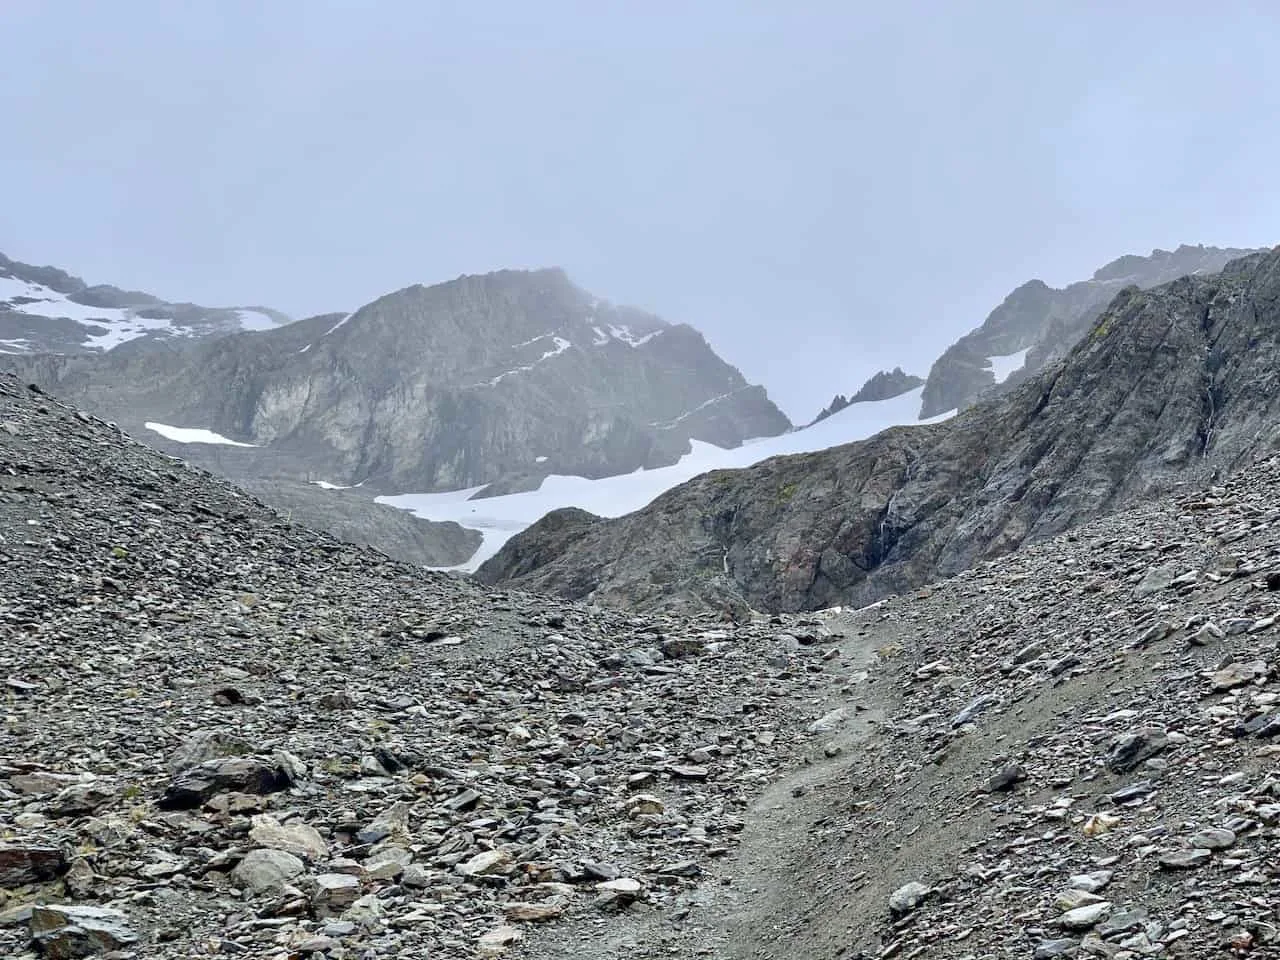
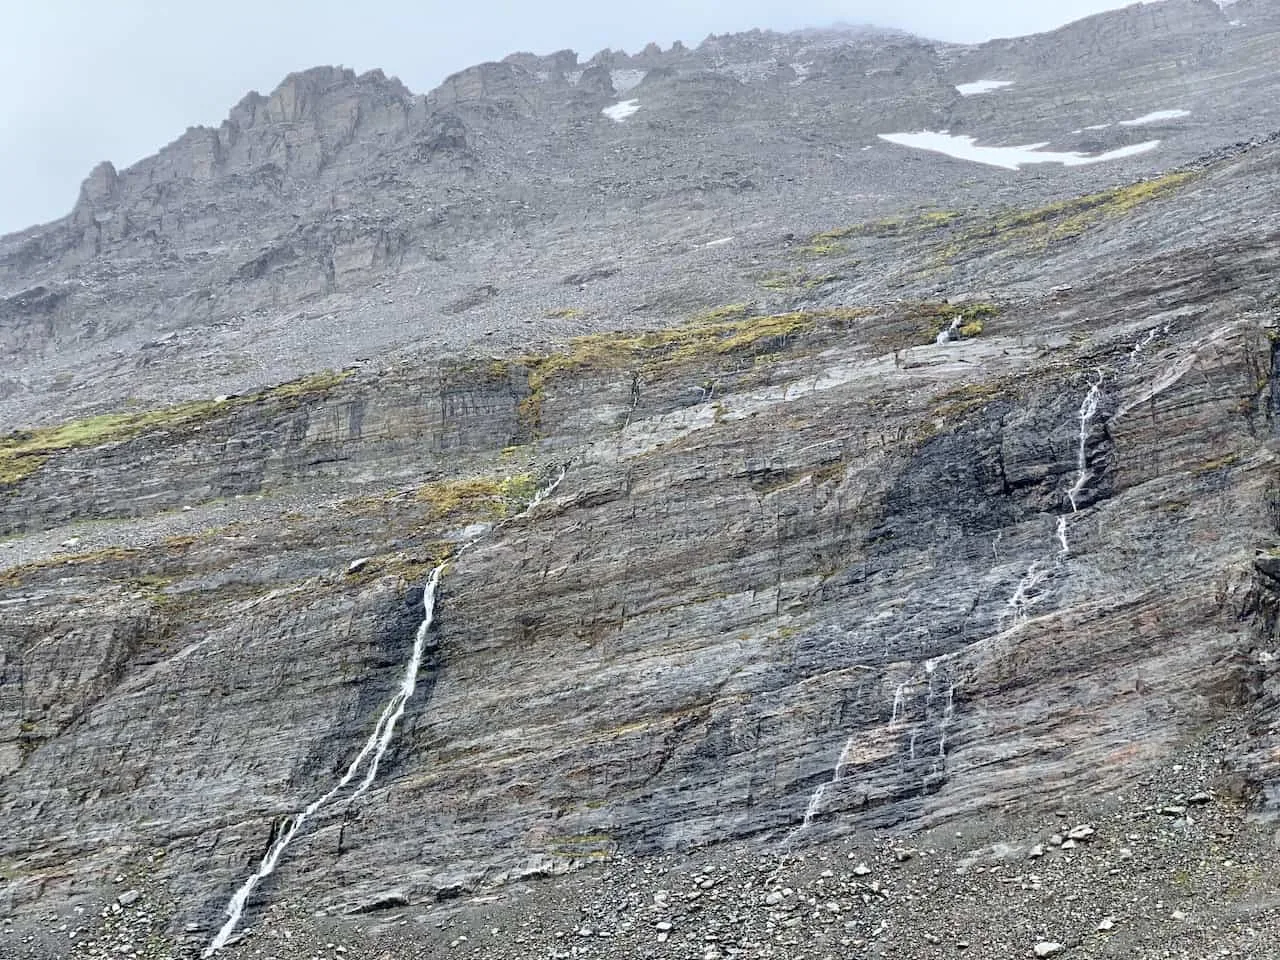
As you approach the viewpoint area, the terrain does get rockier and a bit more difficult to maneuver. But soon enough you will reach the ice itself, where you can take in the view from down below.
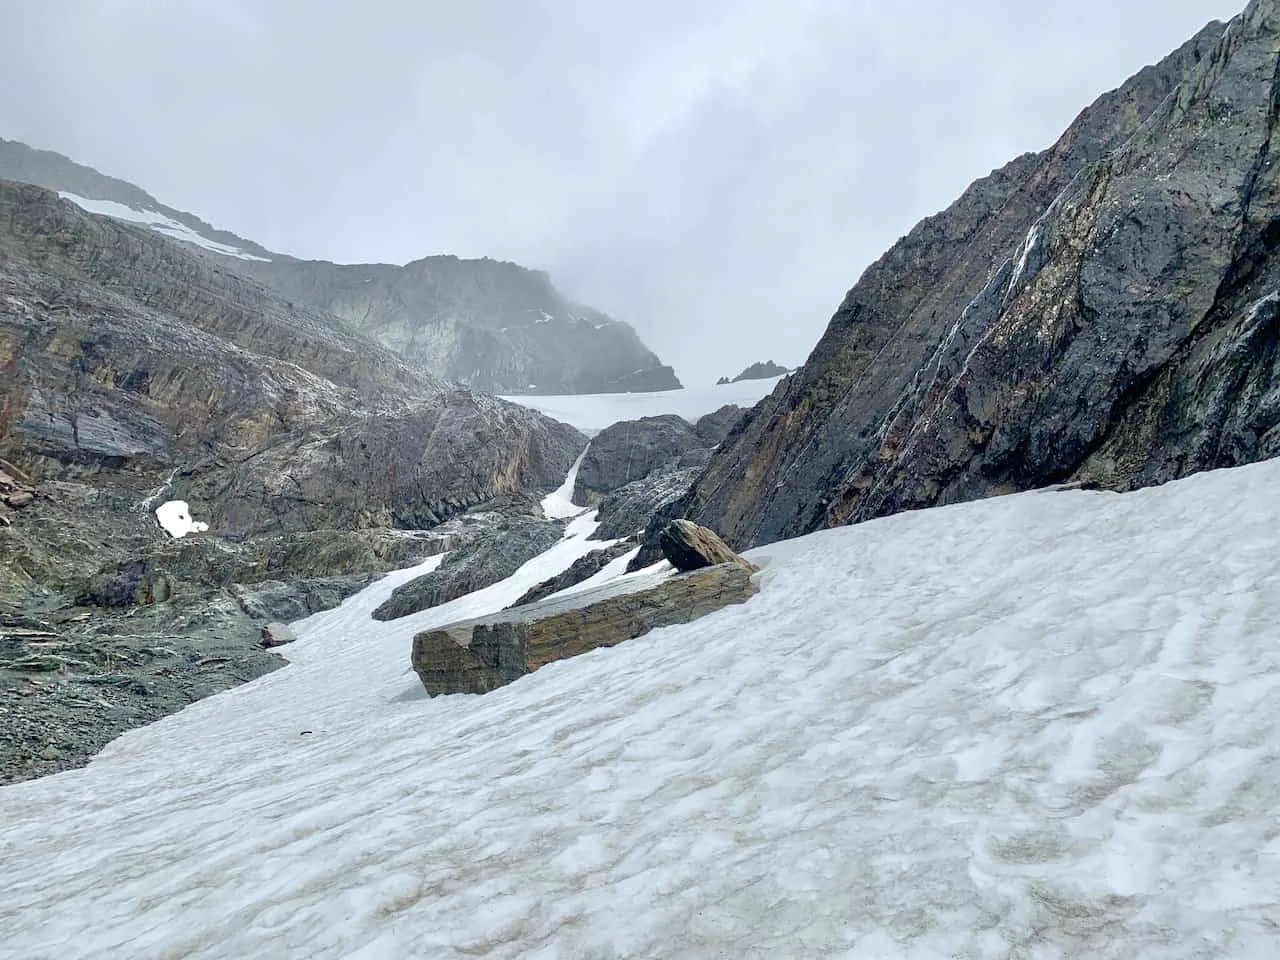
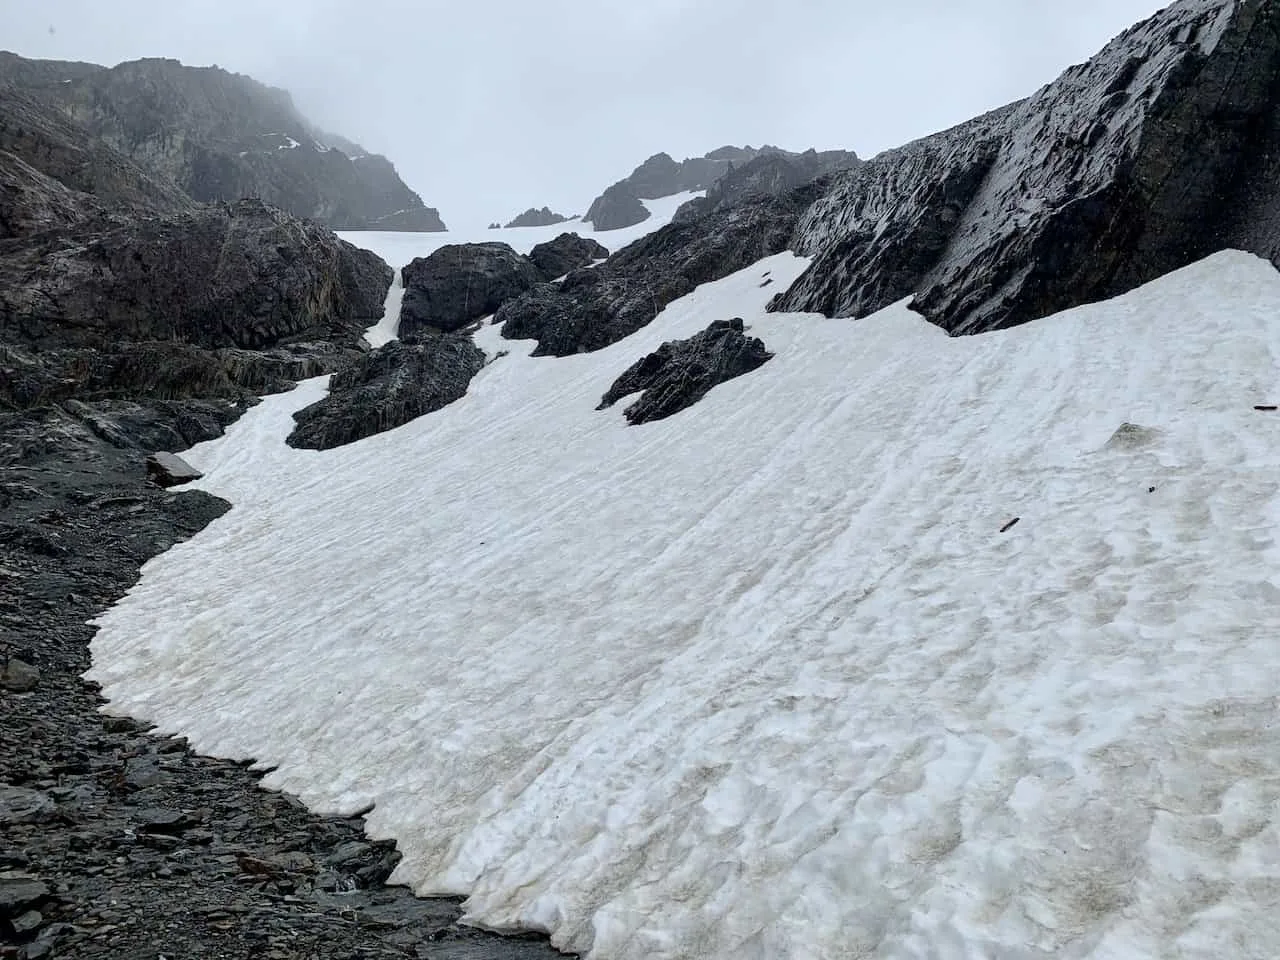
Not only can you enjoy the glacier itself, but in the opposite direction you will also get some great views looking back down to Ushuaia and beyond. I spent around 30 minutes just taking it all in before beginning my descent.
After getting back to the intersection from before, you will see the hiking sign named Del Filo (Of the Edge).
This route is estimated to take 50 minutes round trip as you take in some vaster views of the surrounding area.
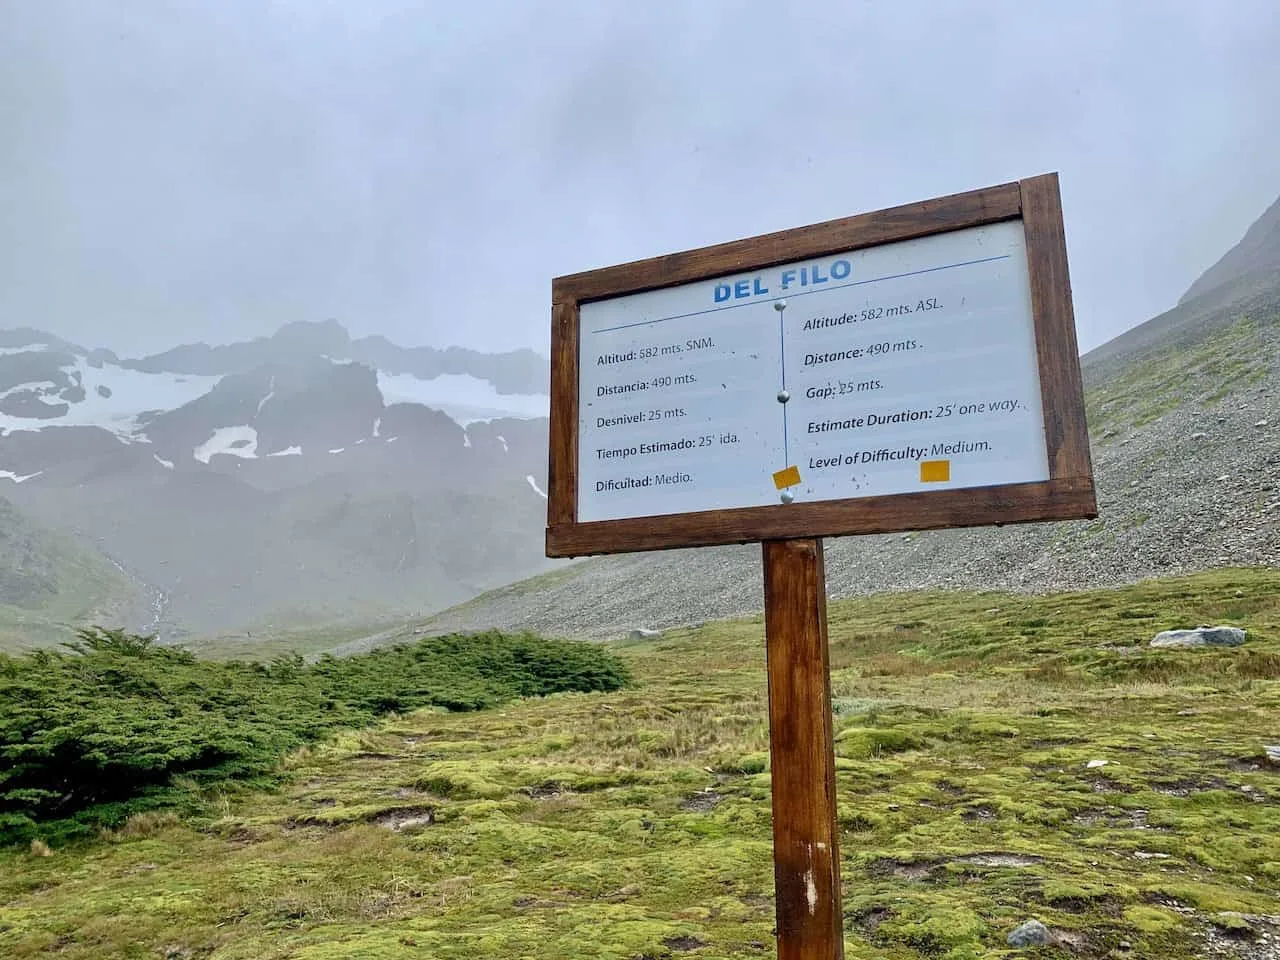
If you have it in you, I would highly suggest heading down this route, as it does add even more beautiful scenery to your trekking experience.
Once you reach the end point of the pathway, you will then just need to turn right back around to get back on the main trail.
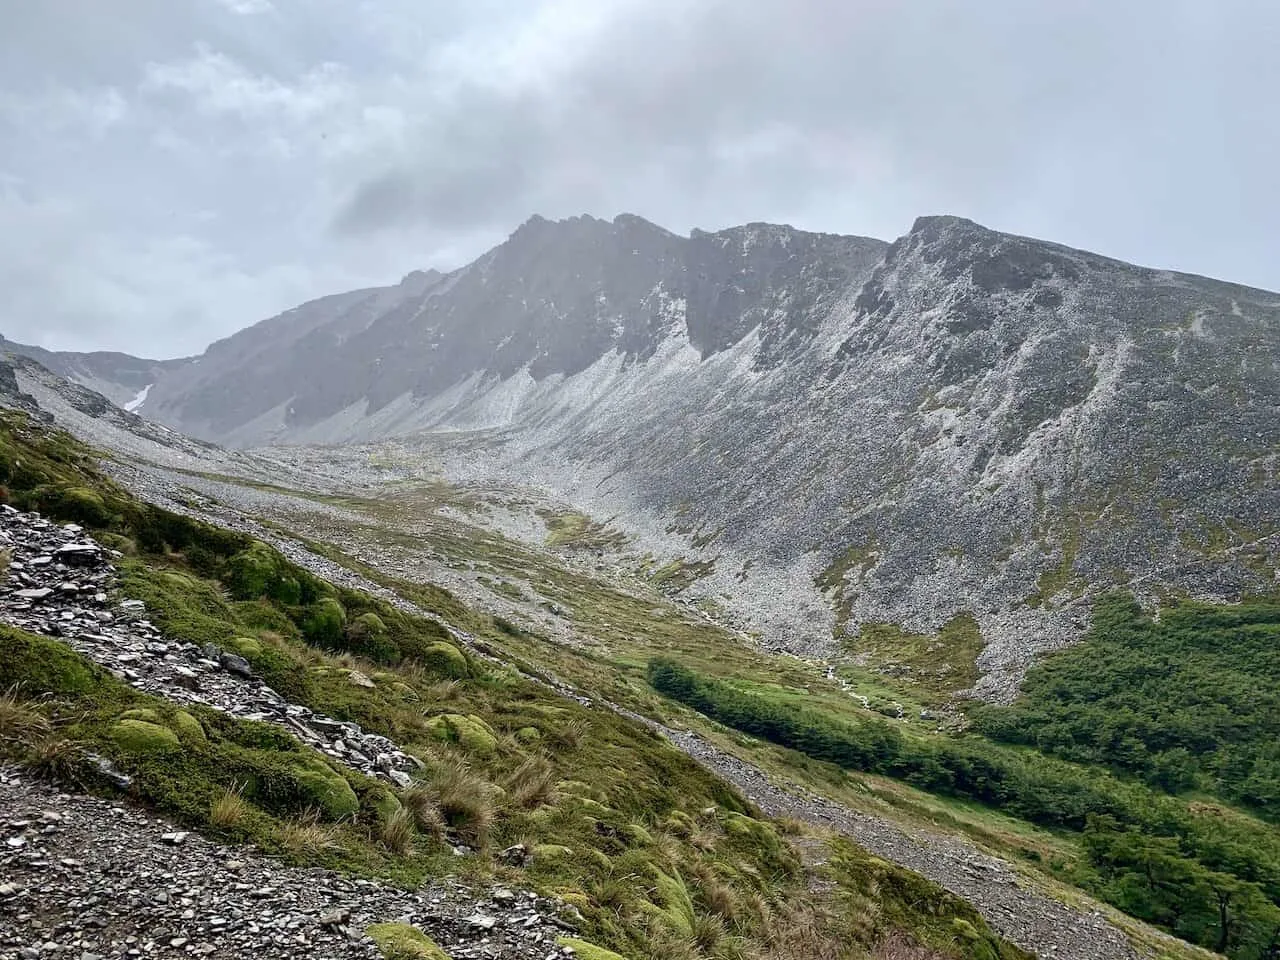
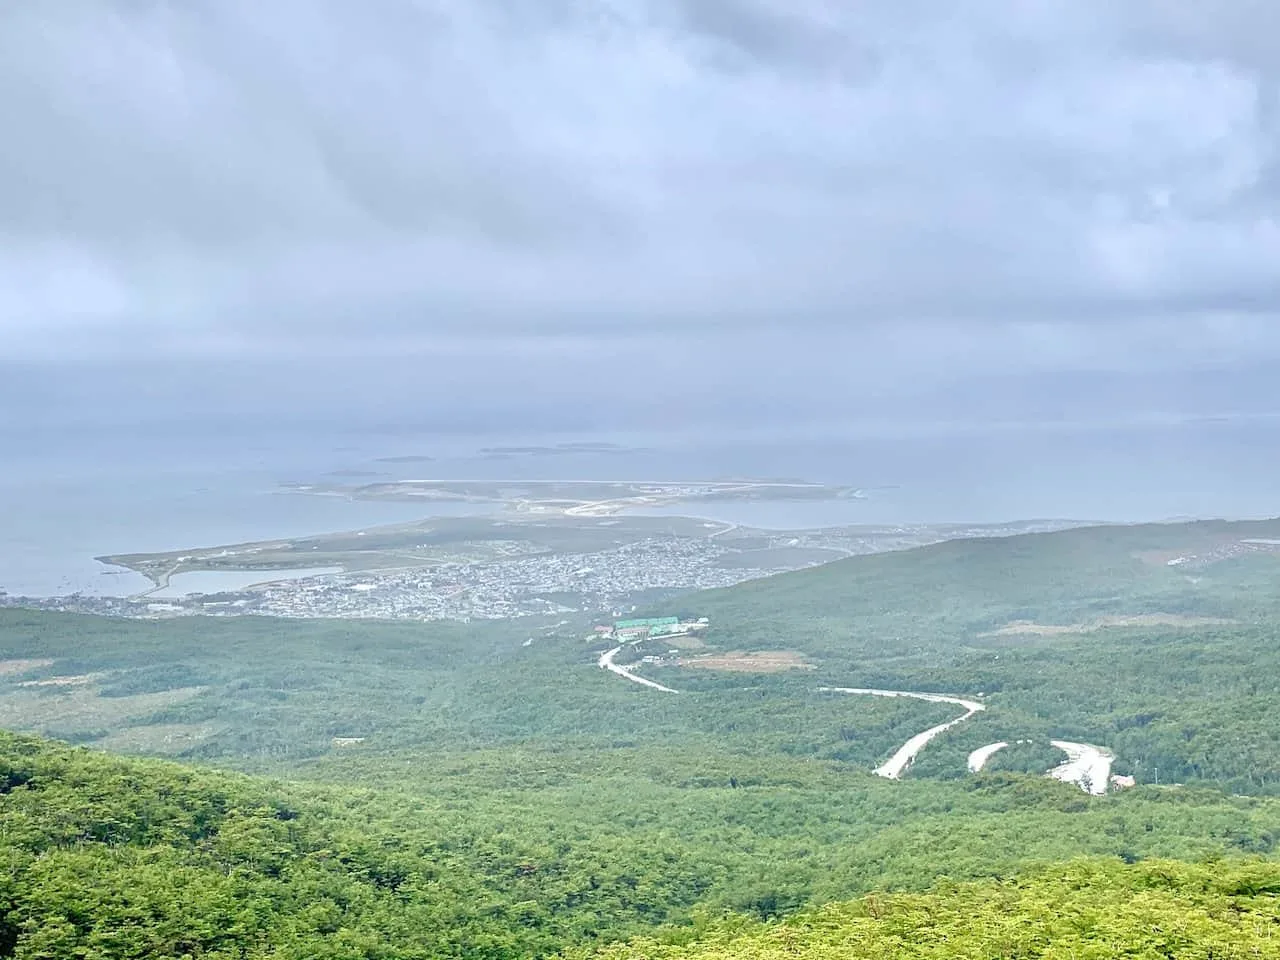
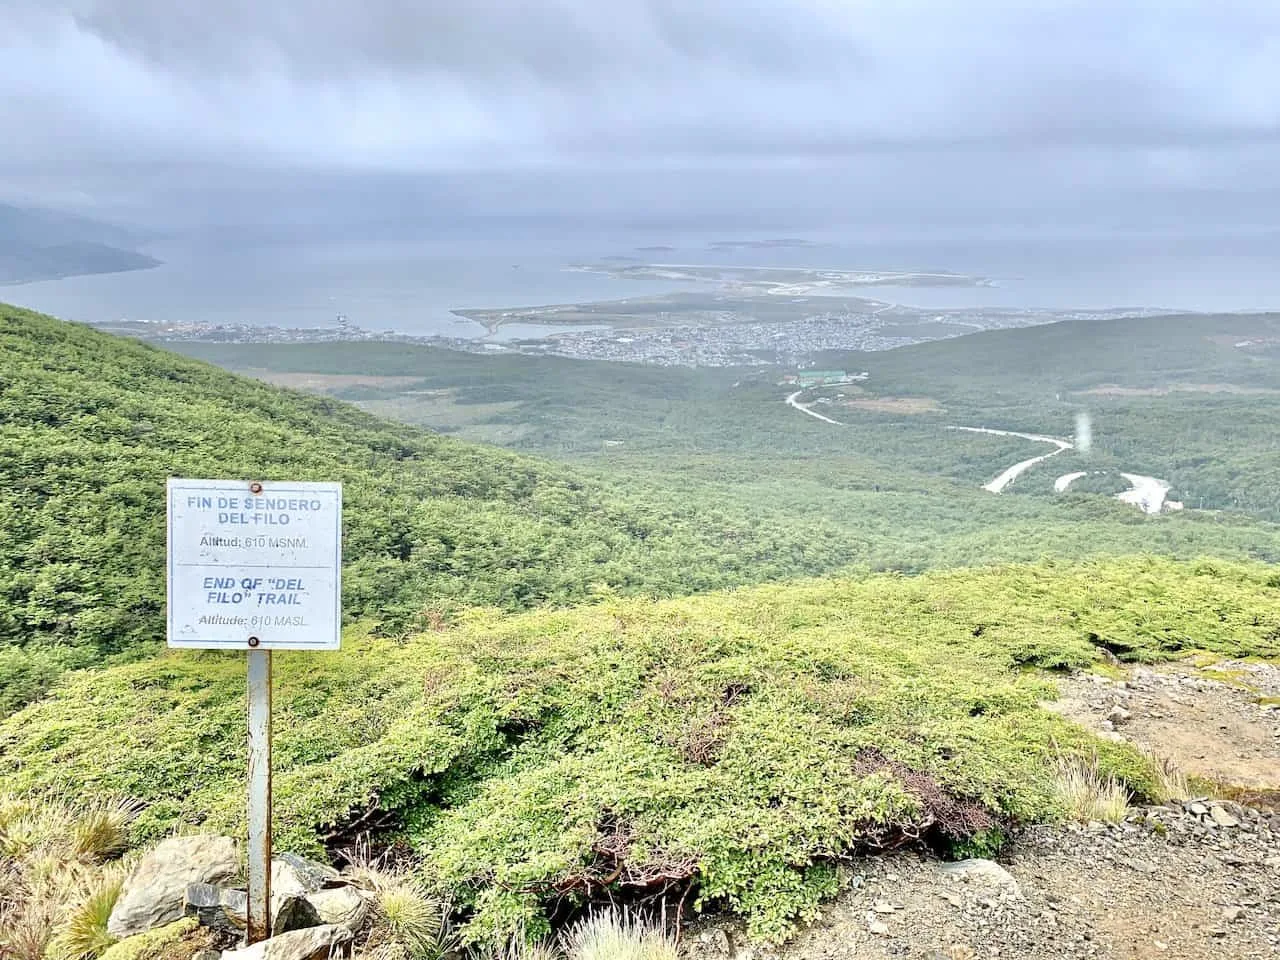
Whether or not you head down the Del Filo pathway, you will then continue the hike down through the forest, along the river, and then out into the open pathway. Remember, you can stick to the same way you came up or you can alter the route too.
Before you know it, you will be back at the entrance of the hike, where you can grab a snack and drink, and just relax. It is then back down to Ushuaia to prepare yourself for your next adventure in the region.
7) Where to Stay in Ushuaia
Ushuaia is essentially the only place you are going to want to base yourself in as you explore Martial Glacier and the surrounding areas. Below are just a few of my top recommendations when it comes to where to stay in the city.
These are all highly reviewed and recommended options so you really can’t go wrong with any of them.
Just note that during the high season (December- February), accommodation can get booked up. So, once you know your dates, you should book your hotels.
Hotel Tierra del Fuego: for a hotel located directly in the town center, Hotel Tierra del Fuego is a great option. Views of the town, mountains, and water will be right outside your window, and you will be minutes away from the action.
MIL810 Ushuaia Hotel: another centrally located hotel that is a great mid tier option is the MIL810 Hotel. It is a short walk from all the top spots in town to & offers everything you need from an accommodation standpoint.
Los Acebos Ushuaia Hotel: perched up above the town center, Los Acebos is a luxury option that offers guests some of the best views of the Beagle Channel. It is the perfect hotel for those that want a little more style & class.
Arakur Ushuaia Resort & Spa: if you are looking for the top option in Ushuaia, then the Arakur Resort & Spa is for you. While it is on the expensive side, there are few hotels that can compete with its luxurious offerings.
That about does it for a Glacier Martial trekking experience. If you have any questions or comments about the hike, be sure to add them in below.
Also, don’t forget to check out some of the other Patagonia itineraries and guides up on the site. Have fun out there and safe travels!
