A visit to Slovenia is not complete without climbing to the highest point in the country – Mount Triglav.
This post will go through everything you need to know about hiking Triglav including whether or not to hike with a guide, completing the climb in 1 or 2 days, as well as the various routes to consider.
By the end of this article, you should have all the information you need to make it to the top of Slovenia!
* Affiliate Disclosure: This post may contain affiliate links, which means I may receive a commission if you make a purchase through the links provided, at no additional cost to you. Thanks for supporting the work I put into TripTins!
Before diving into the actual hike, it is very important to first get an understanding of Triglav and all that it entails. This way you will have all necessary information when planning your hike and deciding what options are best for you.
1) Mount Triglav Background
Mount Triglav is part of the Julian Alps mountain range located within the Triglav National Park in northwest Slovenia. The National Park is full of mountains, lakes, and beautiful landscapes.
Triglav itself though is the highest point, not only in the National Park but also in all of Slovenia.
Below are a few things to note off the bat that this guide will go into more detail on:
Route Options
There are several routes to choose from to get to the top of Slovenia. These options can range from 1-3 days, or even longer depending on various add-ons.
The most popular is a 2 day trek with an overnight in one of the mountain huts. More on these routes in the next section!
Triglav can also be climbed in one day, with some routes being more feasible than others to complete within a ~12 hour time period. I will also go into the pros and cons of a one day climb vs. the normal two day option.
Via Ferrata
No matter which option you choose there will be some sort of fixed lines towards the summit of the mountain. Essentially, there are metal wires secured to the mountainside to help climbers make it to the top safely.
A fixed route like this is called a Via Ferrata, where you will need to wear a harness with carabiners. You will clip these carabiners onto the fixed line as you make your way up. You will also need a helmet for rockfall protection.
The gear for the Via Ferrata may be rented at huts on the mountain, however if you would like to play it safe, you can purchase a Via Ferrata set ahead of time.
Equipment is not required to climb but is highly encouraged, especially for climbers with little technical experience.
Mountain Huts
There are a few mountain huts around Triglav, but the two main ones that are located on the mountain, would be the Dom Kredarica Hut and the Dom Planika Hut. The third hut option is the Dolic Hut (only really used on one particular route).
If staying overnight you will want to book these huts in advance to secure your spot. If opting for the day hike, there is no need to worry about the huts. You can still use them as a nice pit stop though as you are making your way up/down.
Mountain Guides
Another thing to consider when going about planning your climb is whether or not to hire a professional mountain guide to take you up and down the mountain.
For beginners, this could be a good option while for those with more experience, you will mostly likely have no trouble on your own. I will touch upon the considerations of hiring a mountain guide in this article as well.
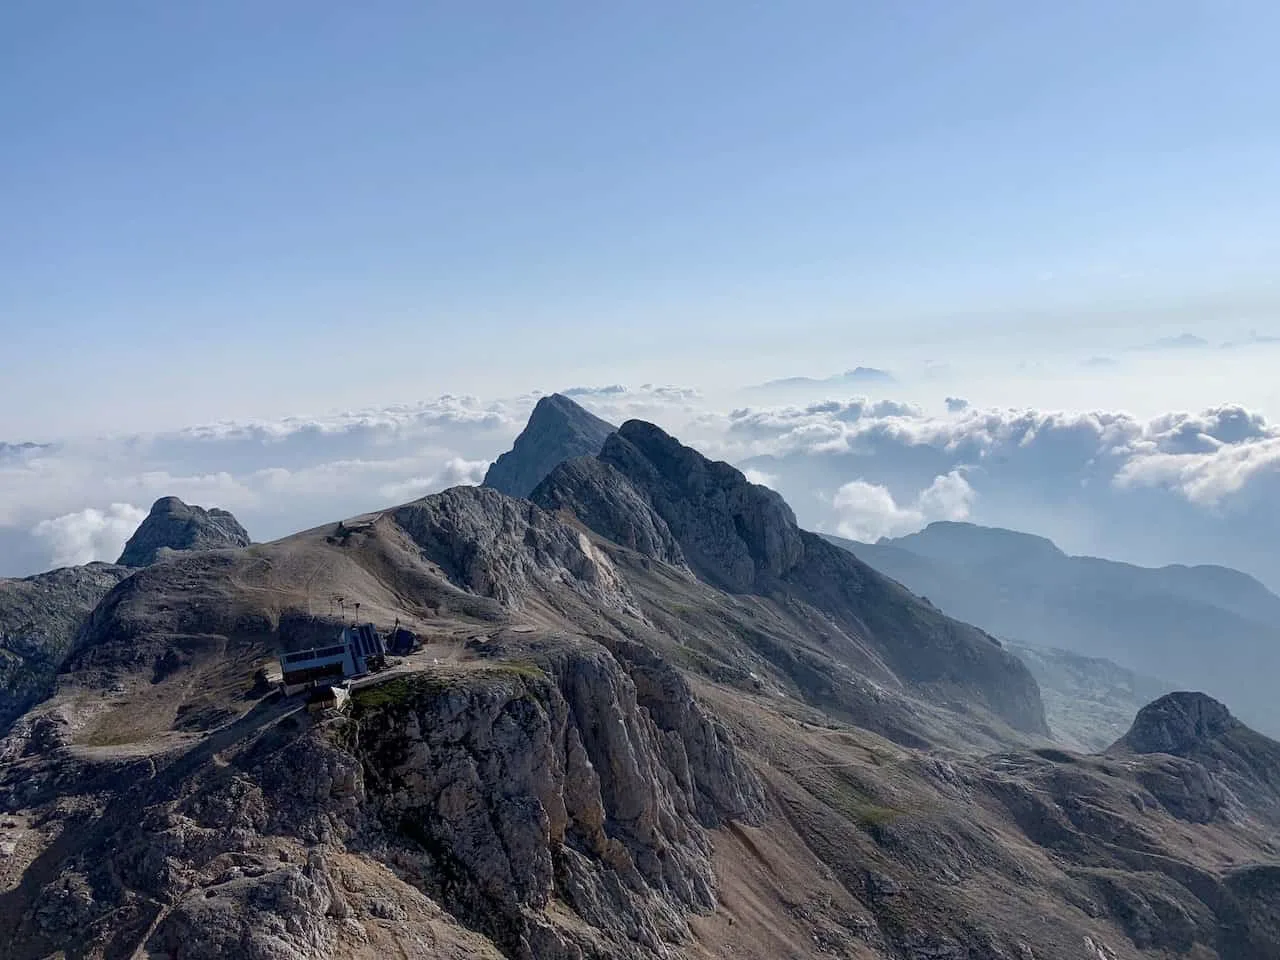
2) Mount Triglav Route Options
There are several different routes that can get you to the top of Mount Triglav, some of which are more difficult and technical than others.
Krma Valley
This is probably the most popular of routes given it is the least technical of all of the climbs to the top. It is a relatively easy incline to the base of Triglav before the trail gets more technical towards the peak.
- Round Trip Distance: 19 km / 11.5 miles
- Elevation Gain: 1,950 meters / 6,400 feet
- Overnight Options: Kredarica Hut or Planika Hut
Pokljuka Plateau
The next most popular option is that from Rudno Polje on the Pokljuka Plateau. The route here is a bit more technical at certain points and overall a pretty moderate trail until you reach the base of Triglav itself (where it also meets up with the Krma Valley route).
The route is also a bit more scenic and less traveled than the Krma Valley route, which is why I decided to choose the Pokljuka Plateau as my option.
- Round Trip Distance: 26 km / 16 miles
- Elevation Gain: 2,001 meters / 6,562 feet
- Overnight Options: Kredarica Hut or Planika Hut
Vrata Valley
This is a great option for the technical climbers out there as you make your way up Triglav’s north face. The climb can only be completed using one of the three more technical Via Ferrata routes up the mountain.
I can only recommend this route for those that have some technical climbing experience.
There are a few routes to choose from when heading up the north face including Tominskov, Cez Prag and the Bamberg (known as the most difficult). The map below shows the circular loop going up on the Tominskov and down the Cez Prag.
- Round Trip Distance: 18.8 km / 11.7 miles
- Elevation Gain: 2,408 meters / 7,900 feet
- Overnight Options: Kredarica Hut
Zadnjica Valley
The hike from the Zadnjica Valley is a great option for those that want to start the hike on the western side of the mountain in Trenta.
This route gives you the option to stay overnight in a different hut than the others – the Dolic Hut (you can also stay in the Planika Hut if you want to make it more of a loop option – see map)
- Round Trip Distance: 27 km / 16.8 miles
- Elevation Gain: 2,164 meters / 7,100 feet
- Overnight Options: Dolic Hut (or Planika Hut for loop)
Seven Lakes Valley
While the Seven Lakes route in the longest of the options, it also could be the most beautiful of routes too. This 2-3 day climb takes you through the Seven Lakes Valley, where you will pass by some of the most beautiful scenery of the national park.
While I did not complete my Triglav climb on this route, I did do a separate day hike through the valley. If you have the energy and fitness, I would recommend a route like this.
→ Check out the Seven Lakes Valley hiking guide to learn more about this trail
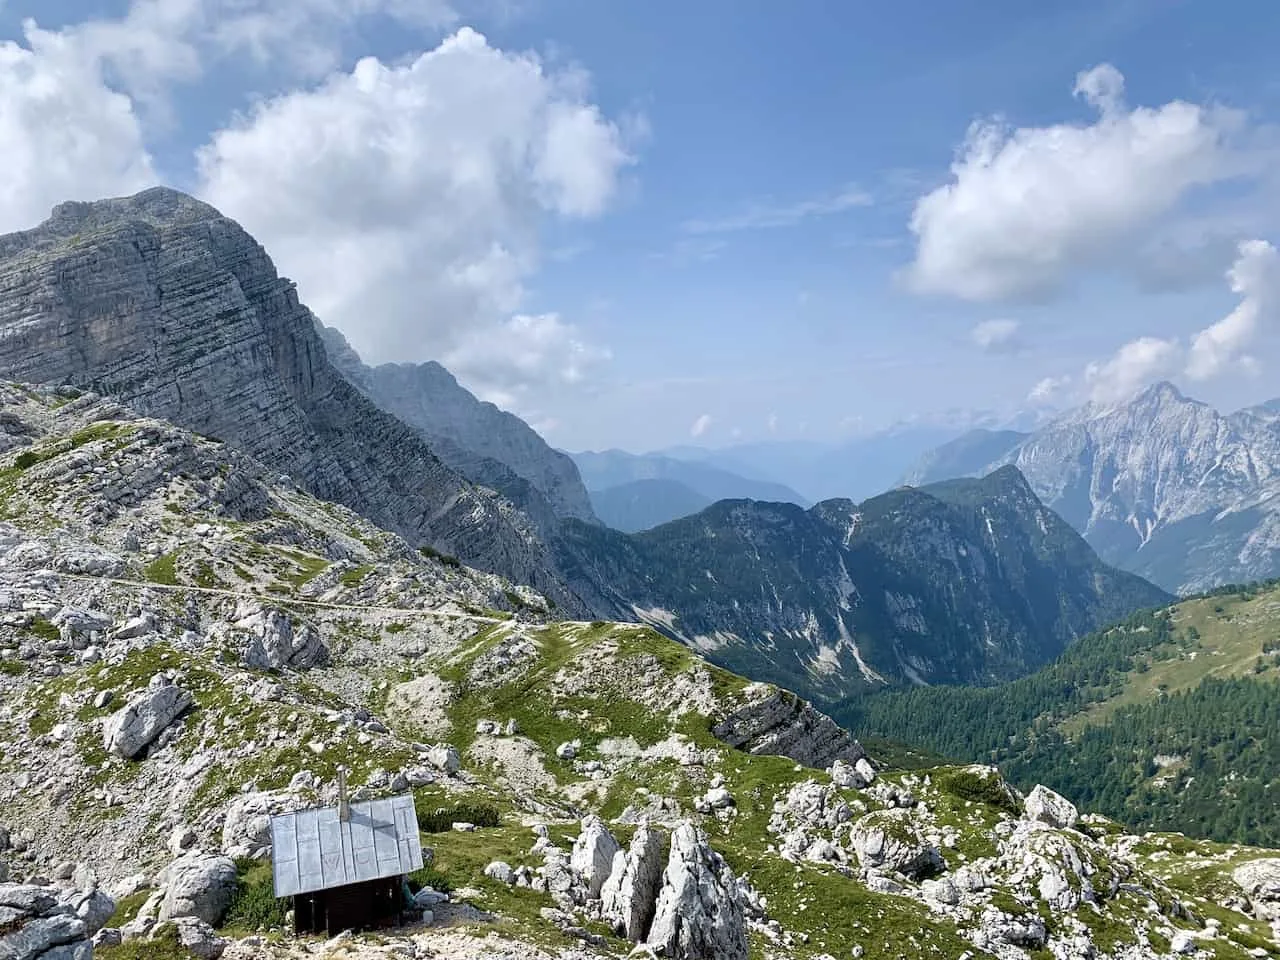
Another option here is to combine several of the routes. This would require a bit of logistical effort getting to/from the starting and ending points, but could be a great way to enjoy more of the Julian Alps landscape.
There are a few more routes out there but that should give you a good idea of some of the main ones to choose from. Overall, the decision will be based on how much hiking you are comfortable with, and how technical you want the climb to be.
» Note that all routes besides for the Seven Lakes route can be completed in one day if you have the skill and experience necessary. They would all be at least a 10-14 hour day if you decided to fit it into one.
3) Mount Triglav Climbing Routes Map
Below is a Google Maps interactive map where you can see the 4 different routes up to the summit of Triglav (Seven Valley route is not included on the map).
- Orange: Krma Valley
- Purple: Pokljuka Plateau
- Green: Vrma Valley (up Tominskov and down Cez Prag)
- Red: Zadnjica Valley (circular to include Dom Planika Hut)
Also shown are the Kredarica Hut (Dark Grey icon), Planika Hut (Blue icon), Dolic Hut (Light Grey icon), and the Triglav Summit (starred in black).
4) Mount Triglav Hike Starting Points
All the routes mentioned above start on different sides of the mountain and therefore have different starting points. I thought it may be helpful to give some GPS coordinates for each one of the starting points so you should have no trouble getting there on your own.
- Krma Valley: 46.3851°N 13.9071°E
- Pokljuka Plateau*: 46°20’18.6″N 13°54’16.4″E
- Vrma Valley: Aljazev Dom Hut
- Zadnjica Valley: 46°22’57.0″N 13°45’43.9″E
- Seven Lakes: 46°18’39.7″N 13°50’59.3″E
*You can also start the hike at the Hotel Center Pokljuka, which meets up with the main route not too long after the start
The easiest way to take part is to have your own car that you can park at the roadside parking lots.
There are also other options such as a bus to Hotel Center Pokljuka for the Pokljuka Plateau or simply walking from Trenta village if taking the Zadnjica Valley route.
Rental Cars: When renting a car in Slovenia, I would recommend checking out Rentalcars.com for potential options. You will be able to browse through cars based on price, category & other filters, to find the perfect car for your trip
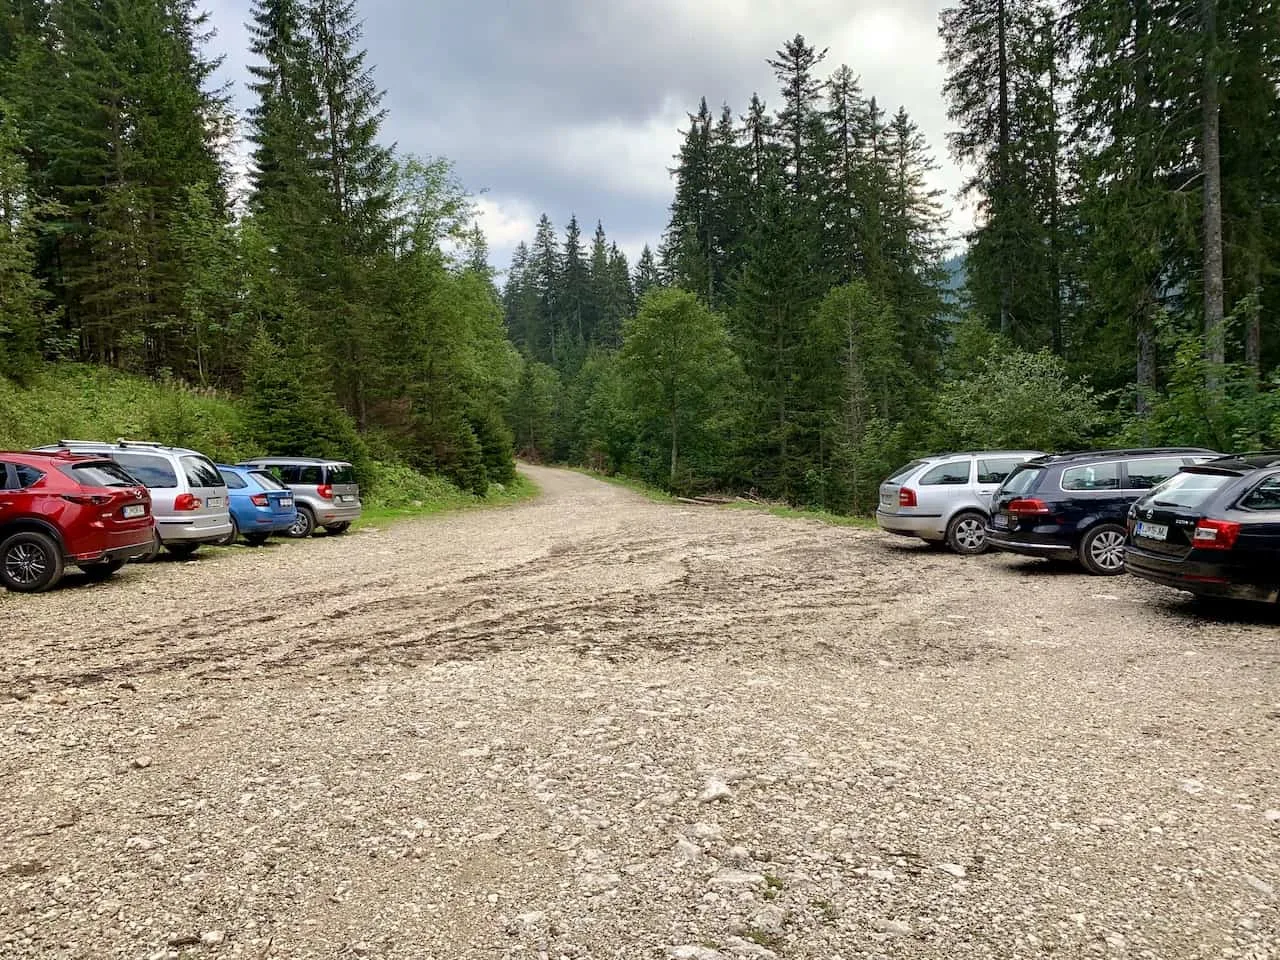
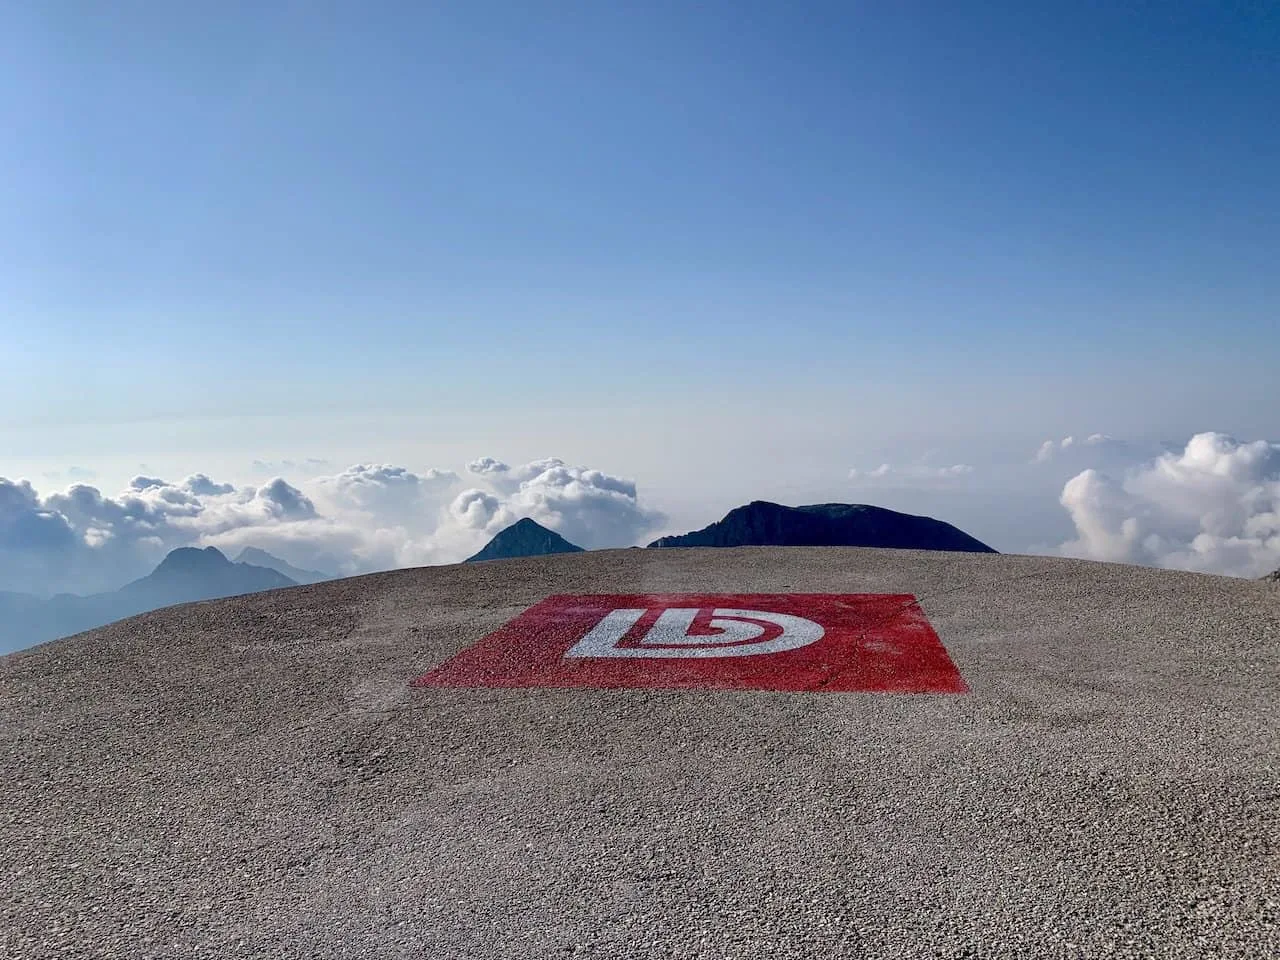
The parking lots for these GPS coordinates are pretty much the same. Usually just a dirt area at the end of the main road, or off to the side of the road. You won’t really find a paved lot or anything like that – mostly just something similar to the below photo:
5) Triglav Via Ferrata
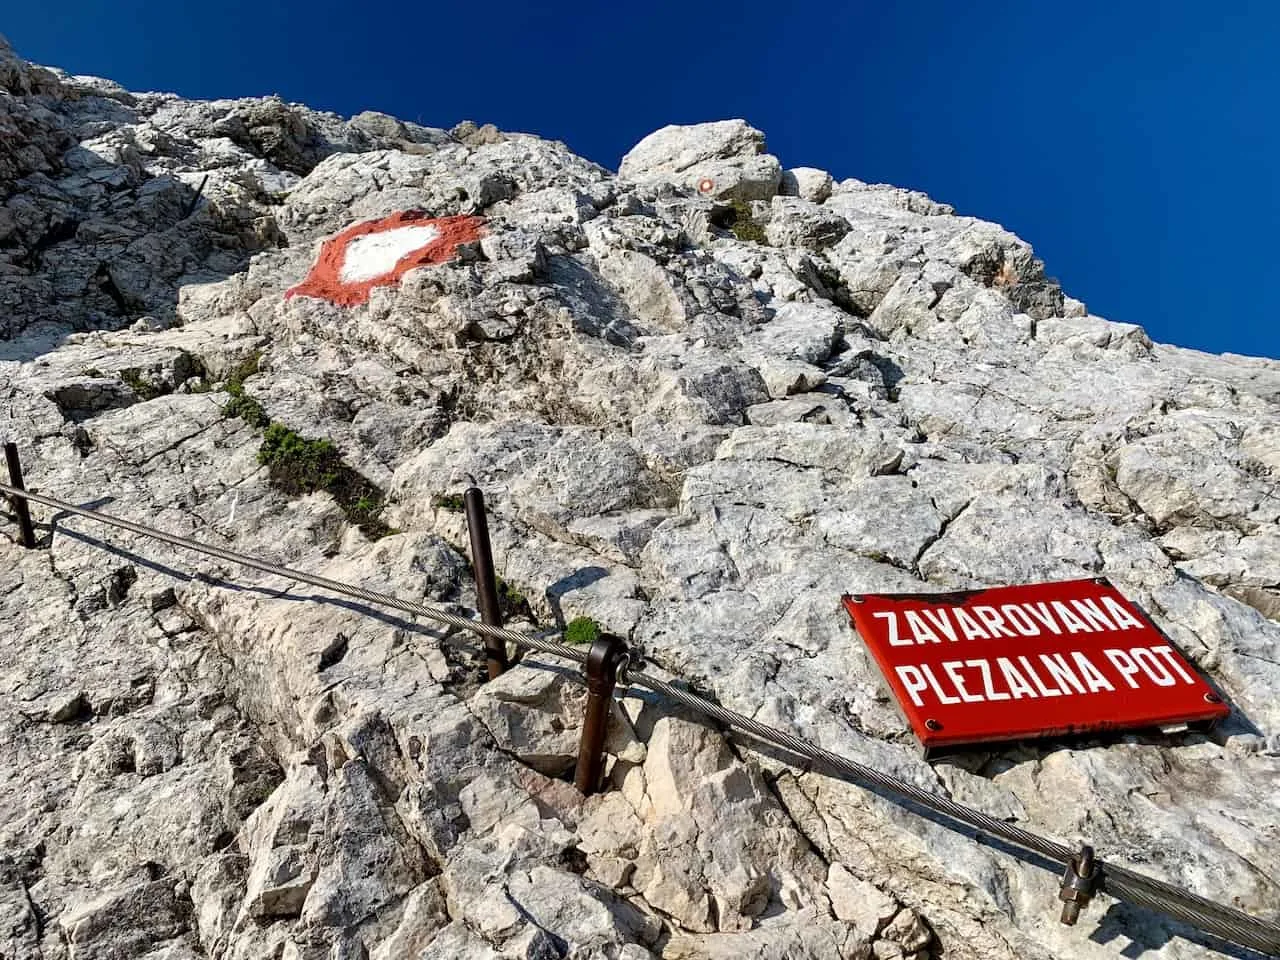
As mentioned earlier, in order to reach the summit of Mount Triglav, you must use a fixed line to get yourself to the top.
If taking the more popular Pokljuka Plateau and Krma Valley routes, the Via Ferrata will just be the portion above the Kredarica Hut towards the summit.
If you opt for a north face route through the Vrata Valley, there will be much more Via Ferrata involvement going on throughout (as well as being more difficult).
As a starting point, I would highly recommend reading this Via Ferrata guide I put together that talks more about what a fixed line route is all about. It is a perfect read for beginners out there that want to conquer Mount Triglav.
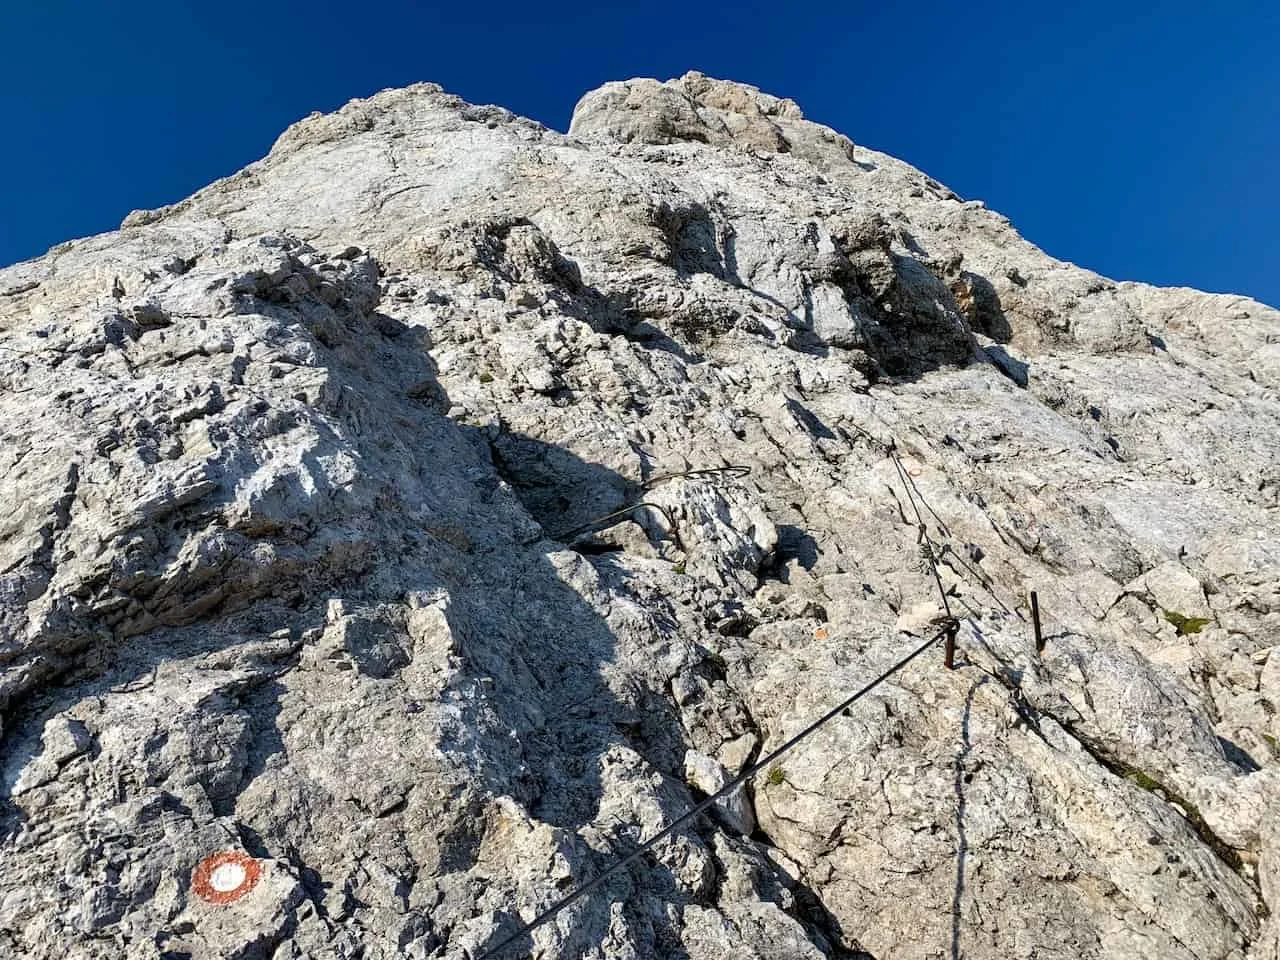
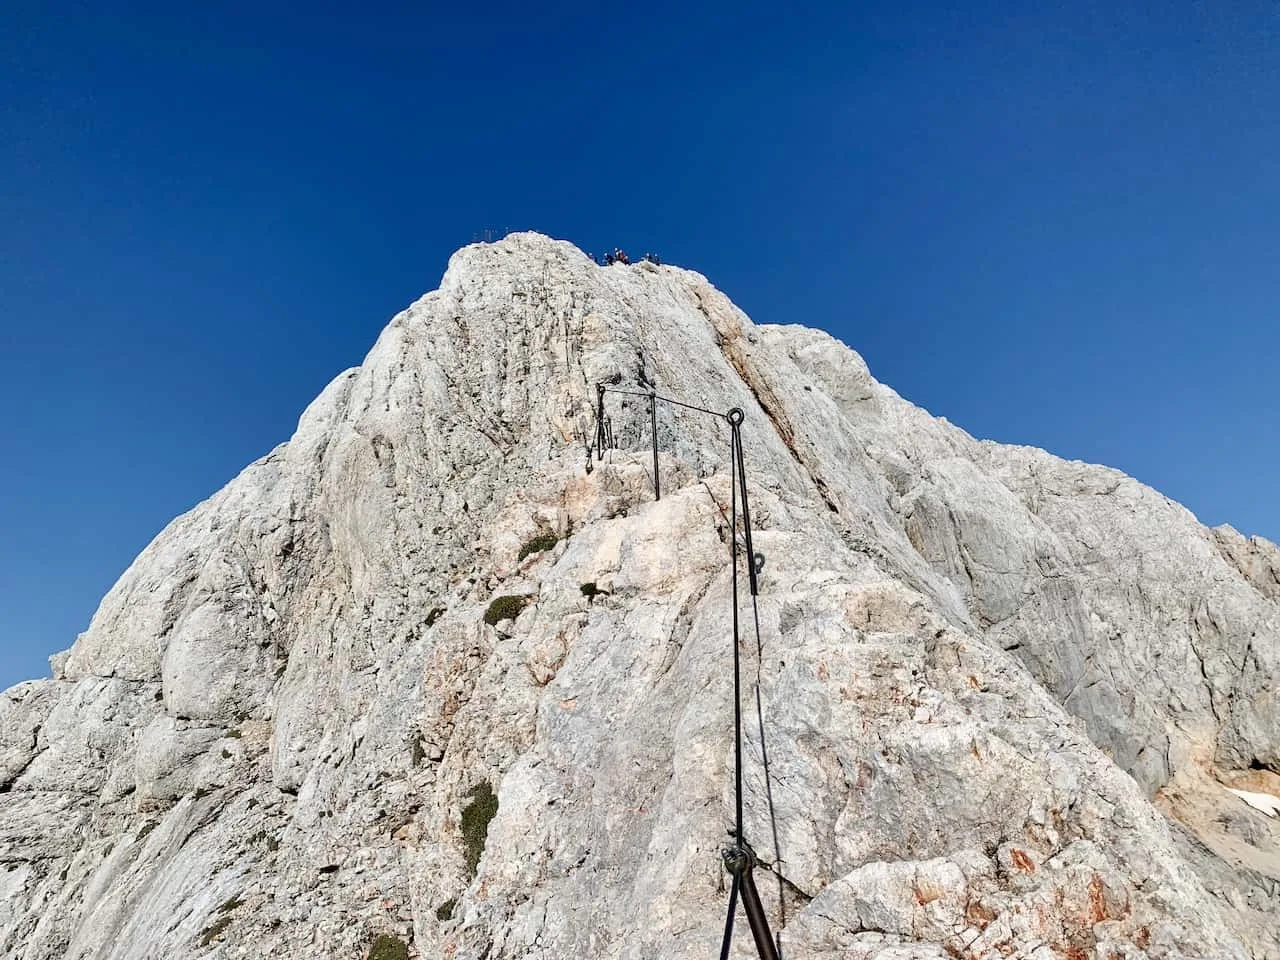
The difficulty level of the Via Ferrata from the hut to the summit is on the easy end of the spectrum. Many experienced climbers don’t even clip into the fixed line and just use the line more as a guide.
Since many people are not as experienced or have that technical skillset, clipping into the fixed line is your best bet here.
And whether you are experienced or not, wearing a helmet is a must. You never know when rockfall or other hazards can come down from above.
Below are some photos of the Via Ferrata section to give you a better sense of what this portion of the route will entail:
6) Triglav One Day or Two Day Hike
Many of you may be wondering whether or not Triglav can be climbed in one day. The answer is yes, Mount Triglav can be climbed in one day. With that said though, prepare yourself for a very long day out on the trail.
I completed the one day hike via the Pokljuka Plateau route in about 12 hours including an hour break on the summit. I will note I am a relatively quick hiker, so for those who may take their time, that can get closer to 14+ hours.
All routes can be completed in one day in a similar timeframe besides the 7 Lakes Valley route. So, if you are up for the challenge, just know that a one day hike is a possibility.
The benefits of the one day Triglav hike is that you do not need to plan an overnight on the mountain and can instead choose a day with the best possible weather. That was top of mind for me and why I choose the one day hike.
I did not want to book a night at the hut, only to be tied down to a specific date. If the weather was poor with rains and clouds, there would not be much of a summit view to enjoy.
I understand though that for most people a 12+ hour day is just not feasible and that is where a 2 day option makes much more sense. While yes, you will most likely be locked into a date, you will get to have a great experience sleeping on the mountain itself as you enjoy both a sunset and sunrise over the Julian Alps.
If splitting the hike into two days, you can either decide to summit on the afternoon of day 1 when you arrive at the mountain hut, or you can save your summit for the following morning.
I would advise to just pay attention to the weather here – if you have the weather window and it is looking nice and clear up top, it is the safer move to just head to the summit on day 1. But if the clouds have already rolled in, then a day 2 summit it is!
If you are having trouble deciding, my advice would be to book the mountain hut just in case. Worst comes to worst you lose out on the money spent for the one night. This gives you the flexibility to decide on a 1 or 2 day option based on the weather and how you are feeling prior to the climb.
Learn More: Take part of the Mount Triglav hike as part of a longer Slovenia itinerary around the country
7) Mountain Huts
A 2 day hike would require an overnight in one of the mountain huts located on Triglav. The two most popular ones (that are also closest to the summit) would be the Dom Kredarica Hut and the Dom Planika Hut.
The Kredarica hut is the more popular option here as it is higher up on the mountain and will require a shorter uphill for your summit day, however you really can’t go wrong with either.
If taking the Zadnjica Valley route, your overnight will probably be in the Dolic hut if opting for the 2 day trek.
Here are the links for booking the Dom Planika Hut and for booking the Dom Kredarica Hut.
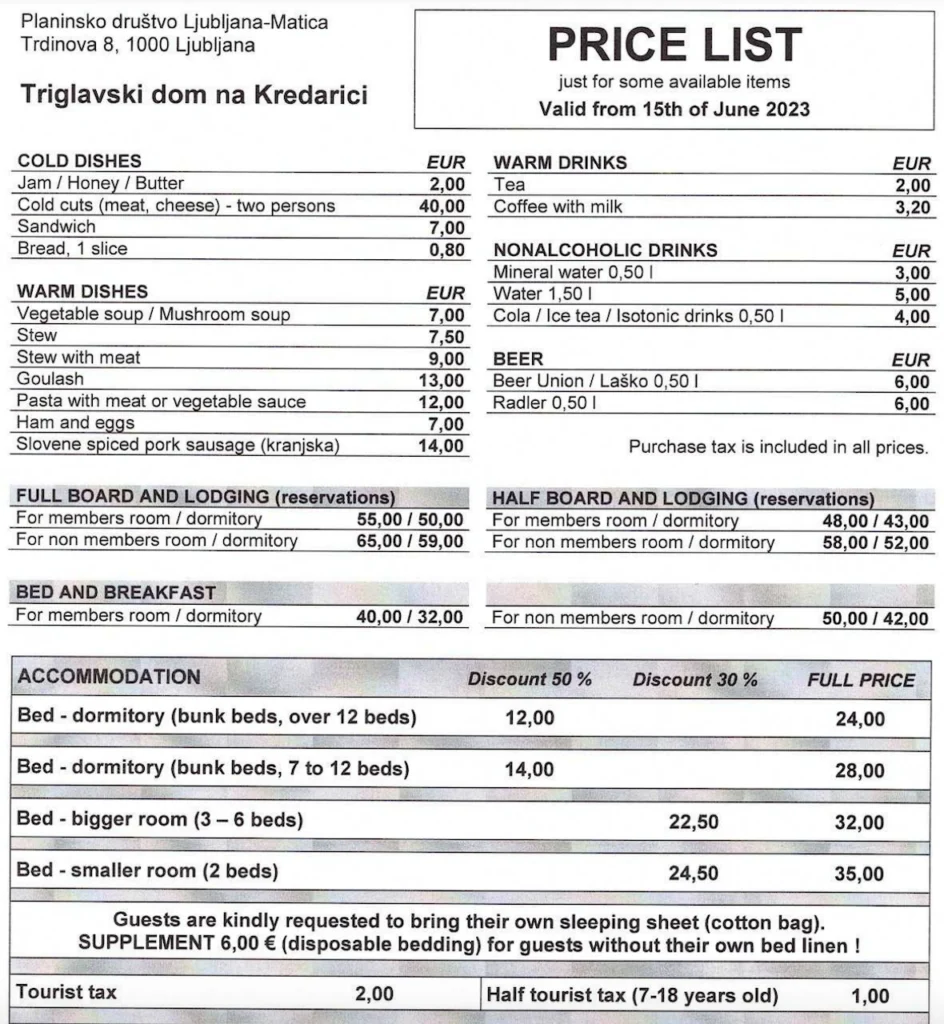
If you were wondering, they do offer food and drinks as well in the huts. You can see the price list for the Kredarica Hut below:
8) Guide or No Guide
One of the decisions that you will need to make when planning your hike up Triglav is if you will hire a guide or go on your own.
For those hikers out there that already have solid hiking experience – duration of climb, navigation, technical ability, etc. – I do not see a reason to hire a guide for the hike.
Climbing without a guide will require you to make your own way to the starting point, book the overnight hut, be prepared with Via Ferrata gear, and navigate your way up and down the mountain.
While navigation should not be much of issue since there is a good amount of trail markers and signage, there were certainly some intersections that got confusing (having a navigation app on your phone could help solve any potential issue though).
However, I understand that many people hiking Triglav might be doing so as their first big climbing experience. If this is the case, I can see how a guide can be useful here.
From beginning to end they will take care of all logistics and planning. No need to worry about getting to the starting point, booking the overnight hut, or Via Ferrata gear. The guide will take care of it all for you.
Guide costs are not cheap – coming in around $300 USD+. So that may also be a factor when deciding whether to hire a guide or not.
Guided Tour Option: If you are looking to hire a guide, be sure to book this Triglav Guided Hike ahead of time to secure your spot!
9) Food & Drinks & Gear
A hike up to the summit of Triglav should not be taken lightly. You must come prepared with the appropriate gear and fuel to get yourself throughout the hike.
With that said though, since you will be carrying all of your own supplies, you will want to pack as lightly (but as efficiently) as possible.
Remember that weather can also change in an instant in the mountains. Having moisture wicking layers as well as rain gear will be essential.
Here are some of my gear recommendations for you:
- Hiking Socks: Darn Tough Merino Wool Crew Mens | Darn Tough Merino Wool Crew Womens
- Hiking Pants: Eddie Bauer Men’s Guide Pro Pants | Eddie Bauer Women’s Guide Pro Pants
- Short Sleeve Shirt: Under Armour Men’s Tech 2.0 | Under Armour Women’s Lightweight
- Fleece: Columbia Men’s Ascender Softshell | Columbia Women’s Kruser Ridge II Softshell
- Rain Jacket: Columbia Men’s Watertight II | Columbia Women’s Arcadia II
- Hiking Shoes: KEEN Men’s Targhee III | KEEN Women’s Targhee III
- Hiking Backpack: Osprey Talon 22 | Osprey Tempest 20
- Headlamp | Foxelli Headlamp Flashlight
- Portable Charger | Anker PowerCore 5000mAh
- Deodorizing Body Wipes | Alcala Bamboo Deodorizing Body Wipes
⇒ You will also want to bring a change of clothing to change into at night if staying in one of the huts for an overnight.
Food can be purchased at all huts along the way so do not worry about bringing so much food. With that said though, I would recommend bringing along some energy bars, granola, nuts, etc. to have on your longer stretches when you don’t have a hut nearby.
- Clif Bars | Clif Bar Variety Pack
- RXBars | RXBAR Variety Pack
- KIND Bars | KIND Bar Cranberry Almond + Antioxidants
- Fruit & Nut Granola | Bear Naked Fruit & Nut Granola
- GU Energy Gels | GU Energy Gel Variety Pack
I would also bring a couple liters of water, which will probably be most of your backpack weight.
I filled up my water at the Vodnikov Dom hut, but I have heard further up the mountain at the Kredarica hut, the water is not safe to drink. In that case you may need to purchase additional water once you arrive there.
10) Where to Stay Before Hiking Triglav
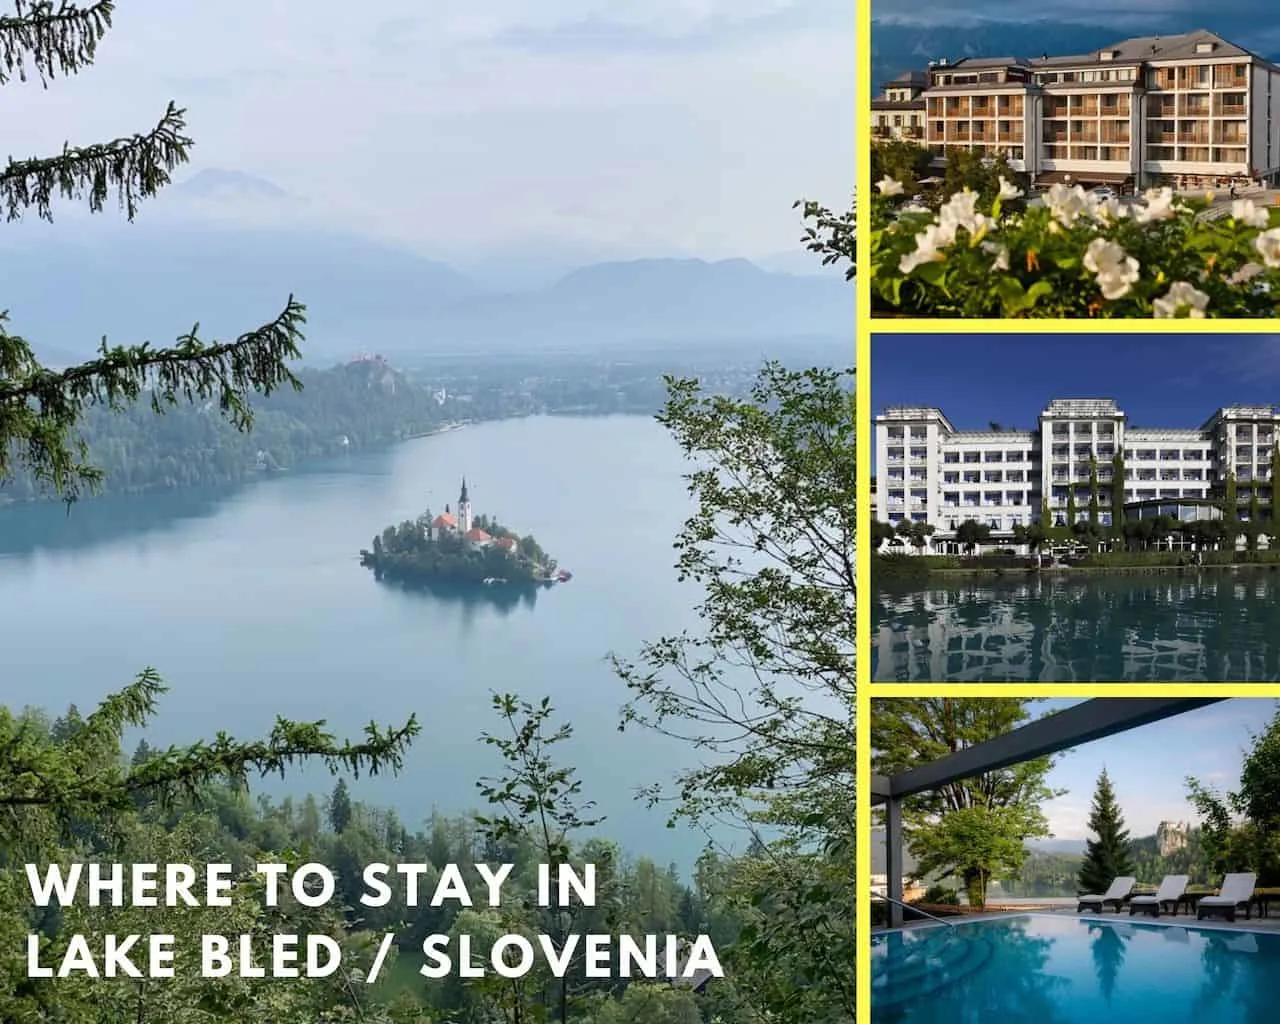
While there are several places to base yourself in when climbing Triglav, the most popular place would be the town of Bled. Famous for Lake Bled, itself, Bled is a charming lakeside town with various activities to choose from.
It is a great spot to base yourself as you explore more of the surrounding region. Other nearby highlights include Vintgar Gorge, Lake Bled Viewpoints, Slap Savica, and Mount Vogel.
Below are three top rated hotel recommendations. Feel free to book your spot today!
Hotel Lovec is located in the heart of Bled, just a few steps from Lake Bled. It offers magnificent views of the lake and the surrounding Alps. All rooms provide air conditioning, a bathroom and a mini-bar. Some also have a balcony with park or lake views and cable TV.
Located on the shores of Lake Bled, the elegant Grand Hotel Toplice features panoramic views of the lake and the Alps. The hotel has a boutique wellness center with a thermal pool, saunas and various massage and beauty treatments. Guests can relax at the lake-view terrace.
Set in the heart of Bled, Rikli Balance Hotel enjoys an elevated position boasting panoramic views of Lake Bled, its Castle and the Julian Alps. It features a modern spa center with indoor and outdoor pools.
Learn more about the area in the Lake Bled overview guide up on the site.
11) Additional Things to Know
Below are just a couple additional things to note about the weather and navigation as you are prepping for your climb:
Weather
The weather in the region (at least during the peak summer season) is known to have clearer weather in the morning before the clouds and rain come through in the afternoon.
Due to this I would recommend starting the hike early on your first day so you can fully enjoy the hike as there will be a better chance to avoid the clouds and rain.
If you are doing a one day climb, then a 5AM start or even earlier would be my recommendation. I left the summit at 10:30AM, and the clouds were already starting to come. Weather sites such as Meteoblue should give up to date mountain weather forecasts to plan your day around.
While the high season to climb is in those warmer months, Triglav can be climbed at any time of year. If you decide for a cooler season to make the climb, be sure to pack accordingly.
Near the Kredarica Hut there is also a live Triglav webcam to give you a sense of the weather.
Follow Signs & Markers
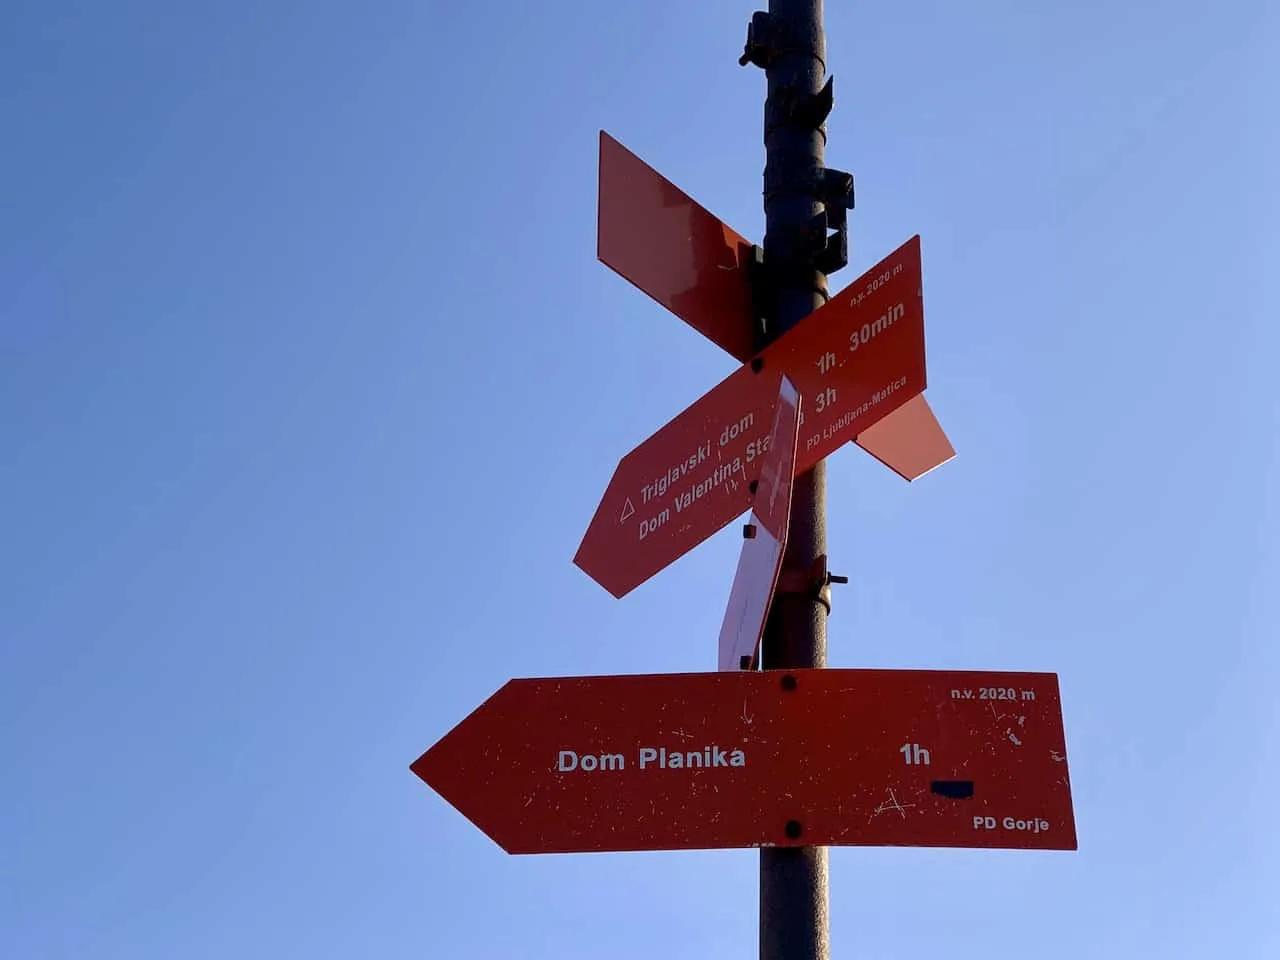
During the duration of the hike, you will find hiking signs and trail markers posted throughout. Be sure to pay attention so you do not take a wrong turn or head on a different route than anticipated. There can be some confusing intersections here so understanding your route is key.
To help with this I would recommend downloading an app like Maps.me that can show you the trails on your phone along with your location. This way you should have no trouble getting yourself on the right path in case there was an instance where you were not sure which direction to go in.
Note that you must download the “Slovenia” region beforehand, so you can operate the app without any cell service.
Hiking Resources & Checklist
Before heading out for the trails, be sure to read up on some of the hiking resources up on the site. These are here to better prepare you for all types of outdoor adventure.
- Gear: Hiking Packing List
- Weather: How to Prepare for Hiking Weather
- Navigation: Hiking GPS & Navigation
- Tips: 20+ Hiking Tips & Tricks for the Trail
- Accommodation: Book Your Hotel Today
- Rental Car: Book Your Car Rental Today
12) Mount Triglav Hiking Facts
Since I hiked up the Pokljuka Plateau route, the remainder of this guide will go over what that specific trail entails. Each of the various routes up the mountain will have similarities when it comes to terrain, however there will be plenty of differences as well.
If you are opting for a route other than the Pokljuka Plateau then just take the below as a reference point.
Below are some helpful facts about the round trip climb followed by additional things to note to better prepare you for the hike.
- Hike Name: Mount Triglav
- Triglav Elevation: 2,864 meters / 9,396 feet
- Starting & Ending Point: Pokljuka Plateau
- Pokljuka Plateau Parking Coordinates: 46°20’18.6″N 13°54’16.4″E
- Length: 26 km / 16 miles
- Duration: 12-14 hours
- Elevation Gain: 2,001 meters / 6,562 feet
I should also point out that the route I choose was somewhat of a loop hike. I followed the route up via the Kredarica Hut but on the way down I opted for the trail via the Planika Hut.
Getting different views and changing it up a bit was my goal when choosing the specific route.
Learn More: If you enjoy this hike, why not check out some of the other top hikes in Slovenia during your trip.
13) The Climb Up Triglav
By now I hope you have all the information you need in order to take part of the trek up Triglav.
Now I want to simply walk you through the Pokljuka Plateau route so you can get an idea of what the trail entails and what to expect as you make the climb on your own.
Part 1: Parking Lot to Konjscica
After parking your car in the lot, the climb up Triglav begins. The first portion of the trail will take you through the forest greenery as you continuously gain some elevation.
The trail terrain is mostly made up of small loose rocks and dirt. You will also be walking right nearby the serene river as you continue along.
You will need to head through a gate at some point but please be certain to make sure it closes completely once you are on the other side. From my understanding it is so the nearby farm animals don’t stray too far away.
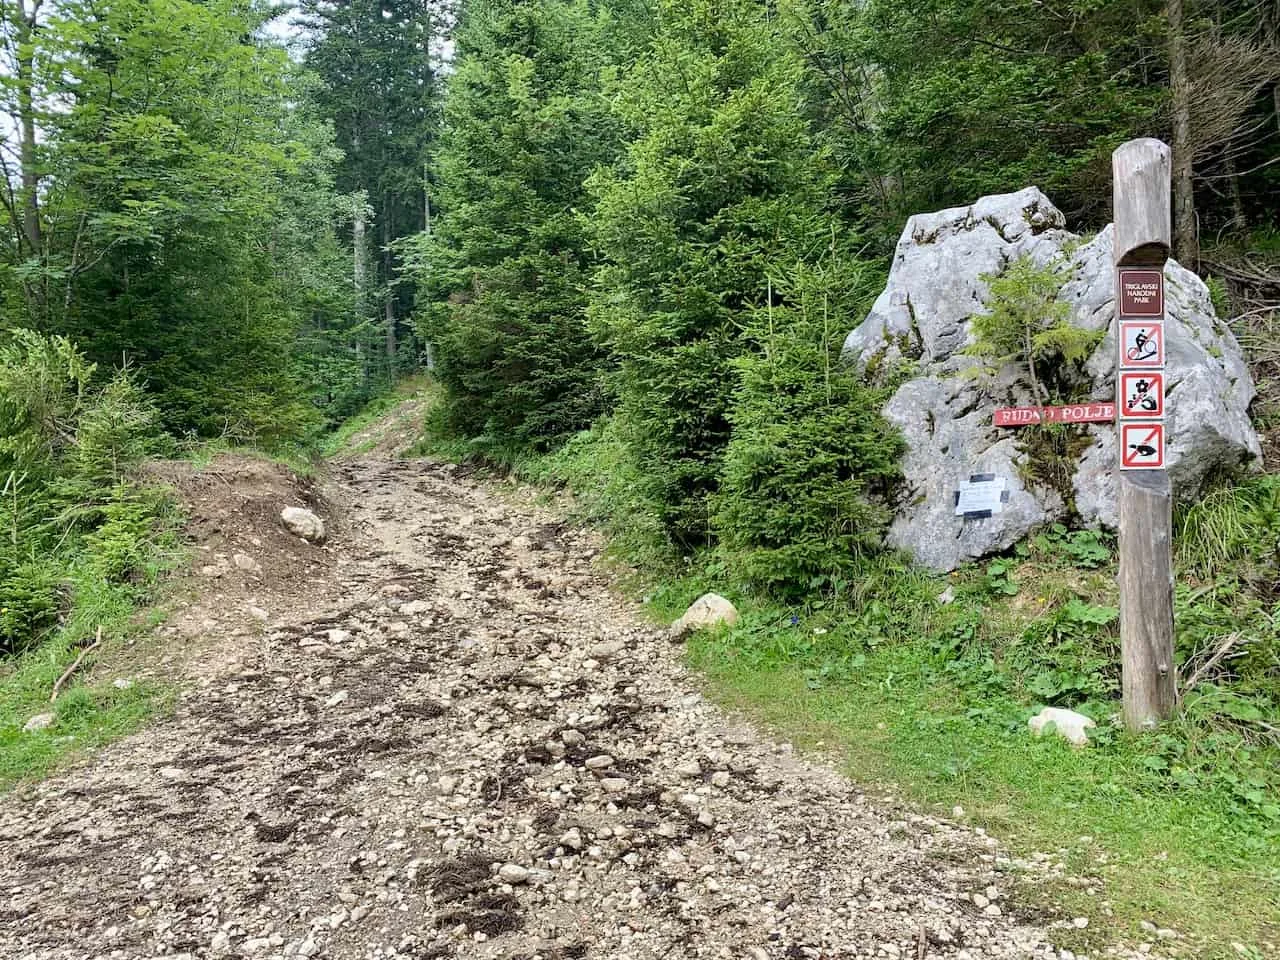
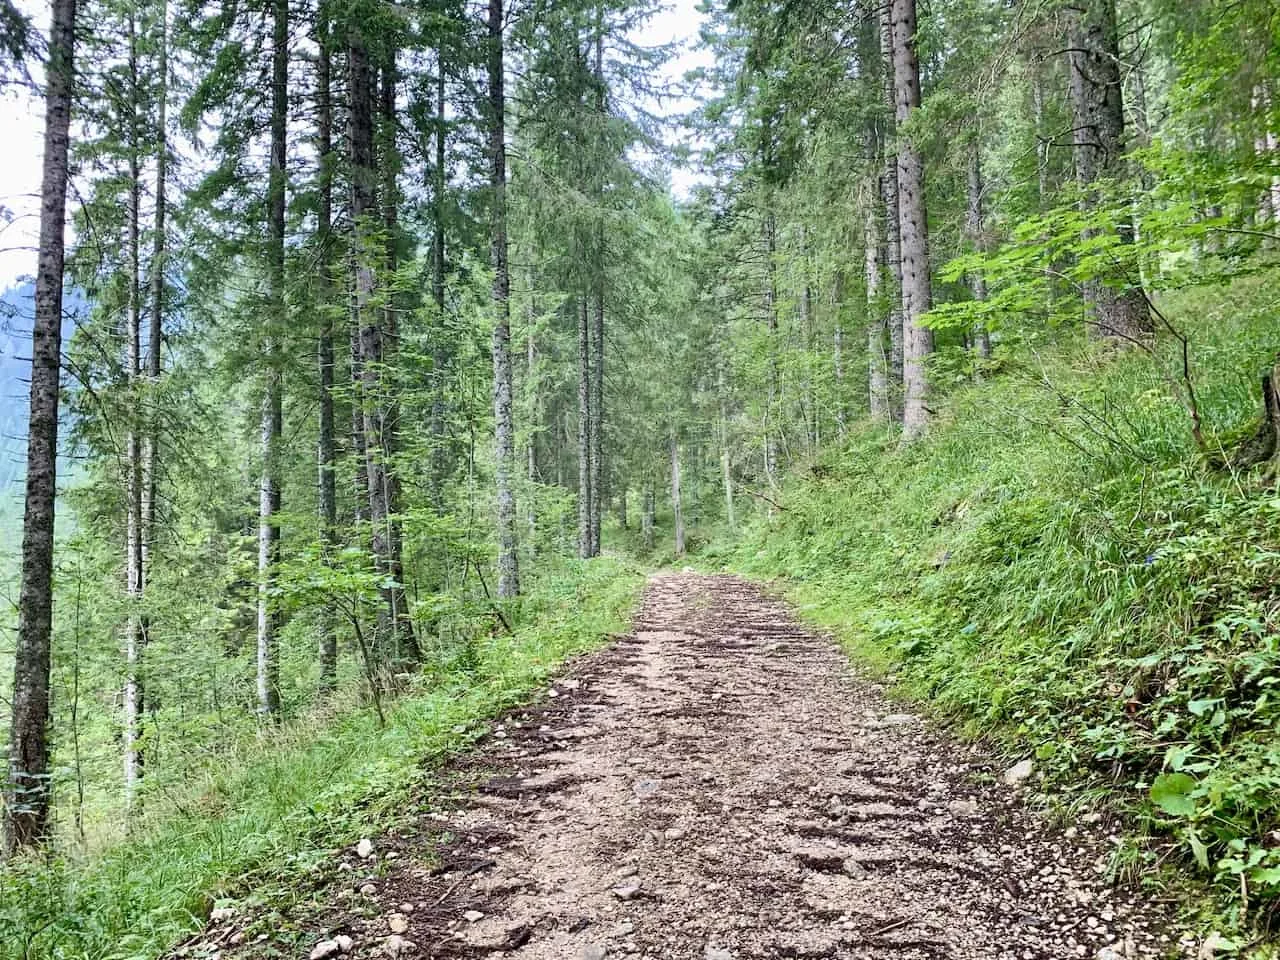
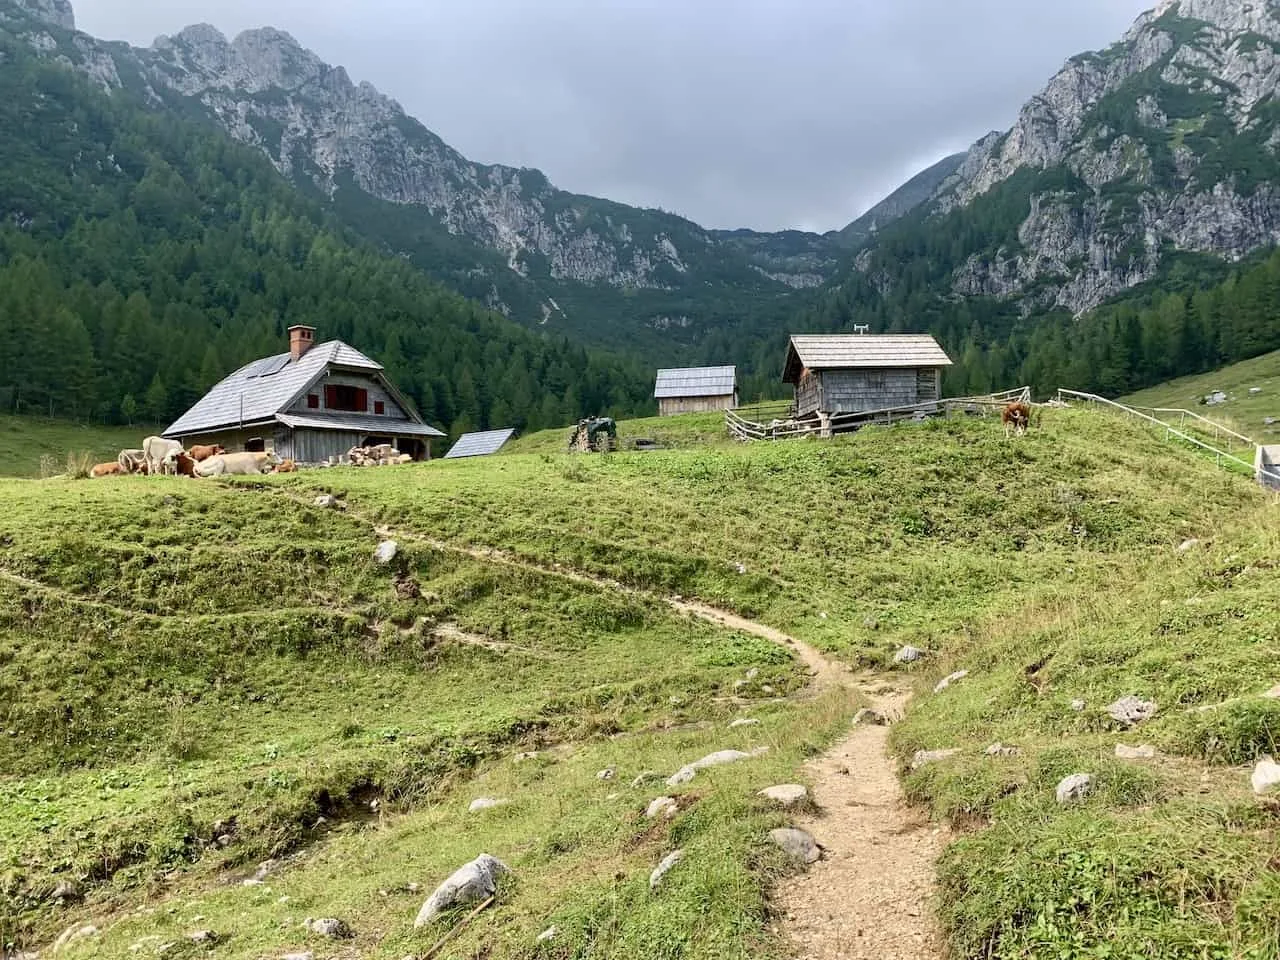
After a couple of kilometers through the forest, the landscape will then open up as you are welcomed to a farm area. You will see the Konjscica farmhouse as well as plenty of cows in the surrounding fields.
It is a nice easy stroll as you make your way on the grass field and onto the next portion of the Triglav climb.
Part 2: Konjscica to Studorski Preval Pass
Once you reach the back of the field though, the tougher hiking begins as the trail does get more technical and steeper. Be careful as you make your way up as the terrain can get slippery with all the loose rocks on the incline.
As you continue the way up, you will have the field and farmhouse out behind you with the surrounding rolling hills full of forested greenery.
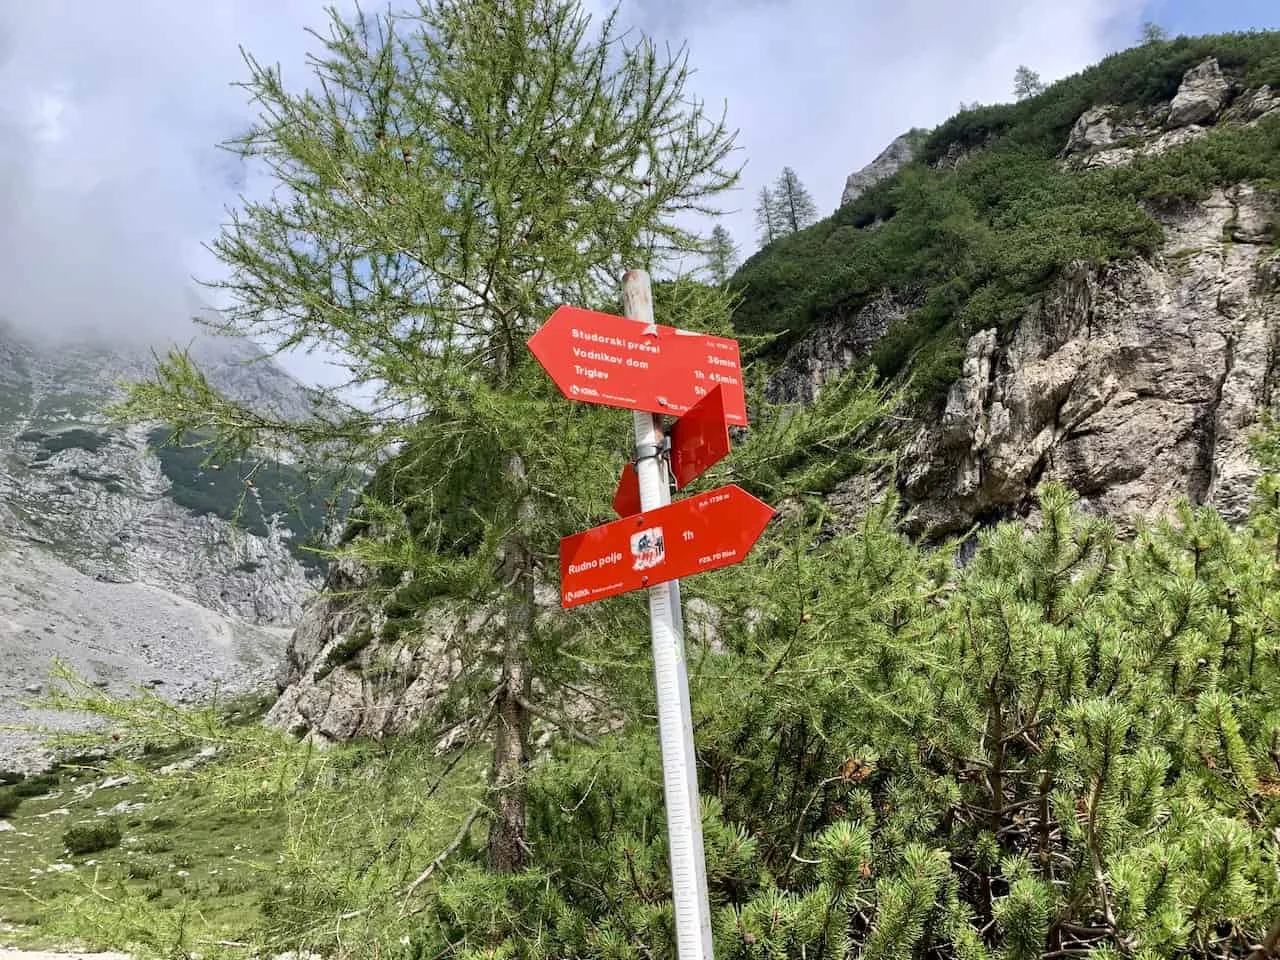
You will see some signs throughout the trail pointing you to Studorski Preval, Vodnikov Dom (another mountain hut on the trail) and Triglav. Just continue following these as you continue on the trail.
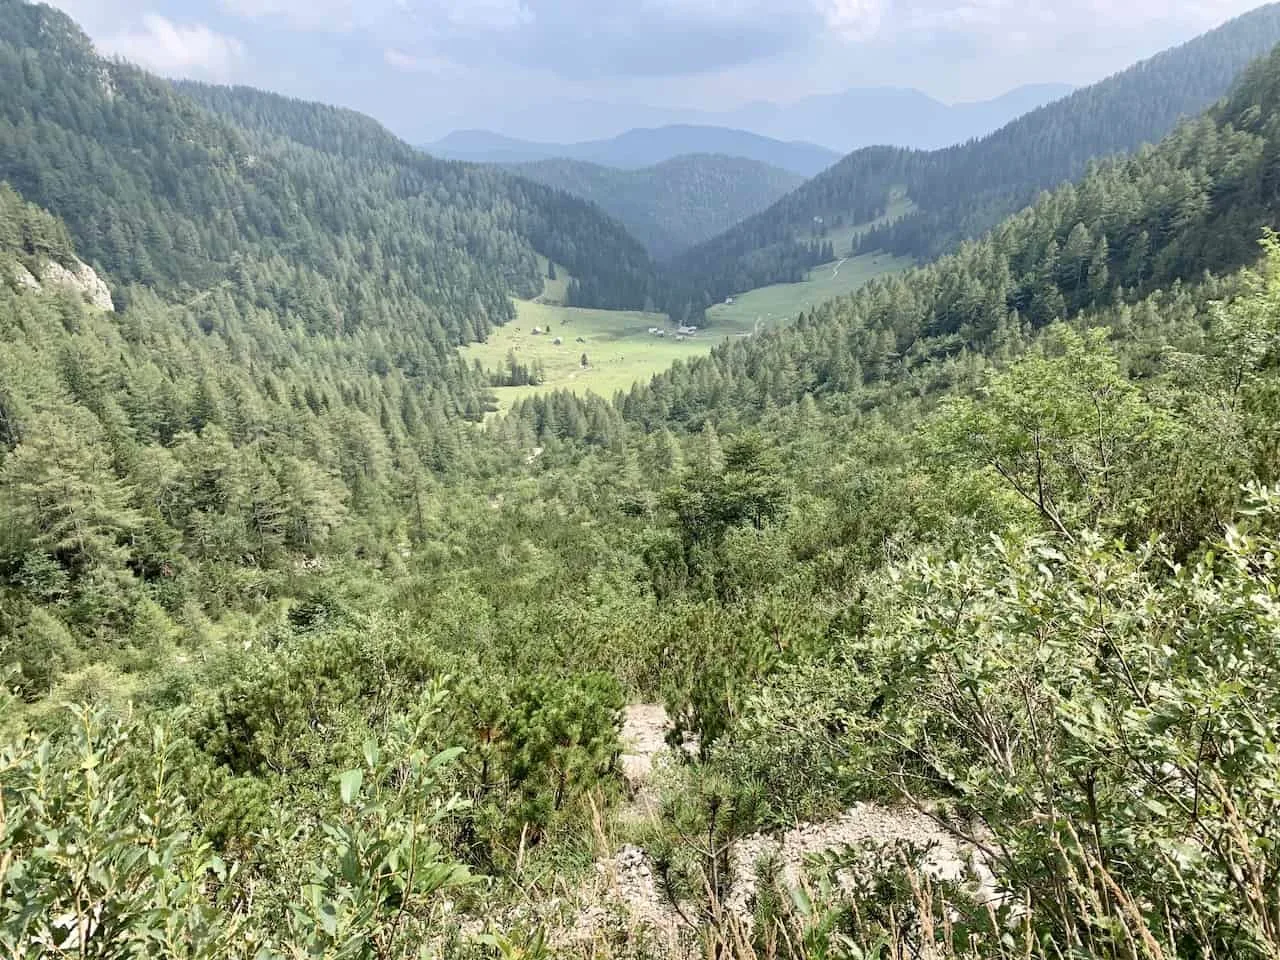
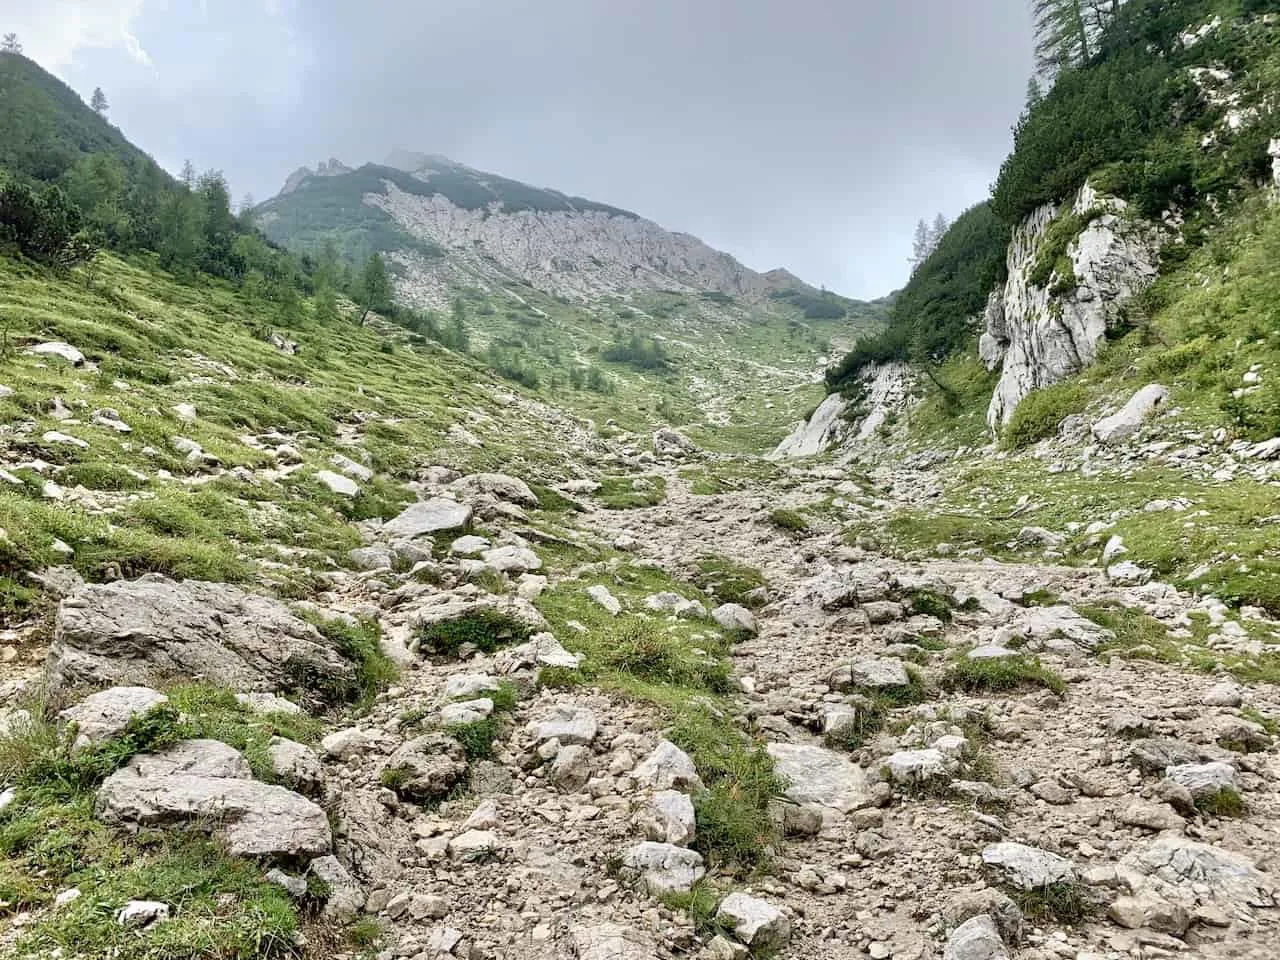
After a short flat section, the incline begins once again as you head up terrain full of small and larger rocks towards the Studorski Preval pass.
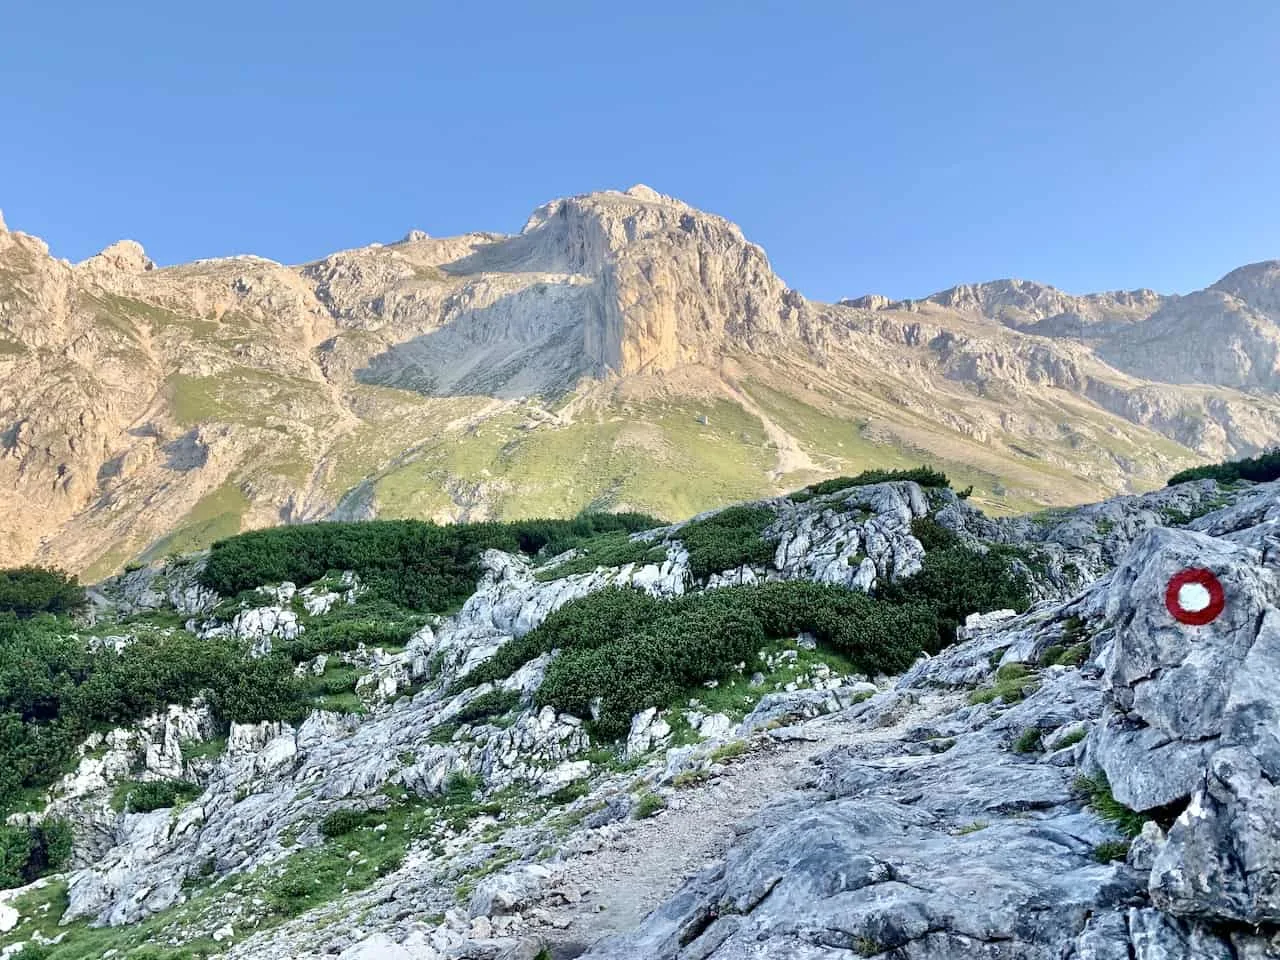
The trail should be easy to follow here but remember to follow those white and red trail markers that will be painted on rocks along the way.
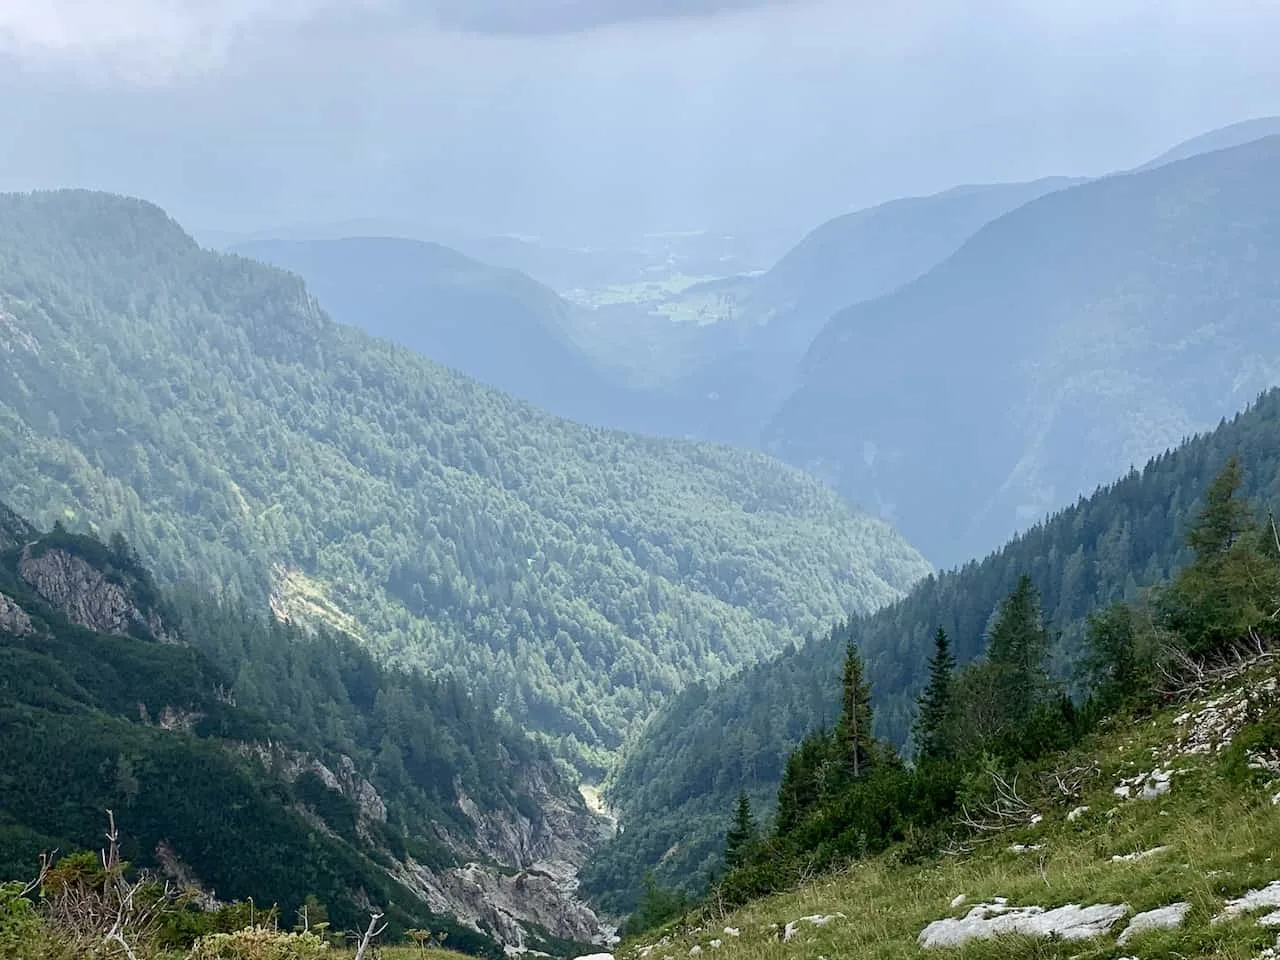
Once on top of the mountain pass you will be welcomed to beautiful views of the surrounding valleys and mountain peaks. It is a nice spot to relax at for a bit before continuing on with the trail.
Part 3: Studorski Preval Pass to Vodnikov Dom
The trail from here for the next 3 km or so (1.8 miles) will be relatively easy as it is mostly flat and even a bit downhill. After quite the climb (600 meters of elevation gain already), having this nice easier section should be a nice break.
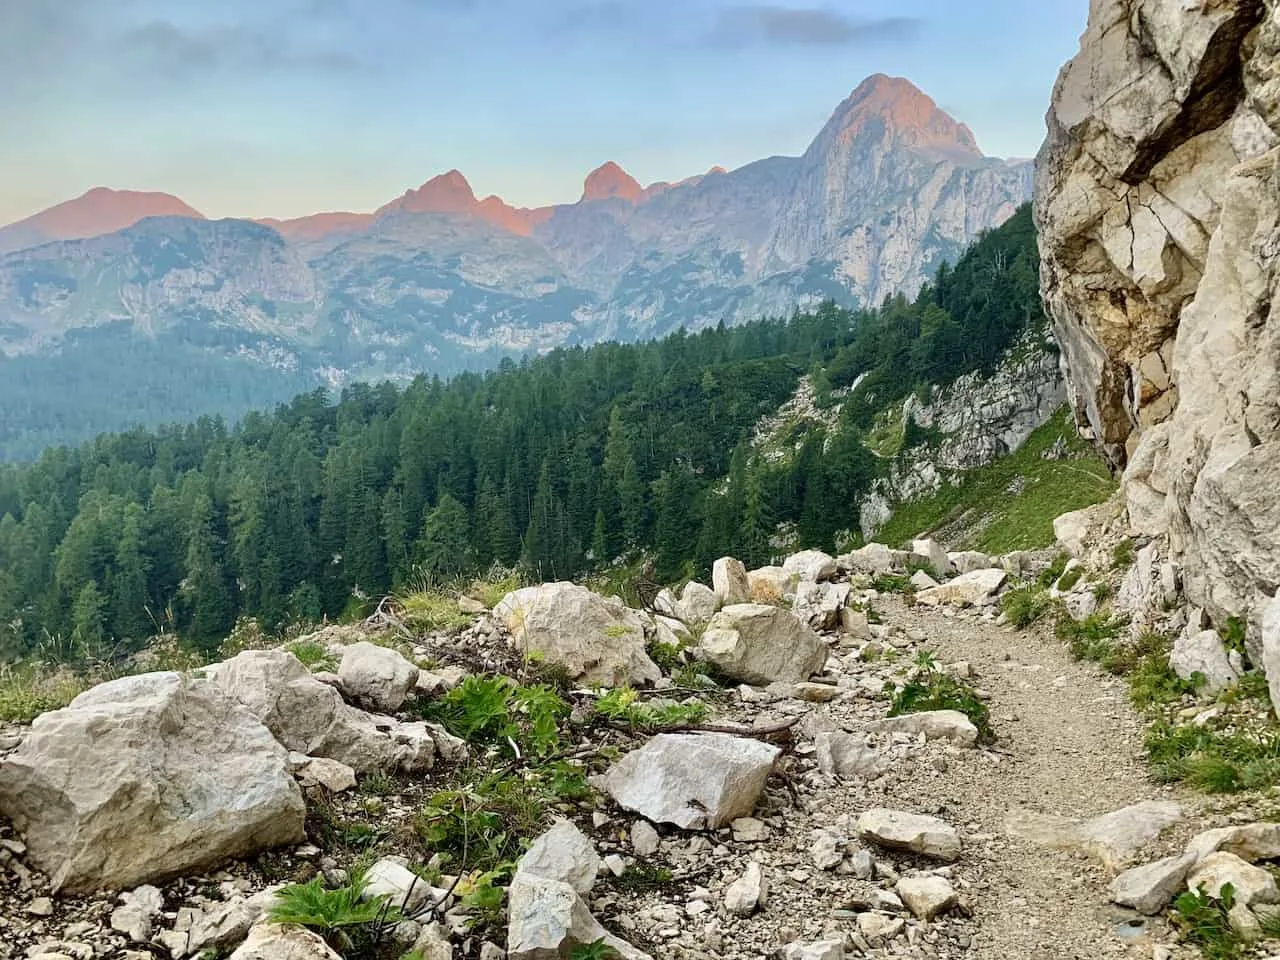
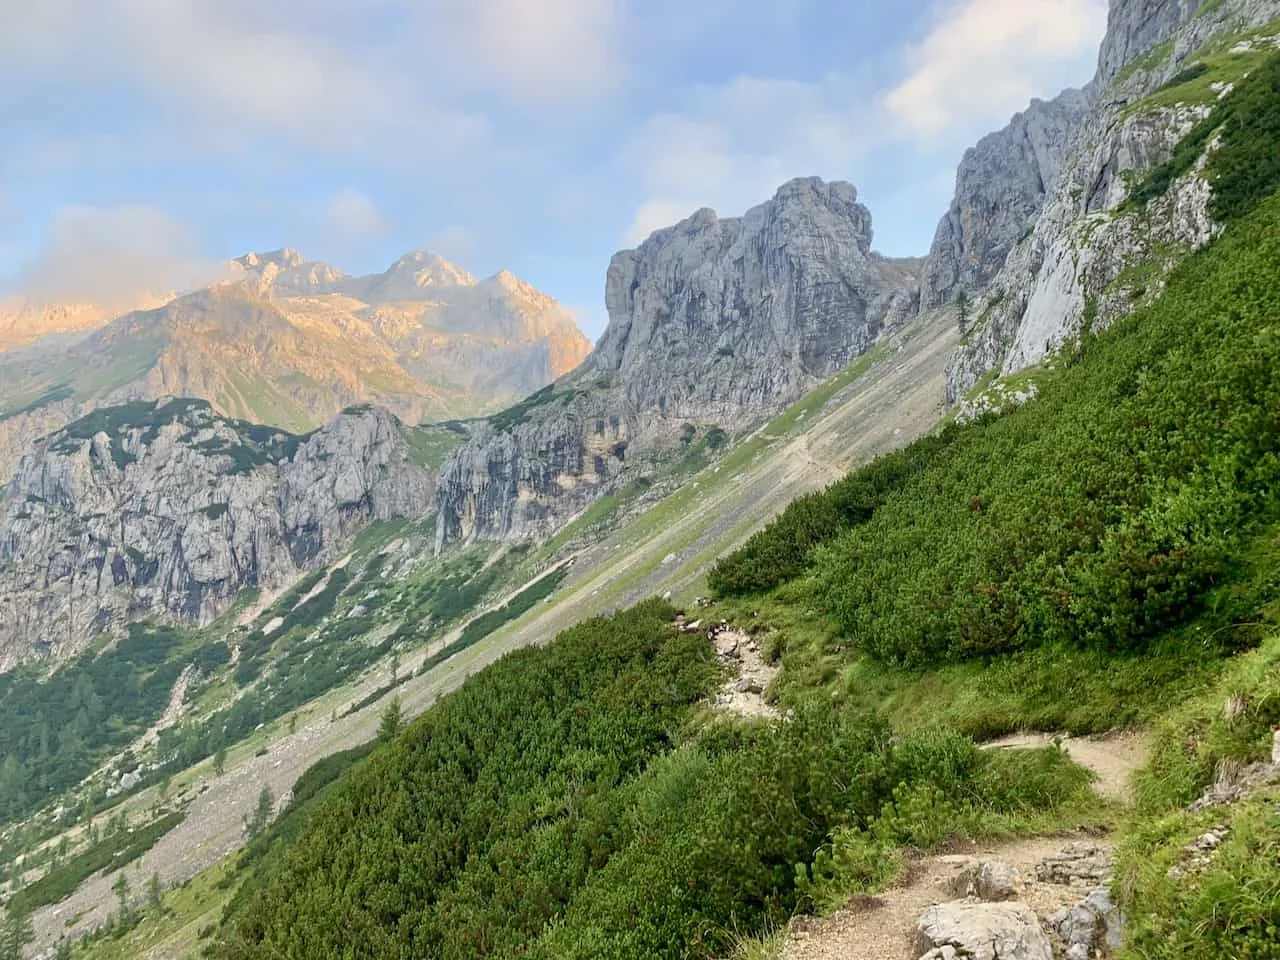
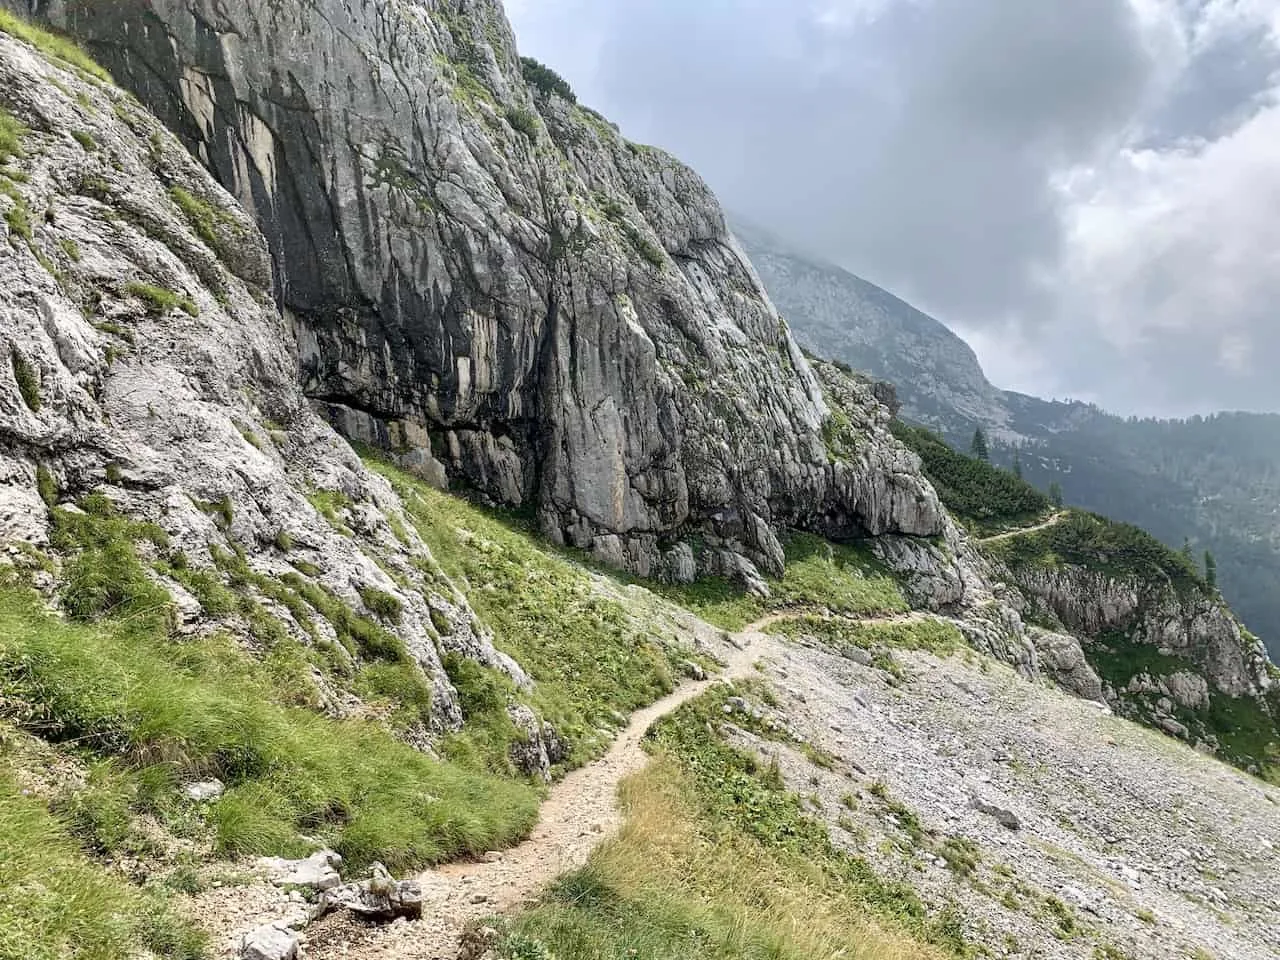
During this portion of the trail you will be walking a narrow path alongside the mountainside as you get yourself closer to Triglav. While this is going to be an easier portion of trail, be sure to pay attention as you are making your way along.
One misstep close to the edge and you could go rolling down the side of the mountain. As long as you watching your step you should have no trouble trekking along.
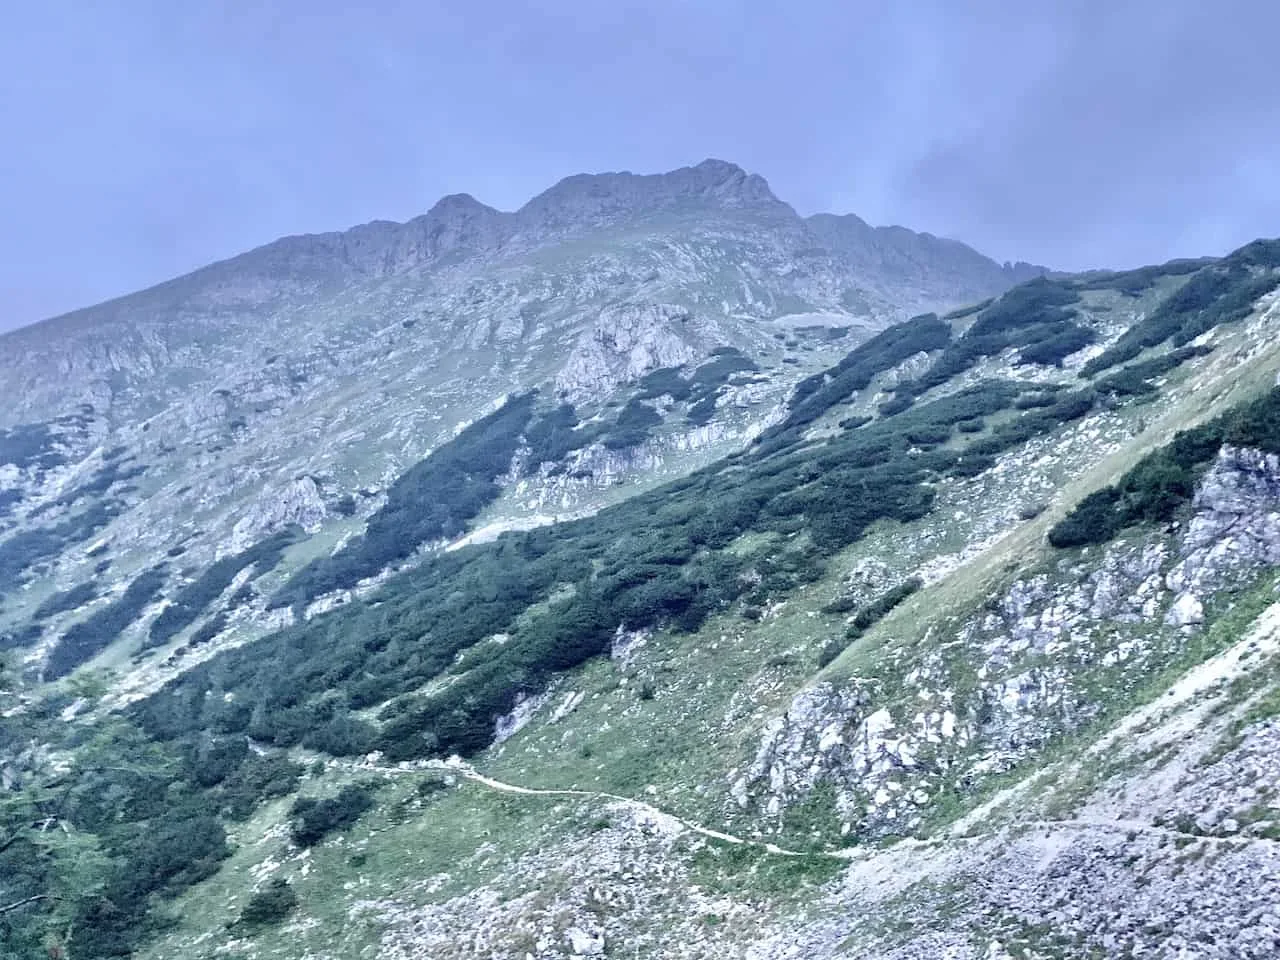
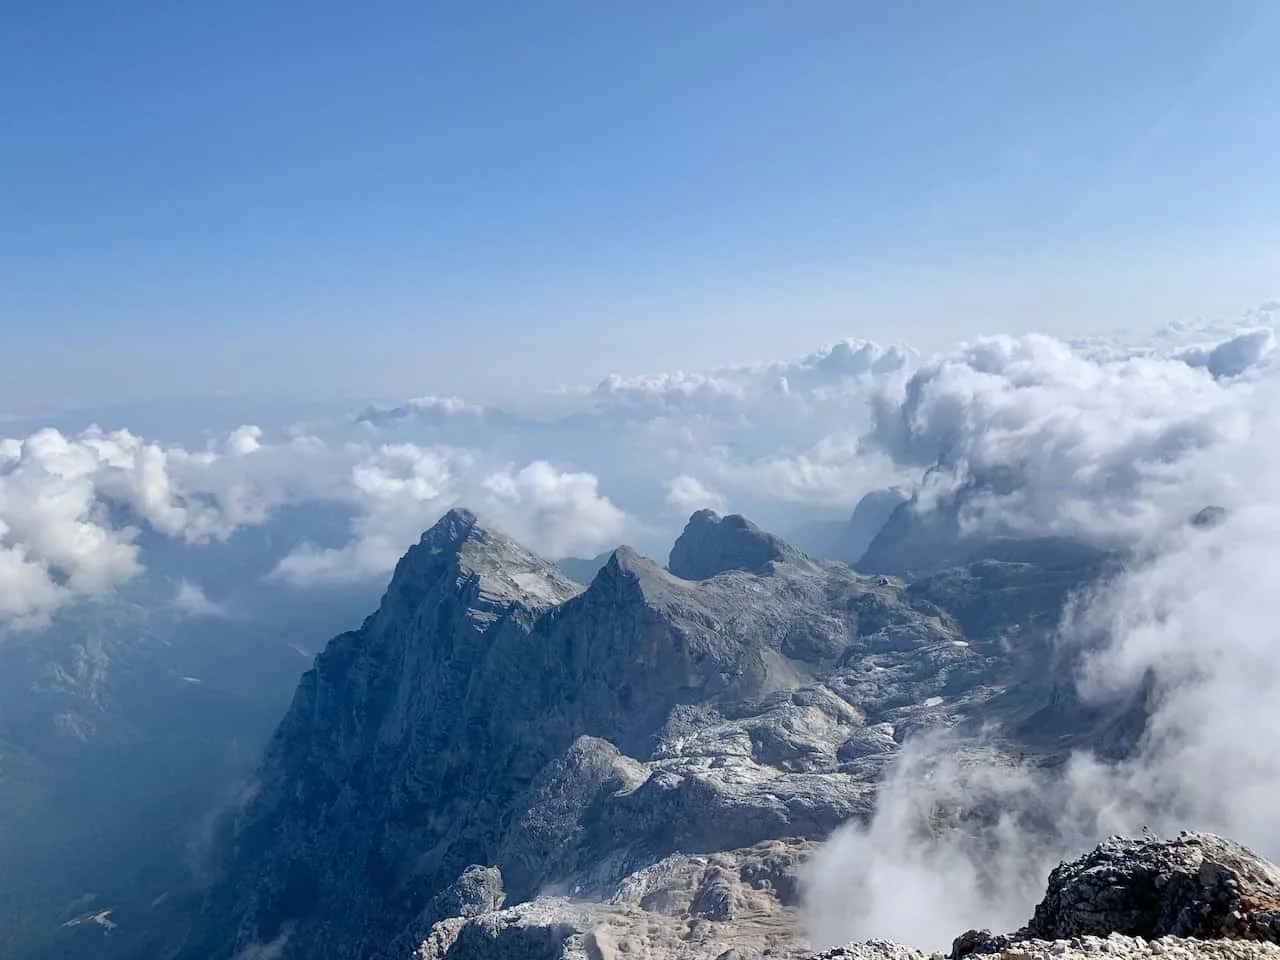
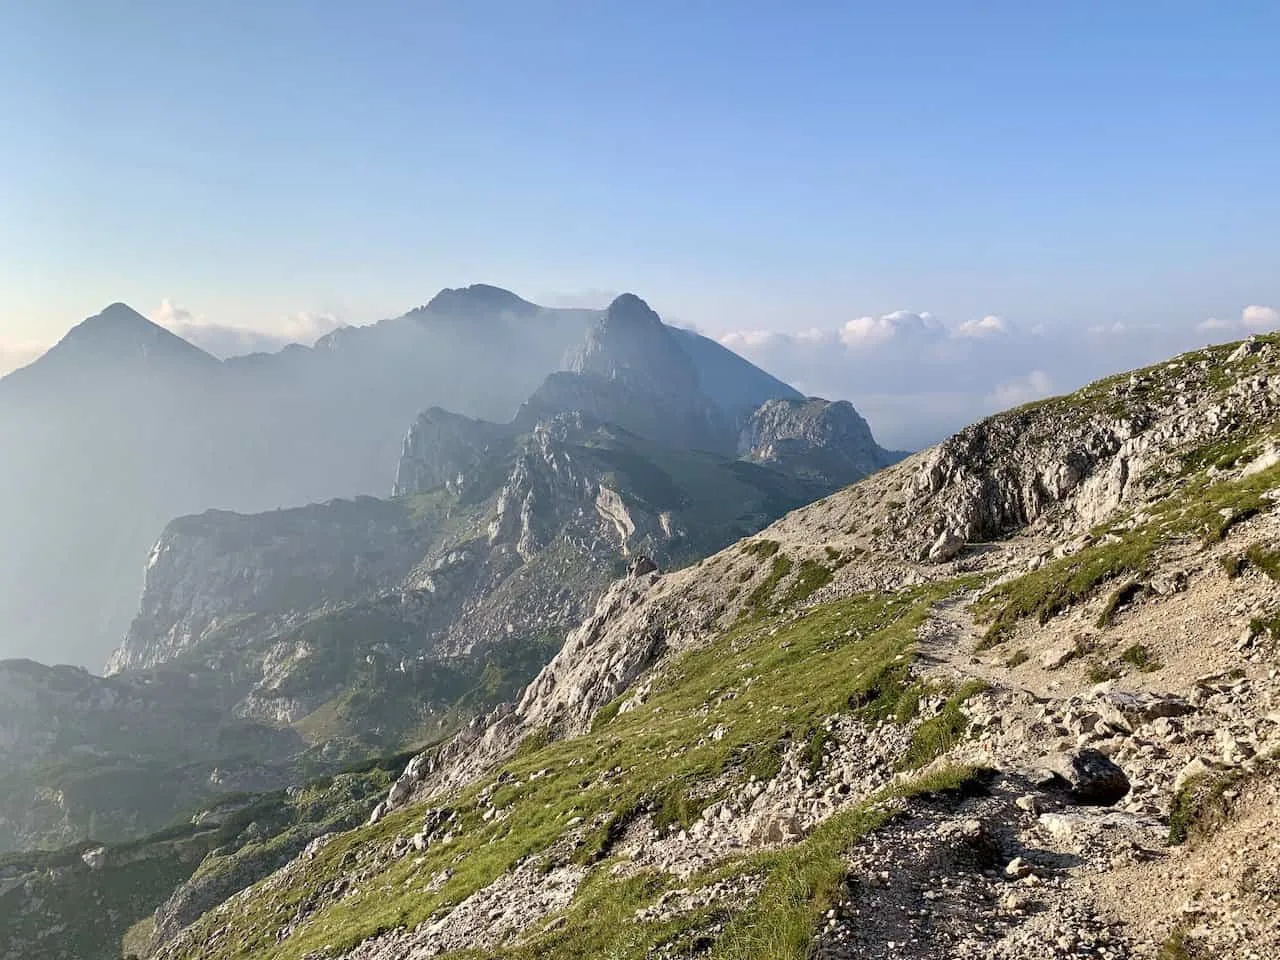
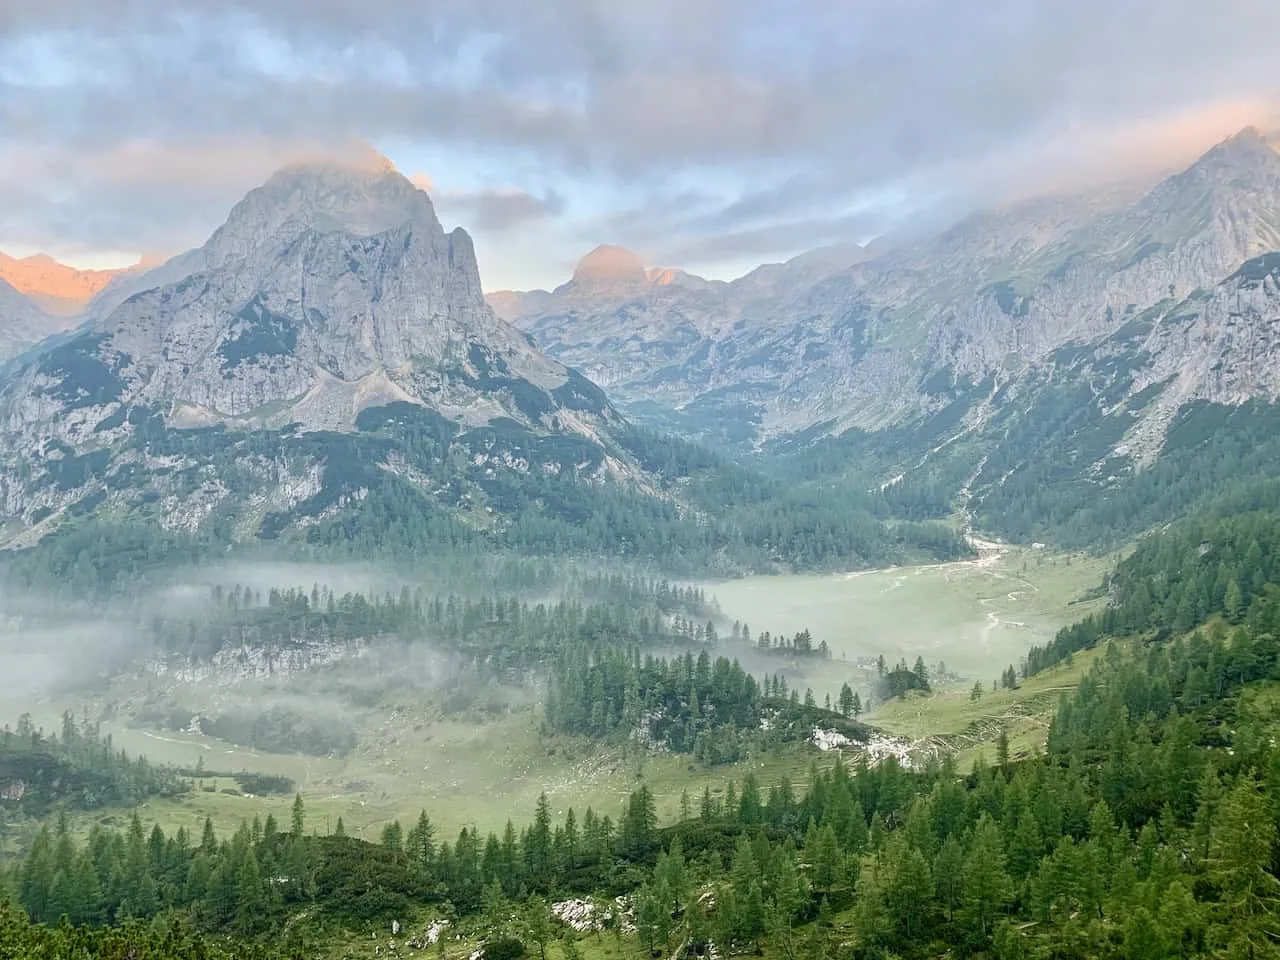
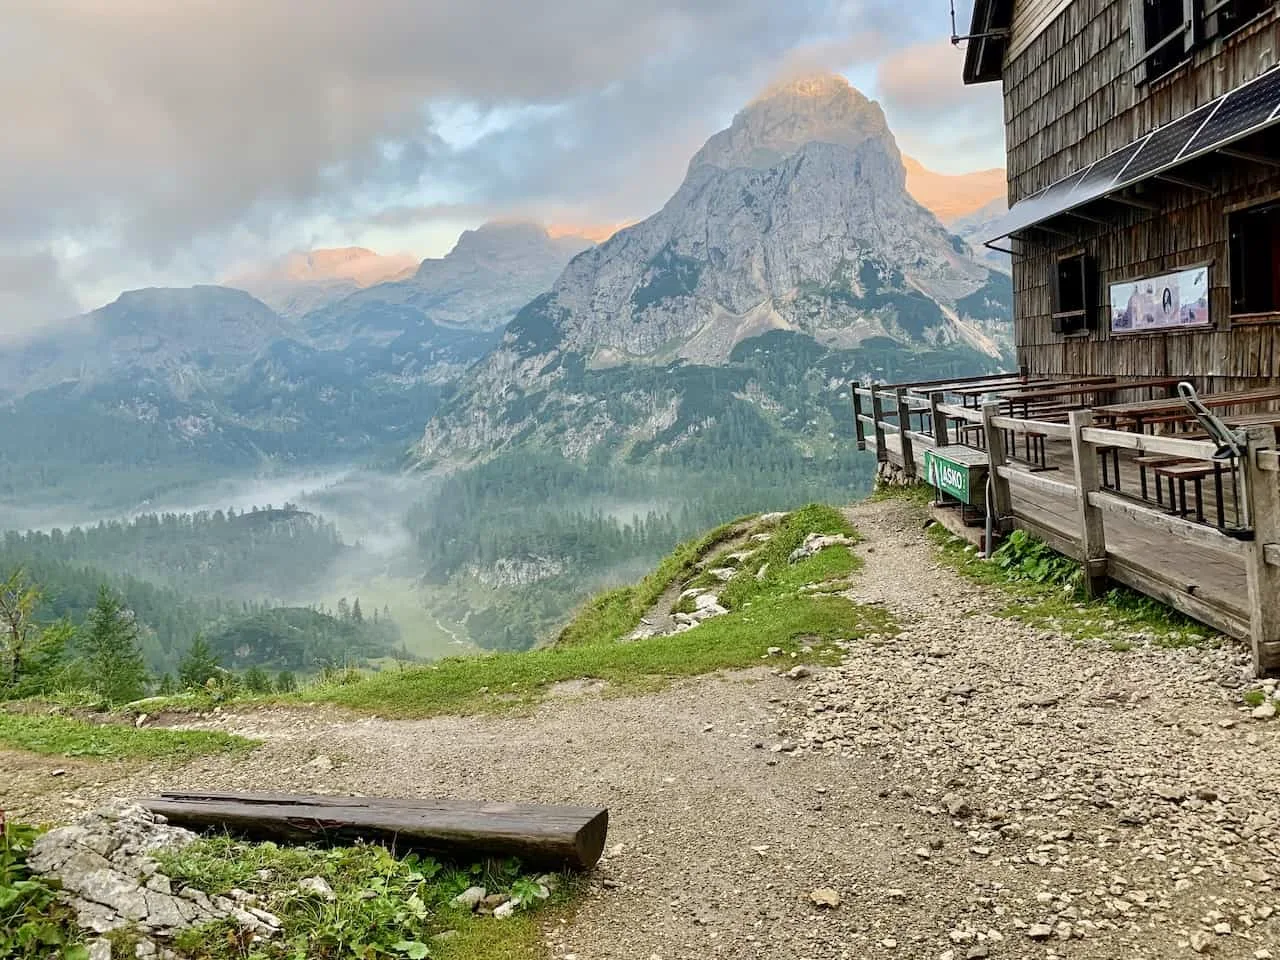
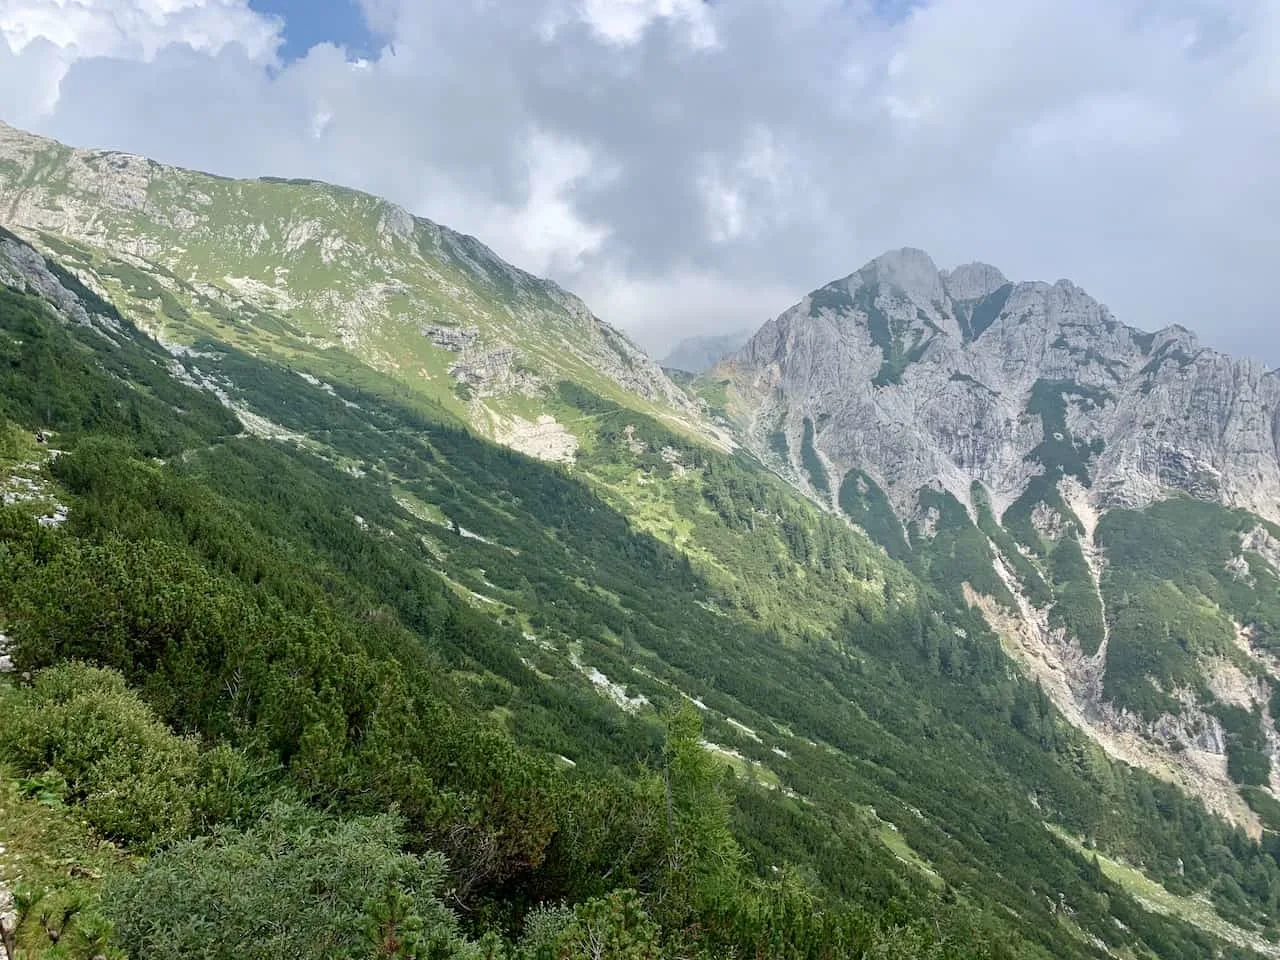
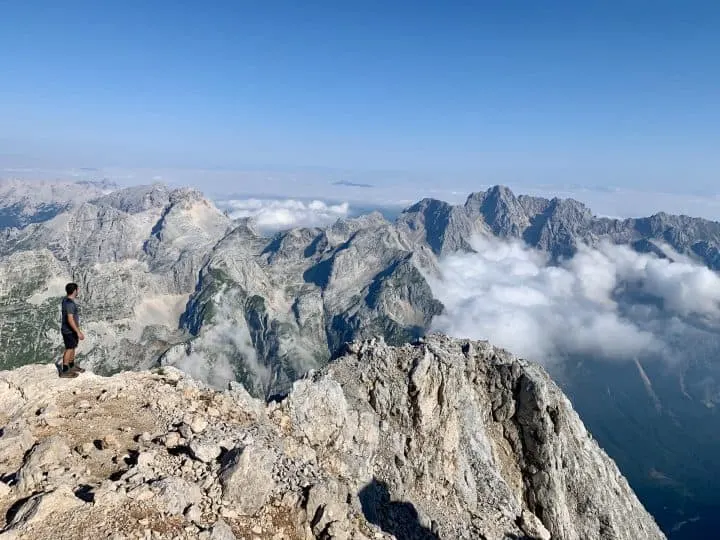
Since I was taking part of the hike in a single day, I started pretty early in the morning. Here is where I got to see the first rays of light hit the surrounding mountains of the Julian Alps (the pictures above were taken on my way down).
There will be some stunning scenery surrounding you with the green valley down below and the mountains rising above.
At the end of this mountainside path you will arrive at the Vodnikov Dom Hut. Here you can take a break, fill up your water, and get ready for the push to the summit.
Part 4: Vodnikov Dom to Base of Triglav
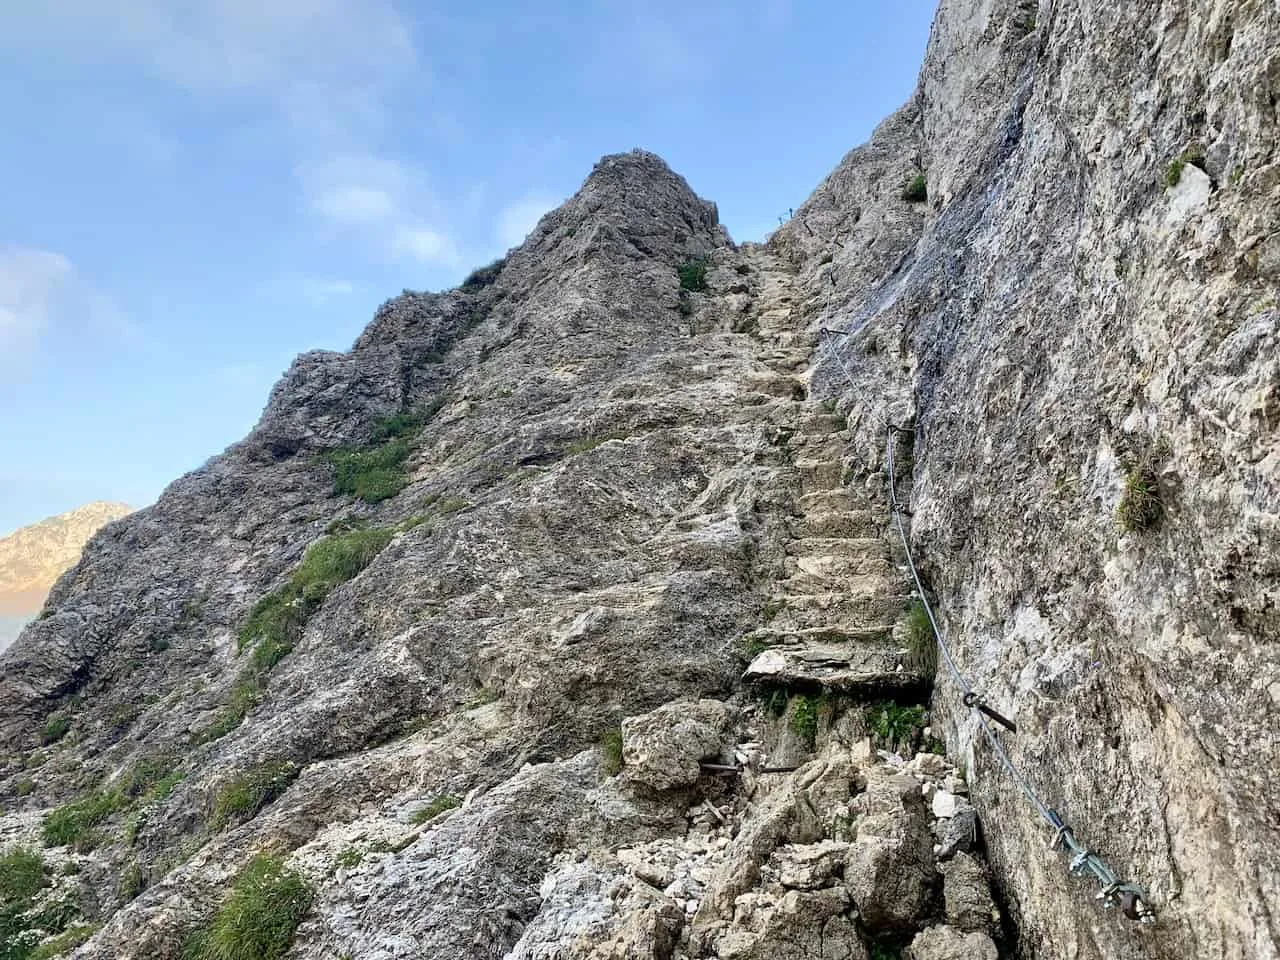
After leaving Vodnikov Dom, the elevation gain will once again begin. During this section on trail you will come across some fixed lines to help guide you along the trail.
As long as you are careful here you shouldn’t need to clip in using your Via Ferrata gear, however if you are a beginner it could be a good idea to do so.
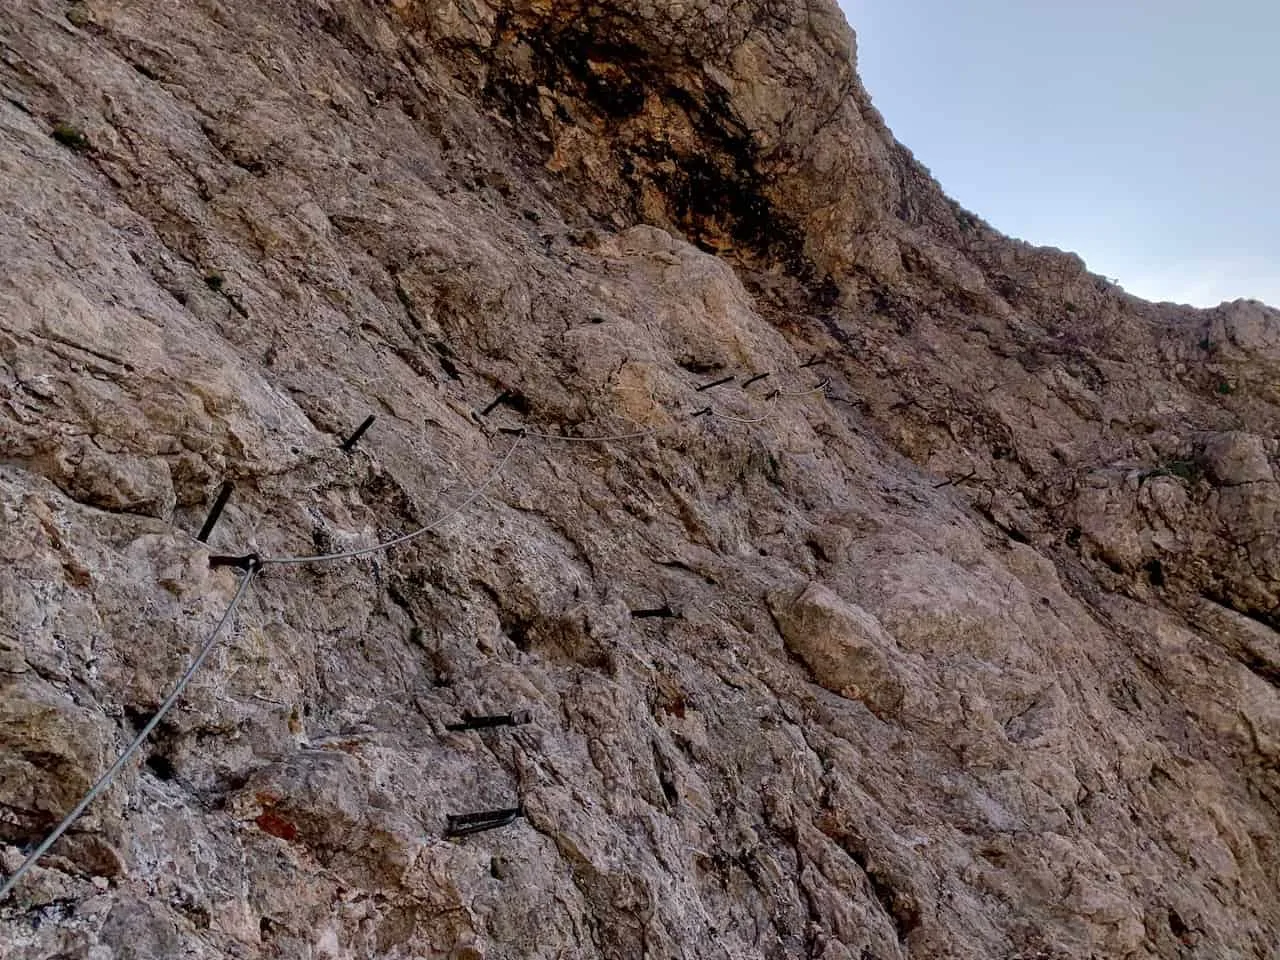
This will give you some practice with clipping in an out of the fixed line as you will need to do so closer to the summit. Below is a photo of the fixed line to give you an idea what to expect.
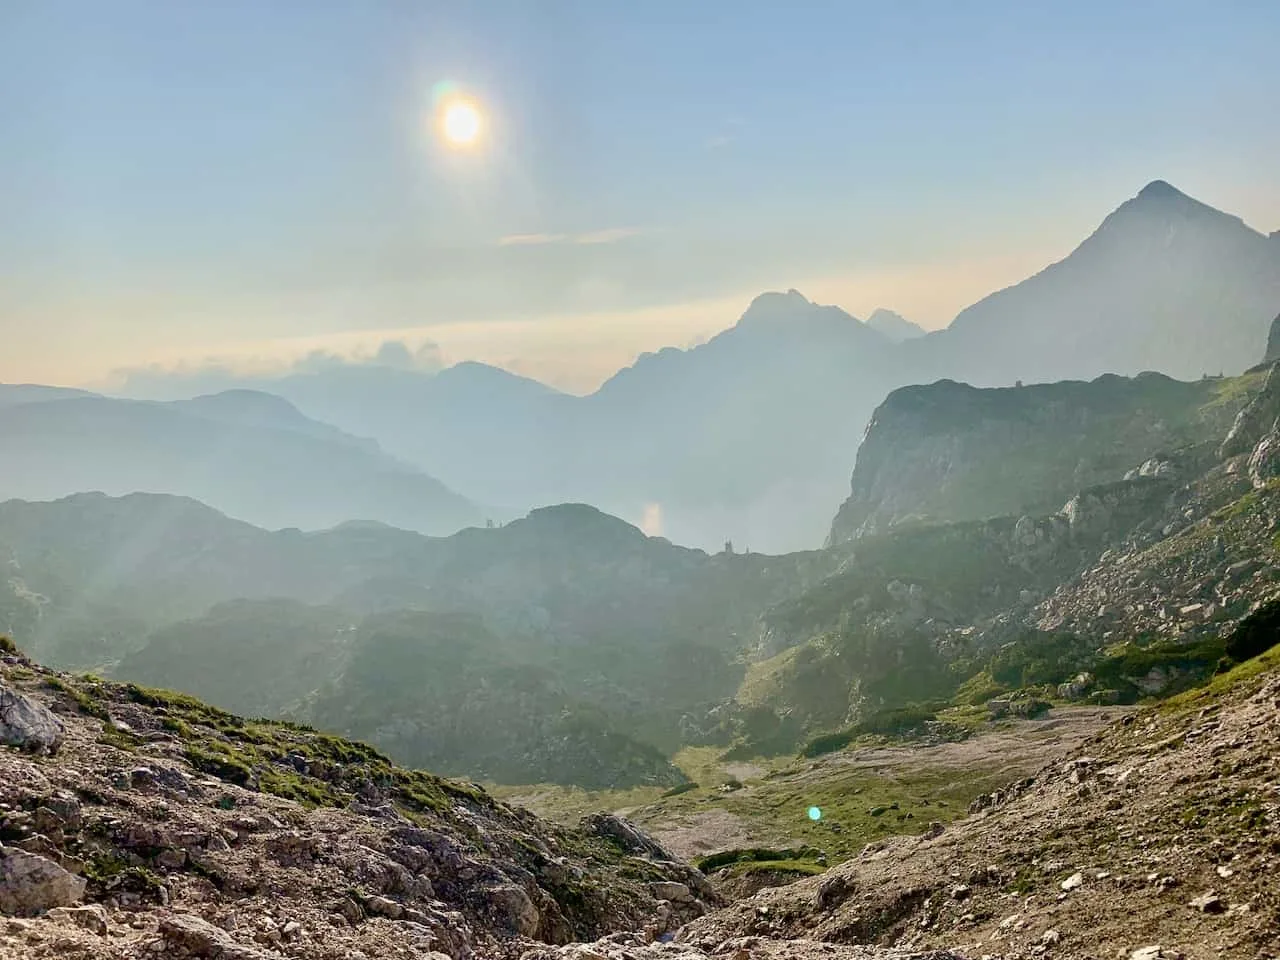
The surrounding landscape just gets better and better here with so many various mountains, greenery, and valleys in every direction.
Approximately an hour after leaving the Vodnikov Dom hut you will arrive at an intersection. To your left will be the route up to Dom Planika Hut. Straight ahead is the route to Dom Kredarica Hut.
Which route you take will depend on where you are staying overnight. So, feel free to head on the route that will take you to your overnight hut.
Since I was doing the hike in a day, I decided to head up through the Kredarica route and then come down the Planika route.
Part 5: Base of Triglav to Dom Kredarica Hut
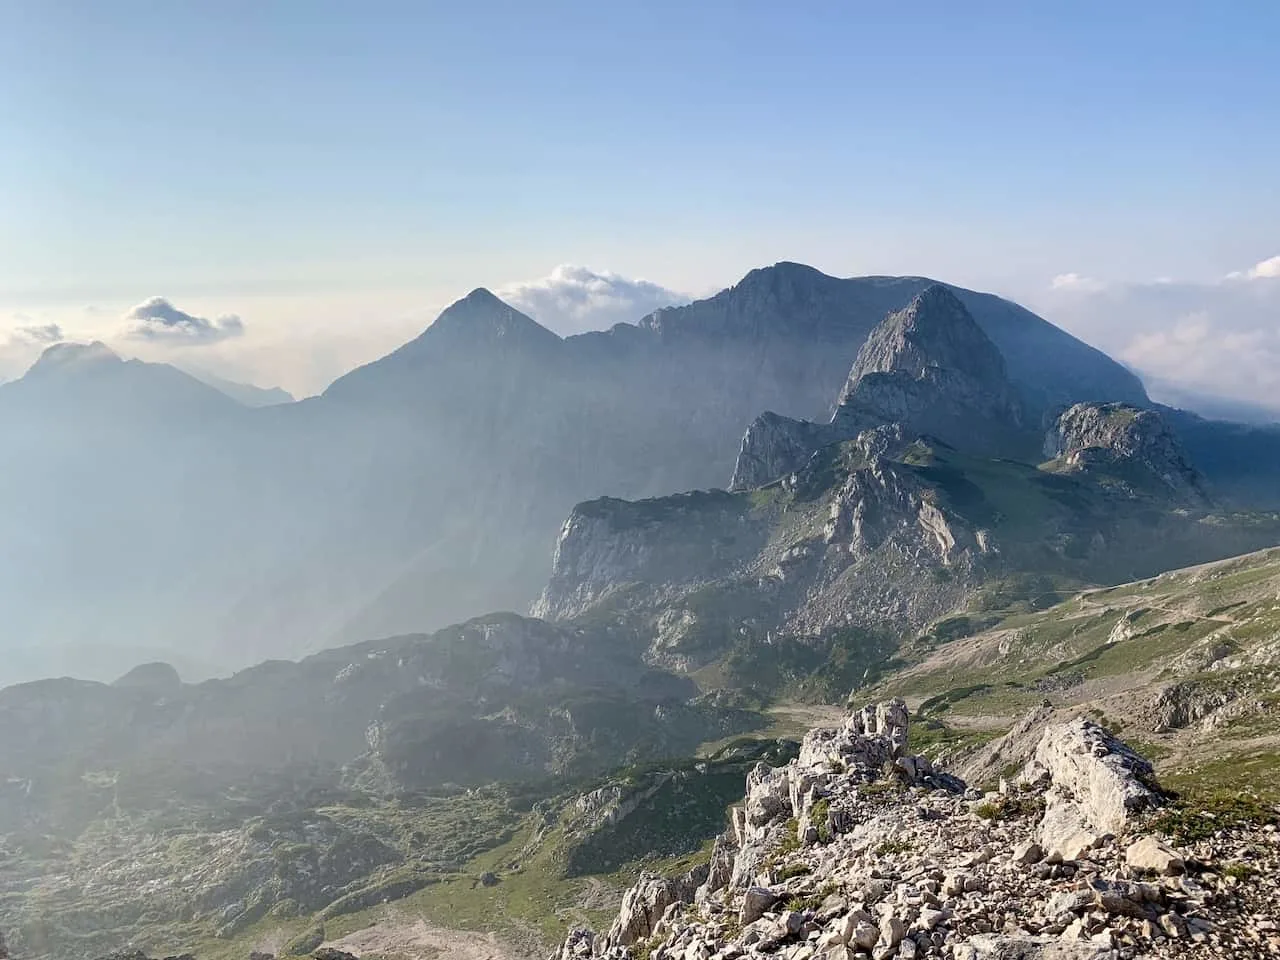
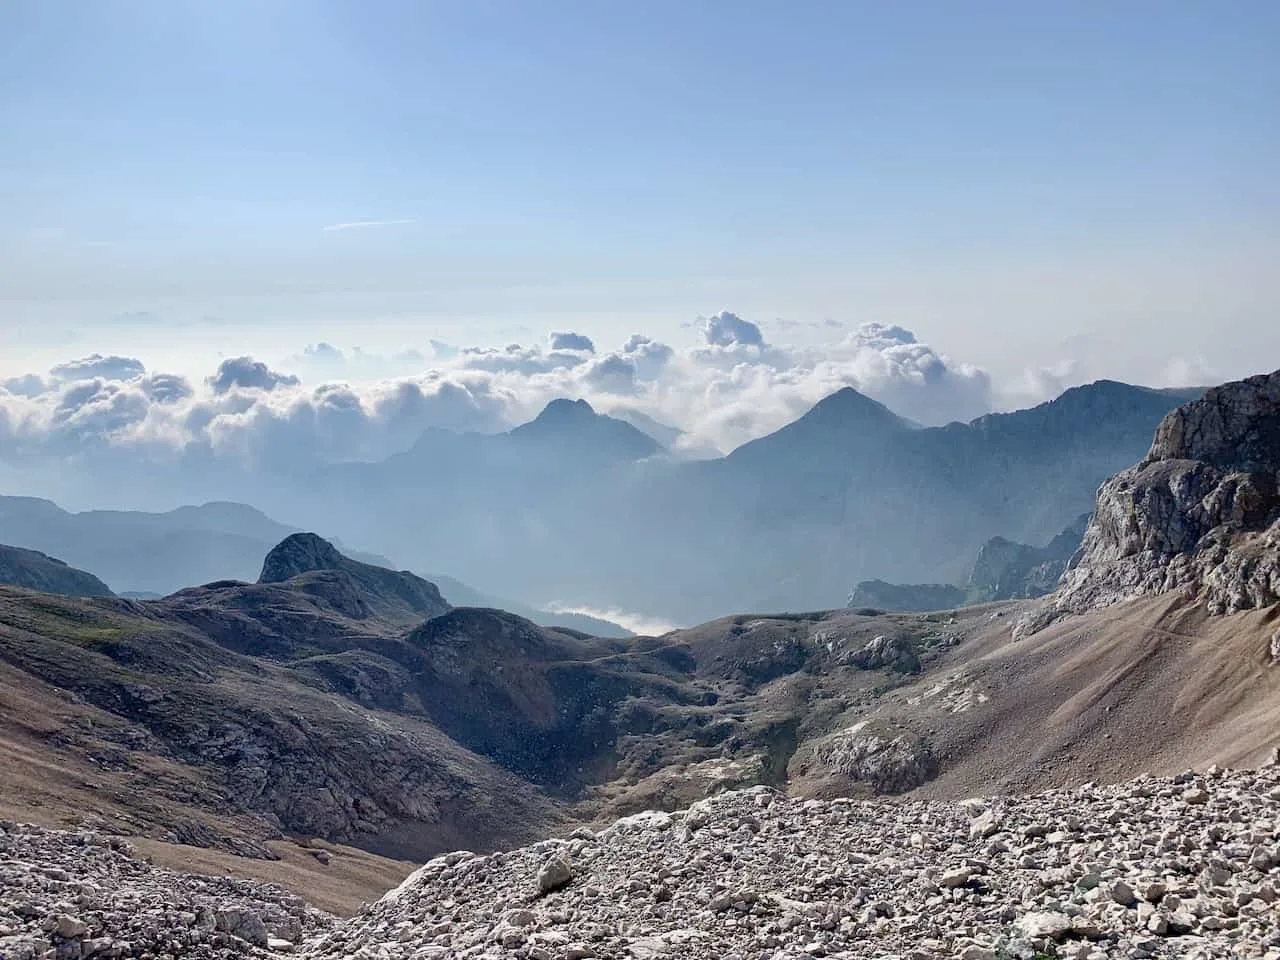
If following the Kredarica route you will soon be welcomed to some new mountain and valley views as you now begin the trek up Triglav itself.
The rest of the way to the top is basically an incline the whole way through so get ready to climb!
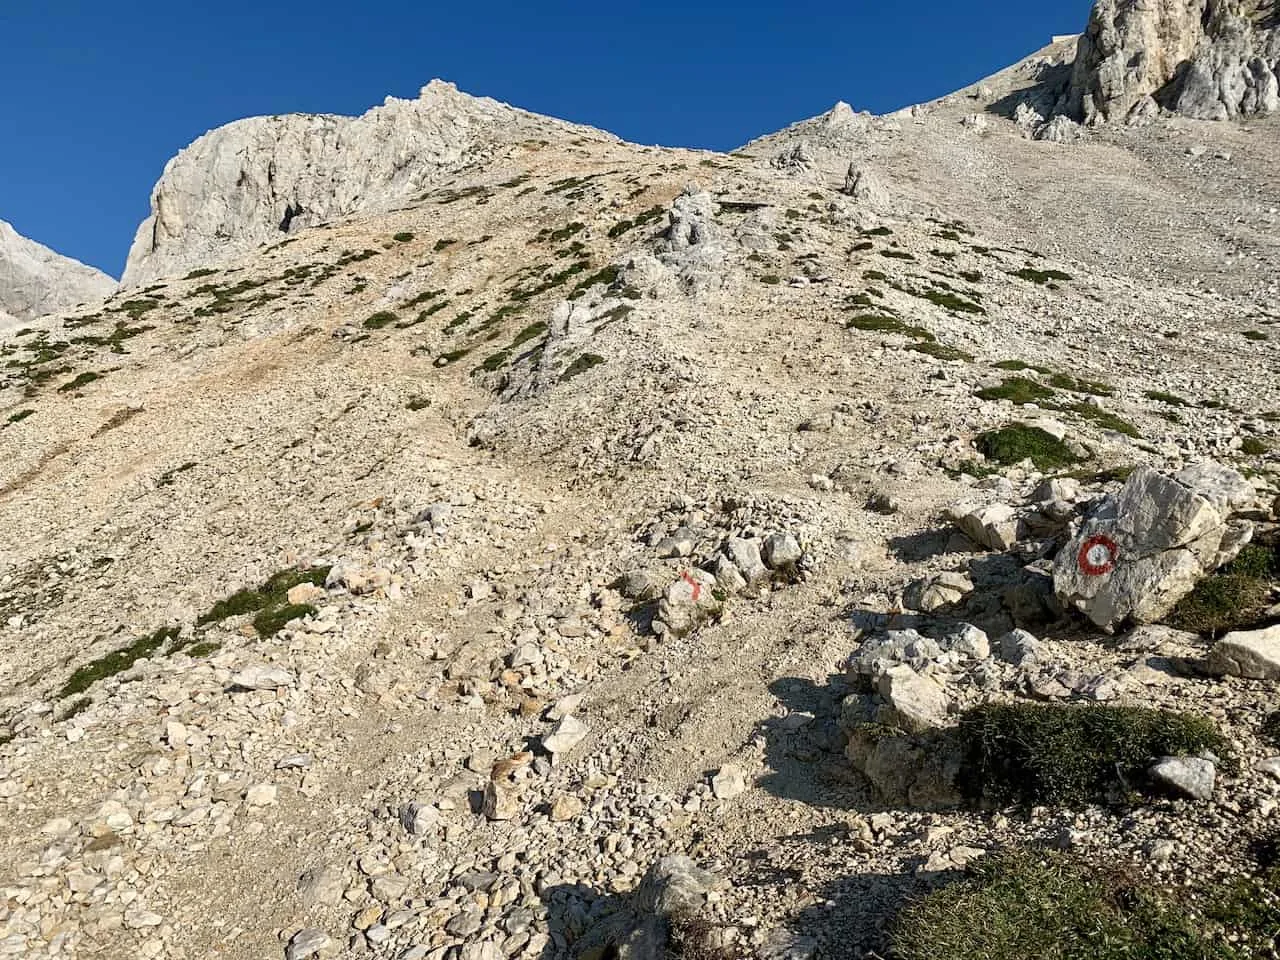
You will come across another section with a fixed rope and foot pegs to follow as you make your way across a more technical part of Triglav. The views though just continuously get better as you get higher up the mountain.
Make sure not to push yourself too hard here as the incline can get tough and the terrain a bit tricky. Take breaks as needed as you push your way up towards the Kredarica hut.
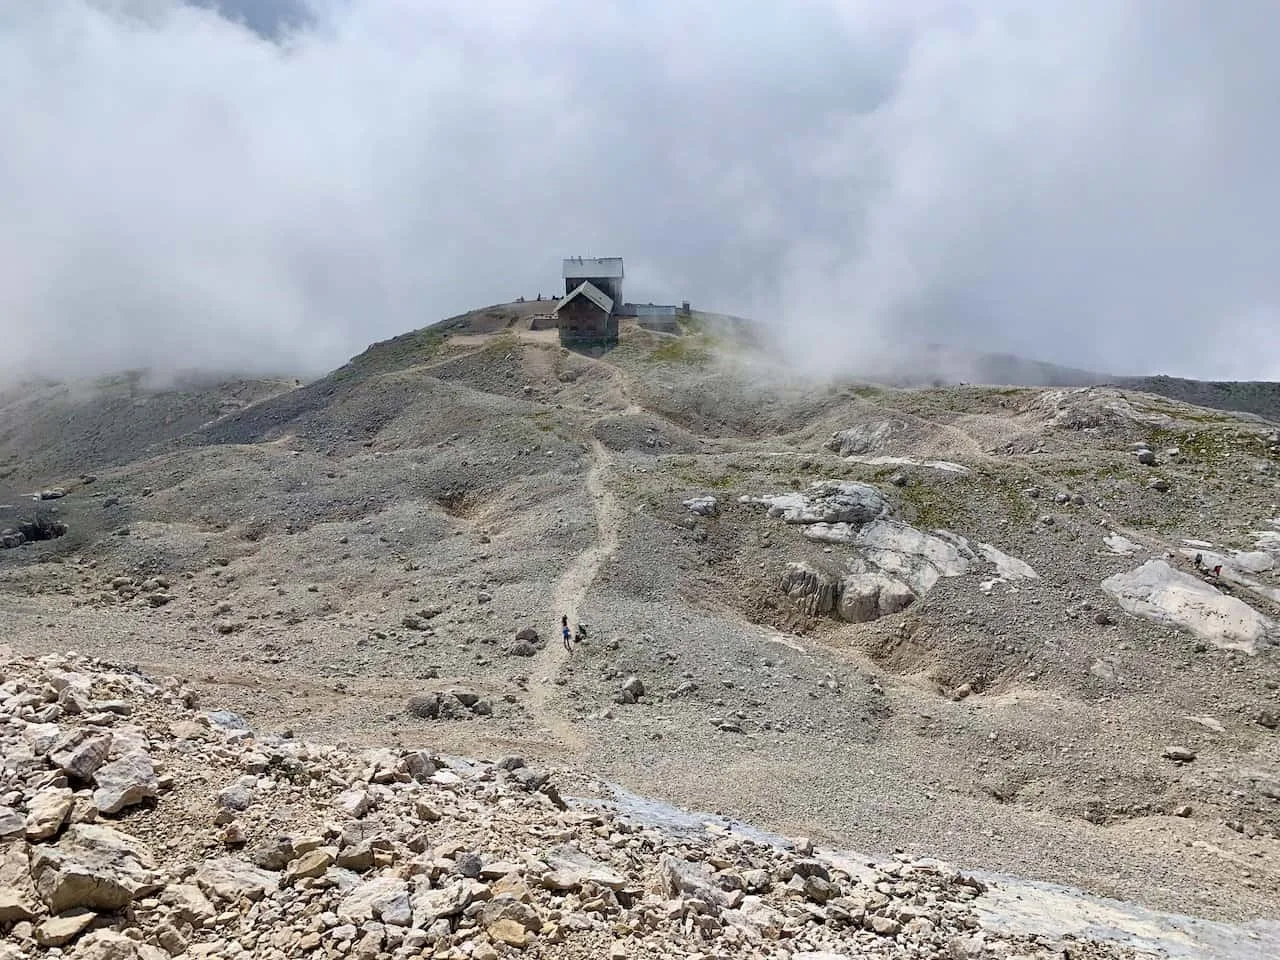
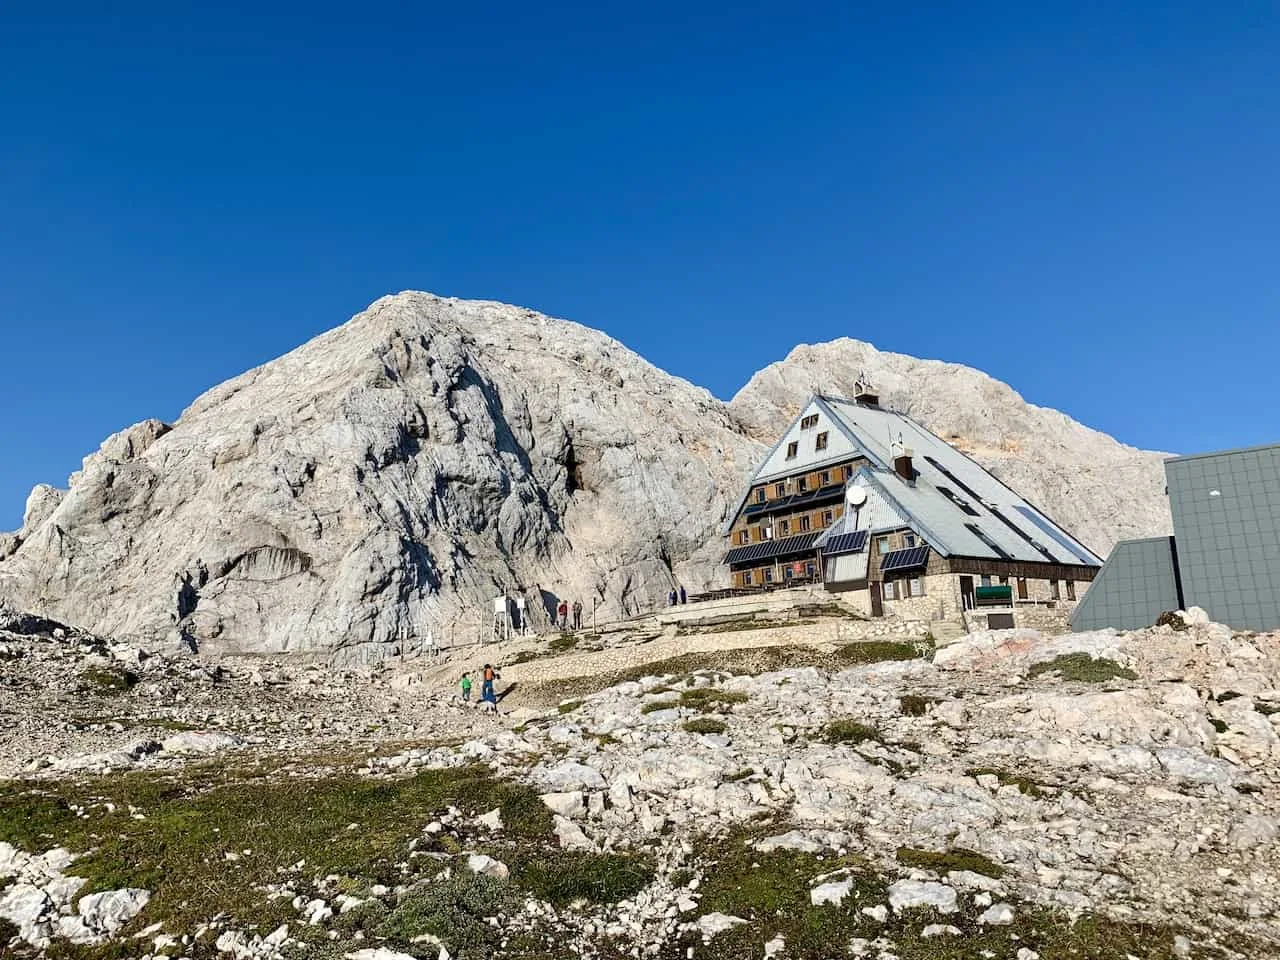
Soon enough the hut will come into view. You will be high above most, if not all of the surrounding mountains with just another hour to go until you reach the summit.
If staying overnight in the hut you can decide to either take a break for a bit before summiting later in the day or you can plan to summit the next morning.
As mentioned earlier, if the weather is looking good when you arrive at the hut, I would advise to head up the same day.
Unless the weather forecast truly shows no chance of clouds for the following day, I don’t think it’s worth the risk to push off the summit. If you have the weather window, go for it!
And of course if you are planning just the day hike, feel free to just take a quick break before heading to the summit as you will then have another 5+ hours of downwards hiking to go for the day.
Part 6: Dom Kredarica Hut to Triglav Summit
So, whether you are heading up on day 1 or day 2, the next portion of the trail will be the most technical there is on the mountain.
Here is where the Via Ferrata gear comes into play as soon after the trail continues, you will be welcomed to the fixed rope section of the mountain.
Essentially, here you will find a metal rope that you will clip into and out of until you reach the summer of Triglav. You will also have some additional metal pegs for support to help with balance and hand holds.
As I mentioned earlier, if you are an experienced climber, odds are you wont even need to clip in. For most though, using your gear will be essential as you securely make your way to the summit.
But either way do be sure to have a helmet on as you never know when there could be small rockfall coming down the mountain.
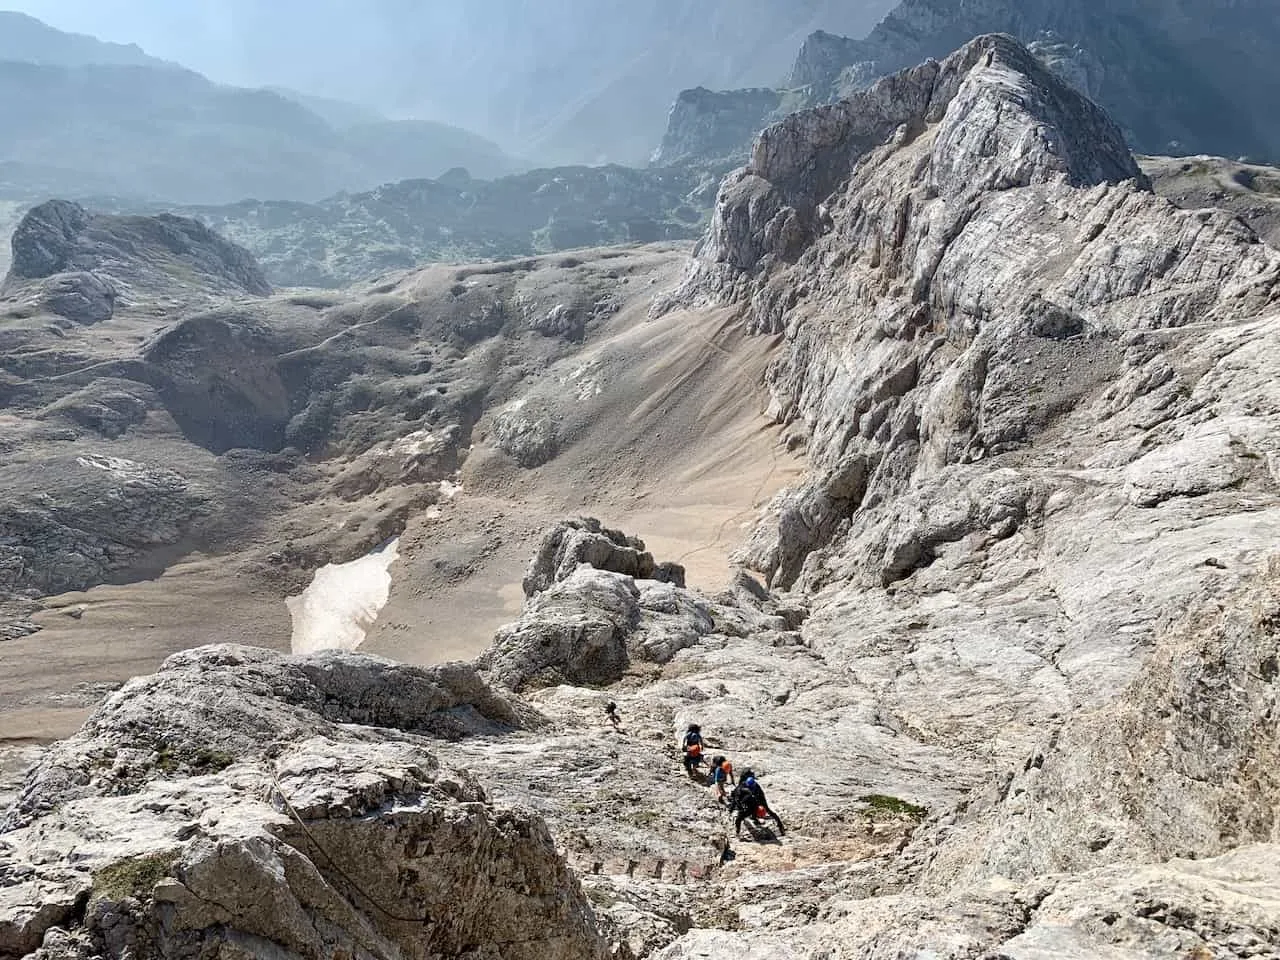
The views along the way will be stunning so don’t get too distracted here! You will be able to see never ending mountain ranges, valleys, glaciers, and more as you get closer and closer to the summit.
The trail here is essentially more so like easy rock climbing as you make your way up a very steep path. Be ready to use your hands consistently through this portion as you pull yourself up and maintain balance throughout.
If you are trying to pass other climbers here, be as considerate as possible. You are no longer on a regular hiking path, and you don’t want to overwhelm others by zipping by them. Be sure to always ask whether you can climb past them so they know to stop themselves.
There will probably be other portions where it is just not safe to pass others as the incline is too steep or the terrain is just too technical. Simply wait for the opportunity to do so and go from there.
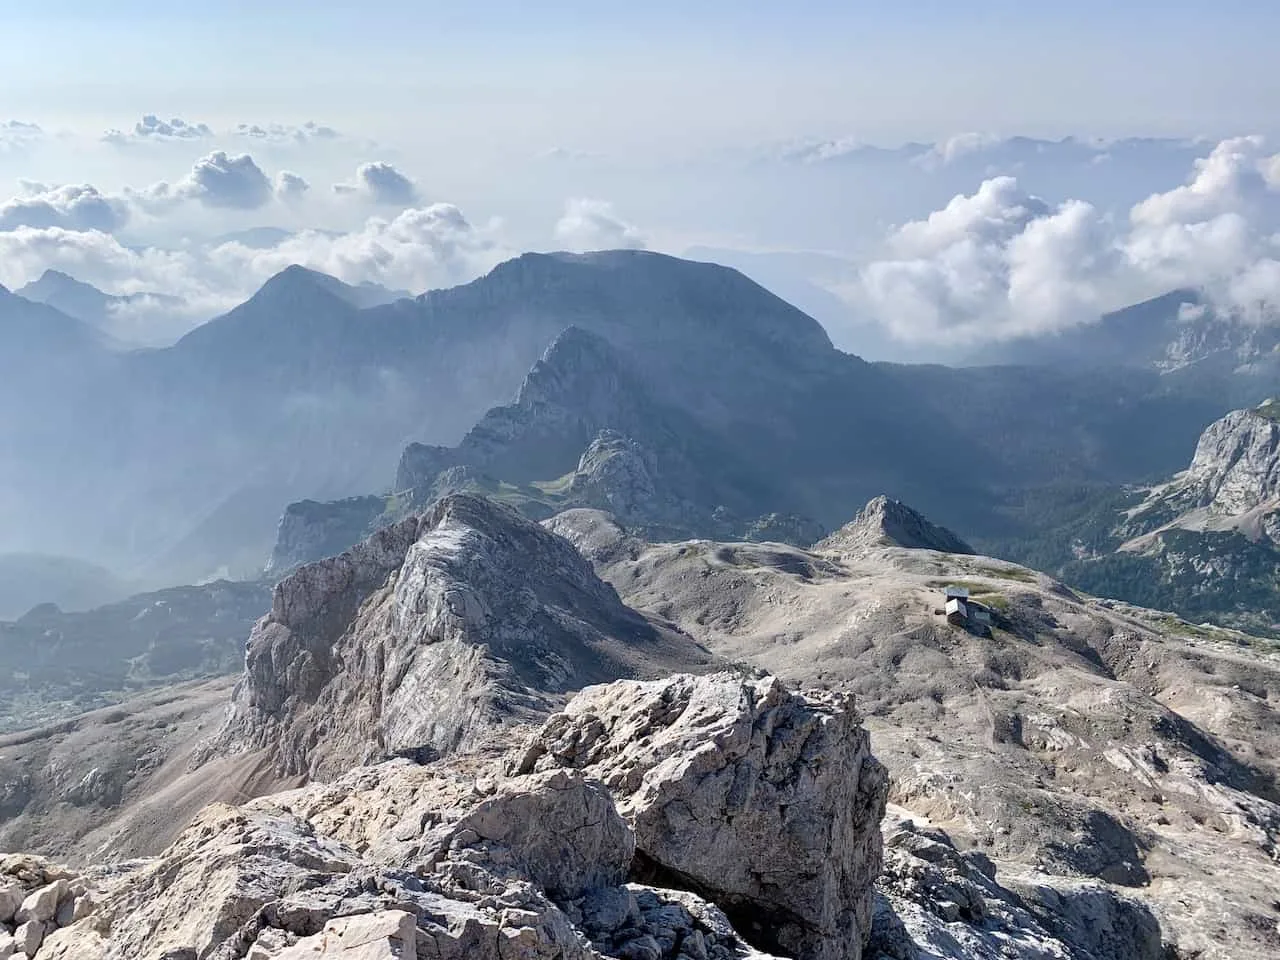
Before reaching the summit though, you will reach Mali Triglav (Small Triglav), which is the last peak before the main peak itself.
It is a pretty spectacular views as you are above the clouds with only a little more to go until you reach the top of Slovenia.
Continue to follow the marked path and the fixed line as you climb the last portion of trail towards the top of Mount Triglav.
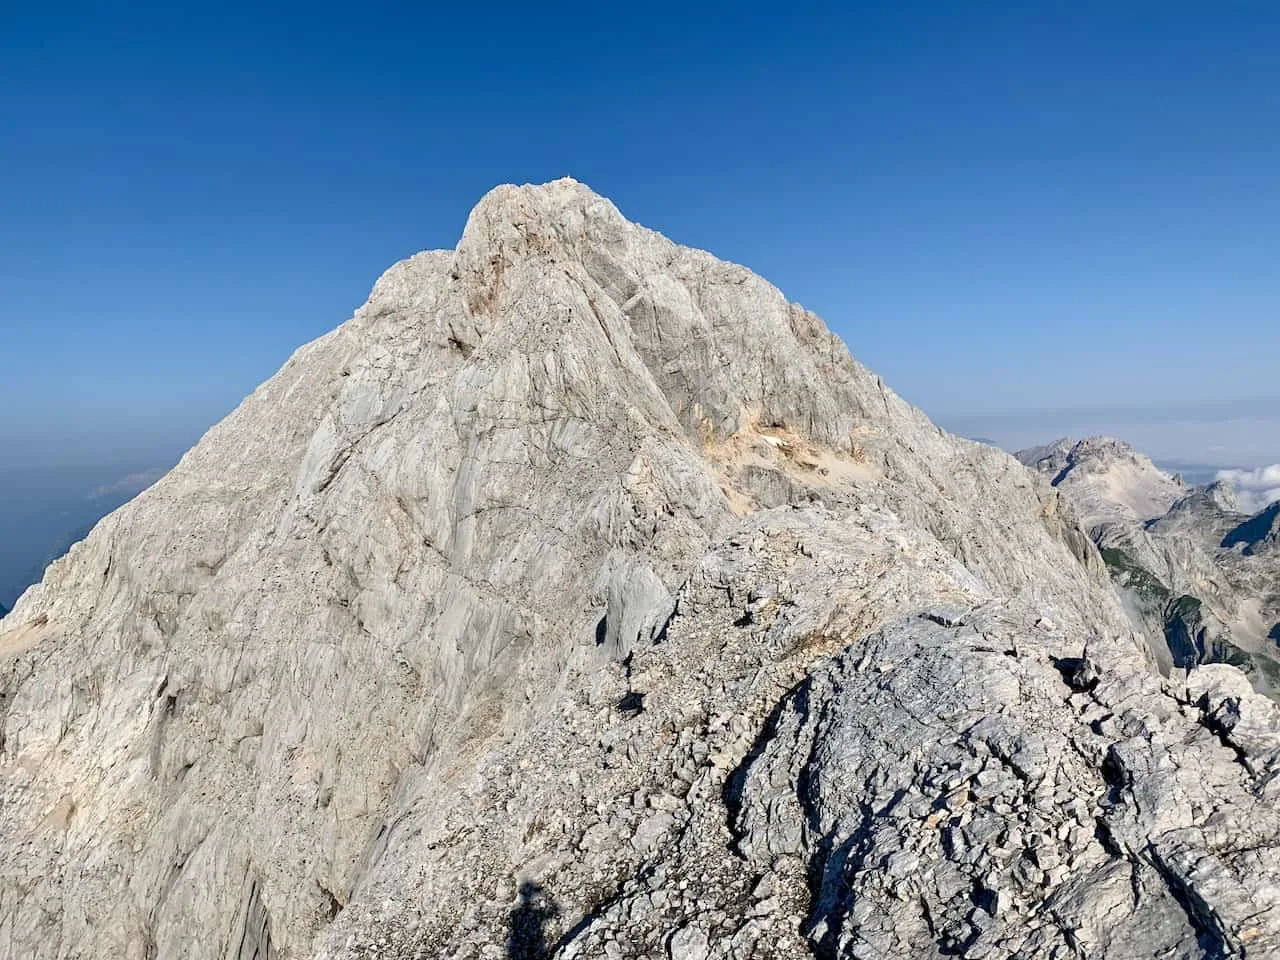
Part 7: Triglav Summit
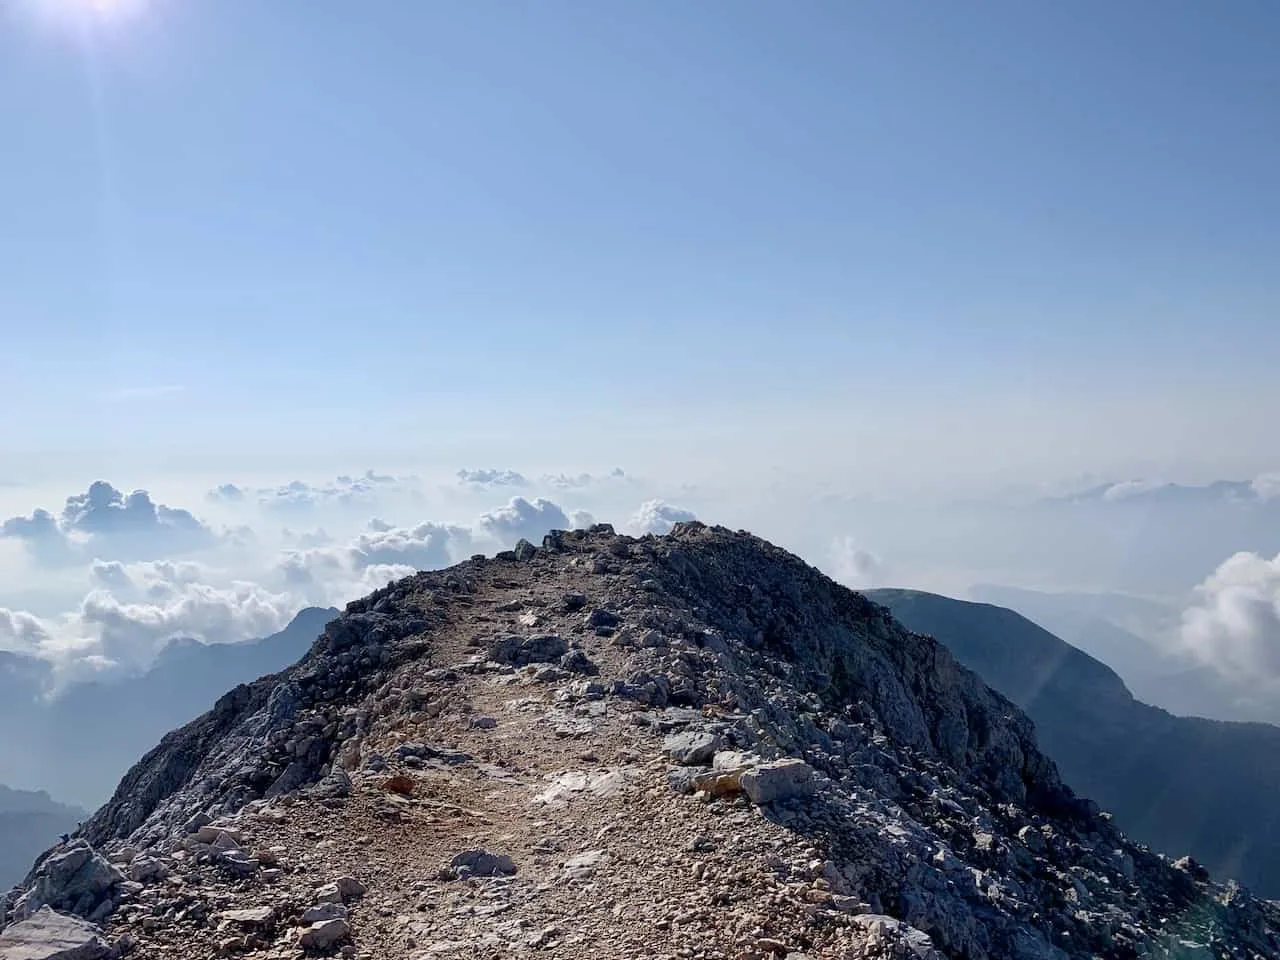
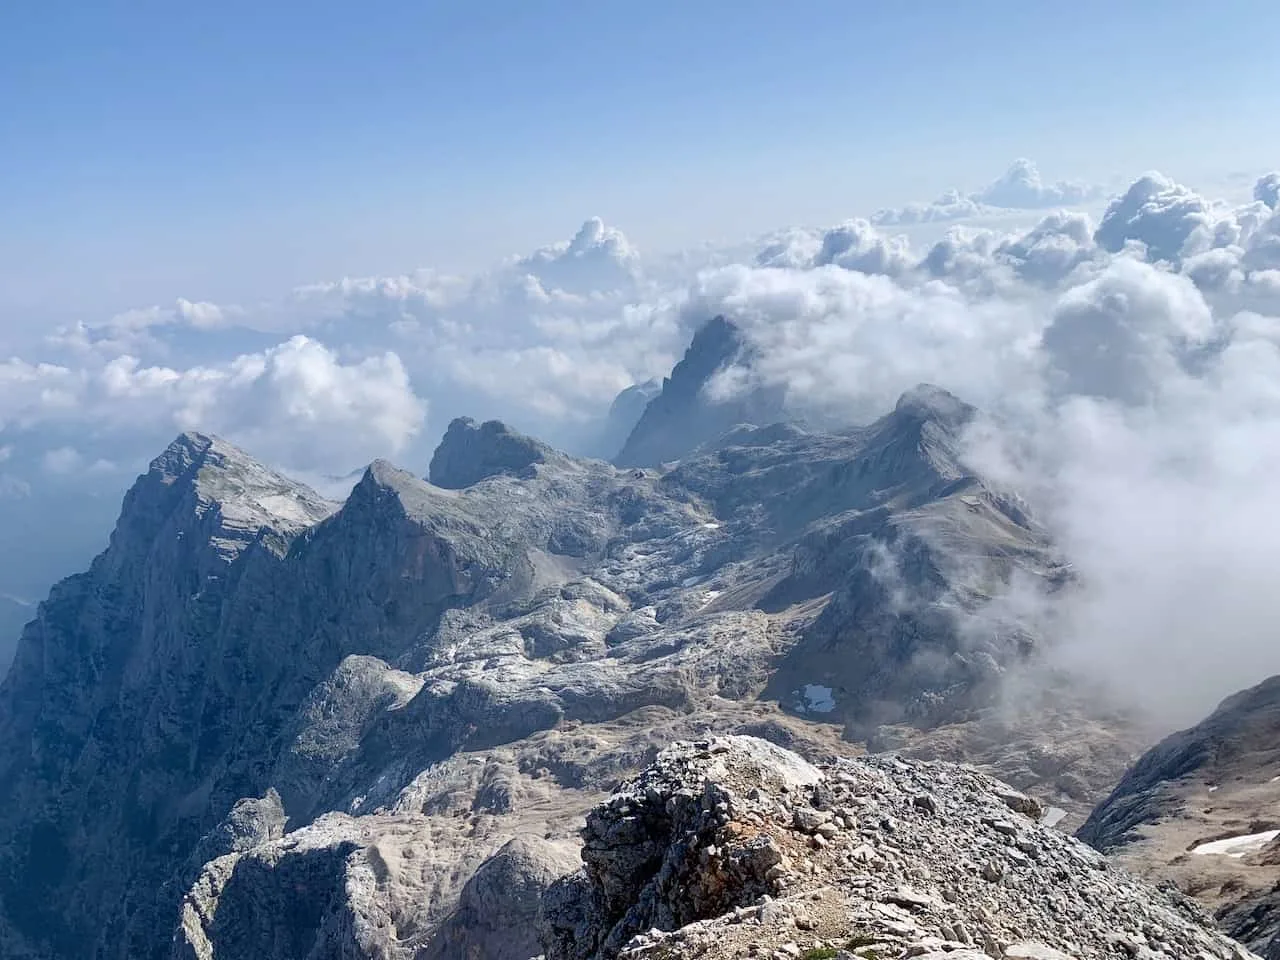
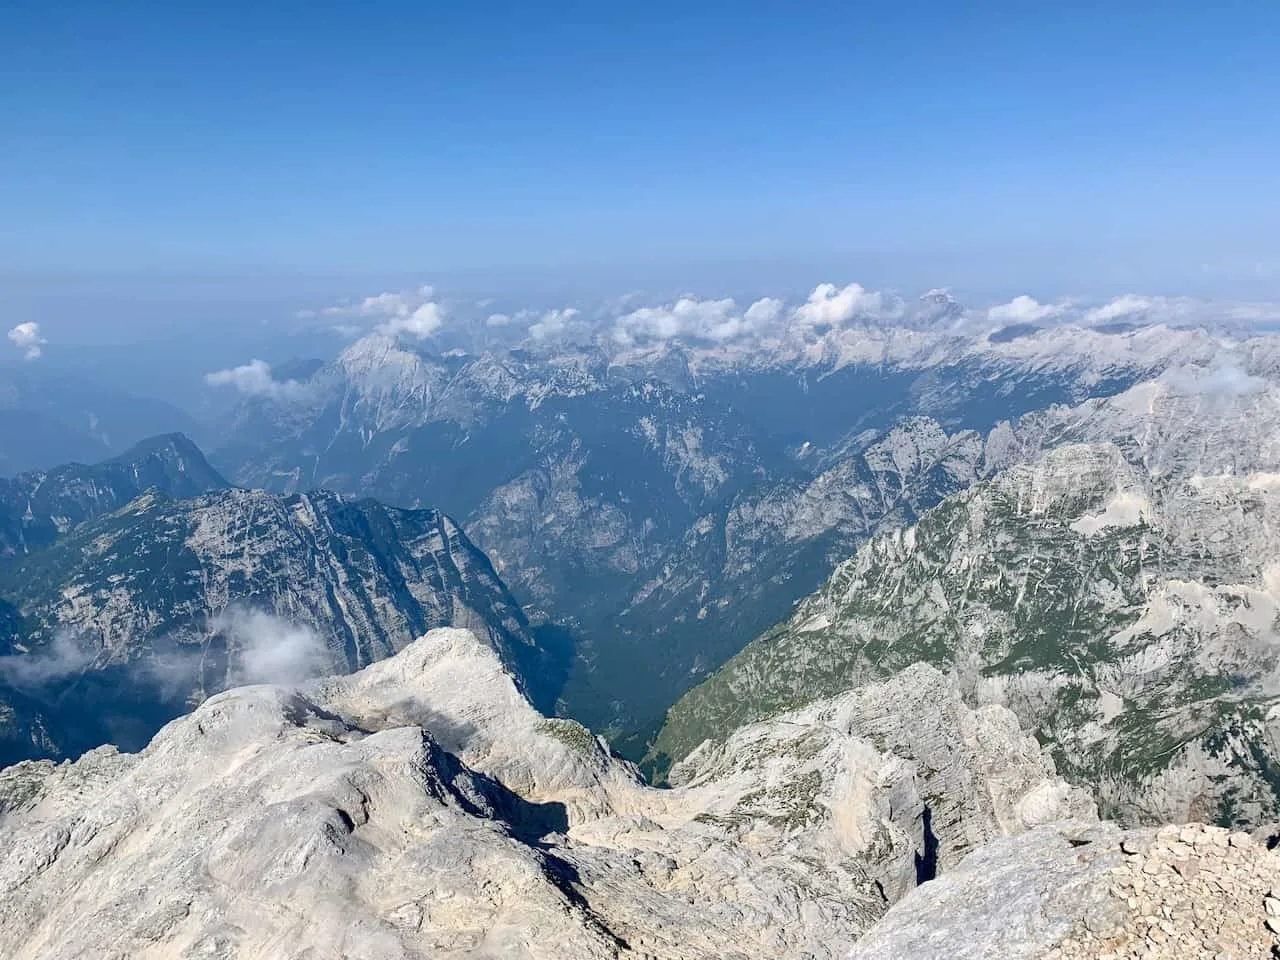
Congratulations! You have made it to the top of Slovenia. At 2,864 meters / 9,396 feet, you will now be standing higher than the rest of the country. In all directions you should have vast views of the surrounding mountains and valleys.
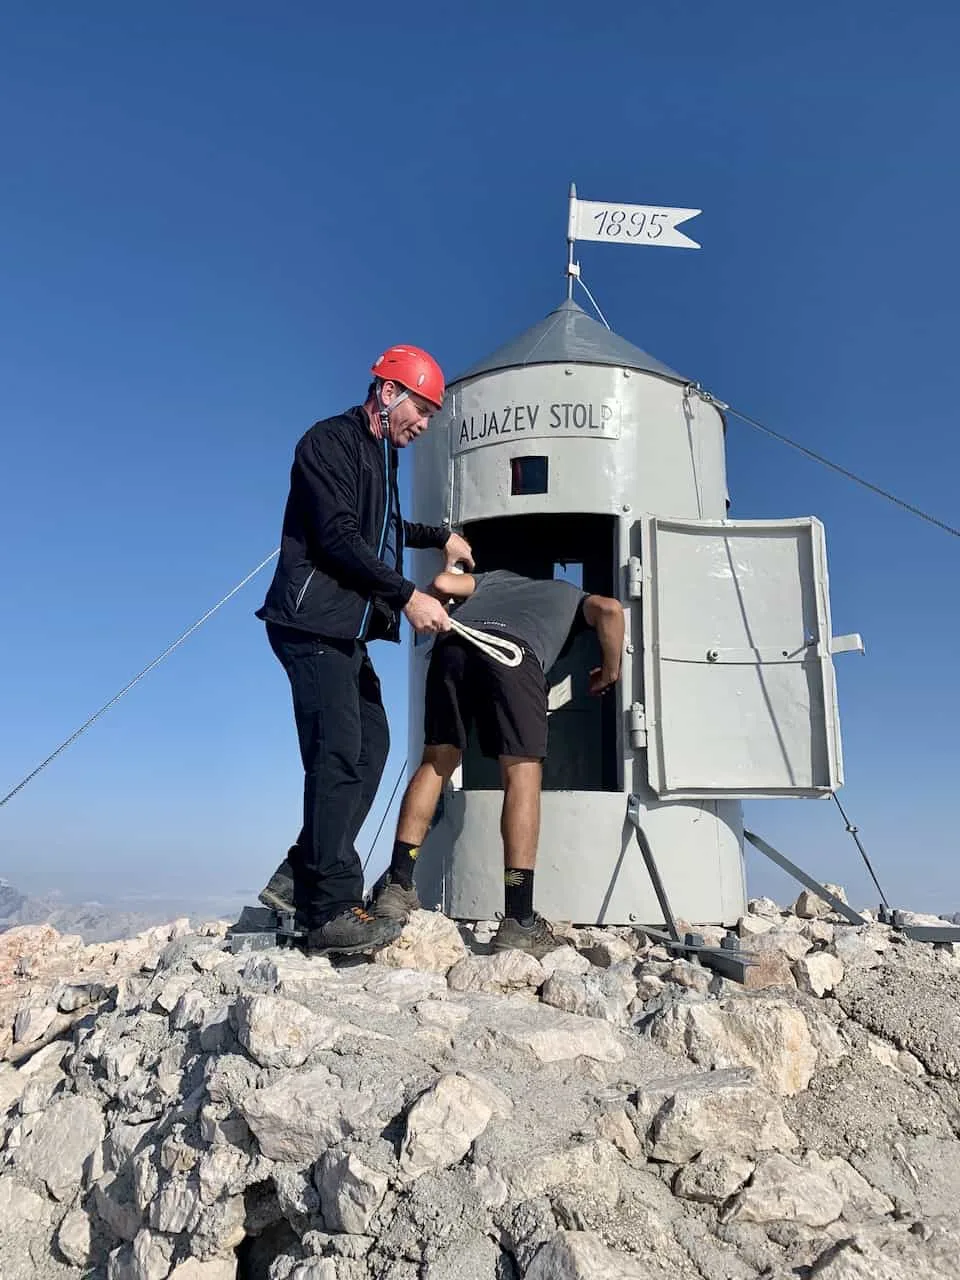
On top of Triglav you will also find a small capsule like structure. There seemed to be some type of ritual for first time climbers where you are slapped with a rope as you stick your head inside.
Since I saw some others doing this, some local Slovenian man asked if I wanted to give it a try. Not sure what was going on or what he was saying but I went along with it.
From there it is just sitting back and enjoying the view as you now have the rest of Slovenia all around you.
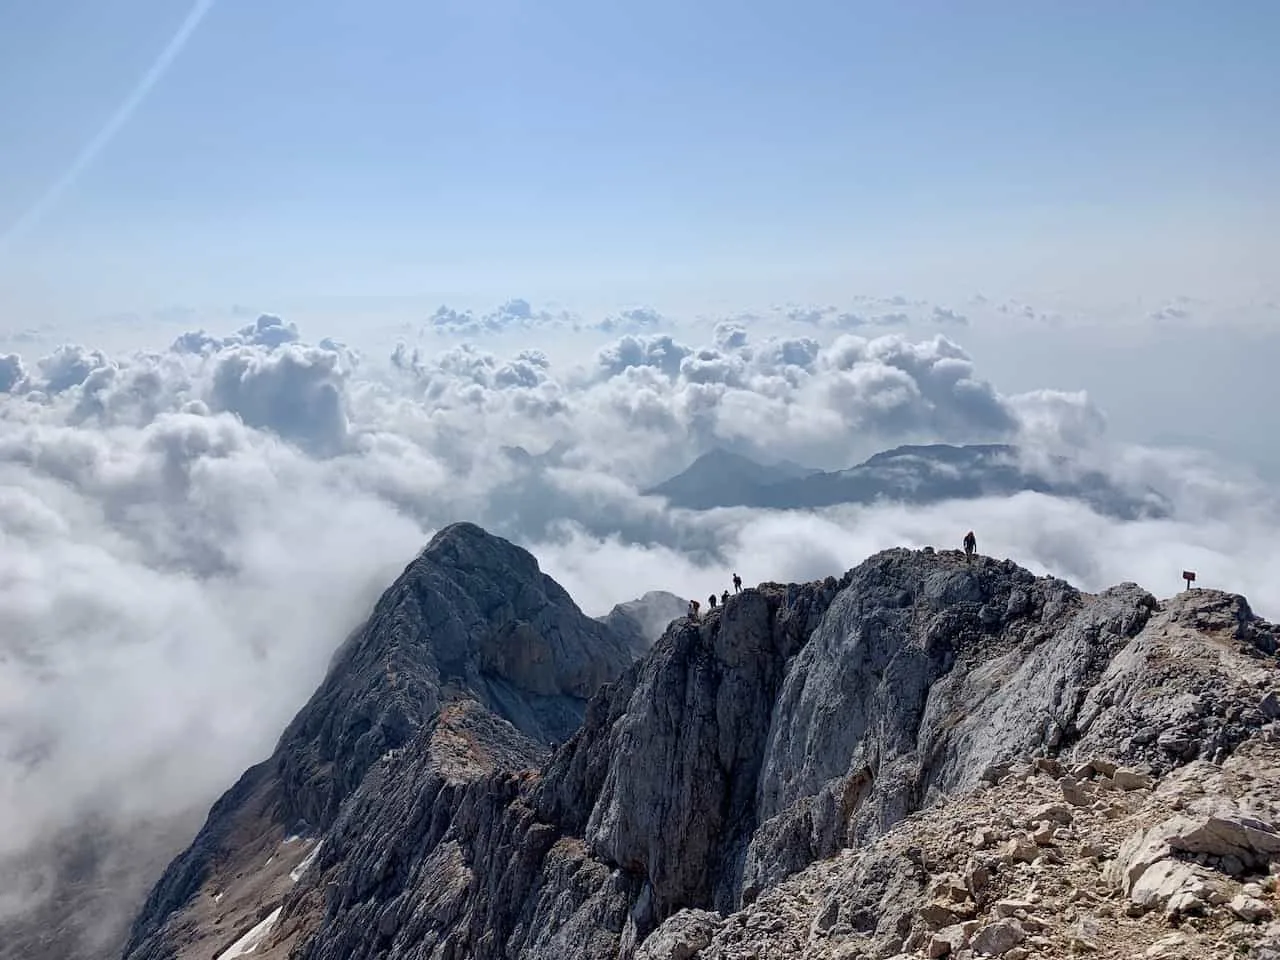
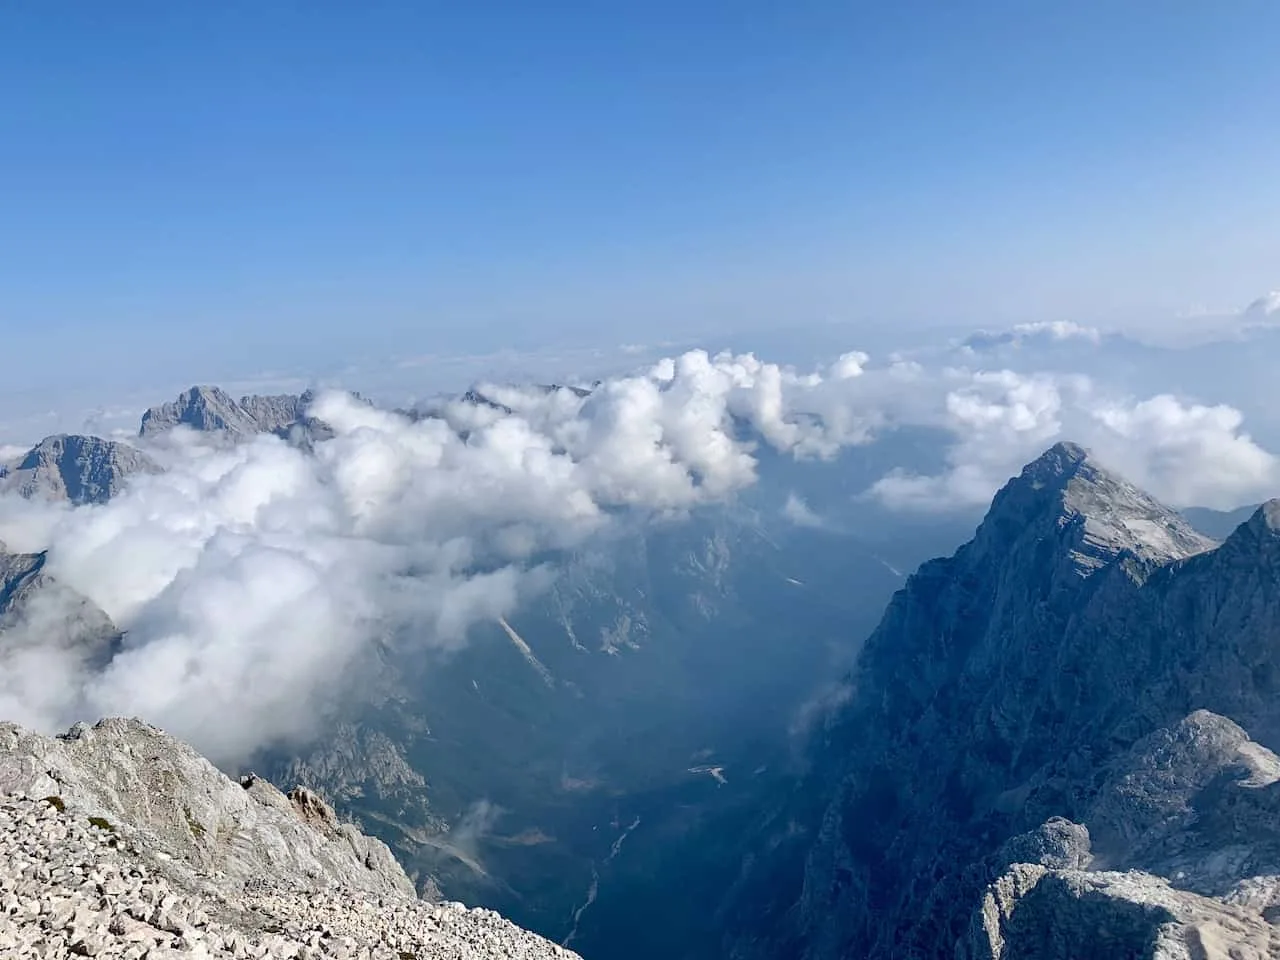
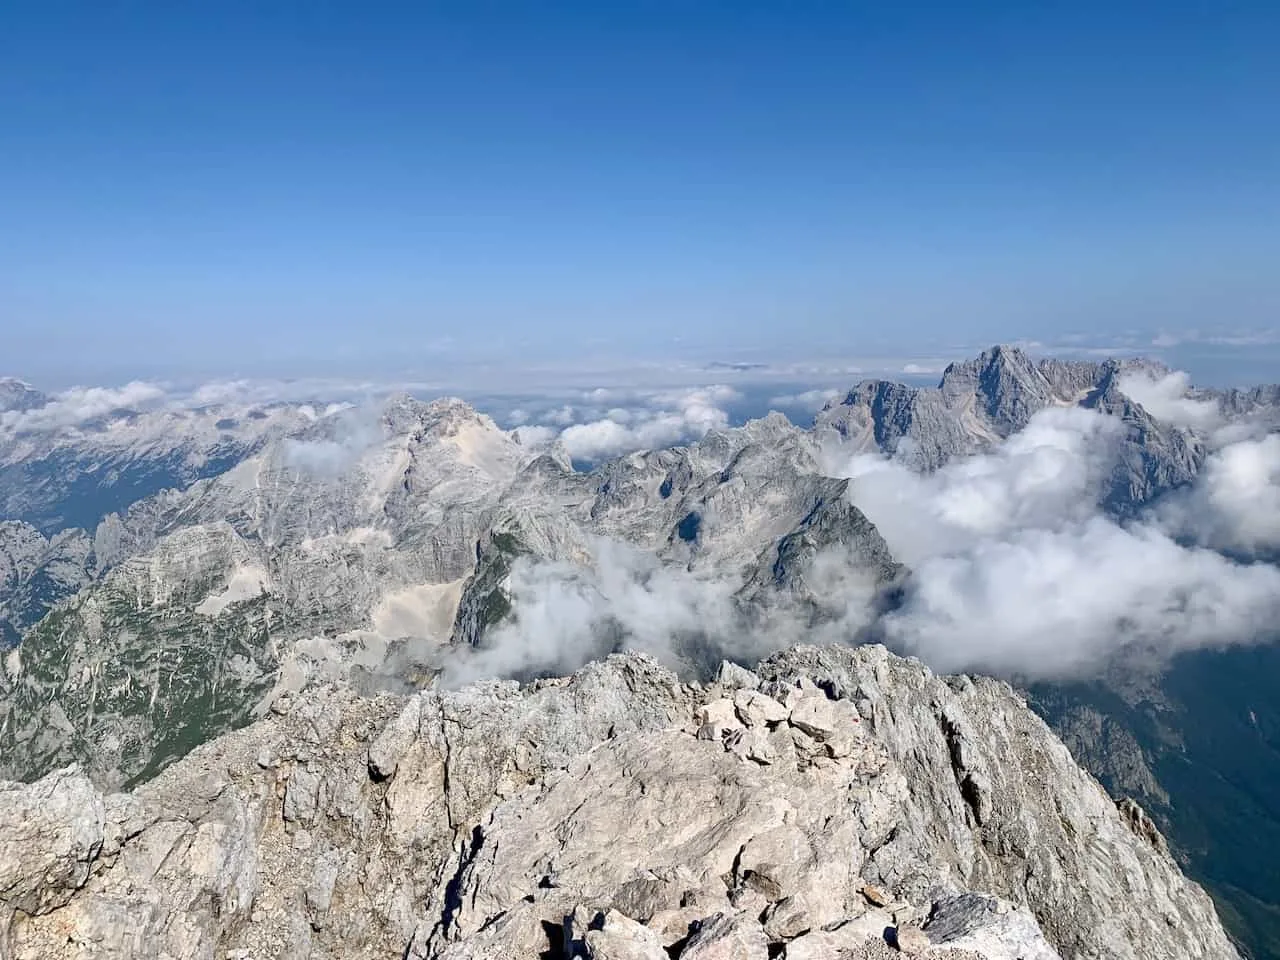
Part 8: Triglav Summit to Dom Planika Hut
After spending an hour on top of Slovenia taking pictures and videos of every angle I could find, and sitting back enjoying the view, it was time to head back down the mountain.
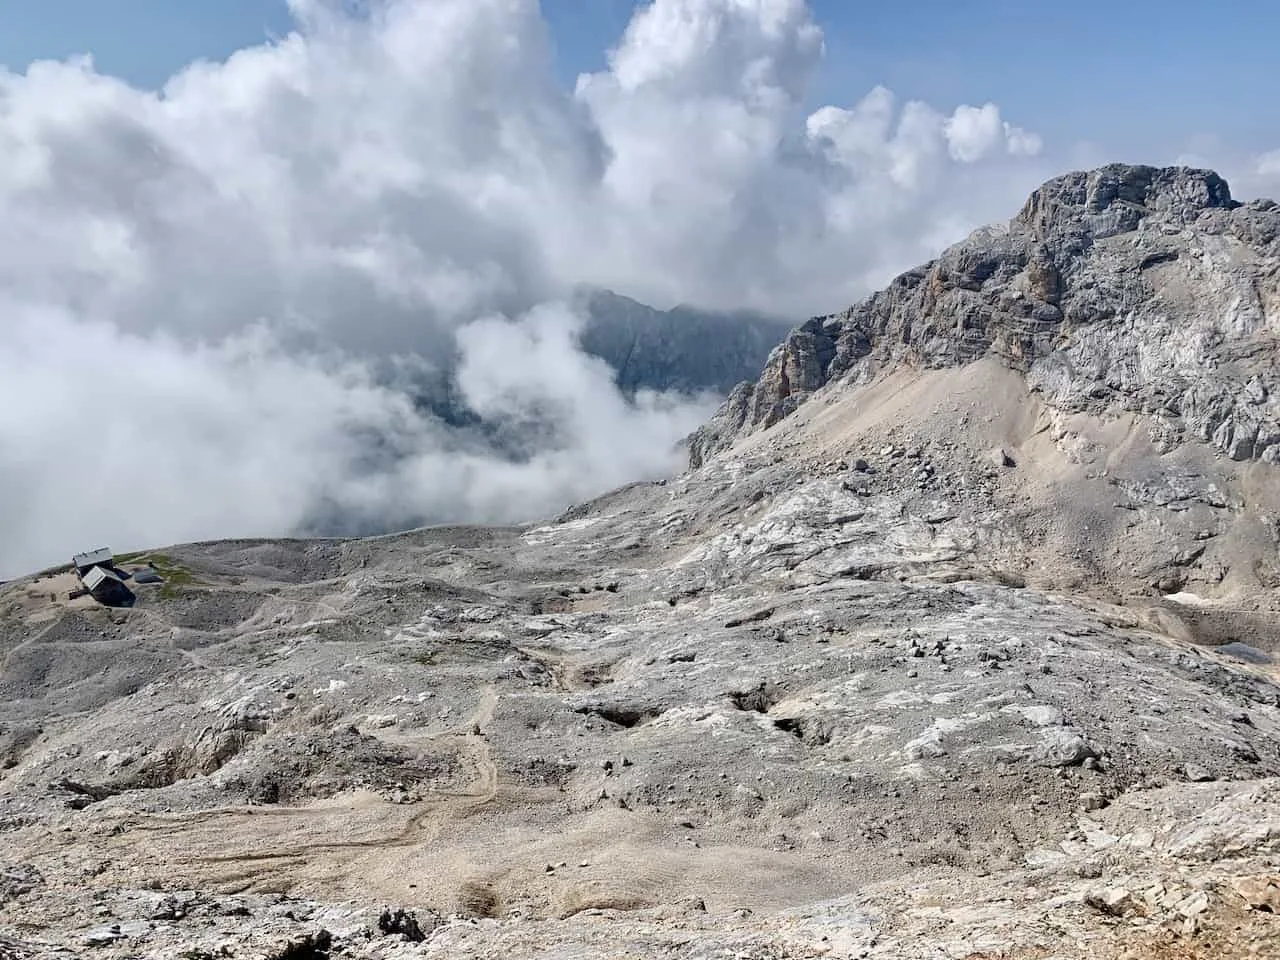
By this time, the clouds really started to roll in (which seemed to be standard in the mountains during the summer). I took a few more scenic shots of the Triglav ridge as the clouds began to cover the mountain, before heading back down.
Soon after passing by Mali Triglav, I arrived at an intersection – straight ahead I could continue right back down the way I came towards the Kredarica hut.
However, since I took part of that route already, I thought I would change things up a bit and head down towards the right to the Planika hut instead.
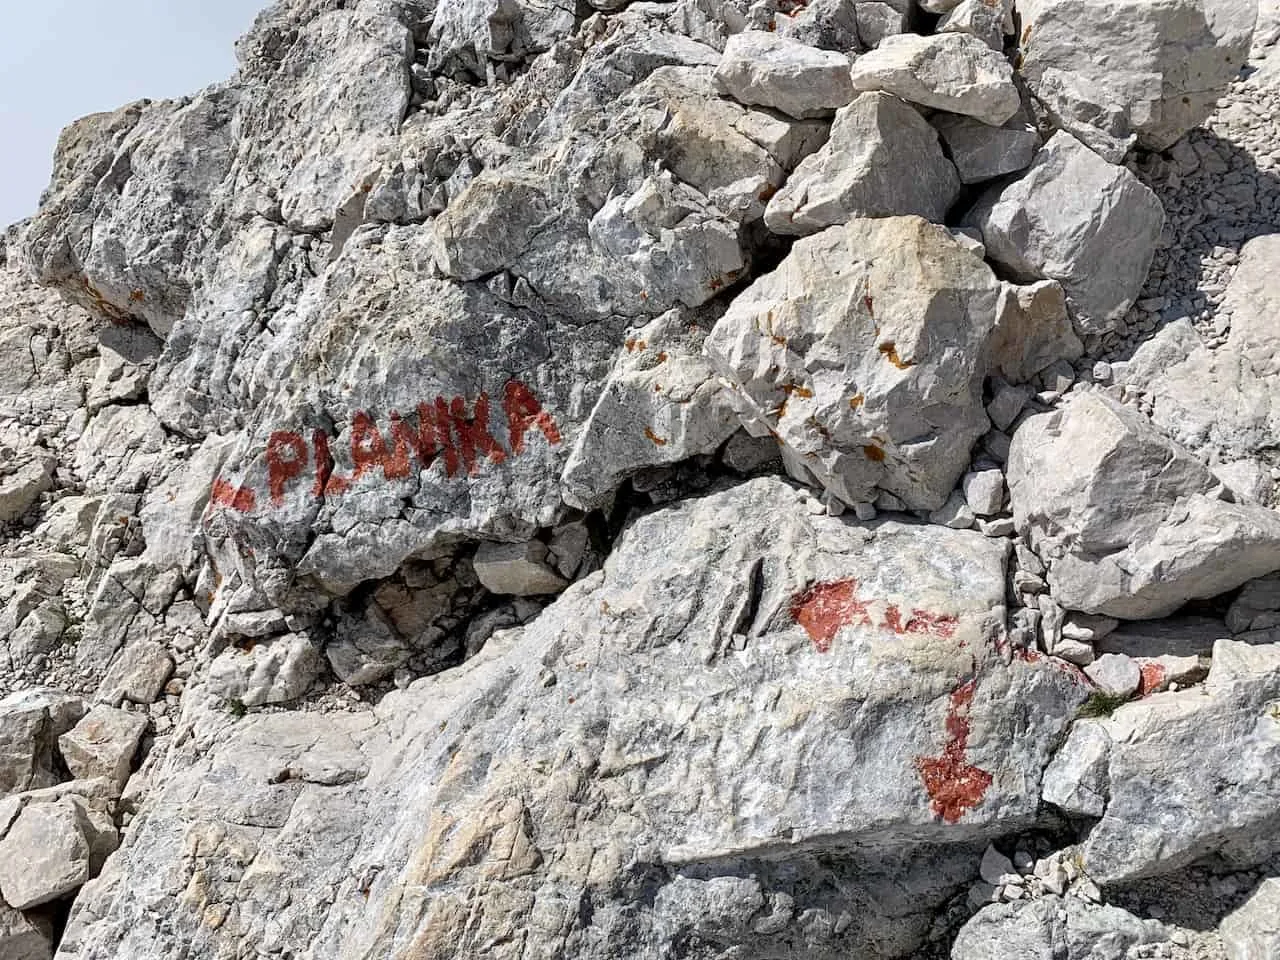
The route continues down a new fixed line here as you can see the Planika hut down below out in the distance. It is another steep, technical climb down to the hut so do be sure to watch your step.
Some may say the way down is harder than the way up just because the terrain can get tricky and slippery as you go downhill. Just take it slow, and be sure to clip into the fixed line to avoid any potential falls.
After the climb down from the most technical part of Triglav, it is an easier stroll until you reach the Planika hut. The clouds were certainly in full force for me now as I continued further down the mountain, following signs towards the Vodnikov Dom hut.
Part 9: Dom Planika Hut to Parking Lot
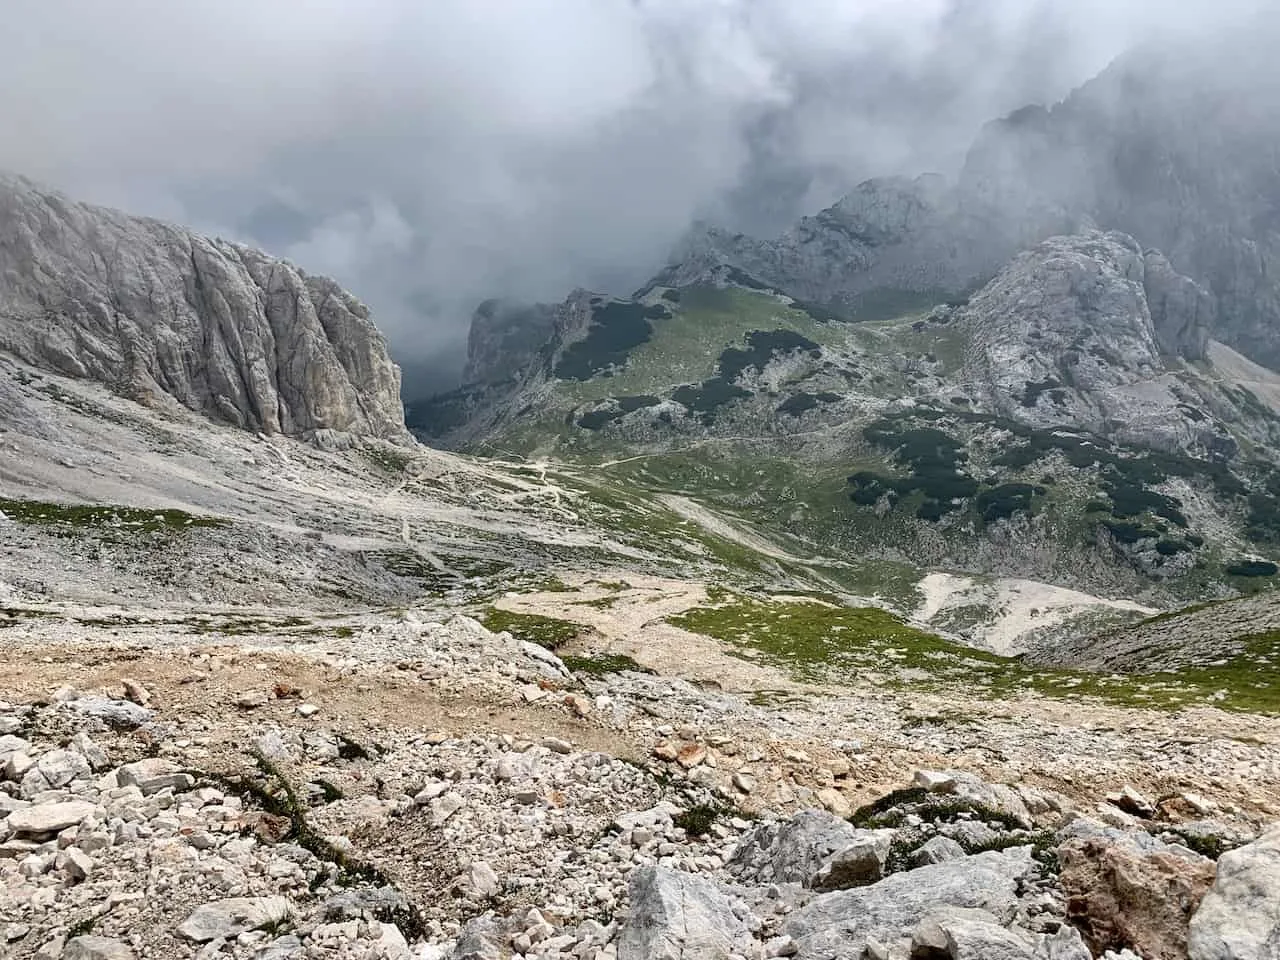
It is then a rocky path etched into the mountainside to follow as you continuously lose elevation for the next hour or so and reach that initial intersection from earlier on in the hike (where you had the option to head up the Kredarica route or Planika route.
From here on back, it will be the same exact path you took on the way up. You will backtrack your way along the mountainside, down some of those initial fixed ropes, and back past the Vodnikov Dom hut.
Be sure to pay attention from time to time when the route splits off into multiple options. As long as you follow signs back to Rudno Polje and have your Maps.me app available, you should have no trouble getting back to the parking lot.
The route will take you yet again alongside the mountainside, up towards the first mountain pass, and then all the way back down to the farmhouse and cow fields.
Be careful once you head back out of the farm area as there are several paths to choose from. Once again though, if you have your map available, you shouldn’t have an issue here. You will know if you are on the right path if you end up walking right alongside the river.
From here it is simply back through the forest, and towards the parking lot to end a successful climb up Mount Triglav.
That about wraps up a guide to hiking Mount Triglav of Slovenia. If you have any questions about the hike, feel free to comment down below. Have fun out there and safe travels!
Be sure to also check out some of the other Slovenia itineraries and guides up on the site!

Peter
Thursday 29th of February 2024
Absolutely fantastic description of how to hike\climb this beautiful looking mountain and I really appreciate this guide I’m looking forward to conquering Mount Triglav later this year end of August/September not sure if I will try it in a single day or two. As me and my partner are in a small camper van the issues is always finding some where to park but hopefully at 04:00 in the morning there should be a spot to park not sure if you are allowed to park over night that would be great for an early start Going to do it the same way as you
hopefuly find some good via ferrata also Slovenia Anyway rambling on thanks for the information
Emily
Thursday 22nd of June 2023
Hi, Do you know if you can rent via ferrata equipment from the Kredarica hut?
Thank you.
Charles
Friday 23rd of June 2023
Hi Emily - I have seen this go both ways. Some people have mentioned they were able to rent there, others were not able to. I would be more safe than sorry and bring along the gear from the start - either purchase the equipment or rent it prior to your hike. You can also reach out to the hut, and see if they are able to give you any update. Hope you enjoy the hike!
noam
Tuesday 13th of June 2023
Thanks for the great description. My buddies and I are planning too climb triglav next week, around the 20th of June. Anyone here know what the snow conditions are like on the mountain atm?
Charles
Tuesday 13th of June 2023
Hi Noam - I would recommend checking the webcam (linked in the article), or reaching out to a Triglav guiding company. Enjoy the hike!!
Enrico
Sunday 4th of June 2023
Hello Charles thank you for your very good explanation, very complete indeed. We plan to climb Triglav around July 20th, from North (ferratas of Vrata valleys) but I'm a bit concerned by snow conditions, as I'd rather not bring an ice axe All of your pictures of the mountain show no snow, which time did you climb Triglav ? July, August ? Do you think July 20th is too early to find the North face snow-free ? Maybe your Pokljuka choice would be wiser. Who could advise me on this ?
Also, do you know a good map to buy ? Kind Regards - enrico
Enrico
Sunday 25th of June 2023
@Charles, thank you for your answer. Any hint about a reliable and honest local guiding company ? Kind Regards - Enrico
Charles
Monday 5th of June 2023
Hi Enrico - I climbed Triglav during the final week of August, so there was no snow present during my climb. It is very difficult to say when the route will be snow free as each year there are different conditions on the mountain. I would recommend reaching out to a local guiding company to get their thoughts on this year's snowfall. Another option is to check out the Triglav webcam (I linked it in the article). That will show you the current conditions of the mountain near the Kredarica Hut.
As for a map, I can't say for certain. There are a few I see on the web but I dont have actual feedback on which one would be best.
Hope you have a great trip.
Natalie
Monday 22nd of May 2023
Hi again! I asked earlier about huts and I'm here to ask again! I am wanting to spend 3 nights in the huts and take my time in the Julian Alps and make a nice loop. Getting information about trails/huts is a bit challenging, but I have two possible itineraries.
Day 1: start in Planina Blato and sleep at Triglavskih jezerih hut. Day 2: Triglavskih jezerih to Dolic hut. Day 3: Dolic hut to Dom Planika. Day 4: Dom Planika to Planina Blato. OR... Day 1: start in Planina Blato and sleep in Dolic hut. Day 2: Dolic hut to Dom Planika. Day 3: Dom Planika to Dom Vodnik. Day 4: Dom Vodnika back to Planina Blato.
Do either of these trips seem like viable options? Ideally, I would like to have the shortest day 4, but not sure if you have a preference for the Seven Lakes Valley hut over the Vodnik hut!
Any additional help would be greatly appreciated! Thanks again, your feedback is very helpful.
Cheers, Natalie
Charles
Tuesday 23rd of May 2023
Hi Natalie - I want to say that either of these options would work. It is always hard to say given everyone has different comfort levels with # of hours hiking, mileage, and elevation gain per day. You may also find a bit more suitable options by using the Prehodavcih Hut and Kredarica Hut instead. I would recommend mapping out the mileage and routes, and picking a route that you are most comfortable with that suits your hiking level.
Hope that helps!