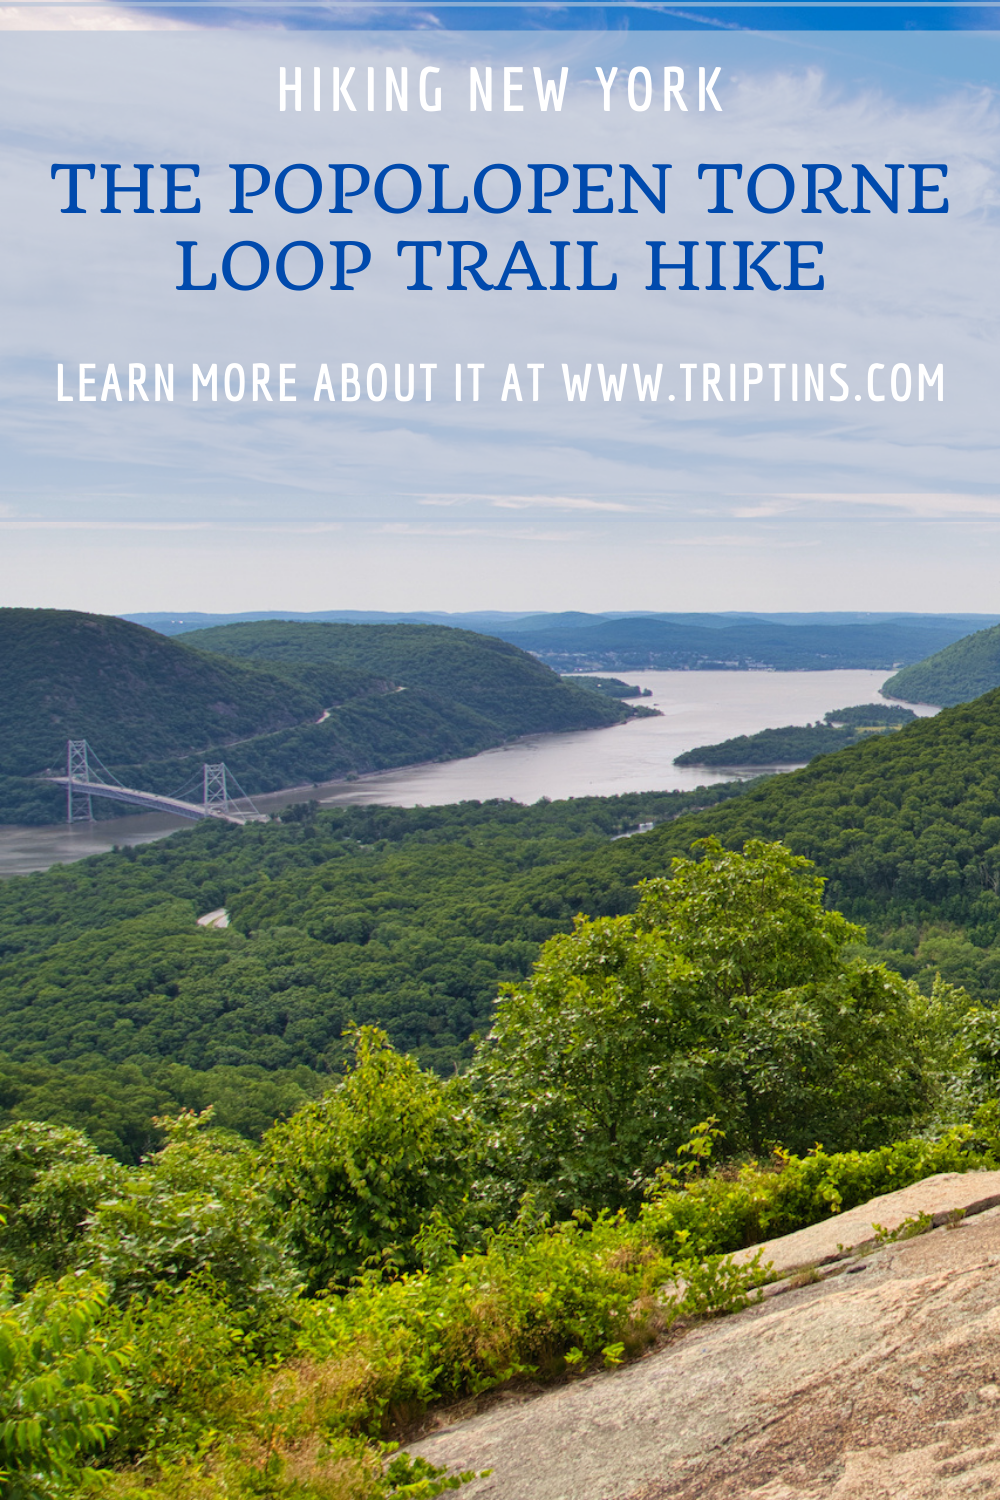

The Popolopen Torne Loop trail of Bear Mountain State Park in the Hudson Valley is quite a special hike to take part of. Throughout this loop route, you will come across a river, bridge crossing, forest trails, and a scramble to the summit.
Once you reach the top of the Popolopen Torne, you will be welcomed to some of the best views of the Hudson Valley that you can ask for. In addition to the views, you will also find a memorial for the fallen US military service members.
Learn more about the Popolopen Torne hike and everything there is to know about taking part of the loop trail.
* Affiliate Disclosure: This post may contain affiliate links, which means I may receive a commission if you make a purchase through the links provided, at no additional cost to you. Thanks for supporting the work I put into TripTins!
1) Hiking Details & Things to Know
Below are some helpful things to know about the Popolopen Torne Loop and the hike in general:
Popolopen Torne Trailhead
There are two potential trailheads for the starting point of the hike. Either at the Fort Montgomery Historic Site & Museum or at 9W Overflow Parking Lot. These are just a 5 minute walk from one another, and I will go into more details about them in the next section.
How Long is the Popolopen Torne Loop?
The Popolopen Torne Loop is 5.65 miles in length, starting and ending at the 9W overflow parking lot. The hiking duration will come in slightly lower if you start at the Fort Montgomery Museum instead.
Clockwise or Counter Clockwise
One of the main questions you will need to ask yourself is whether to do this hike clockwise or counter clockwise. I would highly recommend doing it clockwise, mostly due to the more technical terrain towards the top of the mountain.
I wouldn’t necessarily enjoy going down this section, and much rather climb up it. I believe the AllTrails description shows the counter clockwise route, which is why many people may opt for that direction.
Elevation Gain
The total elevation gain for the hike comes in at 1,149 feet. Essentially all of it comes during the first portion of trail up to the summit.
Popolopen Torne Difficulty
This is one trail that will require hikers to use more than just their feet. During the upper portion of the route, there is a section that is full of slabs of rock that requires some more climbing than hiking.
Be prepared to use your hands here as you lift yourself up to the next section of trail. In certain parts you will also find ropes to better help with you balance.
While this hike is not as demanding as the nearby Breakneck Ridge hike, it still will require some more technical skills.
Navigation & Directions
Lastly, I did want to mention that this is a trail that will require some navigation as there are other trails (official and unofficial) that veer off from the main route.
In addition, you will find multiple road crossings, where you will need to exit the forest, walk the road, and then re-enter the forest.
Due to these two reasons, I would highly recommend downloading an offline map of the route using an app like AllTrails, Maps.me or Gaia.
You can take a look at my route & map later on in this guide, which I will be explaining in detail.
I imagine those who are not prepared for a trail like this will get lost, so don’t be one of those people!

2) Where Do You Park for the Popolopen Torne Loop Trail
There are two main places to park (and start your hike from) for the Popolopen Torne loop trail:
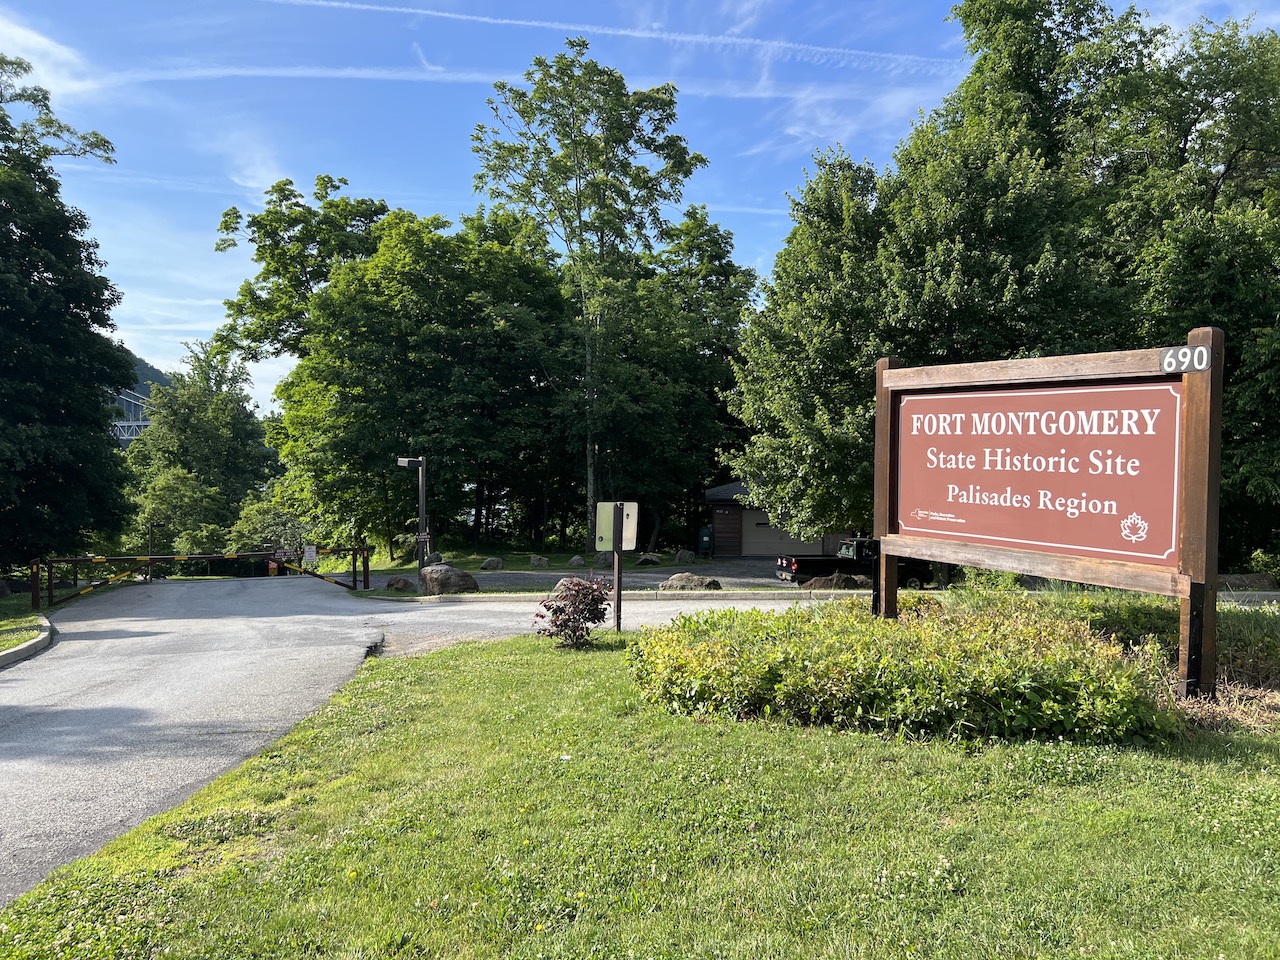
Fort Montgomery State Historic Site & Museum
The first option is to park at the Fort Montgomery State Historic Site & Museum. Here you will find a larger parking area and be closer to the starting & ending points of the hike.
The address for this location is 690 Route 9W Fort Montgomery, NY 10922.
However, the parking lot is only open during the opening hours of the historic site. Current hours are Wednesday – Saturday (10:00AM – 5:00PM) and Sunday (1:00PM – 5:00PM). They are also pretty clear that the gates close at 5PM. So, if you come back from your hike past that time, you may be out of luck.

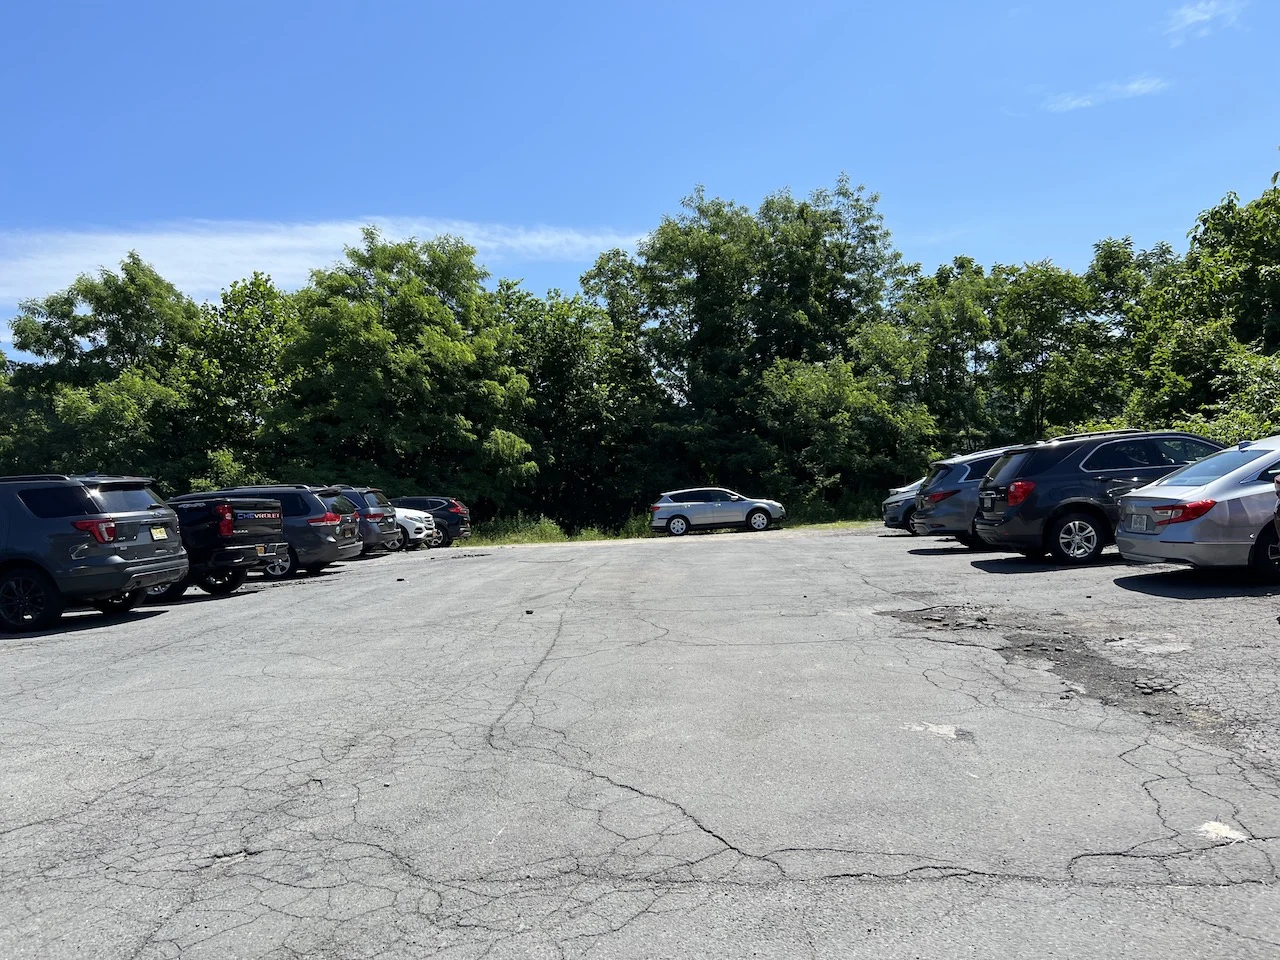
9W Overflow Parking Lot
The more risk free of options is located just 5 minutes down the road at the 9W overflow parking lot. Here you will find a paved parking lot that can fit around 20 or so cars.
The GPS coordinates of the parking lot are 41°19’42.1″N 73°59’14.8″W.
I would advise getting an earlier start to the day if you are planning to use to the overflow parking. When I arrived around 8AM, there were just a few cars there. By the time I was back around 11:30AM, the lot was completely full.

A couple additional things to note about the parking situation:
Turn Off: The turn off points for the historic site and overflow parking come quickly as you are driving. Be sure to slow down as you are approaching the turn offs as they can be easy to miss.
Warning: Do not type in “Popolopen Torne Trailhead” into Google Maps. While that location may be one of the road crossings that you will encounter during the hike, it is not the official starting point.
Other Trails: If both parking lots are full you may want to consider the nearby Bear Mountain hike, Anthony’s Nose hike, or Mount Beacon trail instead
Hiking Resources & Checklist
Before heading out for the trails, be sure to read up on some of the hiking resources up on the site. These are here to better prepare you for all types of outdoor adventure.
- Gear: Hiking Packing List
- Weather: How to Prepare for Hiking Weather
- Navigation: Hiking GPS & Navigation
- Tips: 20+ Hiking Tips & Tricks for the Trail
- Accommodation: Book Your Hotel Today
- Rental Car: Book Your Car Rental Today
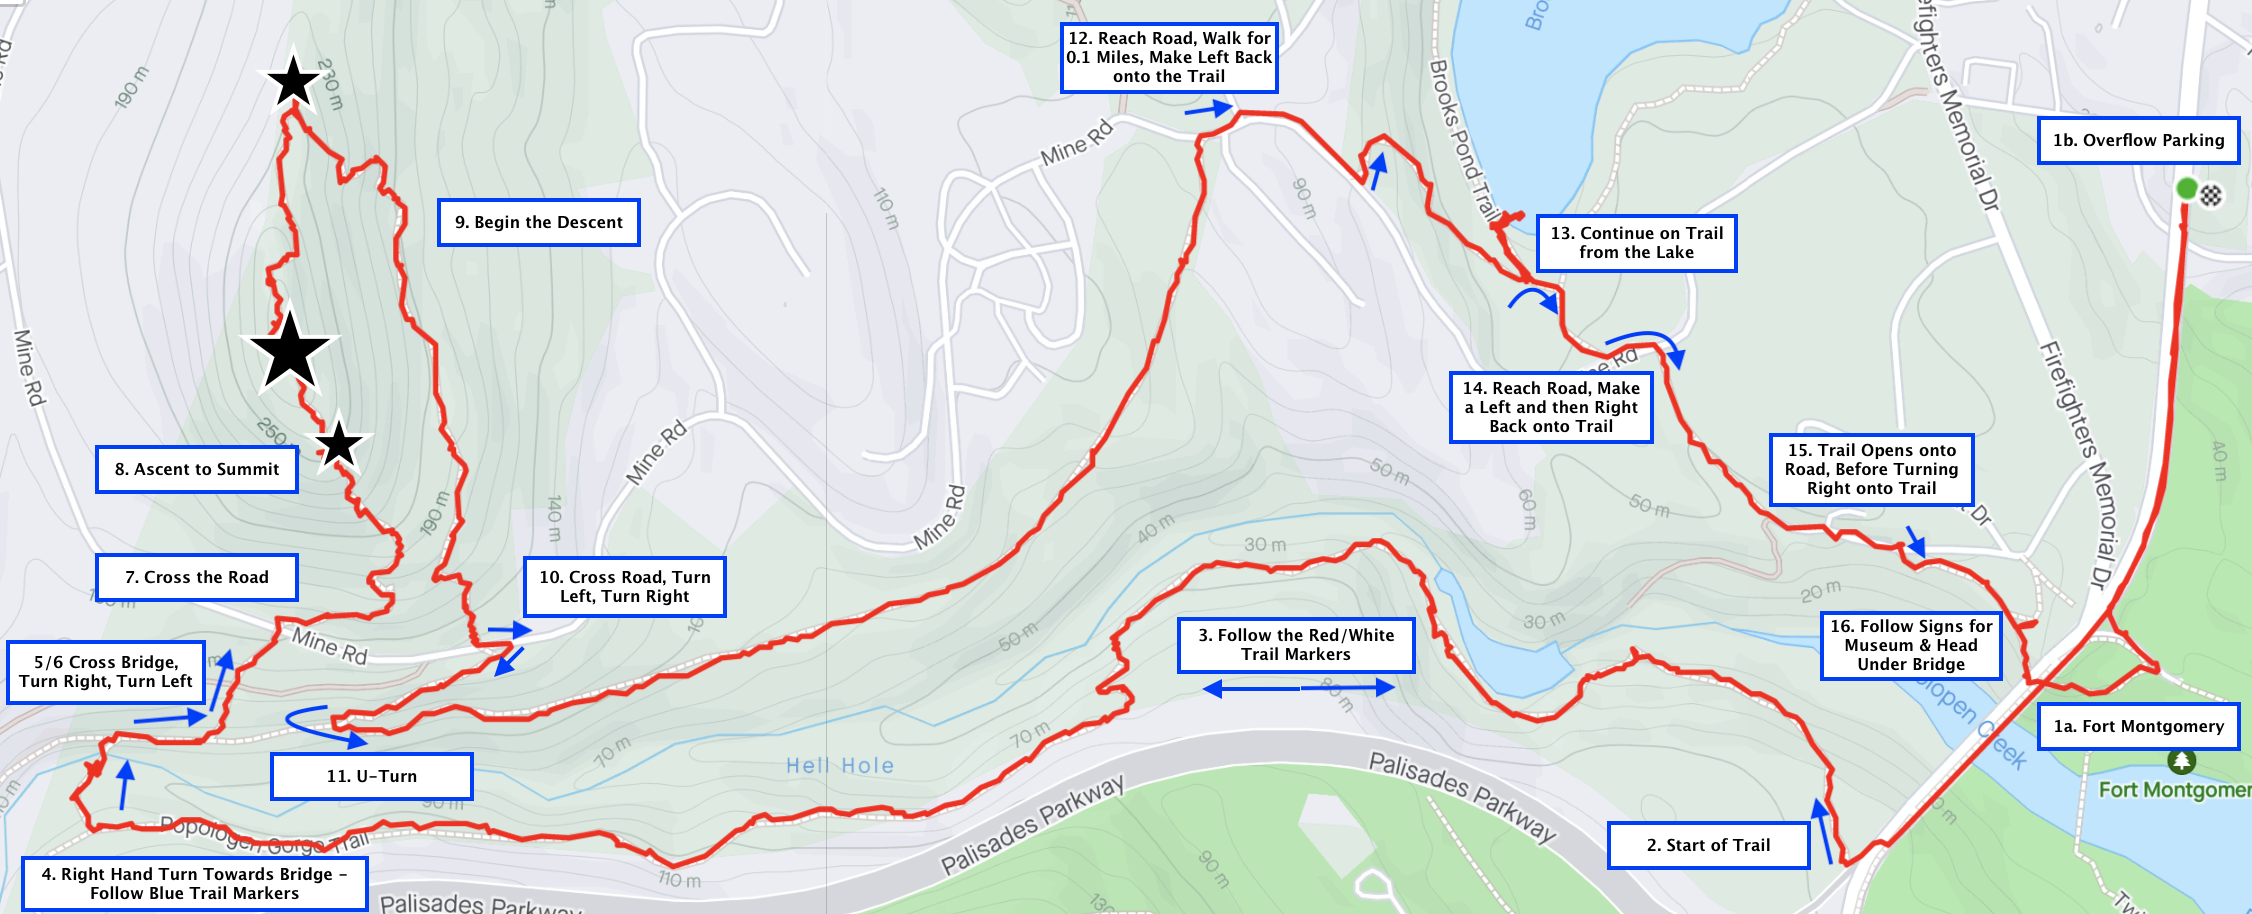
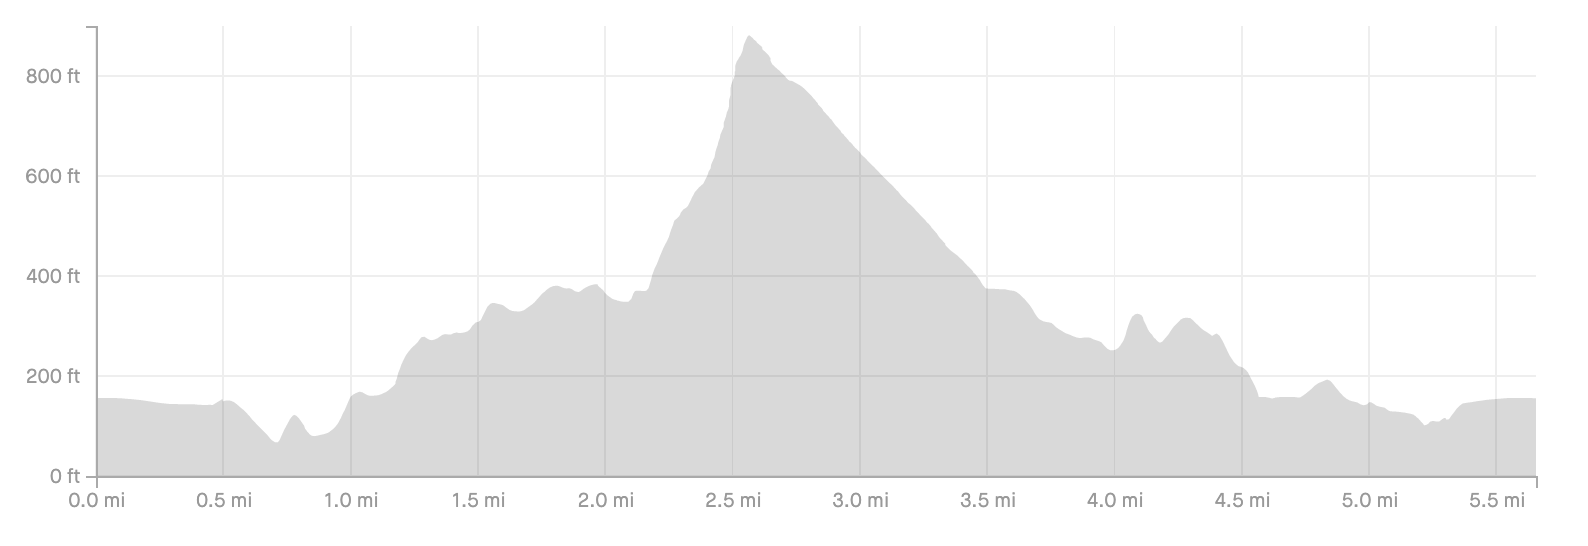
3) Popolopen Torne Map & Elevation Gain Profile
Below you can find the Popolopen Torne map and elevation gain profile for my hike out on the trail.
As you can see, the route is a bit different than a normal loop shape. The route can certainly get confusing because of this. But as long as you follow this guide & your navigation app, you should be good to go.
I have included many of these turns and points of interest that you will encounter during a hike. As I talk through the hike itself, I will refer to these call outs.
Also pinpointed down are three main viewing areas – the main summit and two smaller viewpoints on either side of the summit.

You can also see the elevation gain profile of the trail below. While the first two miles of the trail are relatively flat with some slight uphill, it is really at the 2 mile mark when things get tough.
Over the course of the next 0.5 miles, you will gain around 500 feet of elevation as you head up through the forest and then start climbing some rocks closer to the summit.
From there it is essentially all downhill on a gentler and less technical decline.

4) Popolopen Torne Loop Trail
As I mentioned before, understanding the trail and where to make turns is going to be of the upmost importance here.
You can very easily get lost and head in the wrong direction if you are not paying attention.
Here are some step by step directions that you should take into consideration while on the trail (all of which are obvious if you have a navigation app handy). I have also included additional trails details and photos so you can get a better idea of what to expect out on the route.
You can compare the numbered bullets below with the map I included to see where on the trail each one of these point are located.
The Ascent
1) Start at the Historic Site or Overflow Parking, and make a left hand turn onto Route 9W.
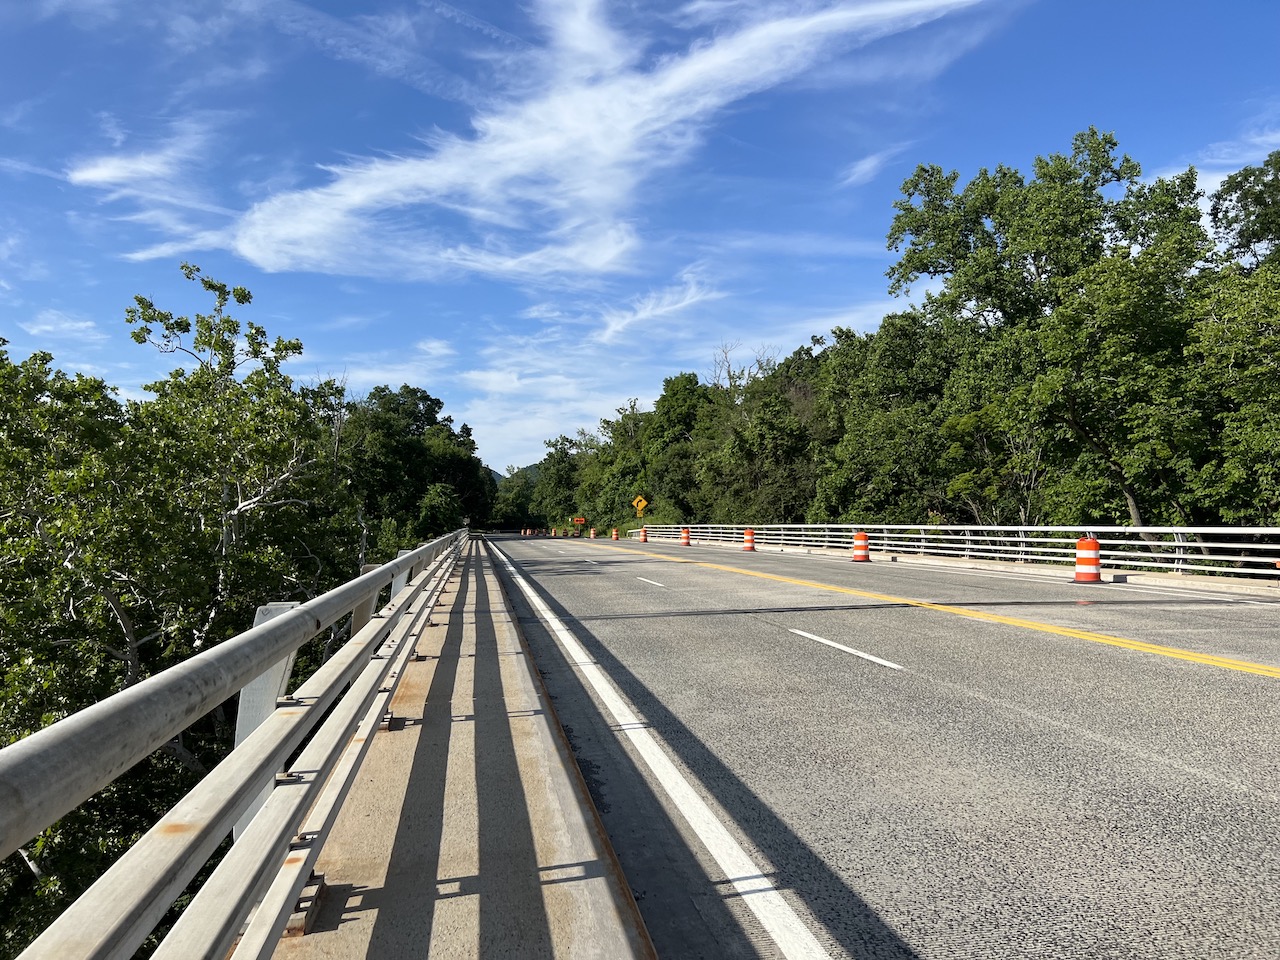
The first part of the route will start at either of the two parking lot locations. From there, you will make a left hand turn onto Route 9W and cross over the bridge that heads over Popolopen Creek.
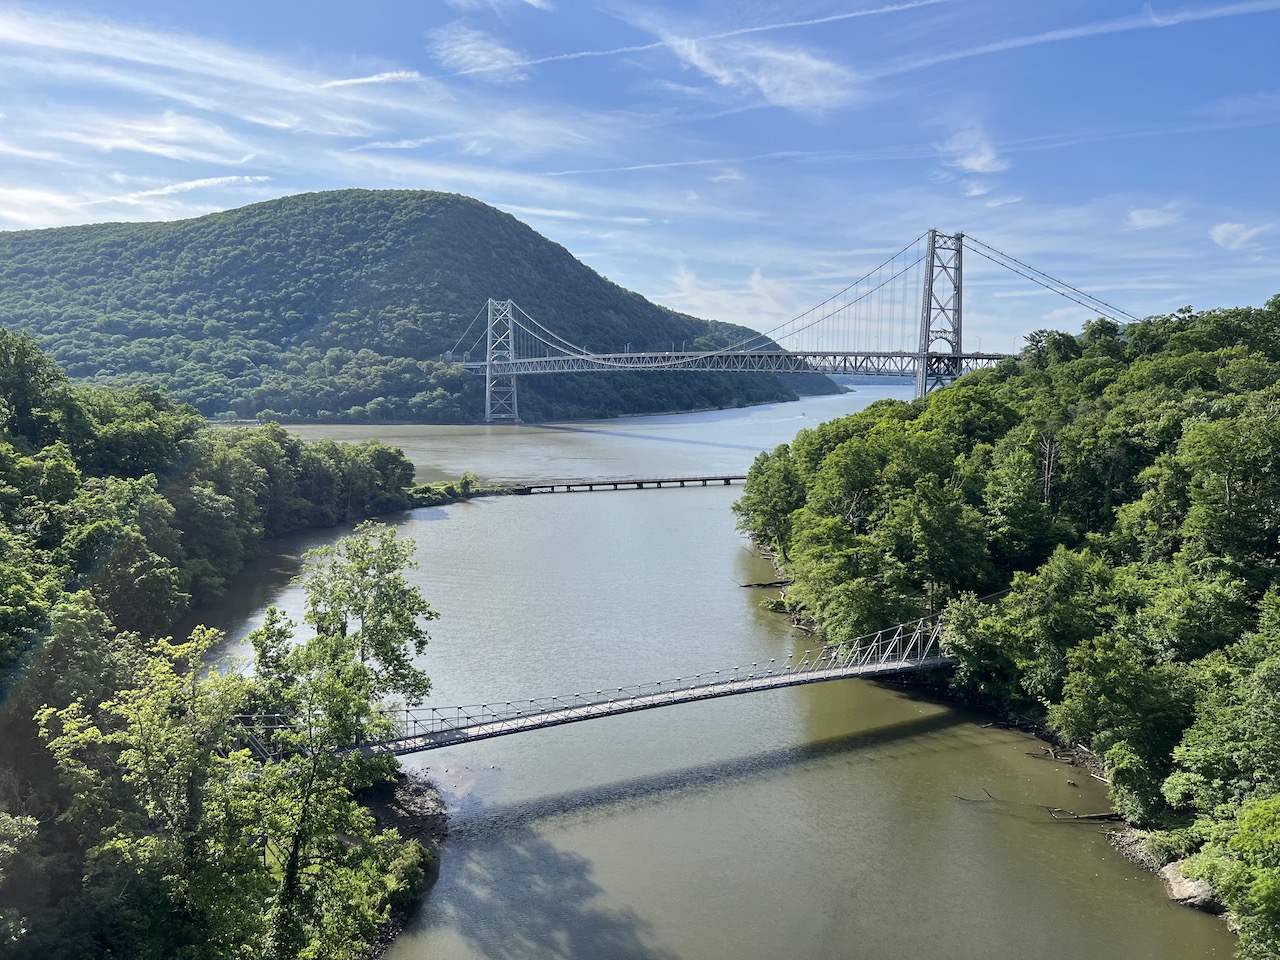
As you are crossing the bridge and making the walk to the starting point, you will be able to see the Bear Mountain Bridge, the Popolopen Suspension Bridge, and the railroad tracks off to the side.


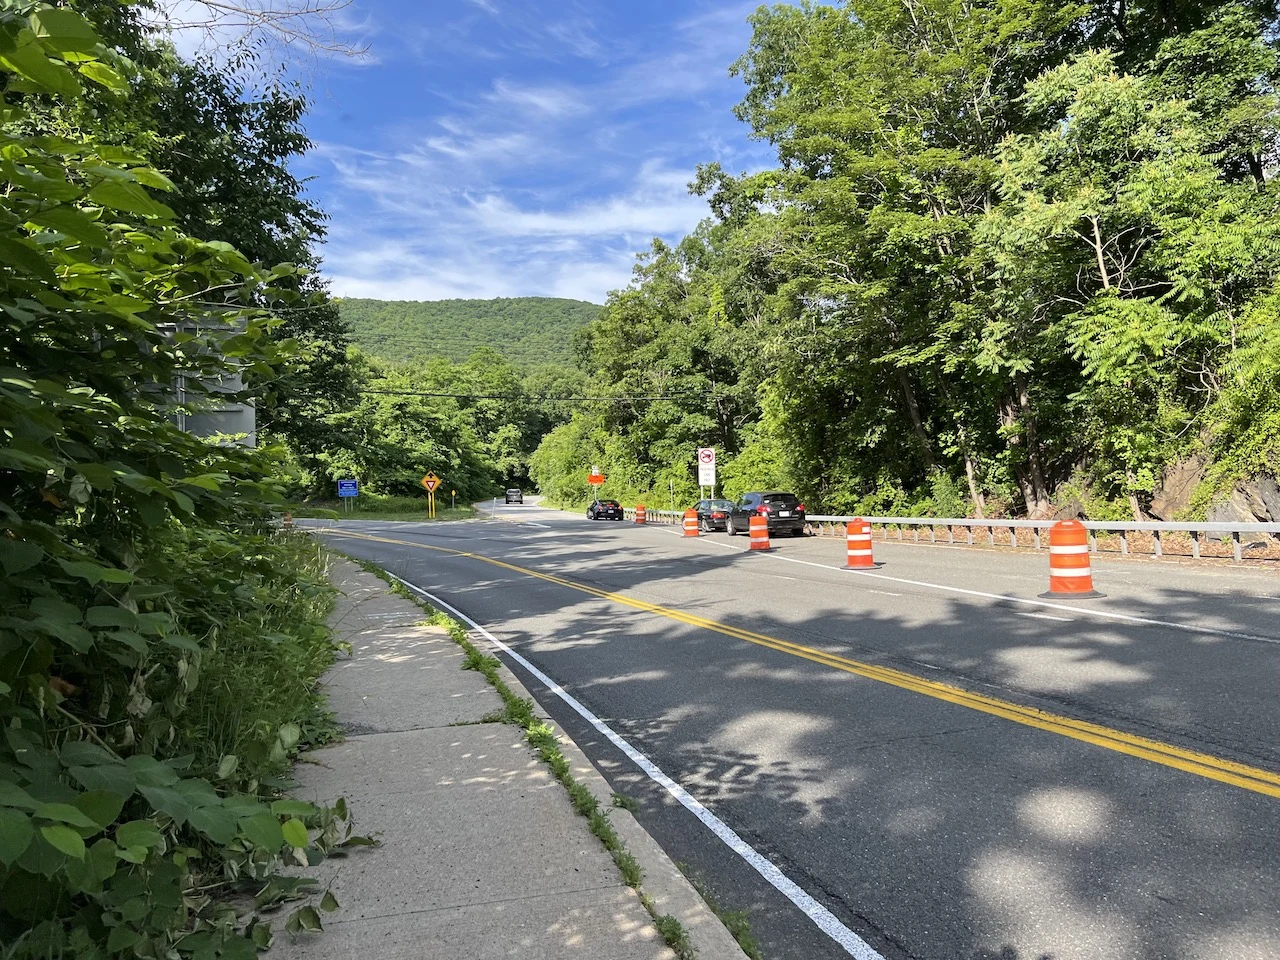
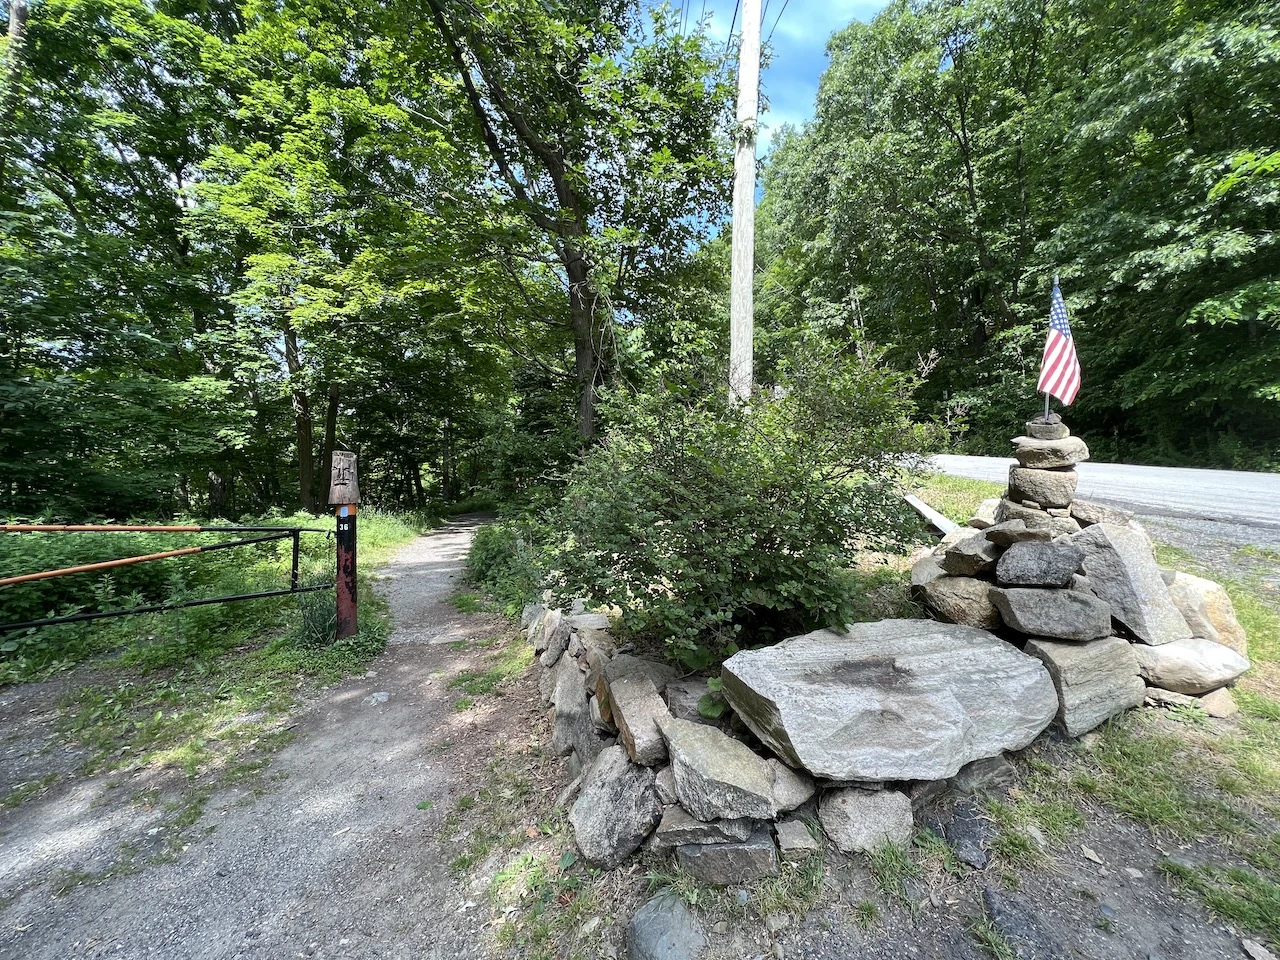
2) After crossing the bridge, get to the west side of the road, where you will catch the trail into the forest.
Shortly after crossing the bridge, you will want to get to the right hand side (west side) of Route 9W. You will see there is a fork in the road, just around this area too.
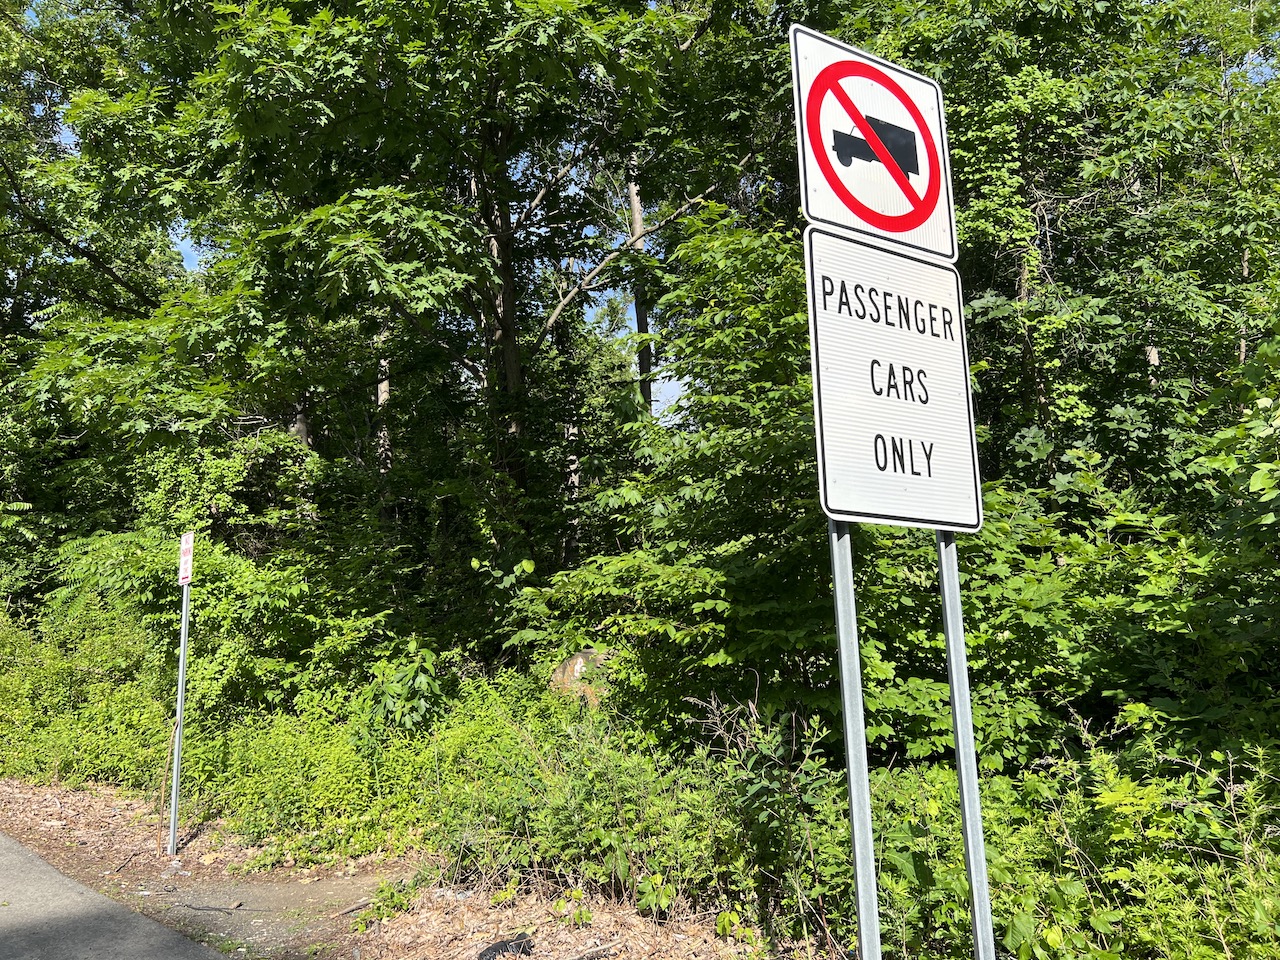
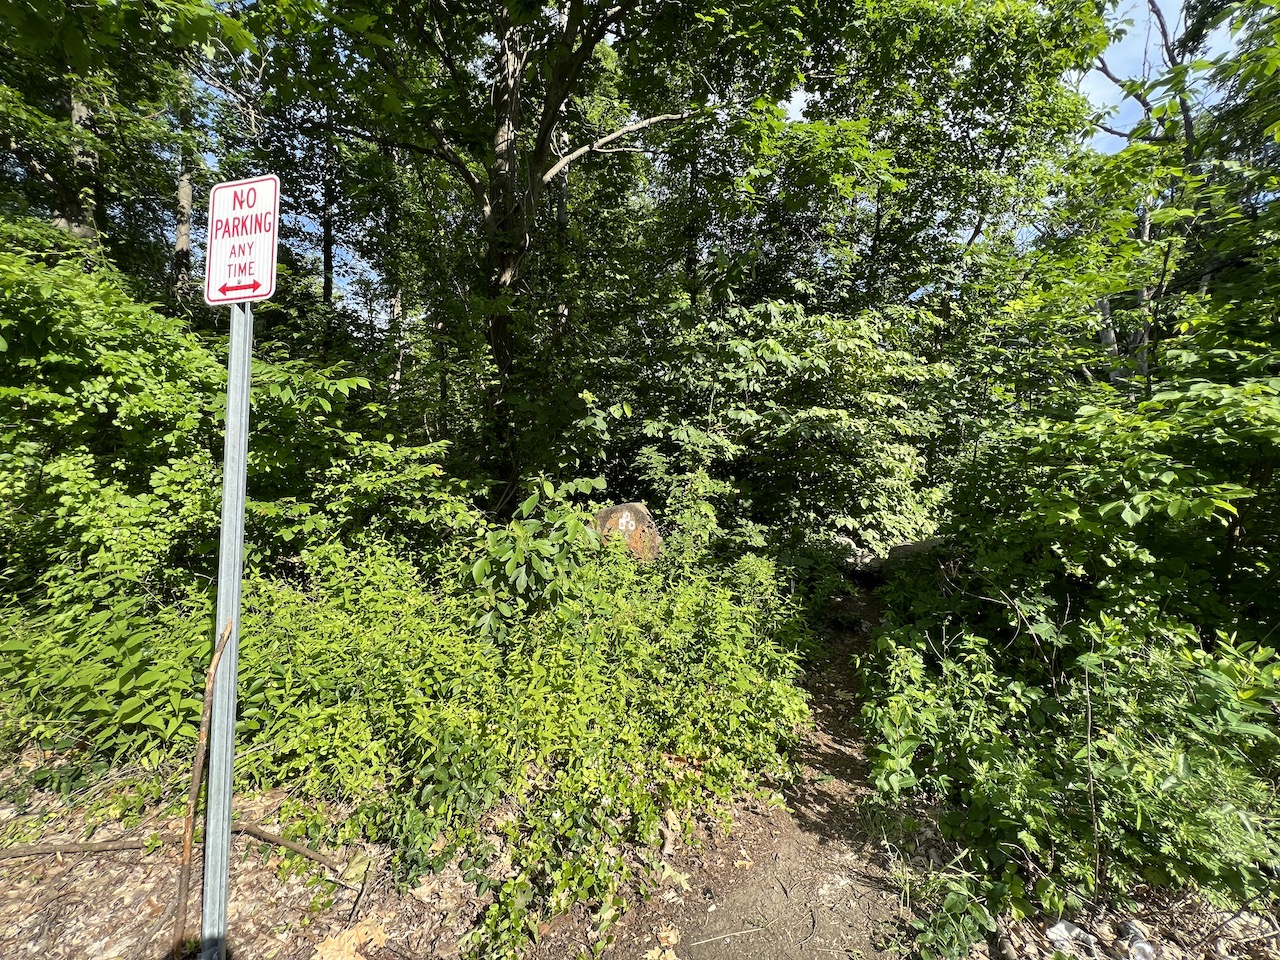
Directly near the right-hand side of the fork, you will see two signs marked with “No Parking Any Time” and “Passenger Cars Only”. The trail begins right here as you see the trail head into the forest.


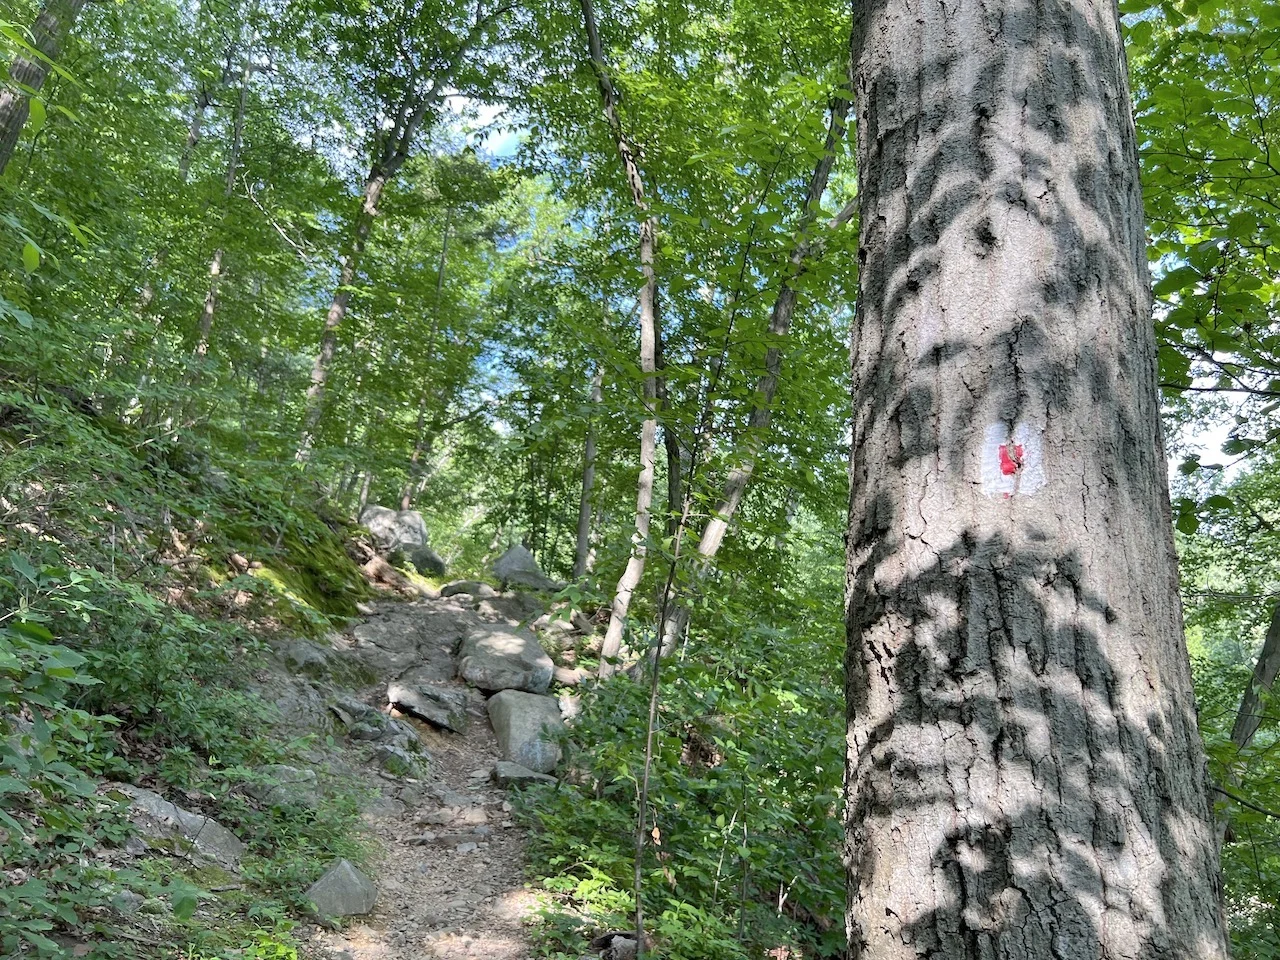
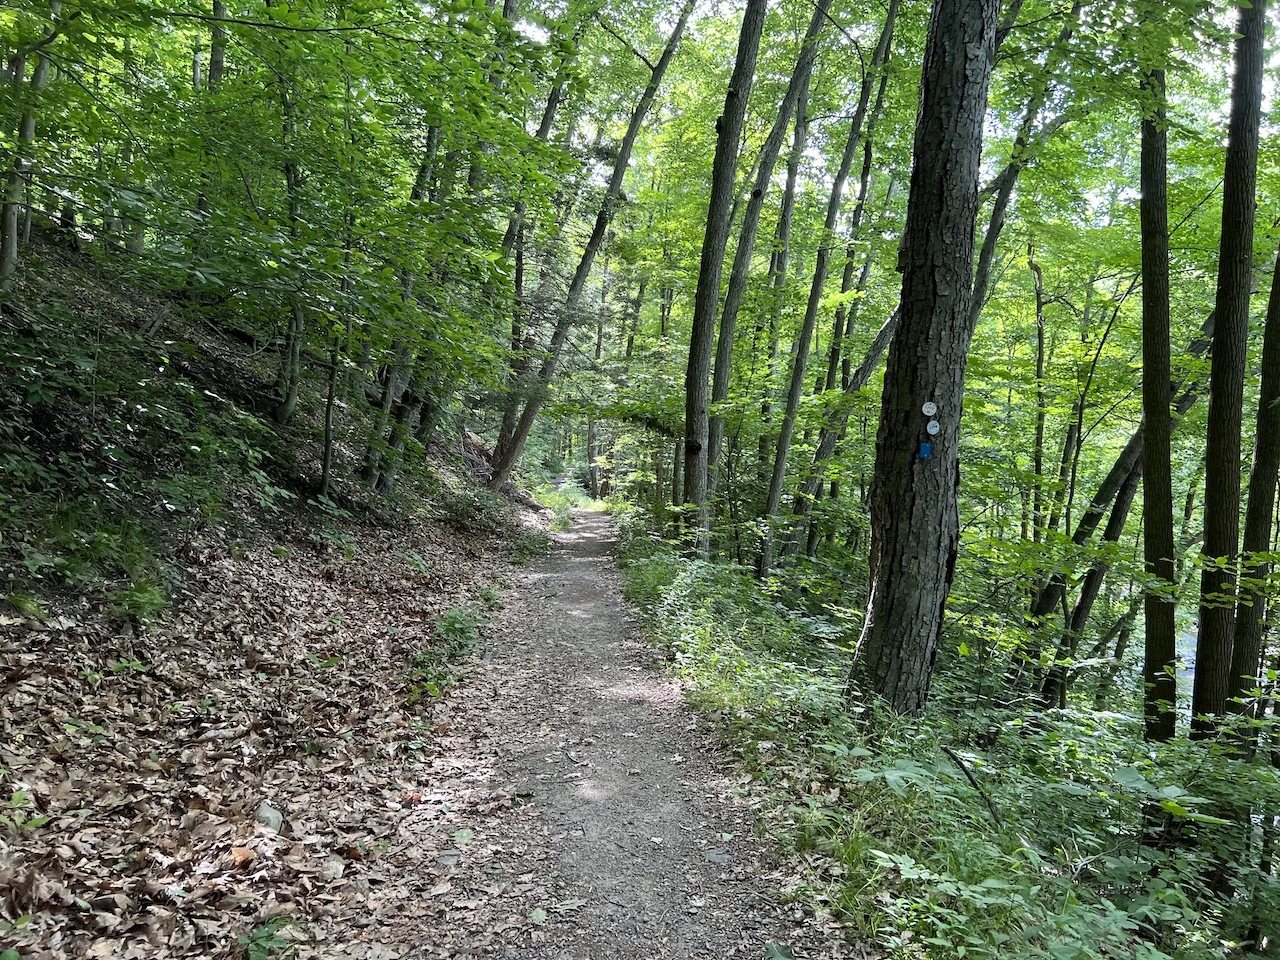
3) There is only one real trail here for the next 2 miles as you follow the red/white trail markers.
Once you have made it into the forest, you will begin the official Popolopen Torne Loop. During the first 2 miles of trail you will see red/white trail markers on trees.
While there are not any real obvious turn off points here, you should still pay attention to be sure you see those next trail markers out in front of you.
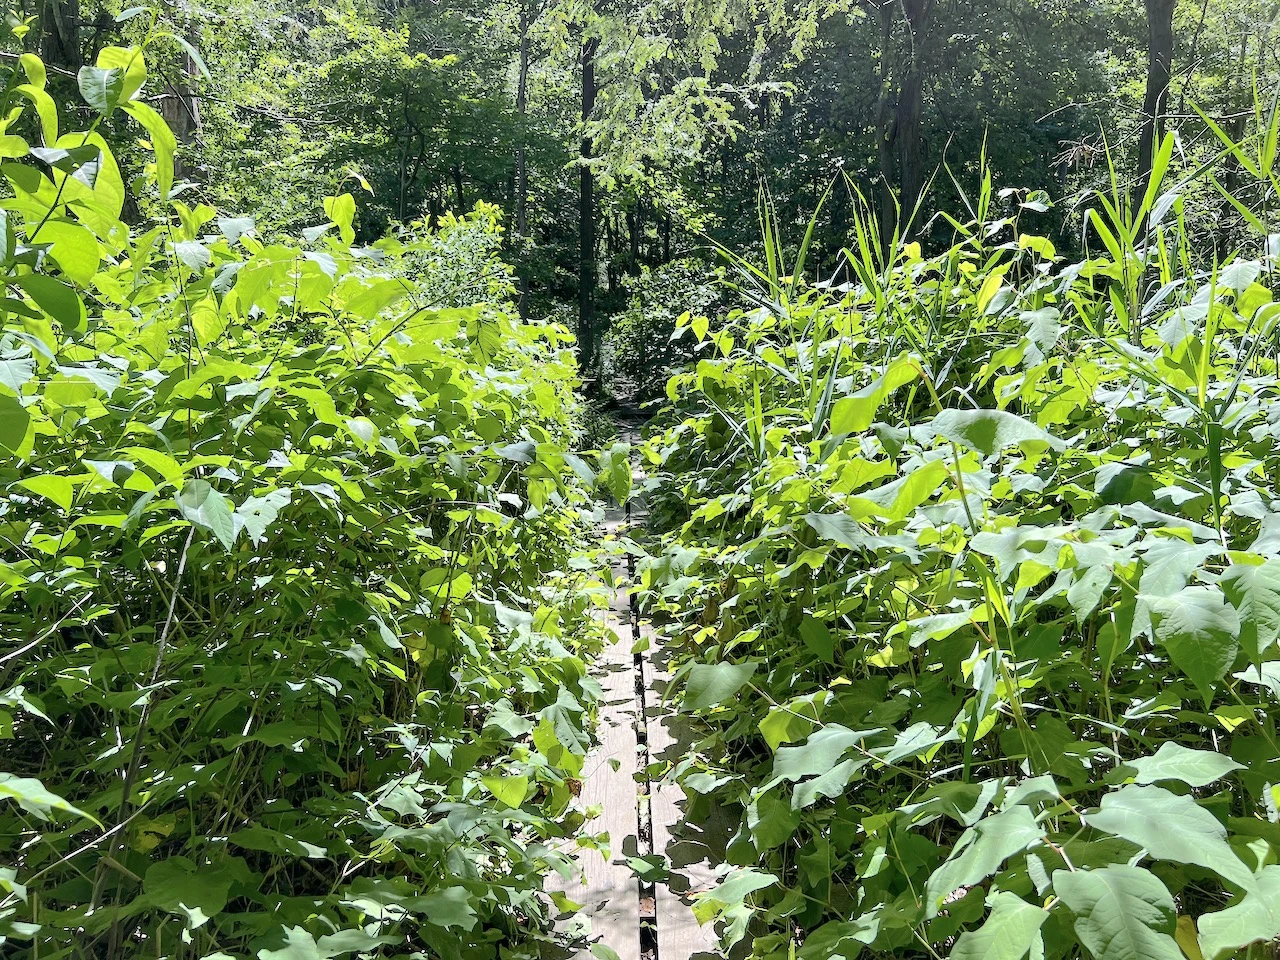
During this first portion of trail you will see Popolopen Creek down below. Unfortunately, there are signs marking this area off limits and therefore needing to stay on the official trail. You will get closer to the river later on though.


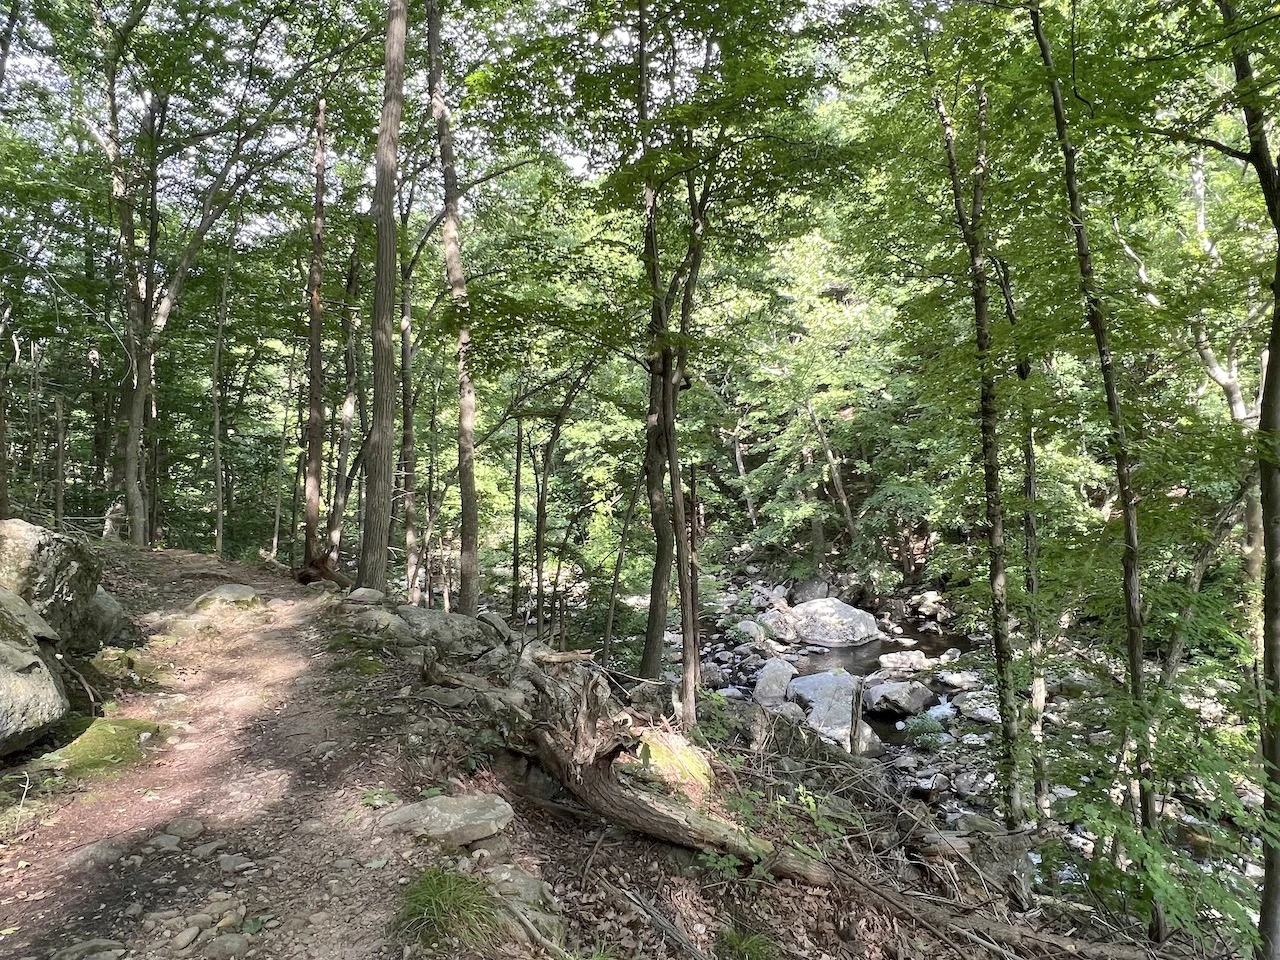

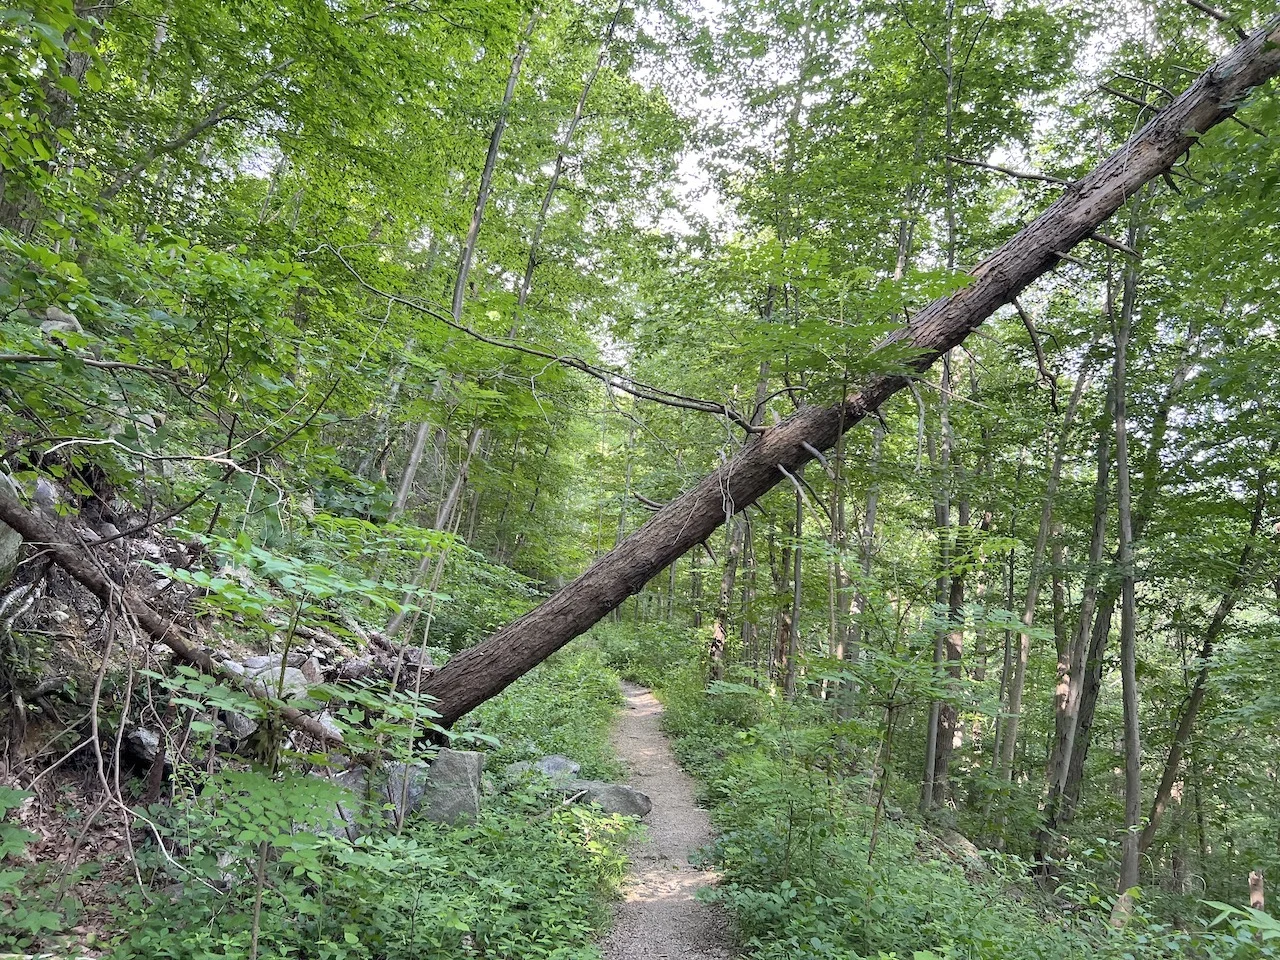
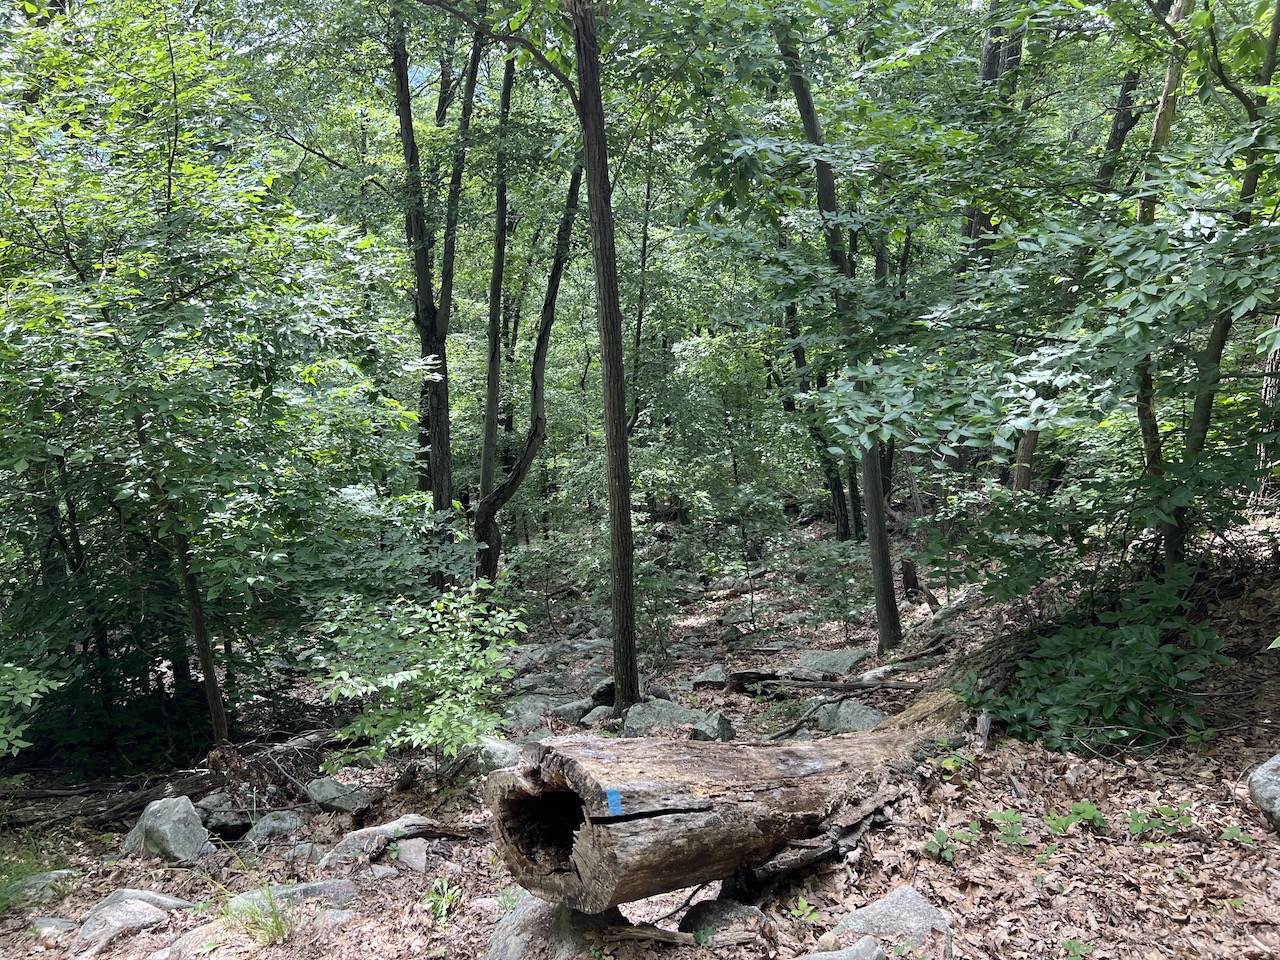
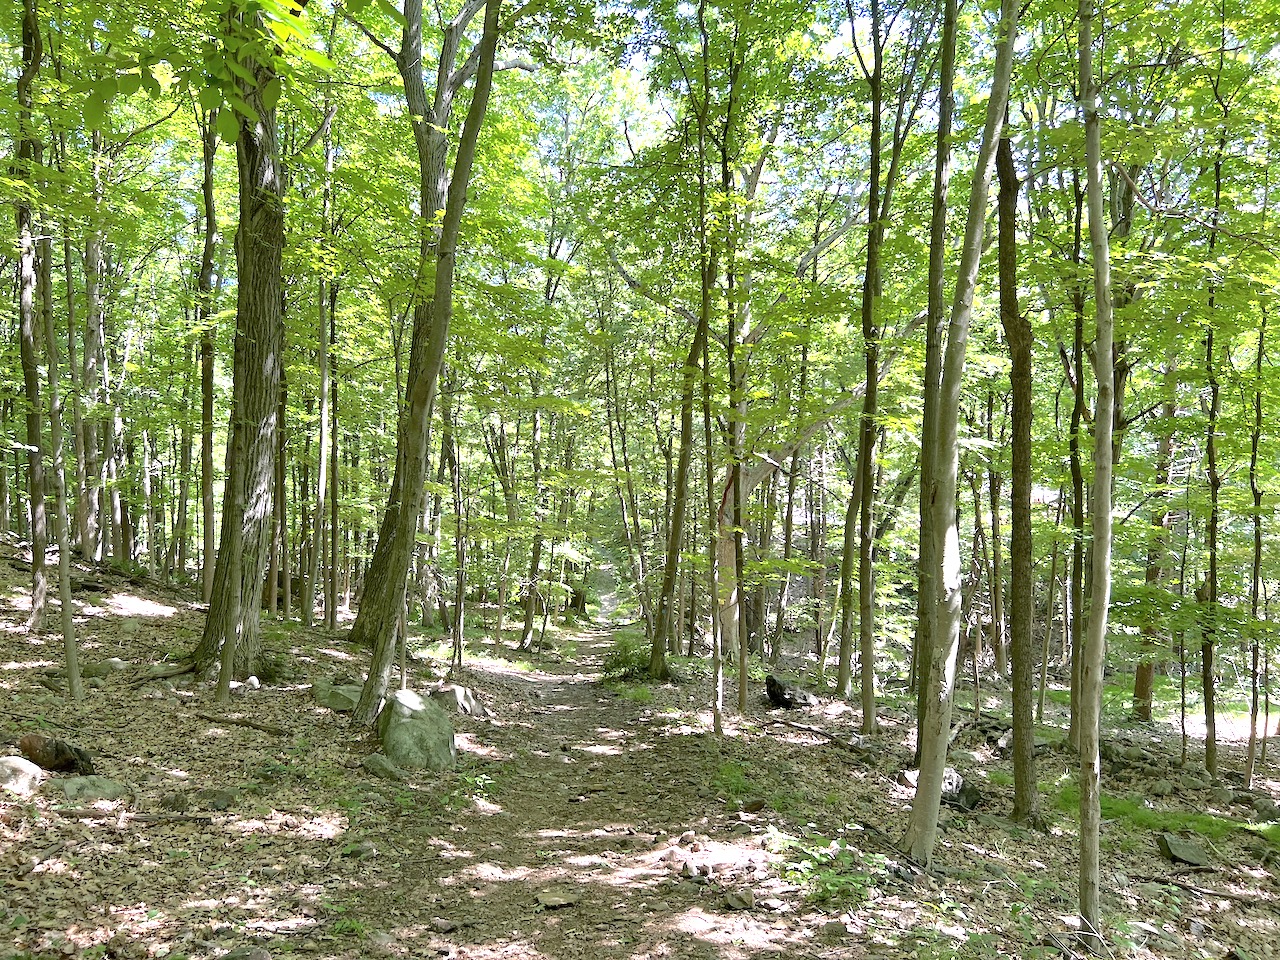
The trail makes its way through the forest on some flat/downhill sections, before the first ascent occurs. Head your way up the hillside and continue following those white and red trail markers.
After the ascent, the trail will flatten out as you walk along the trail with the river off to the side.


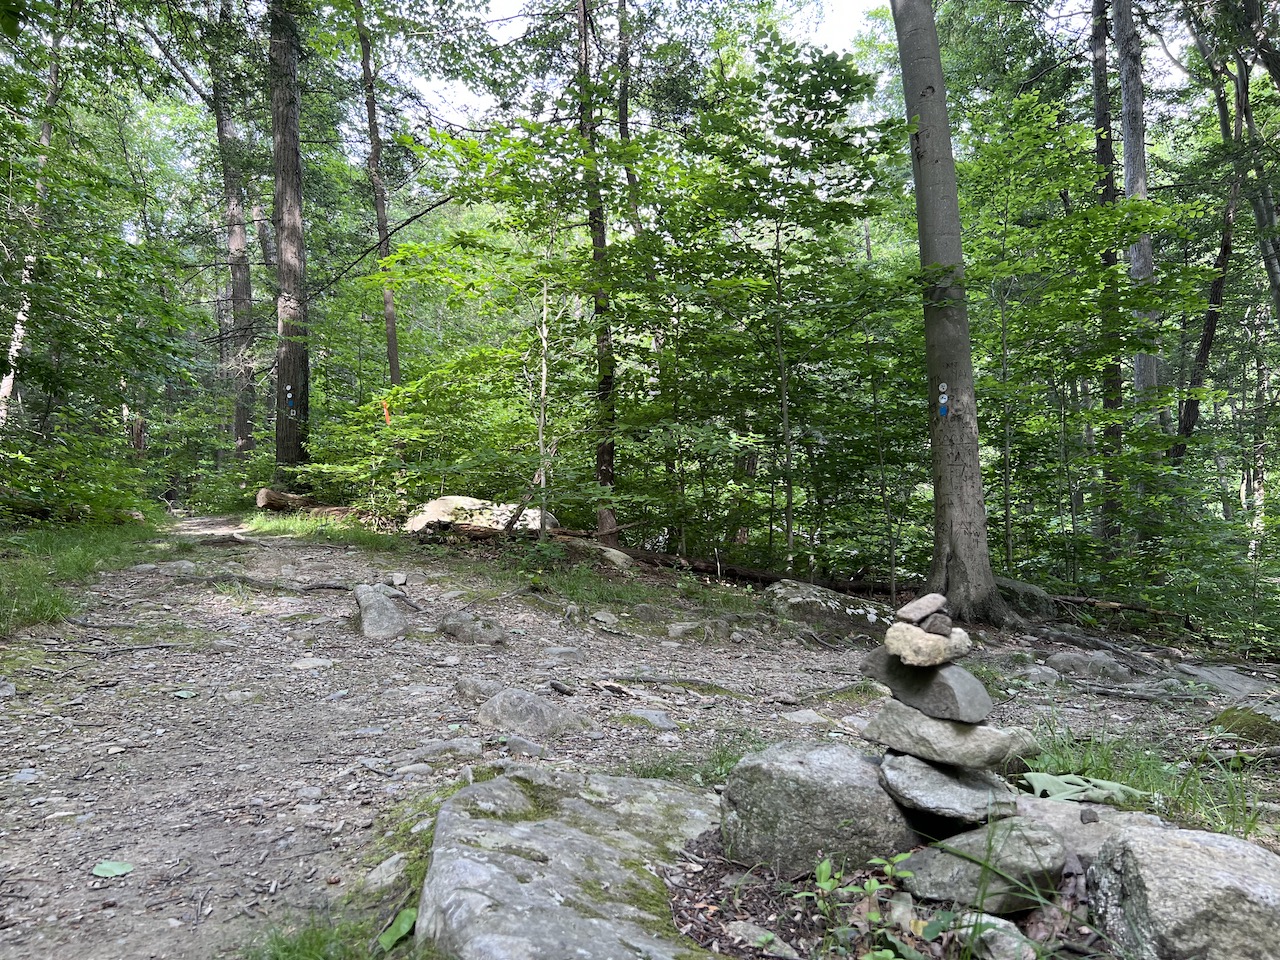
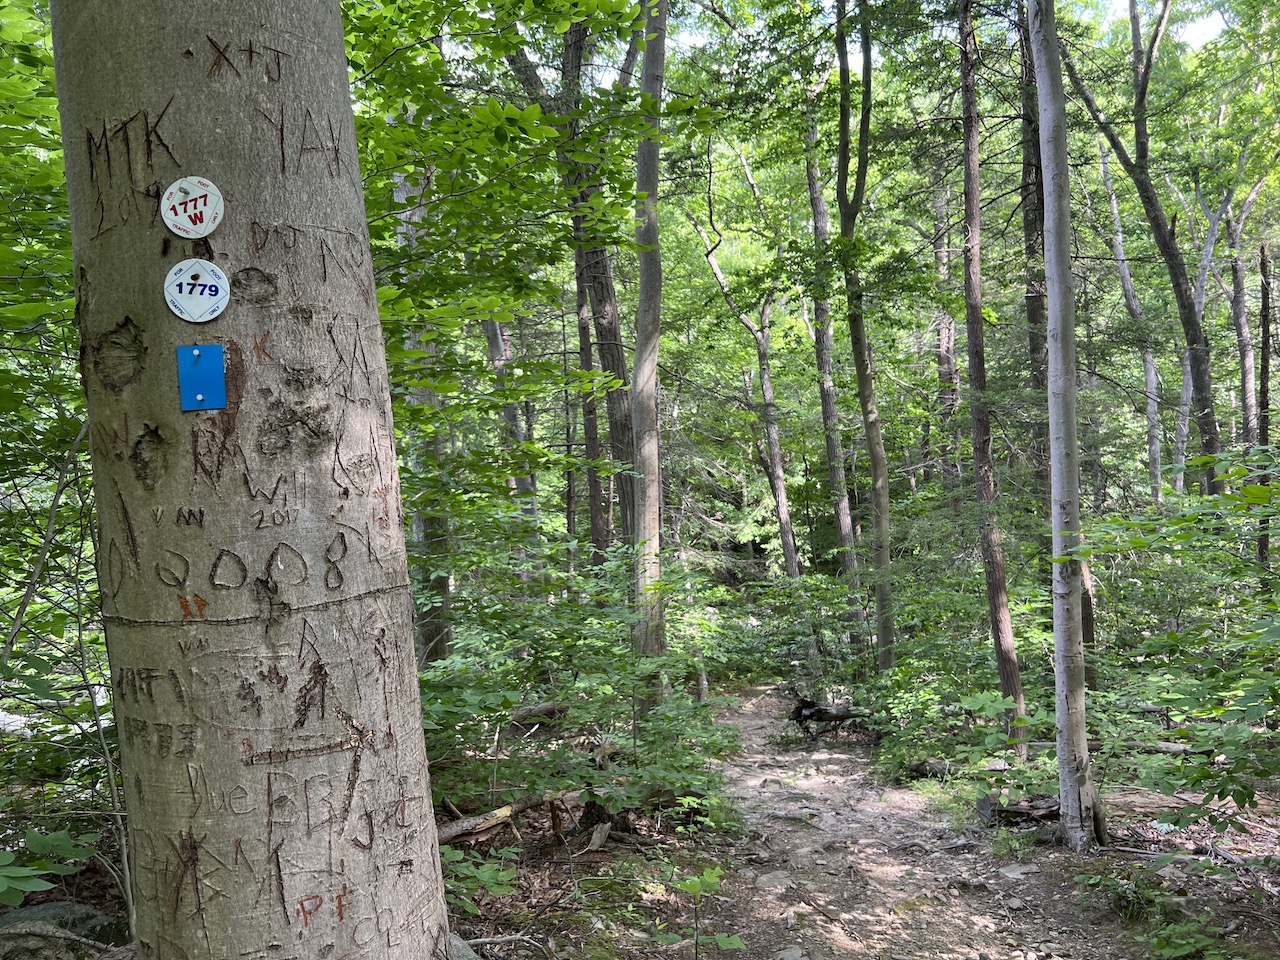
4) You will reach a rock cairn (pile of rocks) and trees with many trail markers. From here turn right, following the blue trail markers and the 1777/1779 markers.
Just around the 2 mile mark you will reach the rock cairn pictured below, with a couple trees full of trail markers. At this pile of rocks you will want to turn right and from here on out follow the blue trail markers and the 1777/1779 trail markers.


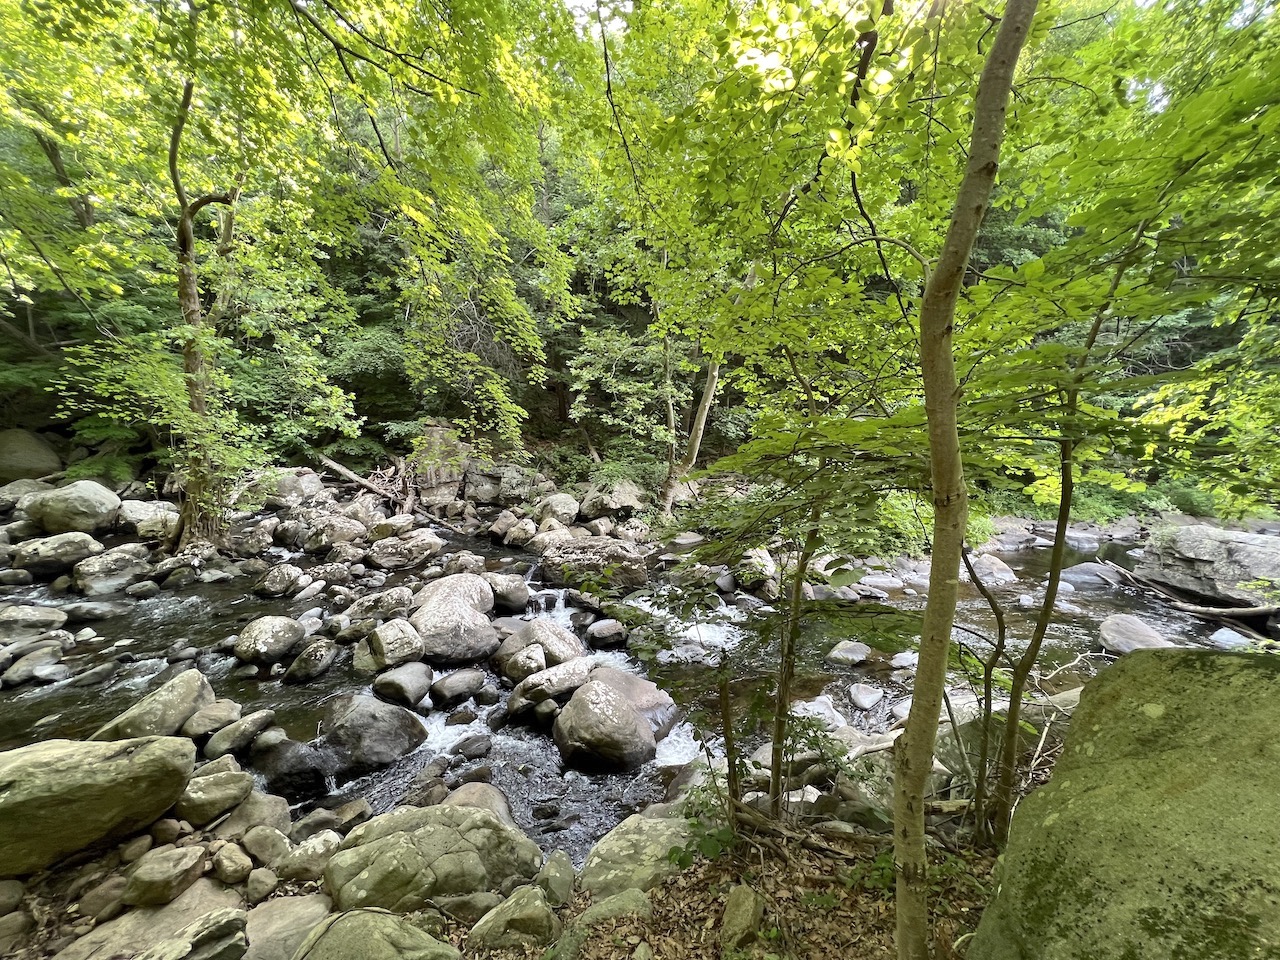
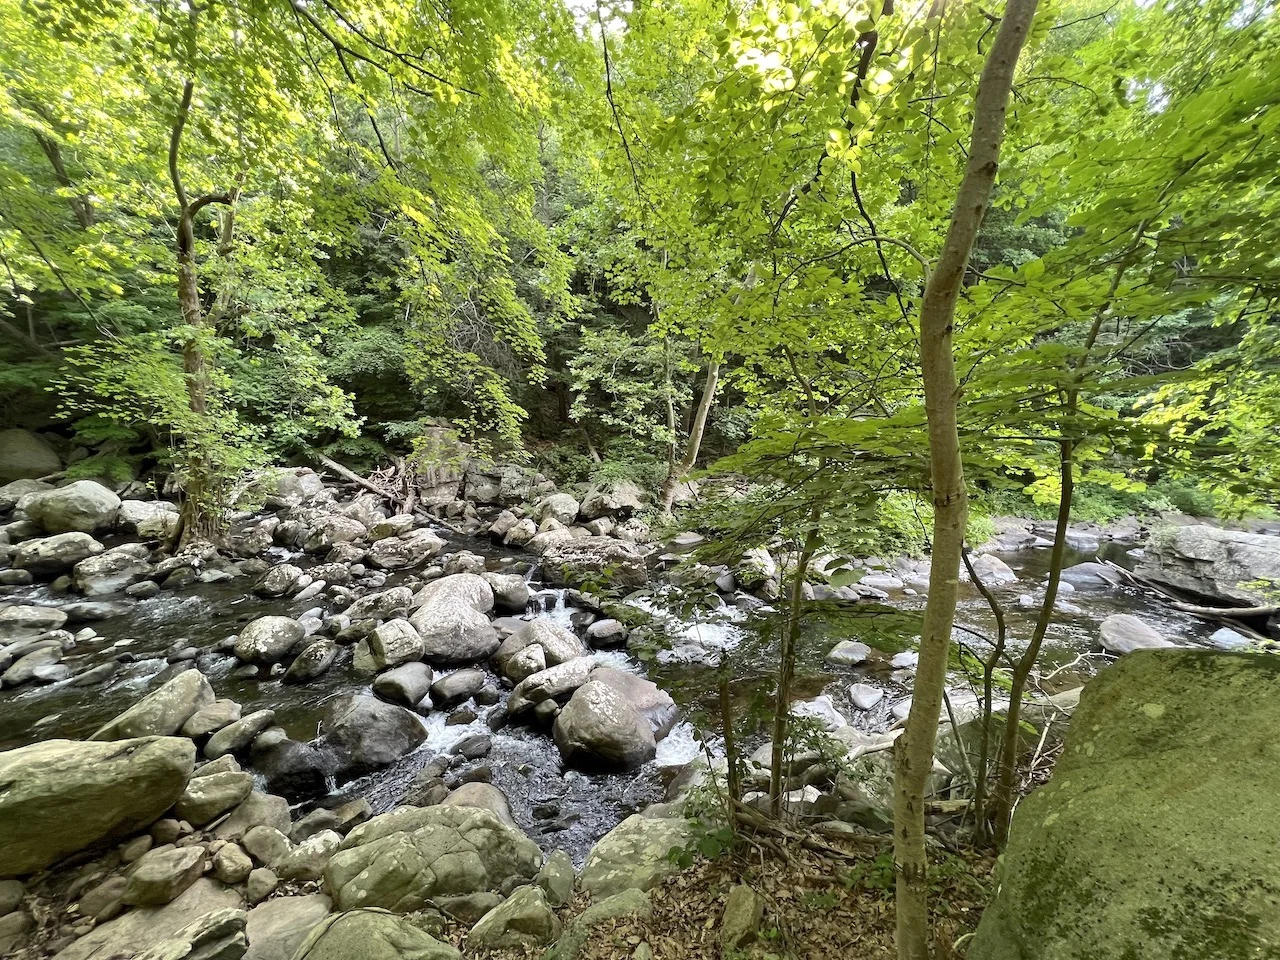
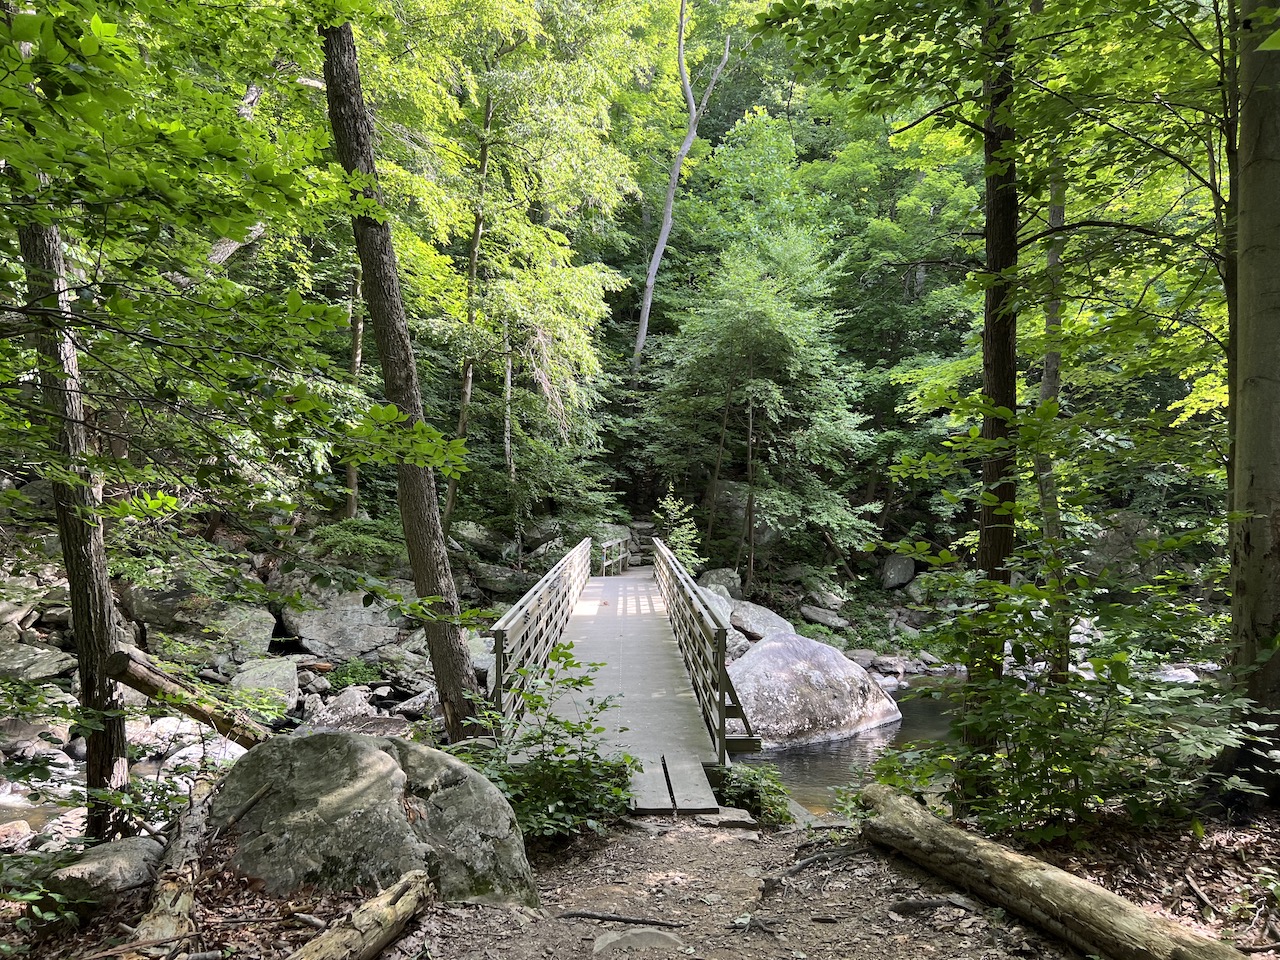
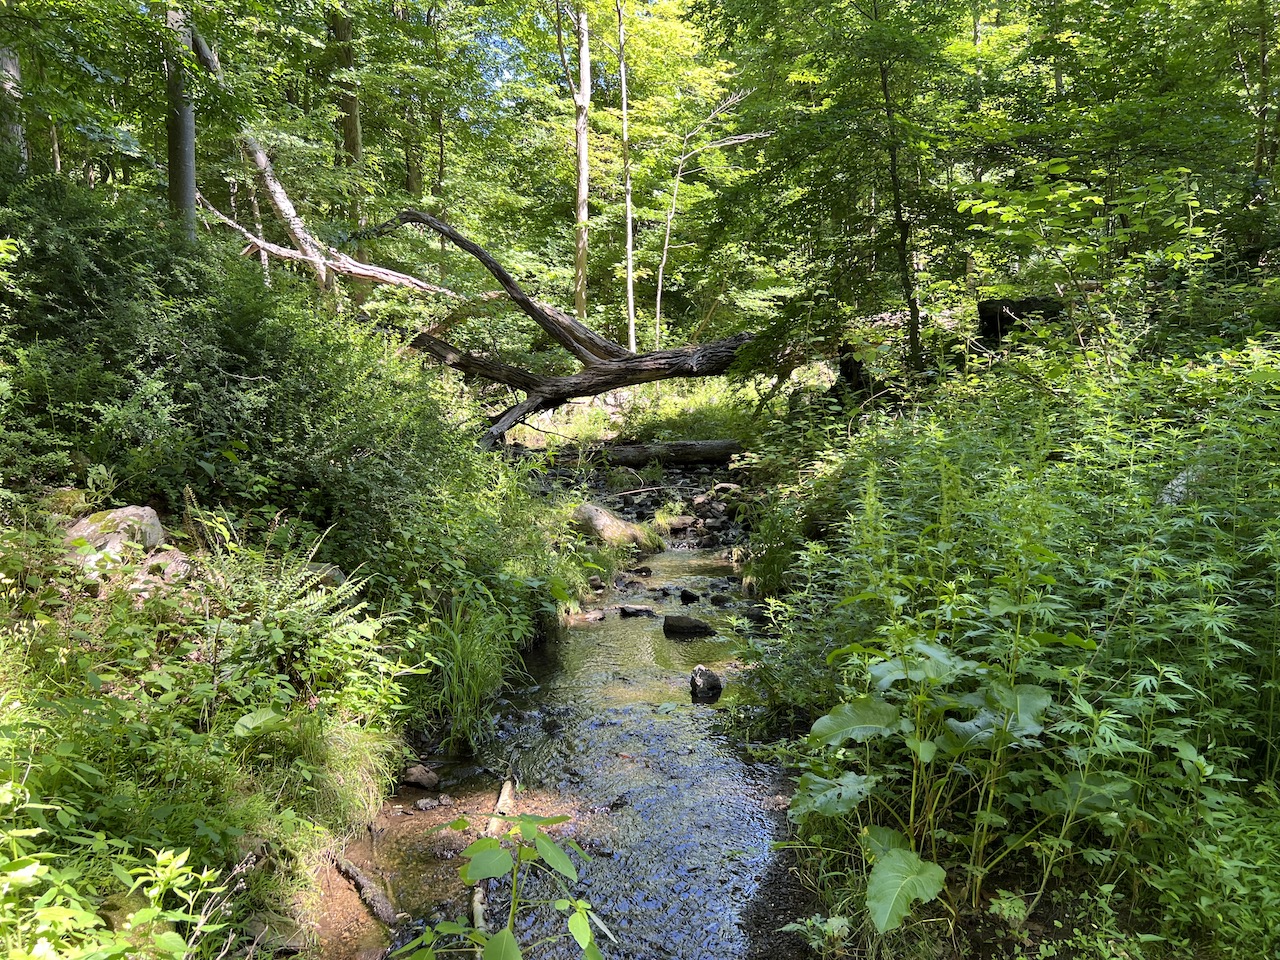
5) Cross over the bridge.
Nearly immediately after making this turn you will be welcomed to the bridge that crosses over the river. If you don’t see a bridge at your ~2 mile mark, then you know you may have missed the turn.
Enjoy the river views in either direction and take some time to just soak it all in. The real ascent is coming up soon after.


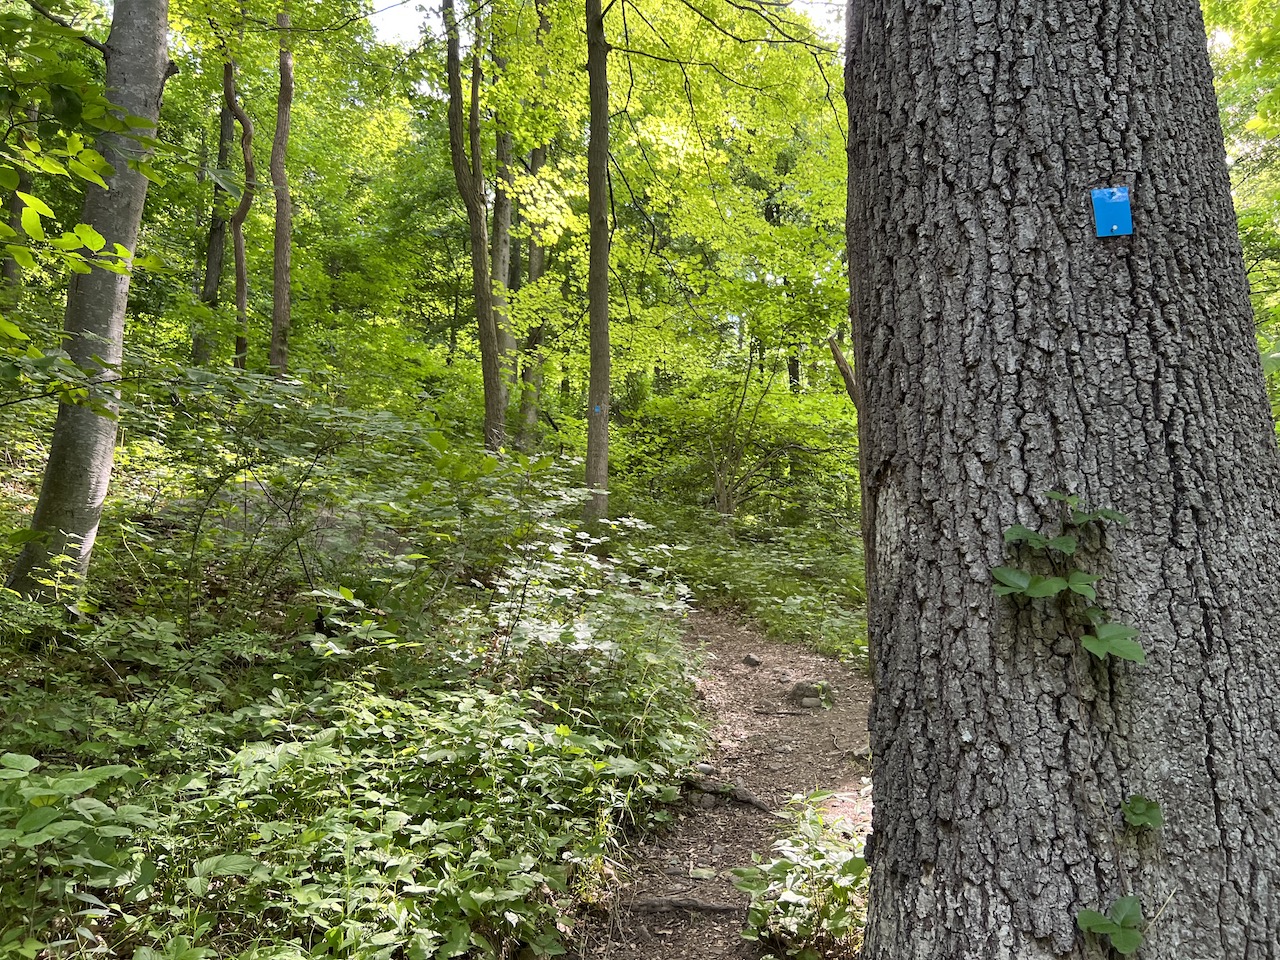
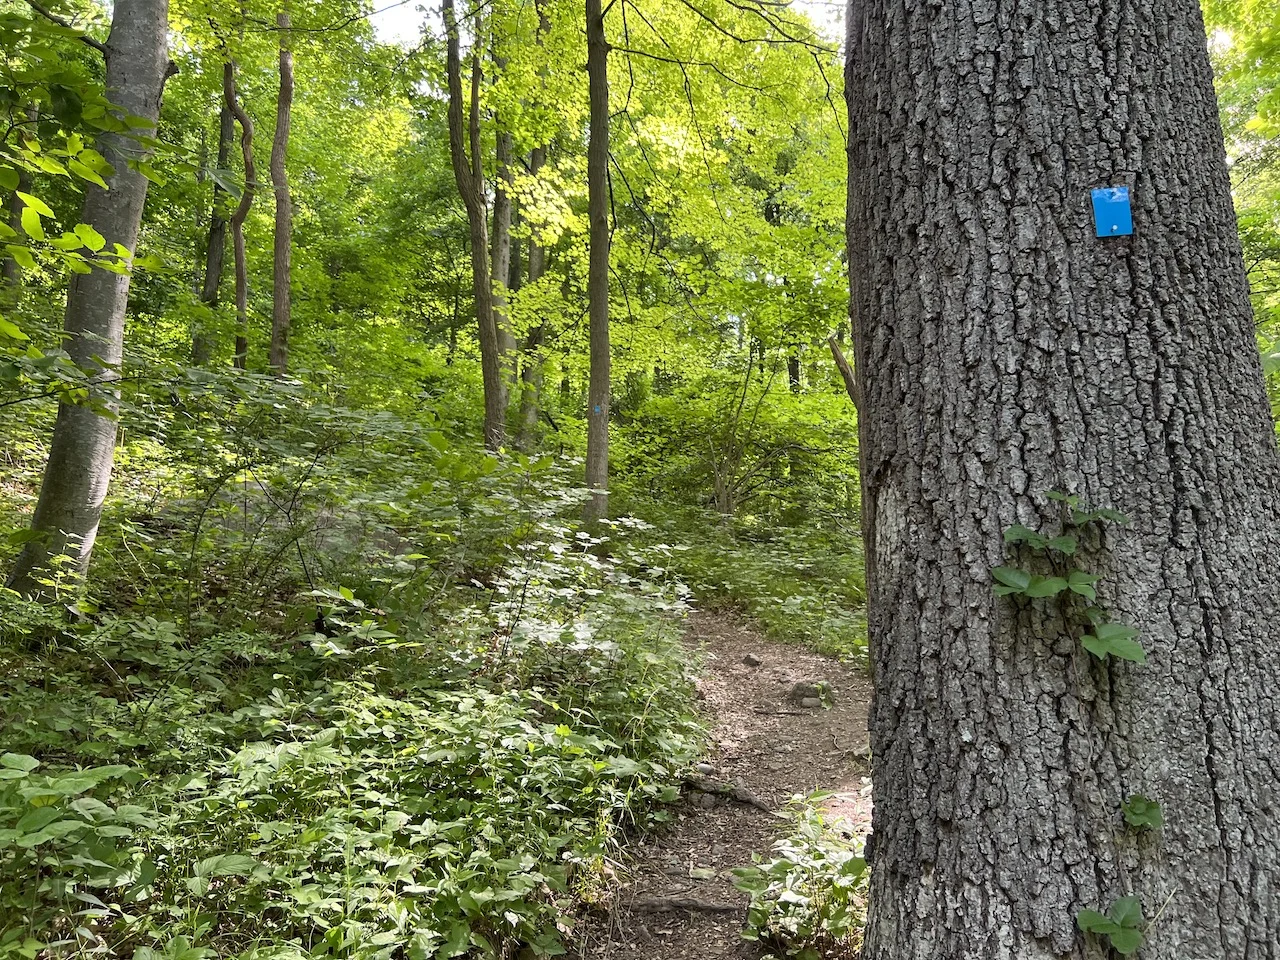
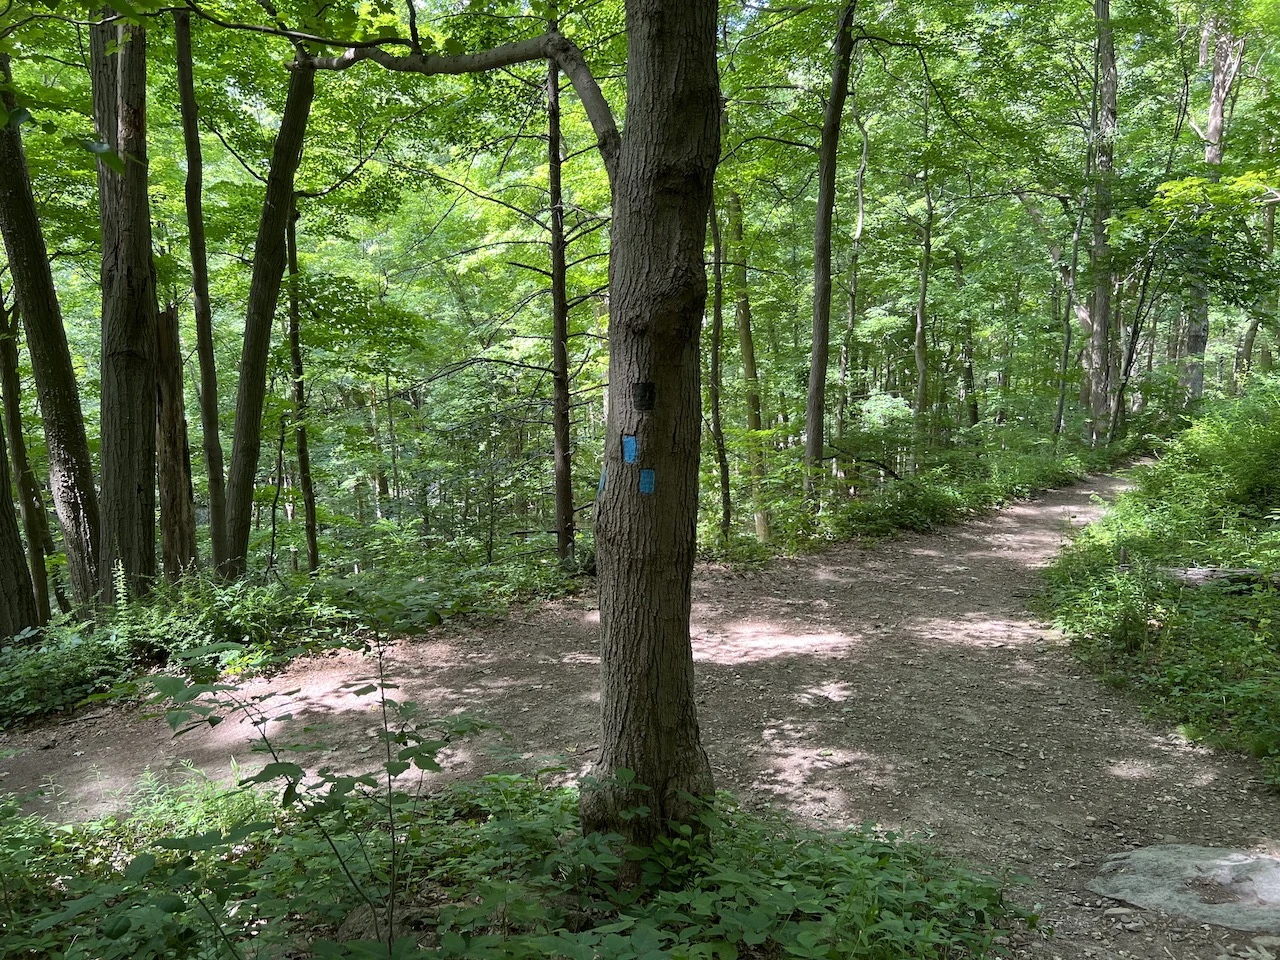
6) Cross the bridge, turn right, and then turn left following the blue trail markers up through the forest.
After crossing over the bridge, make a right hand turn onto the next portion of trail. Just a minute or two after making this right hand turn, you will see the blue marked path on your left hand side.
Follow this blue marked path up the hillside as you now begin the 500 foot elevation gain towards the summit.


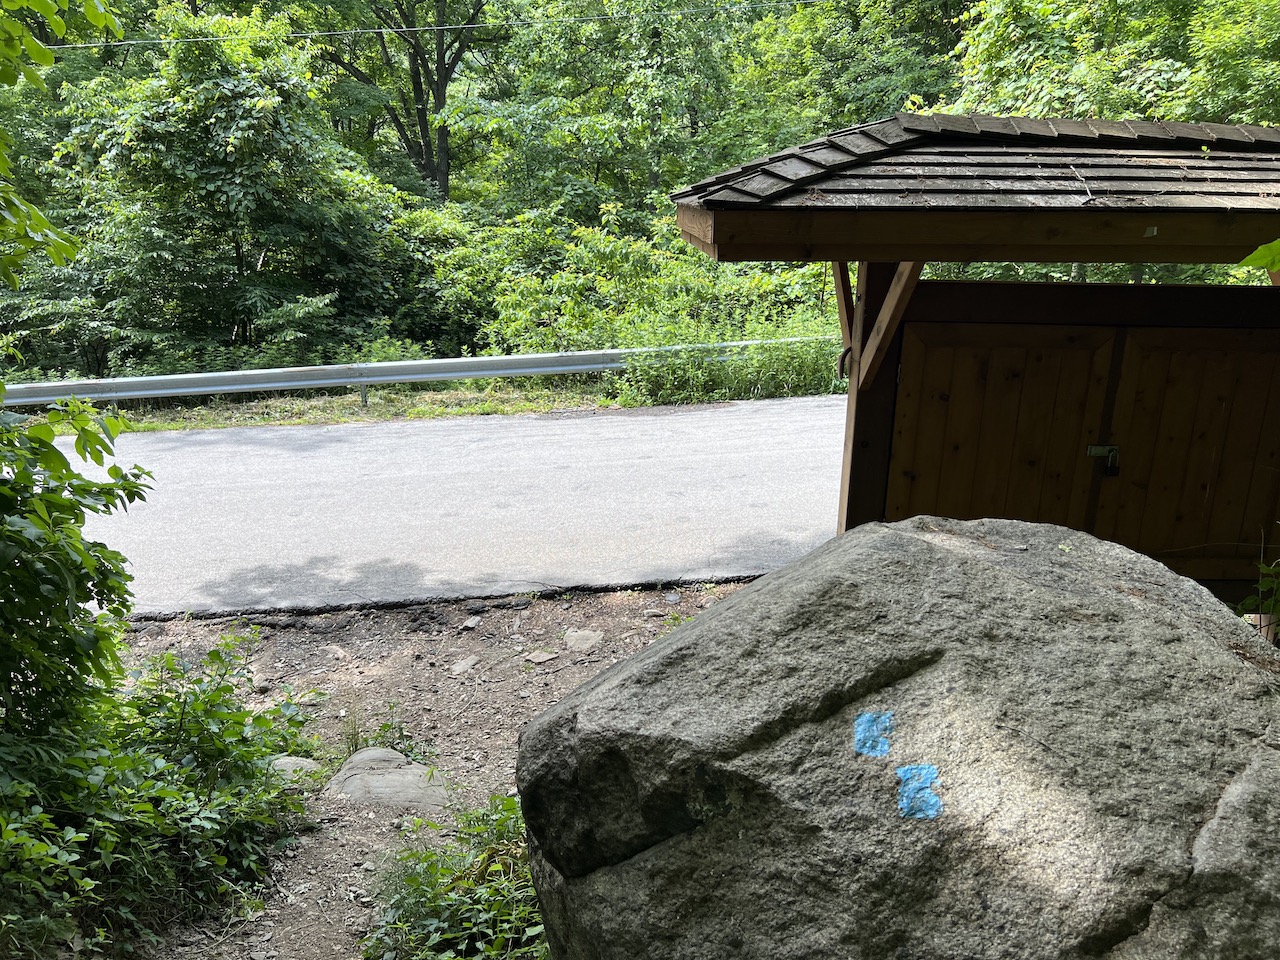
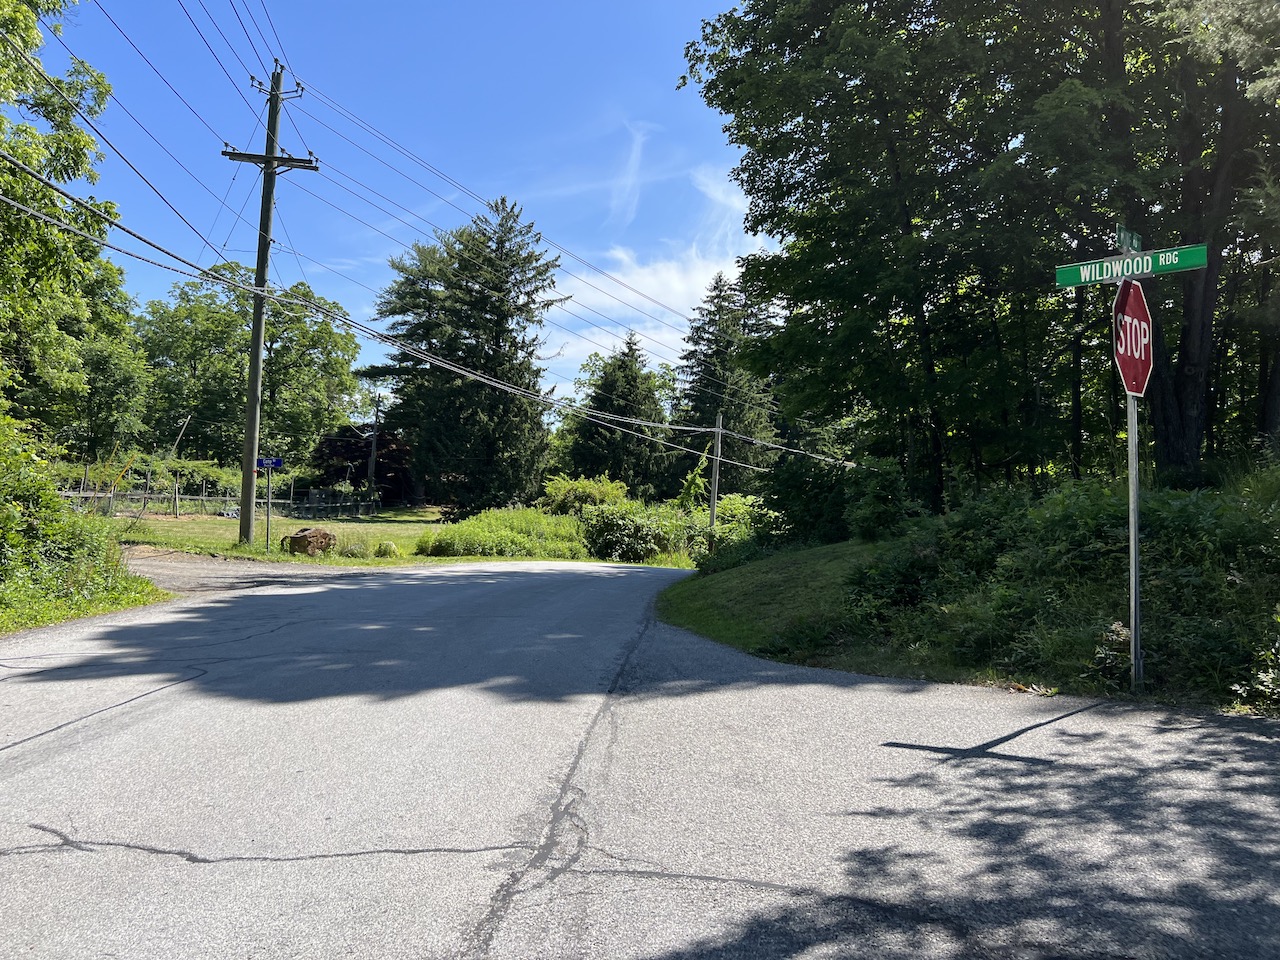
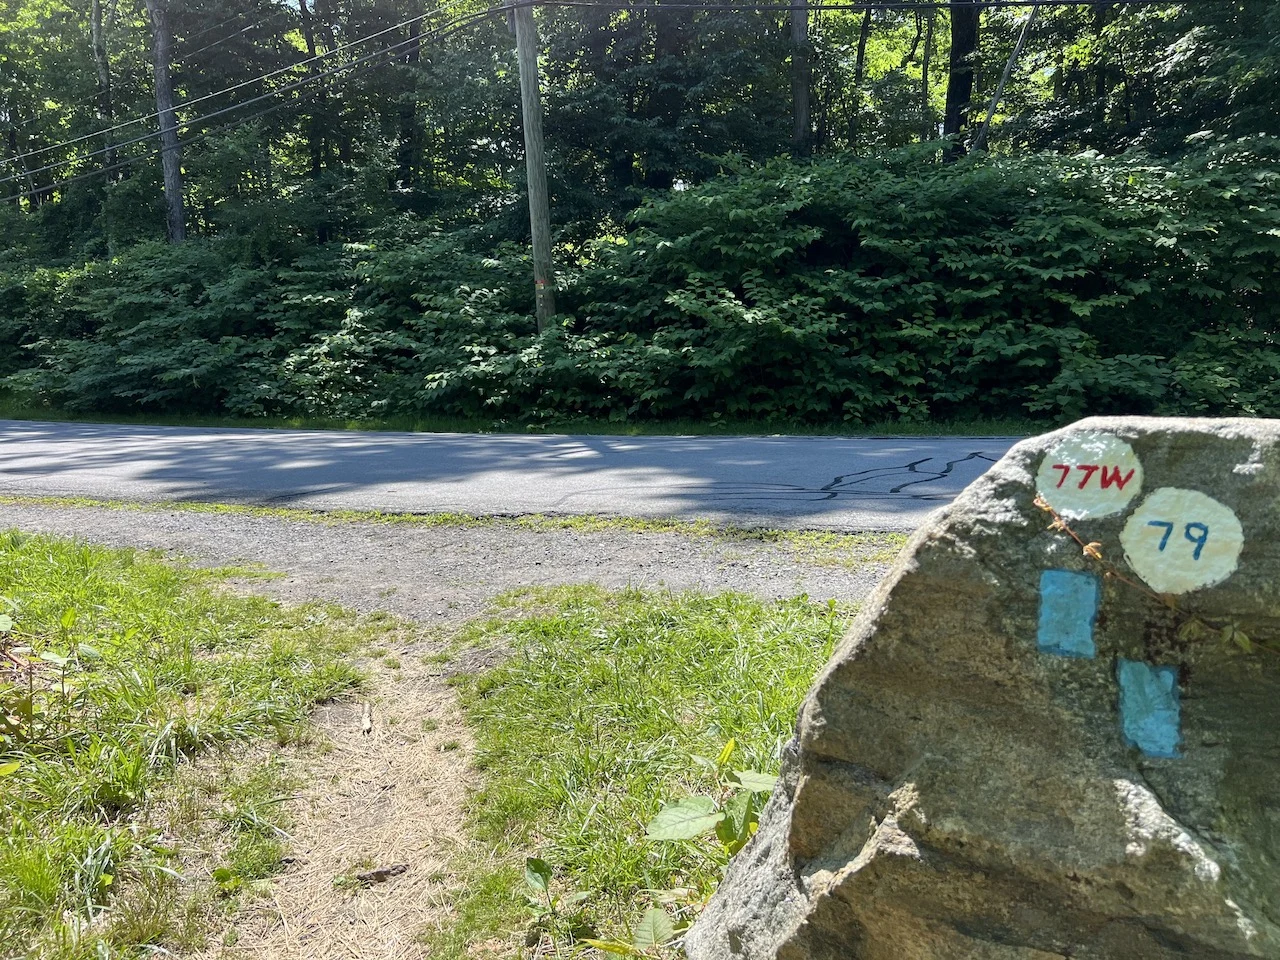
7) Cross the road.
The trail will reach a main road, where you will just hop over the guardrail and cross the street to the next section of trail.
There is no turn to make here as the trail continues just on the opposite side of the road. Be careful though for oncoming traffic in either direction.


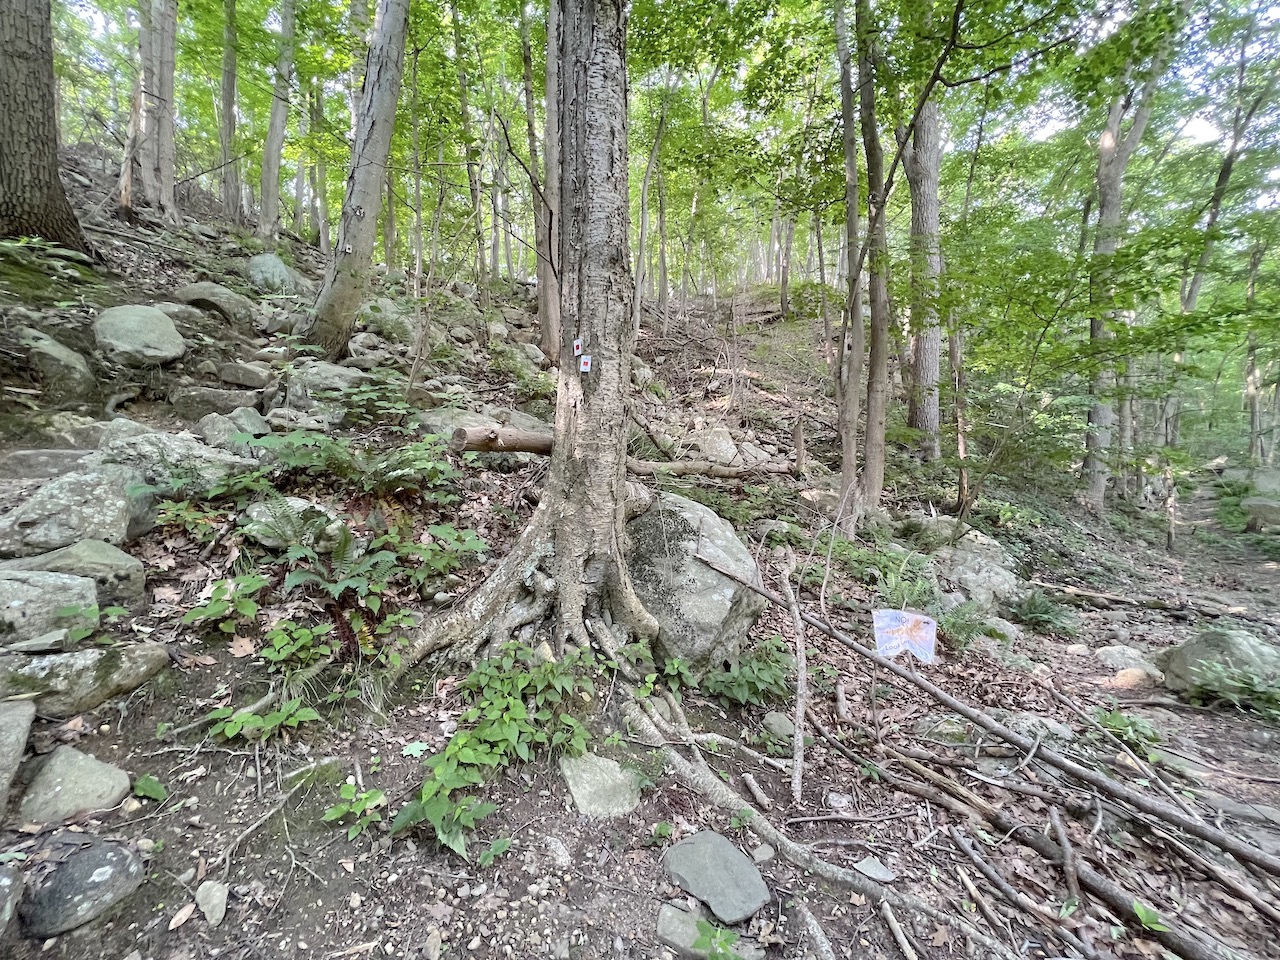
8) The trail from here up to the summit will follow the blue trail markers as the route gets much more technical. Be careful on the way up and enjoy some time on the summit.
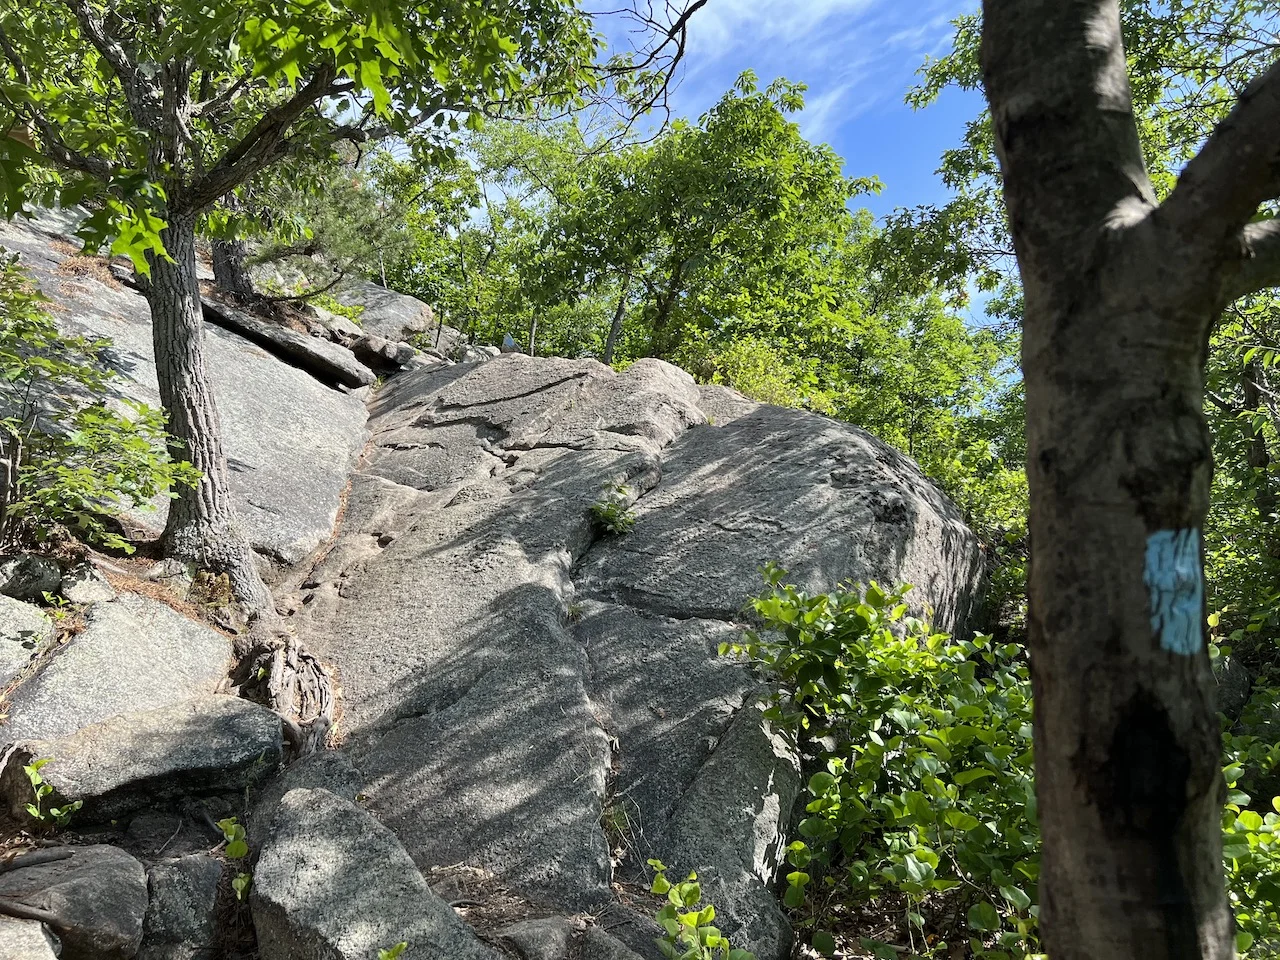
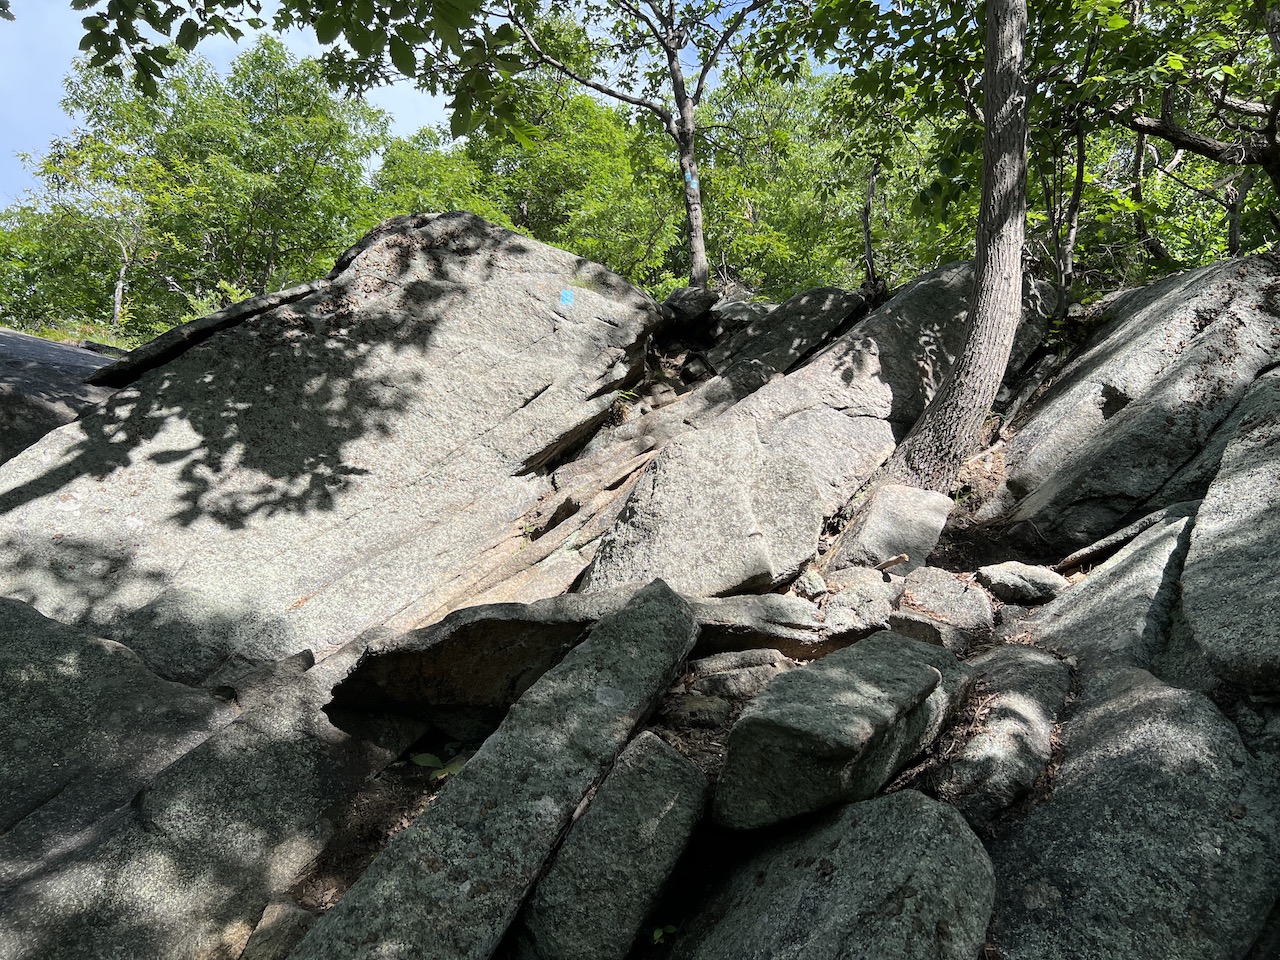
After crossing the road is where things start to get technical. Instead of walking along a dirt type trail, you will now be scaling some larger rock faces.
Some of these sections are quite easy as there is just a slight elevation grade. However, other sections will be steeper and you will need to use your hands to get up from one section to the next.
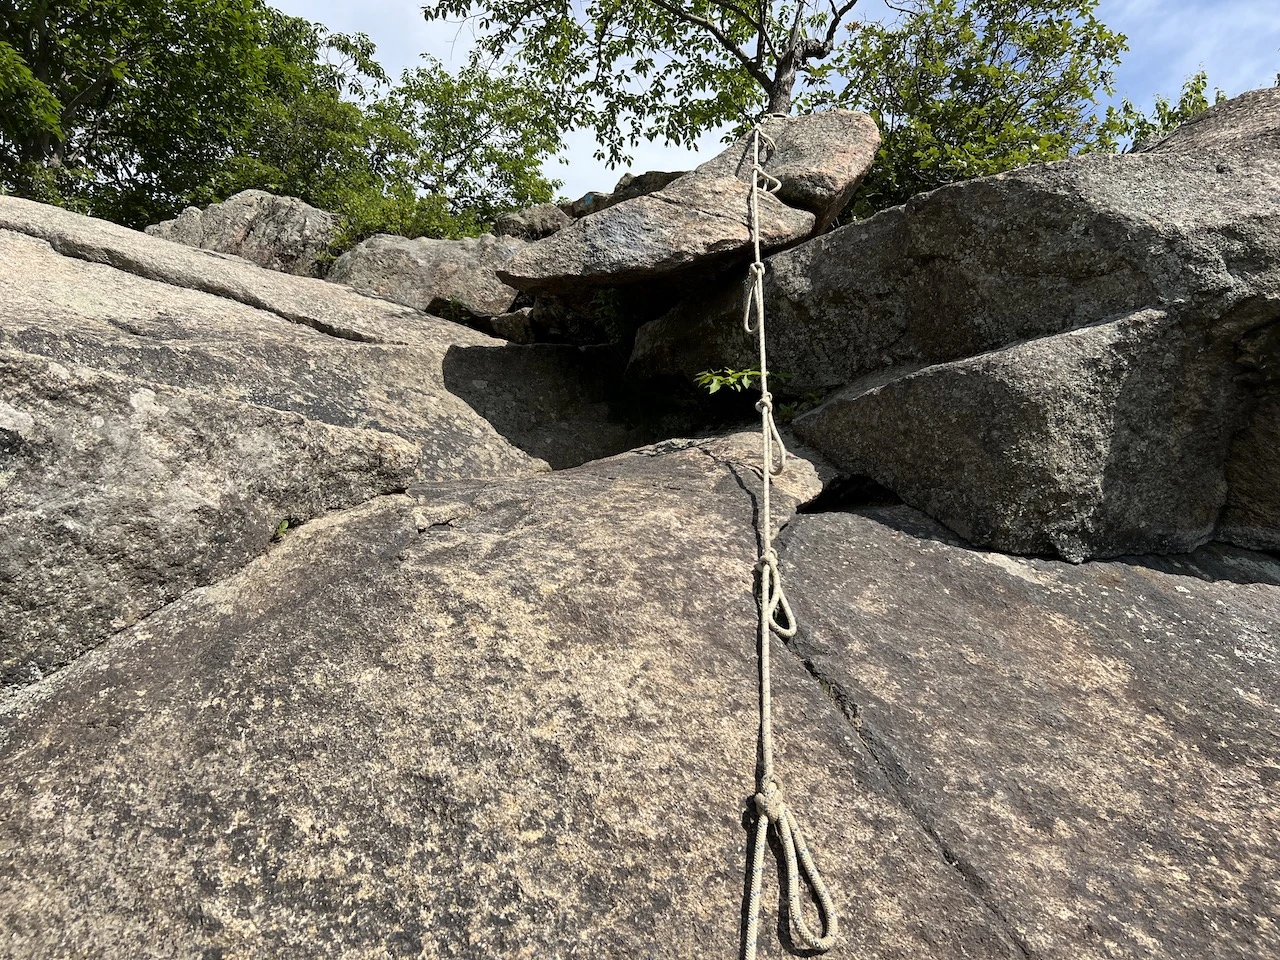
During one portion here, you will even have a rope that you can use to help get you up (although you can get yourself up on the side without the rope). After the rope section, the views will start coming out.
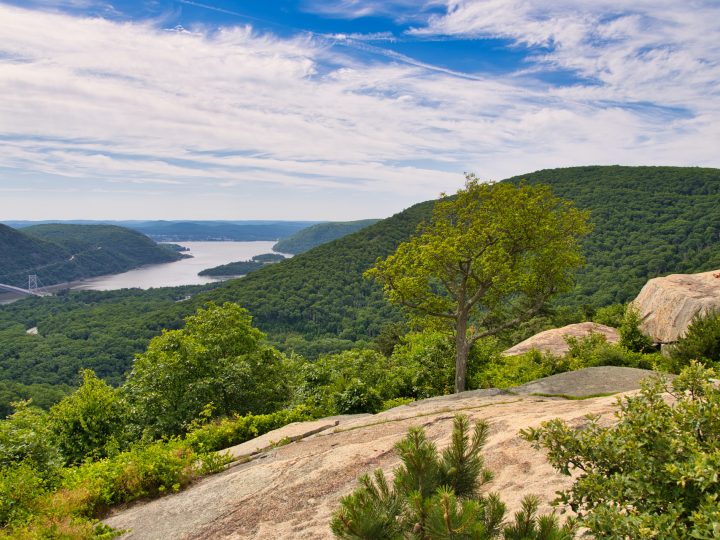
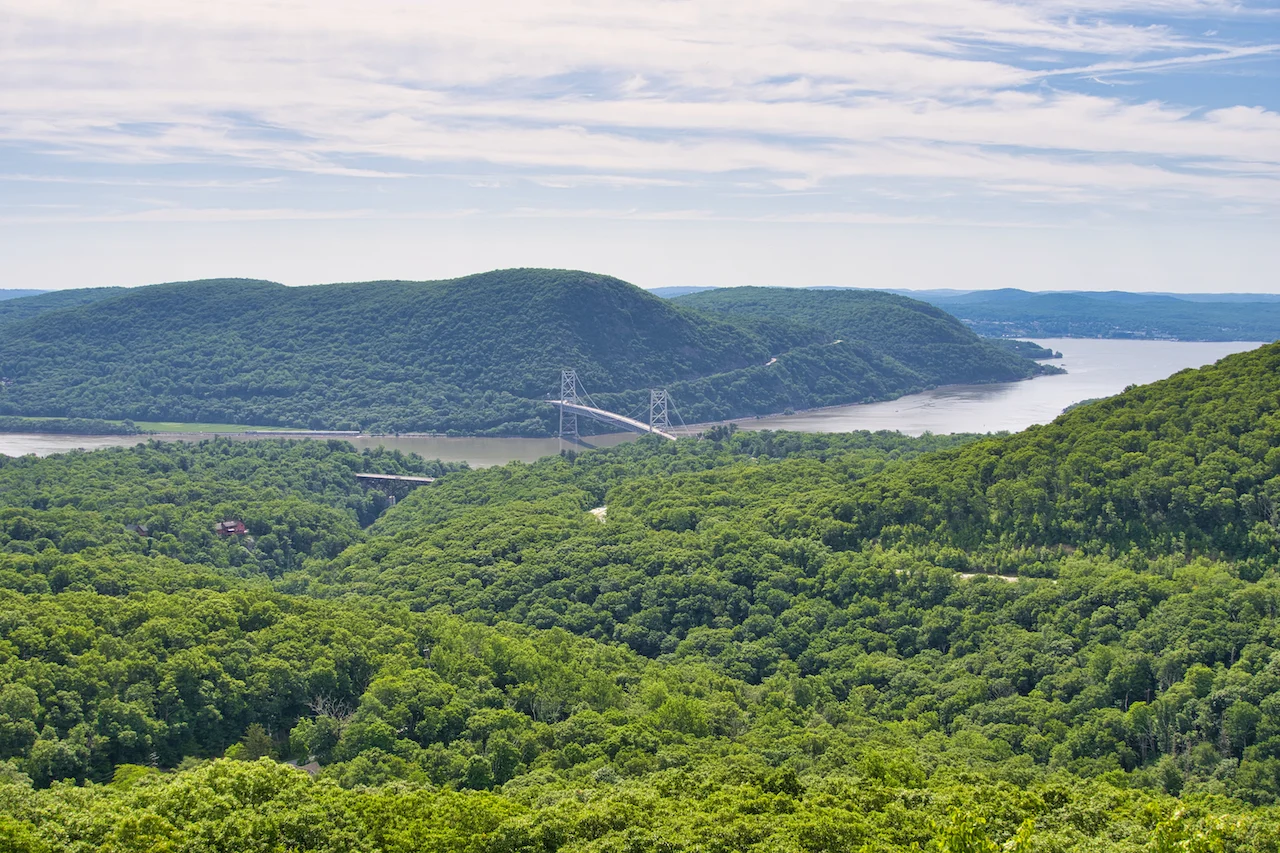
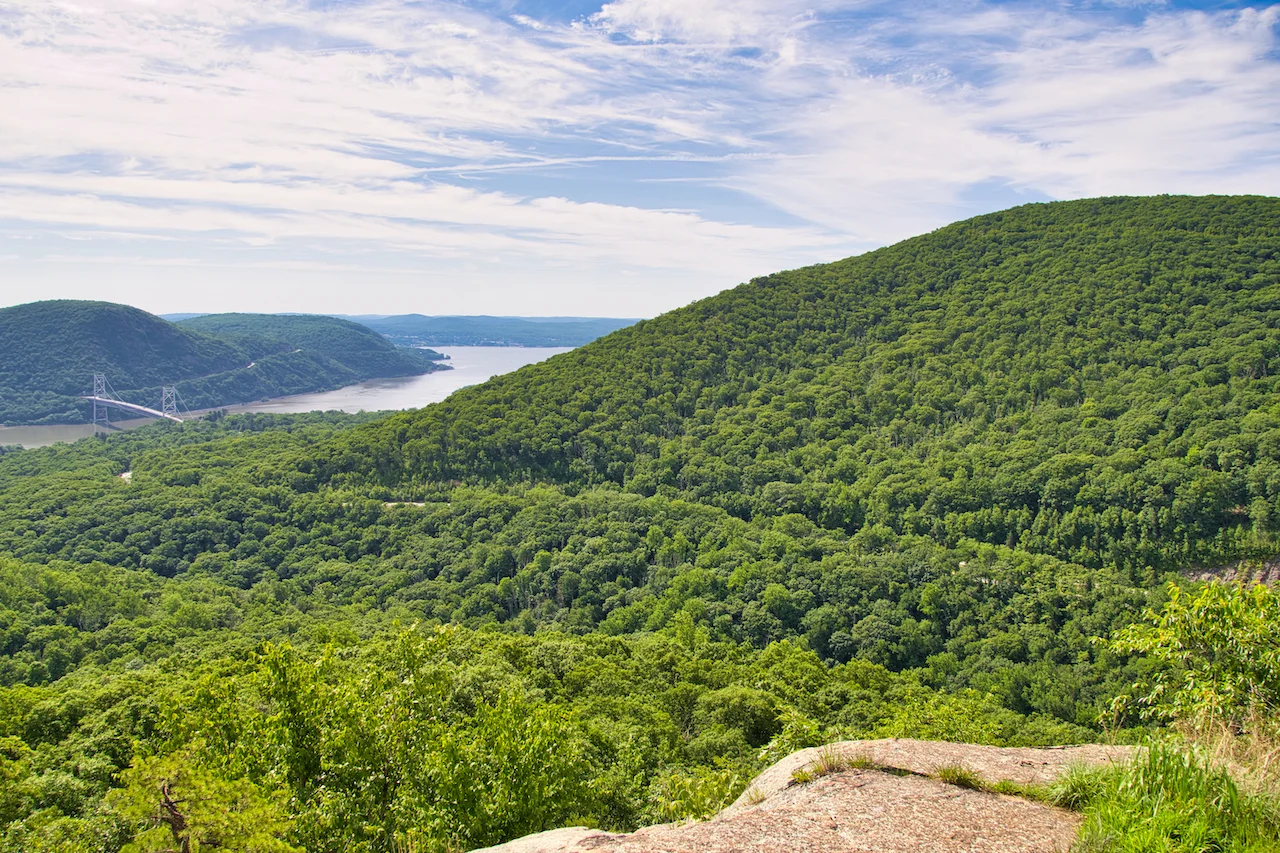
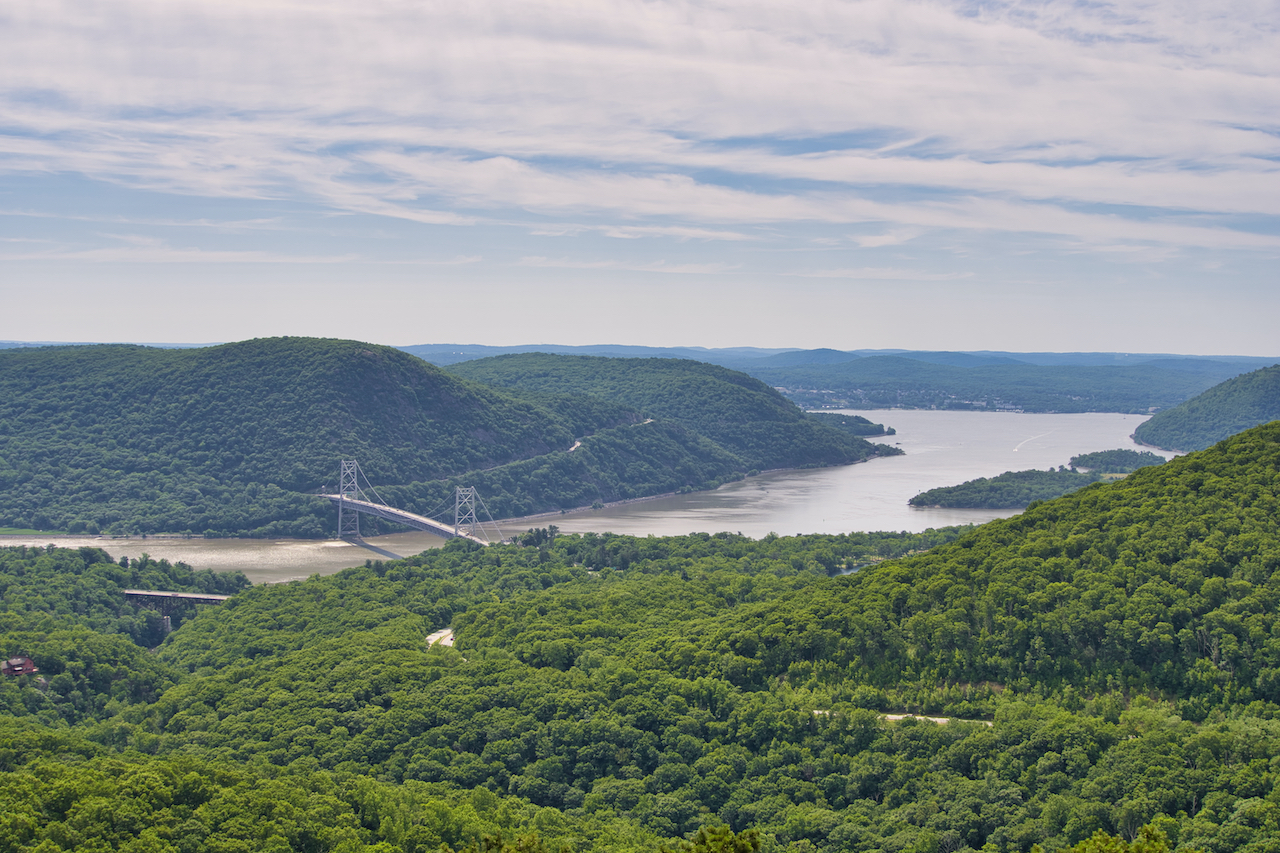
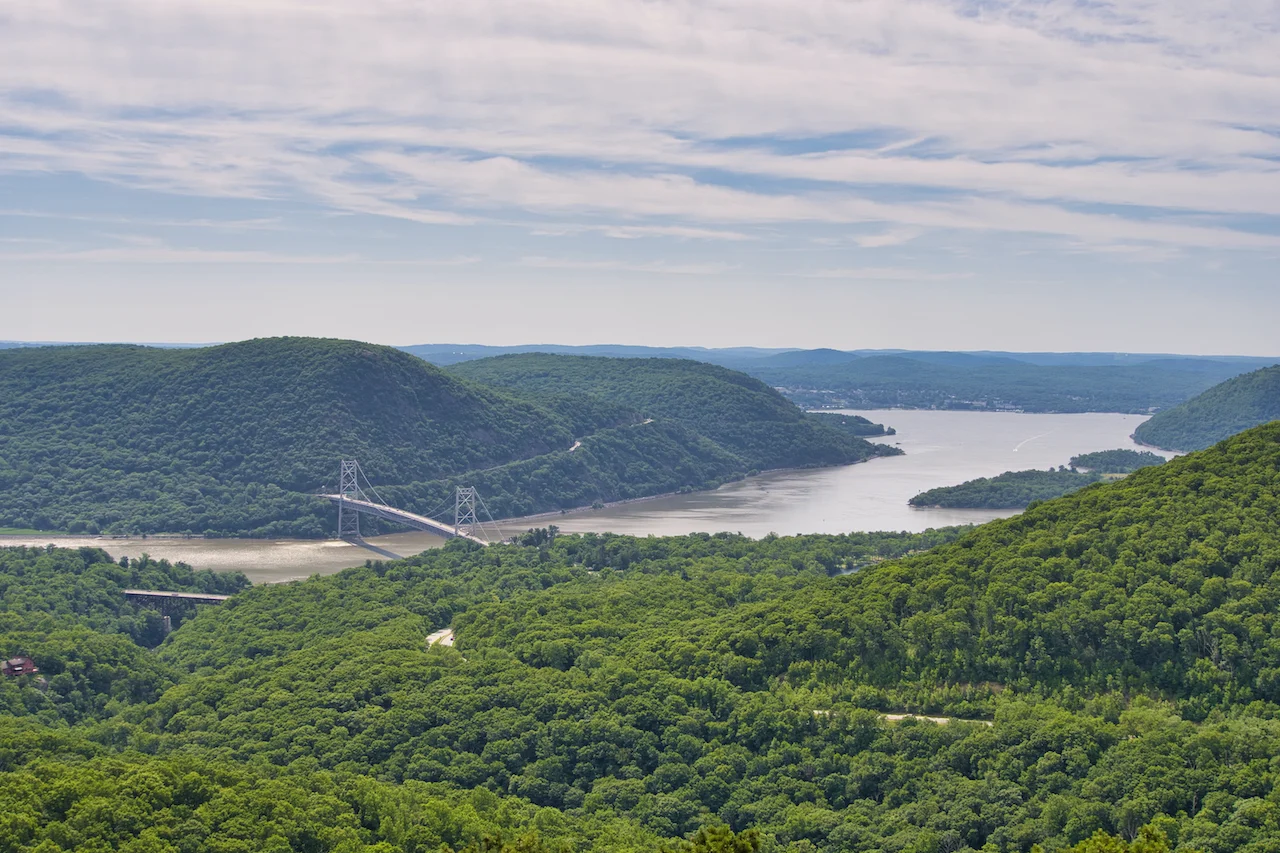
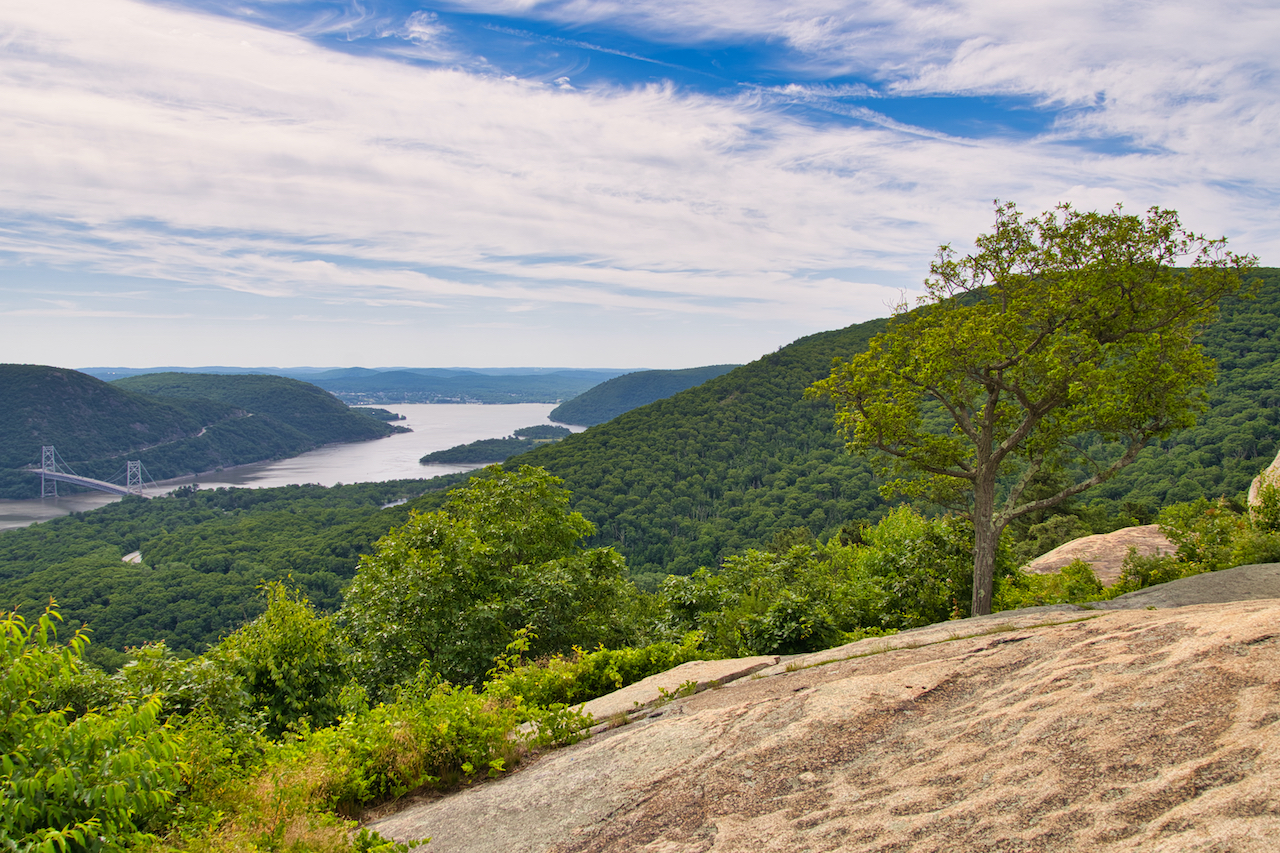
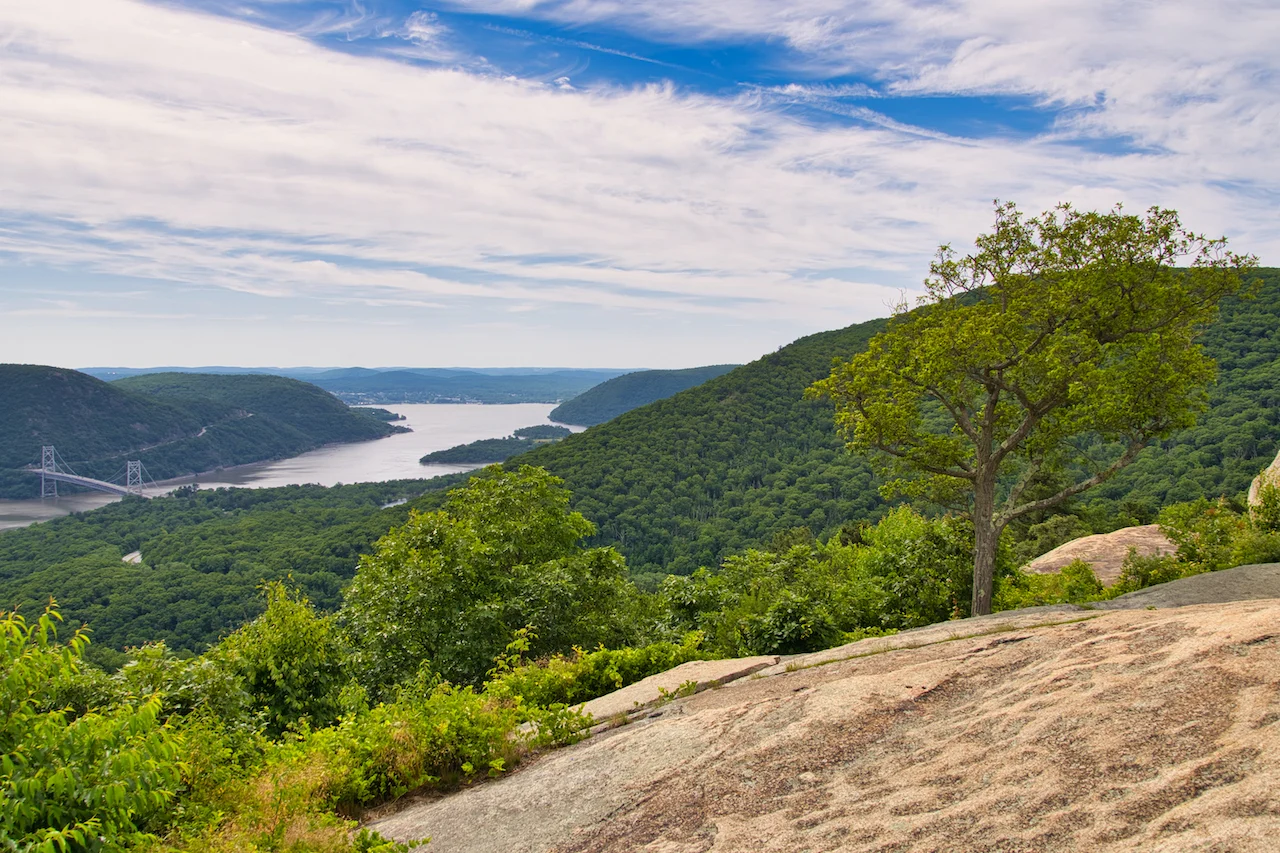
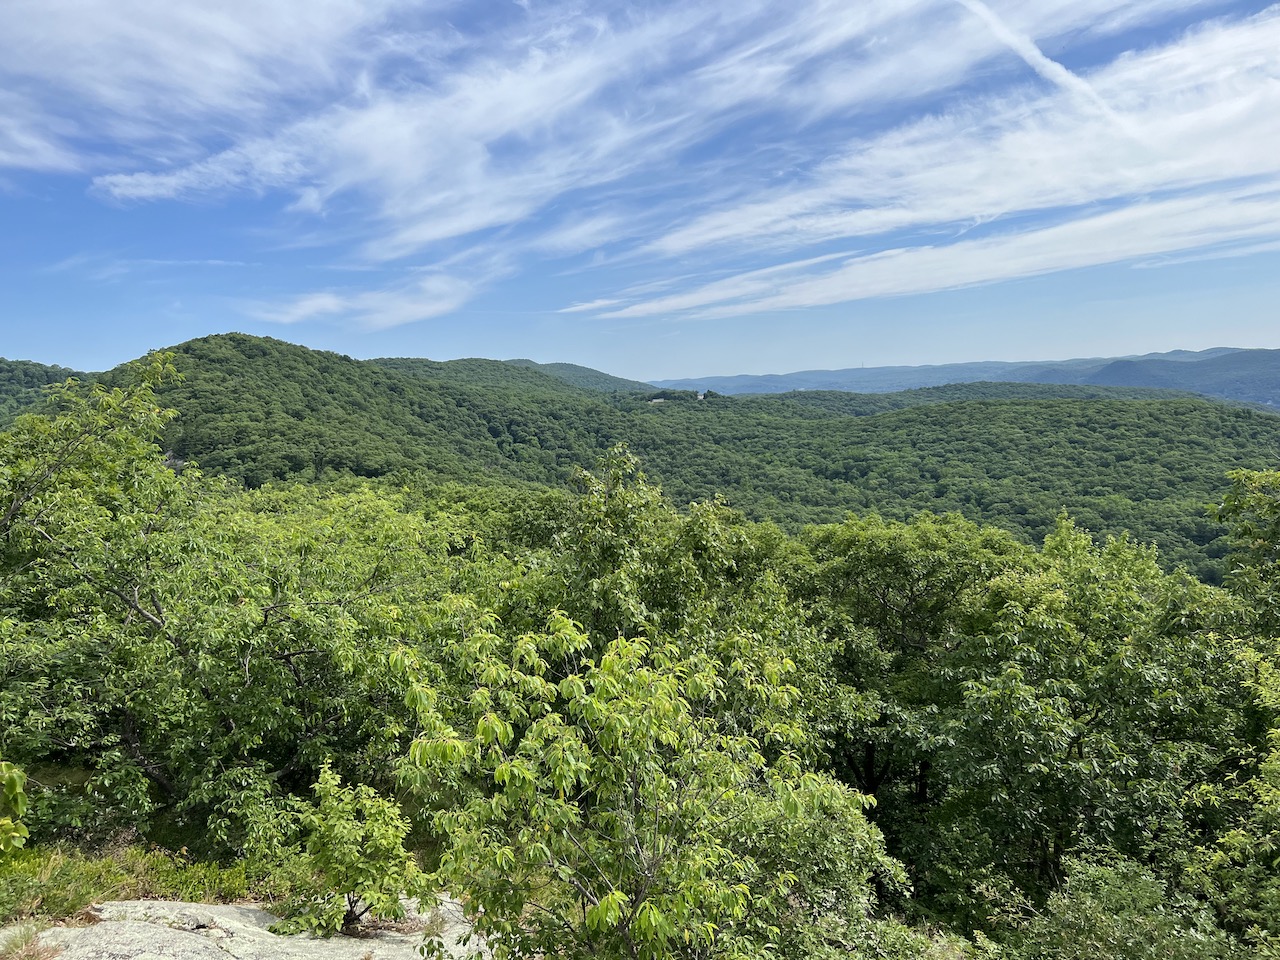
I pinpointed a viewpoint on the map above (prior to the summit) that has a nice big open flat rock to take in the views from. From here you will get views of the Bear Mountain Bridge, the Hudson River, and the surrounding nature in all directions.
It is then just another 0.1 miles of a bit more technical terrain until you reach the summit of Popolopen Torne.


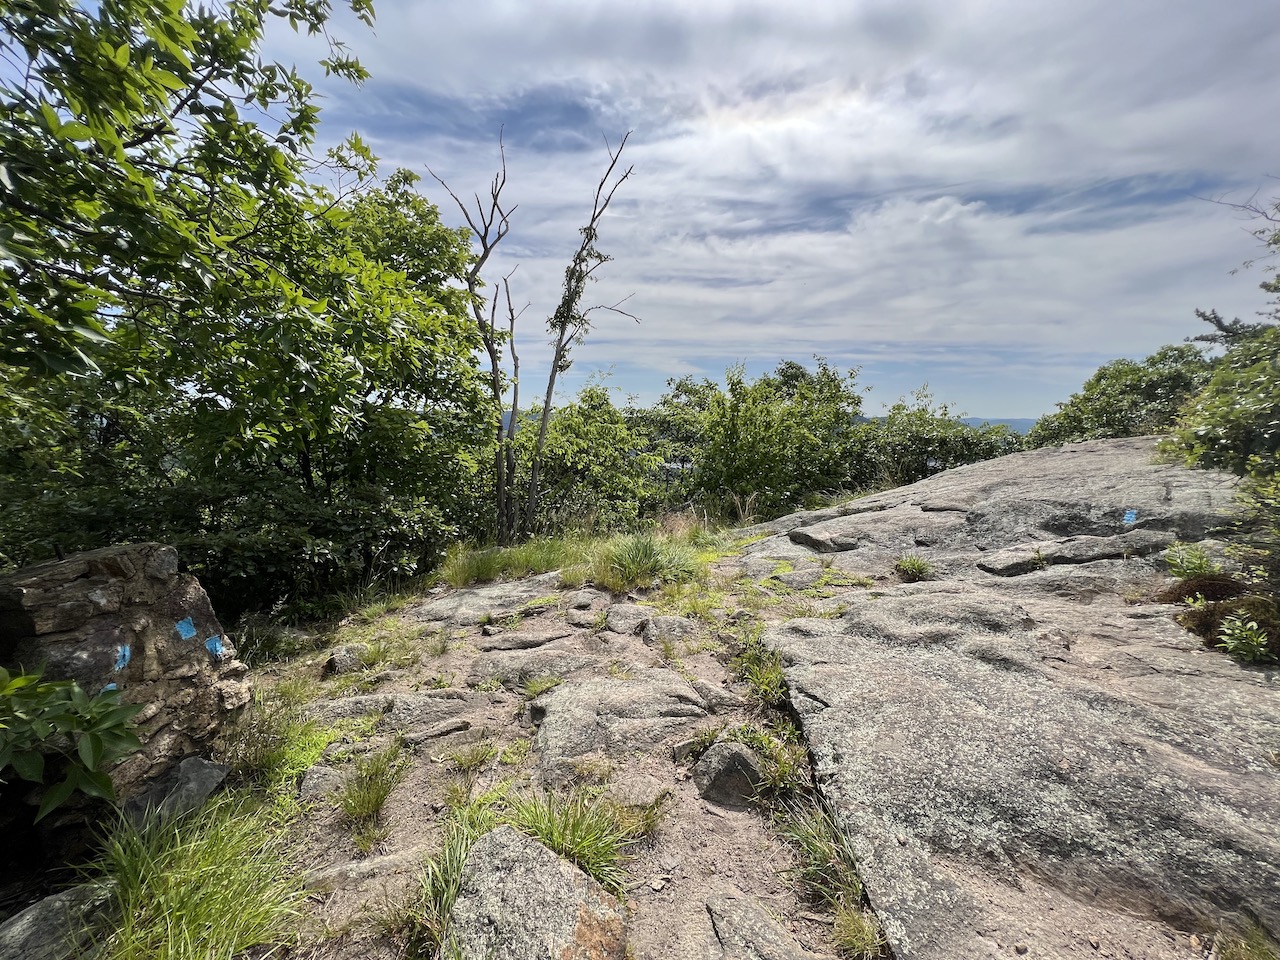
Popolopen Torne Memorial & Summit
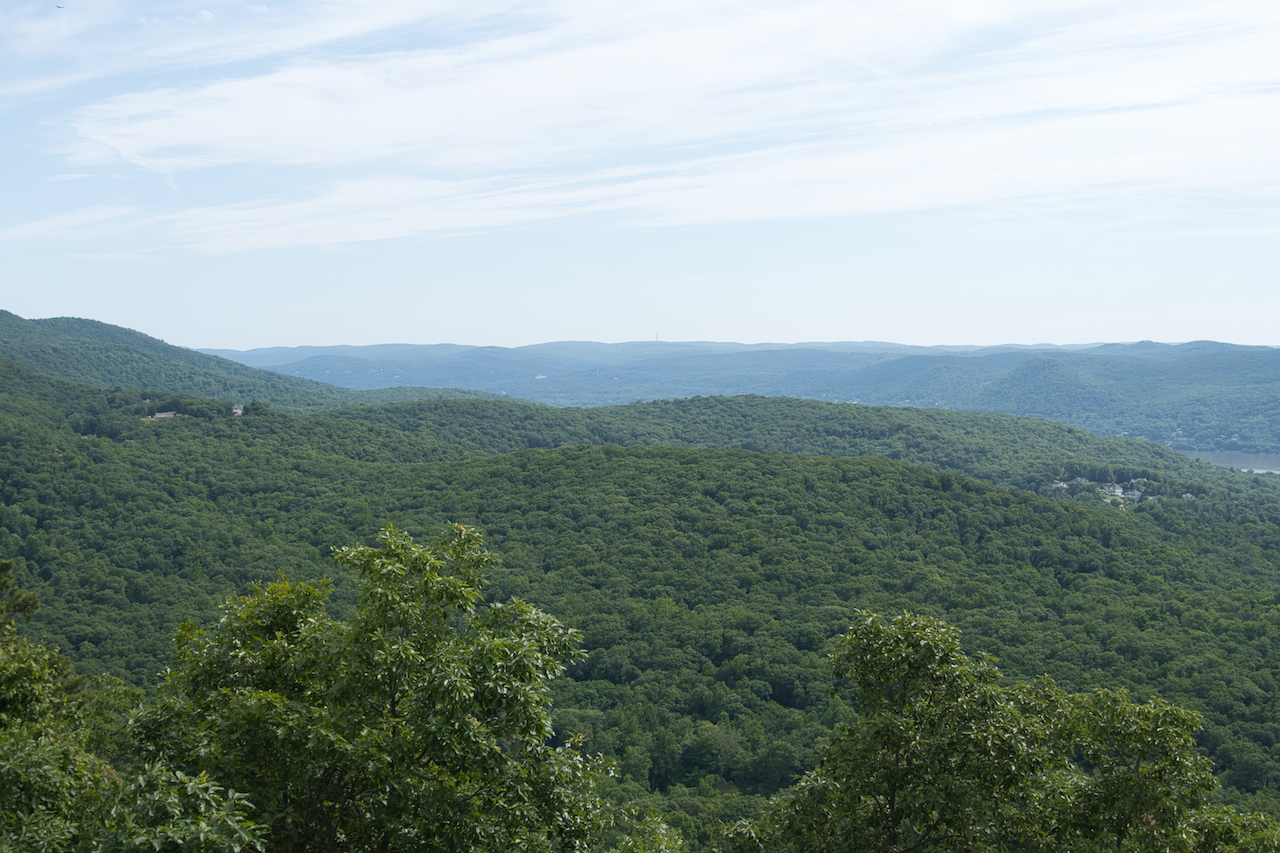
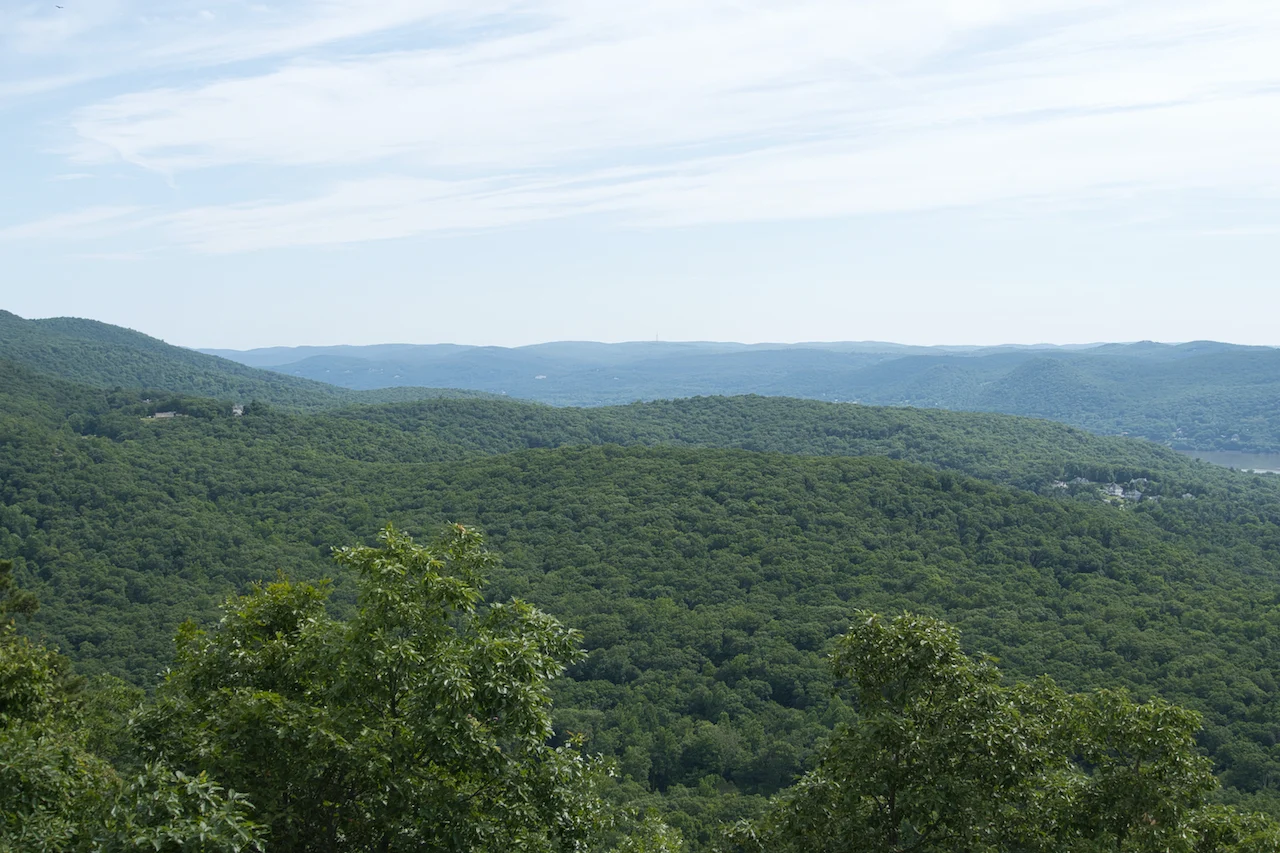
It is now time to take in the views from the Popolopen Torne summit. The summit area is pretty large, giving visitors the chance to enjoy it a bit more without it being overcrowded.
You will find several areas to take a seat and enjoy the view from including some larger rocks.
At the far end of the summit area you will find the Popolopen Torne Memorial. Here is where you will see flags, messages, and items that have been placed over time to remember and give gratitude to service members.
From here you will also get additional views looking more northbound with the never ending scenery and landscape. Once you have had enough time up top, it is time to begin the descent back to the trailhead.


The Descent
9) Follow the blue trail markers to the other side of the mountain, and begin the downhill descent for the next 0.8 miles.
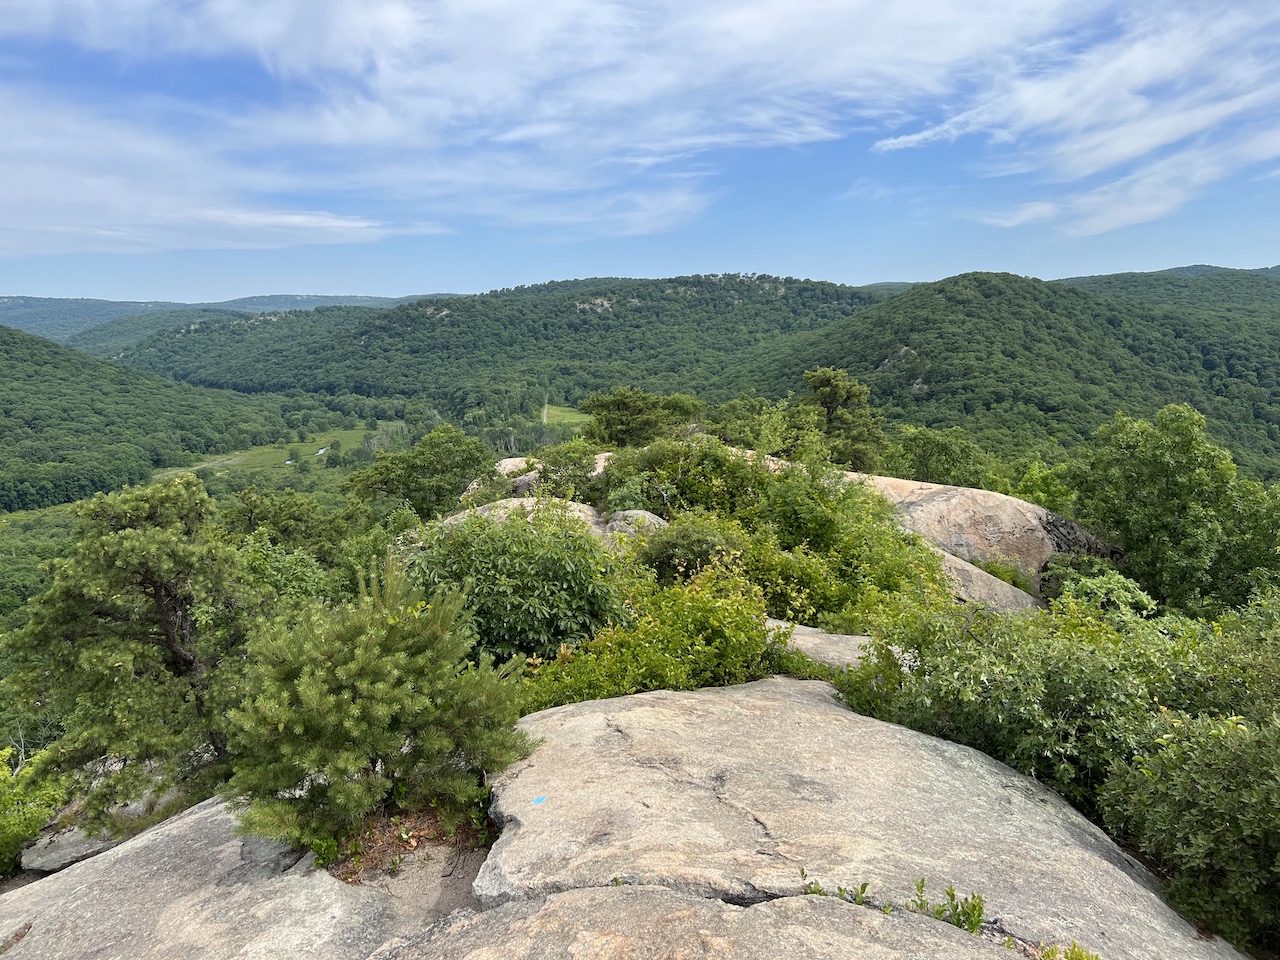
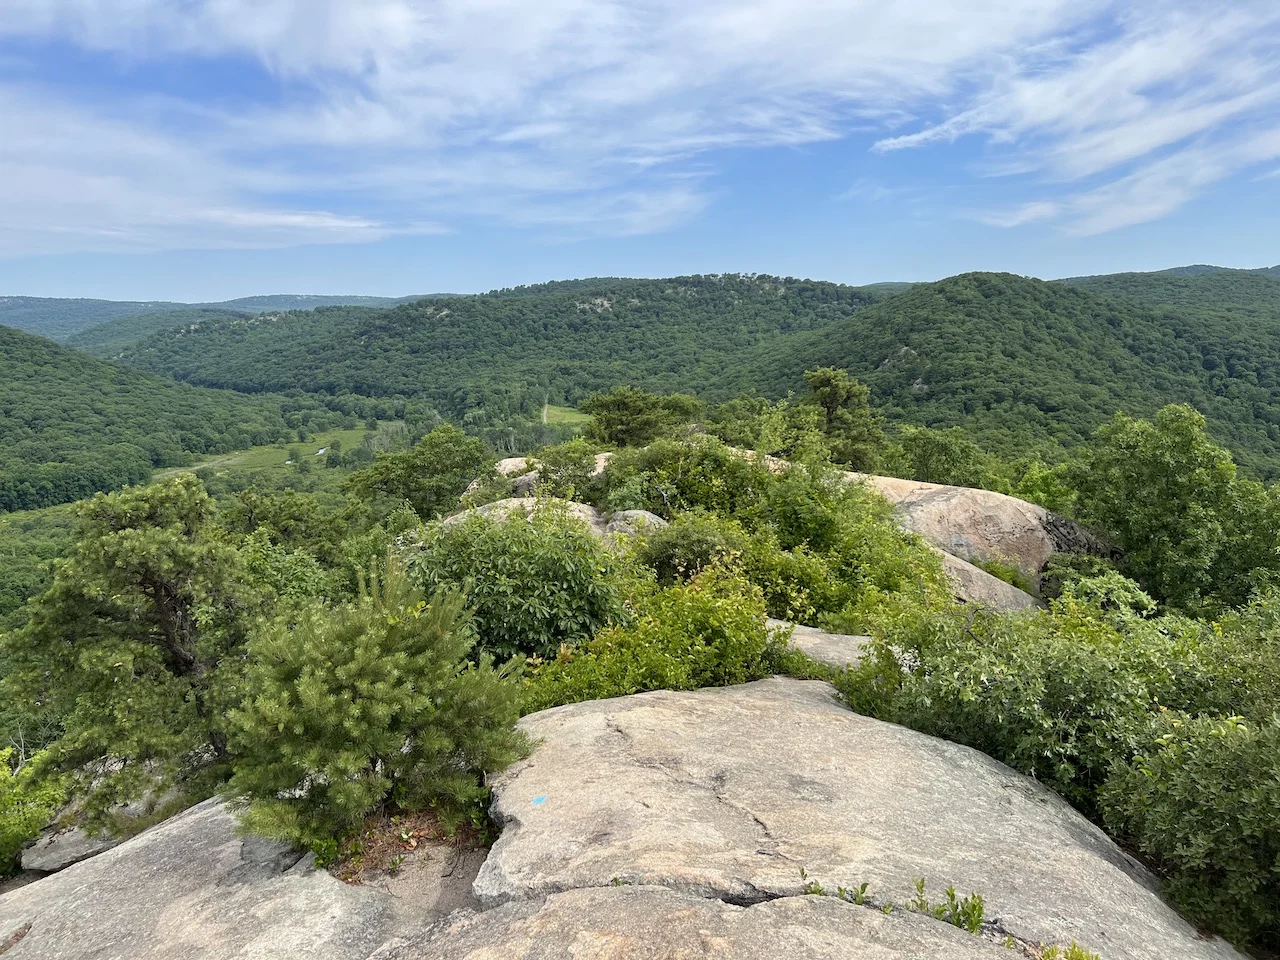
Just as you are getting off to the summit, you will come across another smaller viewpoint area (just past the rock pictured in the second photo below). You can decide to make the quick detour there before continuing down the mountainside.
Be sure to follow those blue trail markers and watch your step on the way down. While there are a couple of technical sections on this side of the summit, it won’t be nearly as bad as the route up.


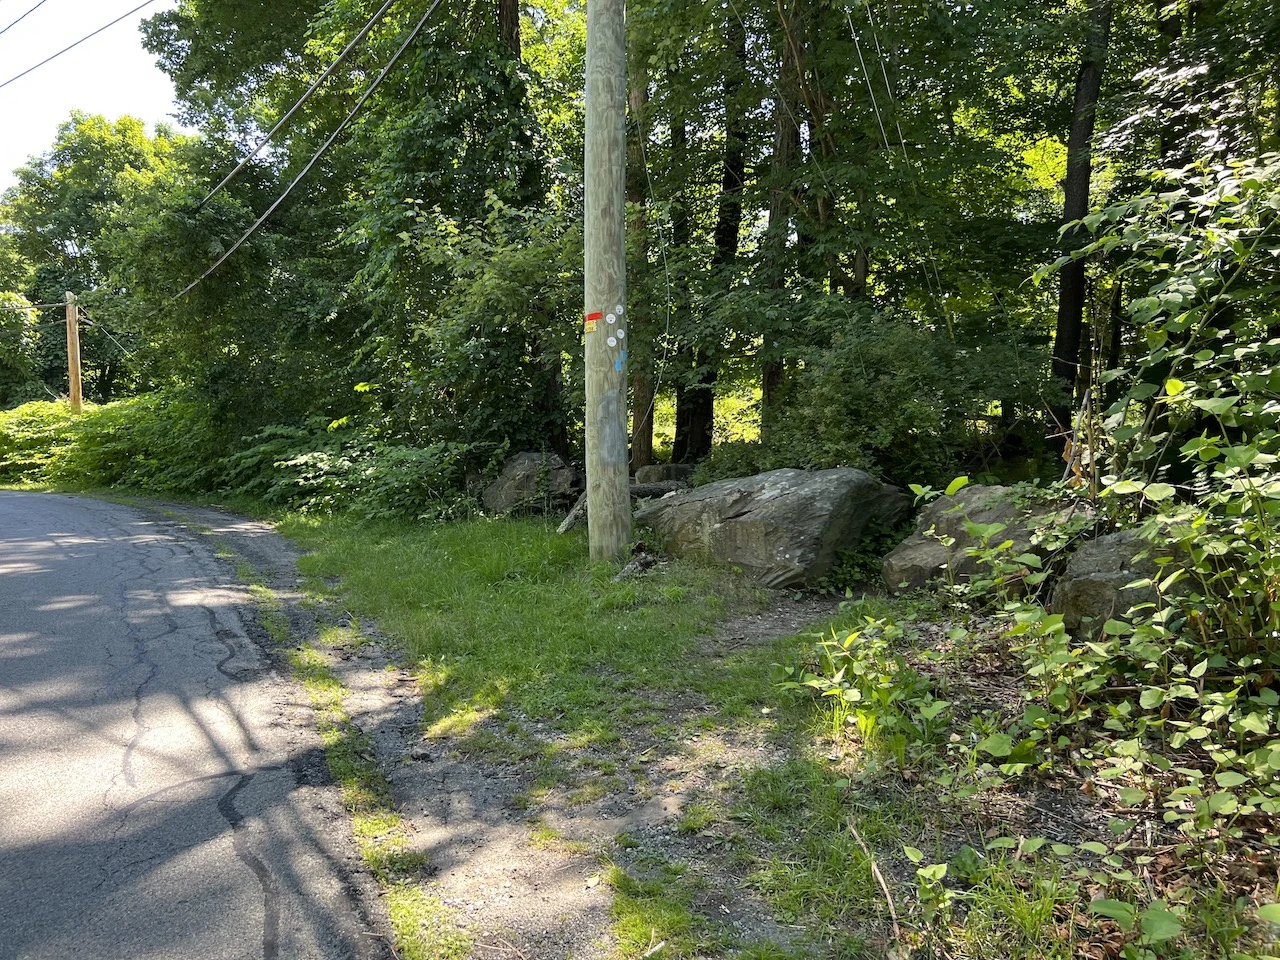
10) You will once again meet up with a main road, where you will turn left for a minute, cross the street, and continue on with the trail.
After that first portion of descent, the trail then becomes a bit more complicated with various turns and road crossings.
The first of these will consist of reaching a road, turning left and then crossing over to the other side of the road, where the trail continues.


11) A few minutes after getting back into the forest, the trail makes a u turn. don’t miss this or else you will be welcomed back to the trail prior to the summit push.

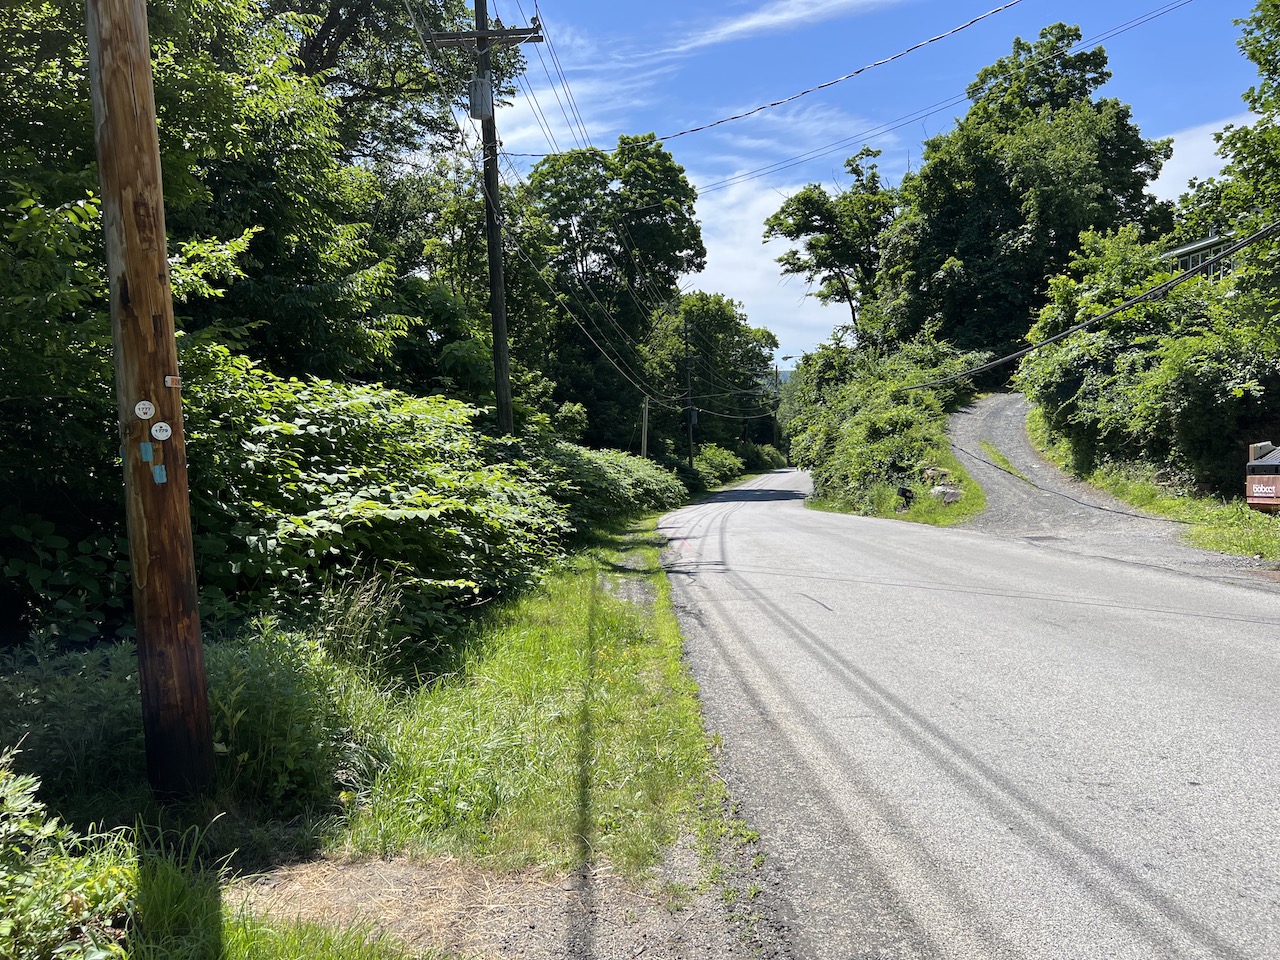
12) Follow the trail for another 0.8 miles as you head through the forest and will once again met up with the main road.
Once you reach the road, you will want to turn right onto it. Instead of the trail continuing just across the road, you will now need to walk 0.1 miles on the side of the road. Soon enough though you will see the trail on the left hand side, where you will turn back into the forest.


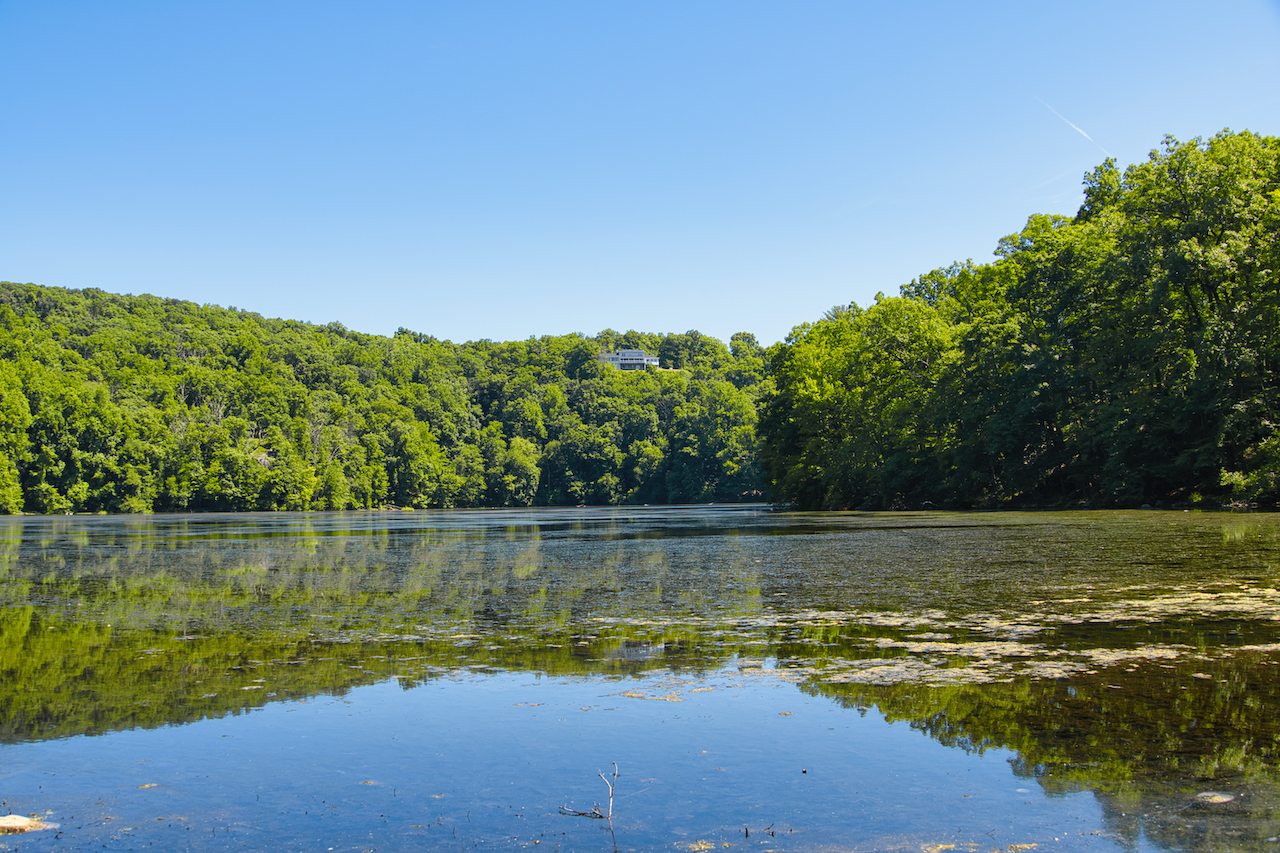
13) You will then get views of Brooks Lake, and can decide to go to the lakeside before getting back on the trail. Be sure to follow the blue markers and not make the turn that goes onto the trail around the lake.
It is important to note that the trail does not head down to the lake itself. Instead, you can get off of the main trail, head down to the lakeside, and then get back onto the trail (just a couple minute detour).

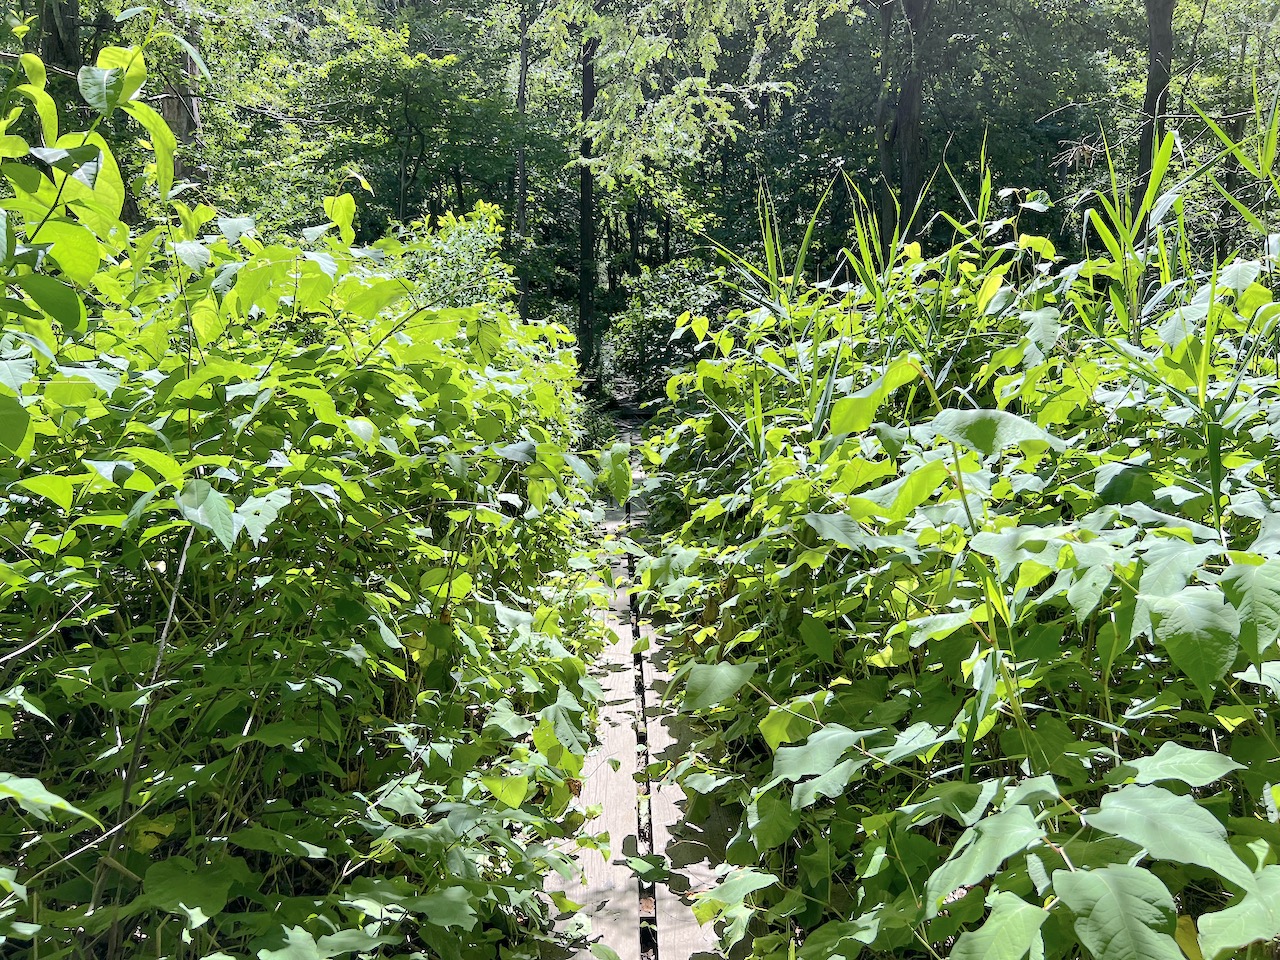
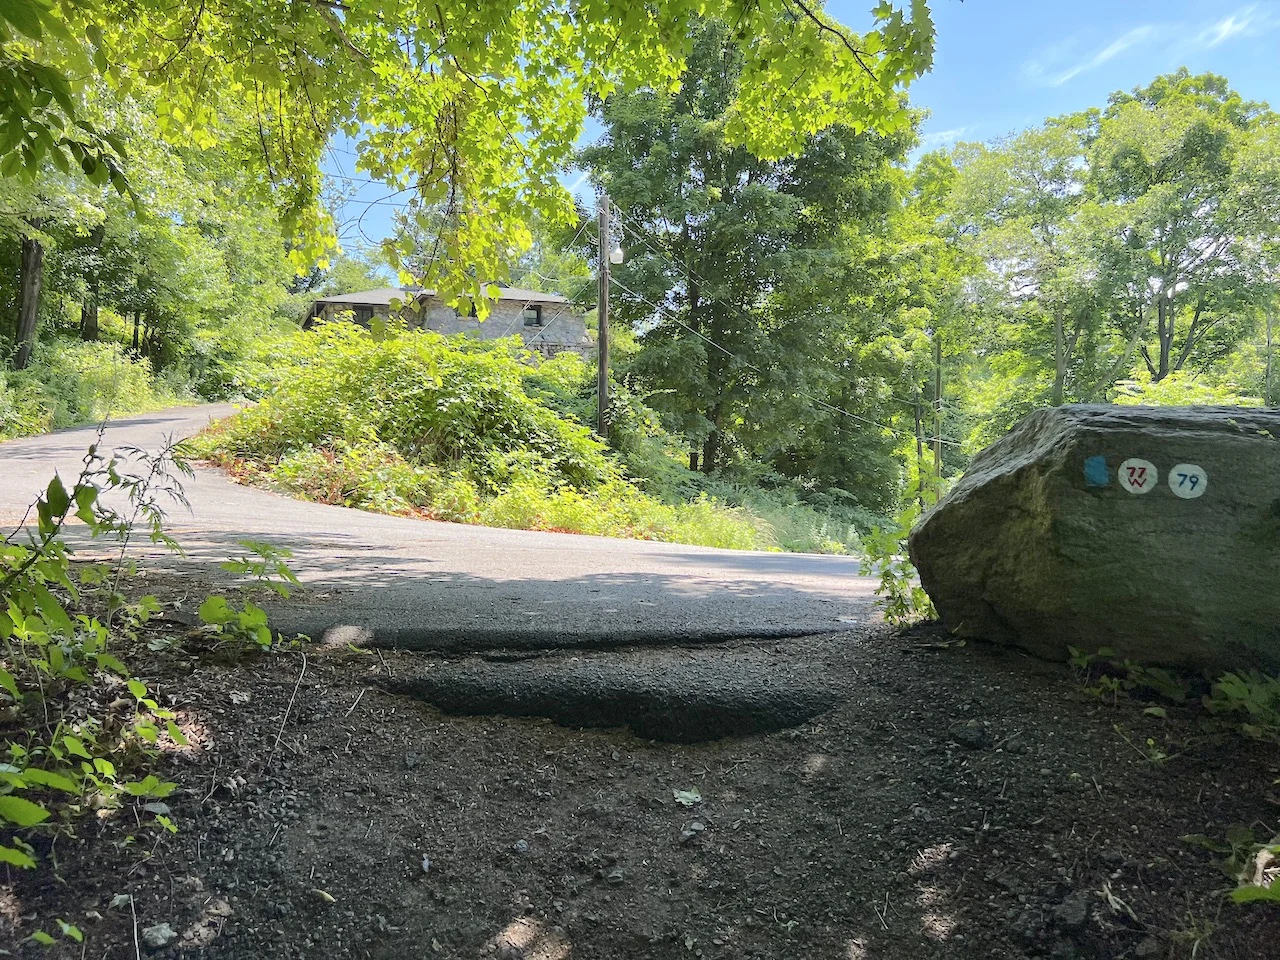
14) You will then come across another street crossing, where you will make a left hand turn onto the road, followed by a quick right back into the forest.


15) The trail continues into the forest and then open up onto one last road. You will only be on the road for a minute before following the trail to the right back into the last section of forest.


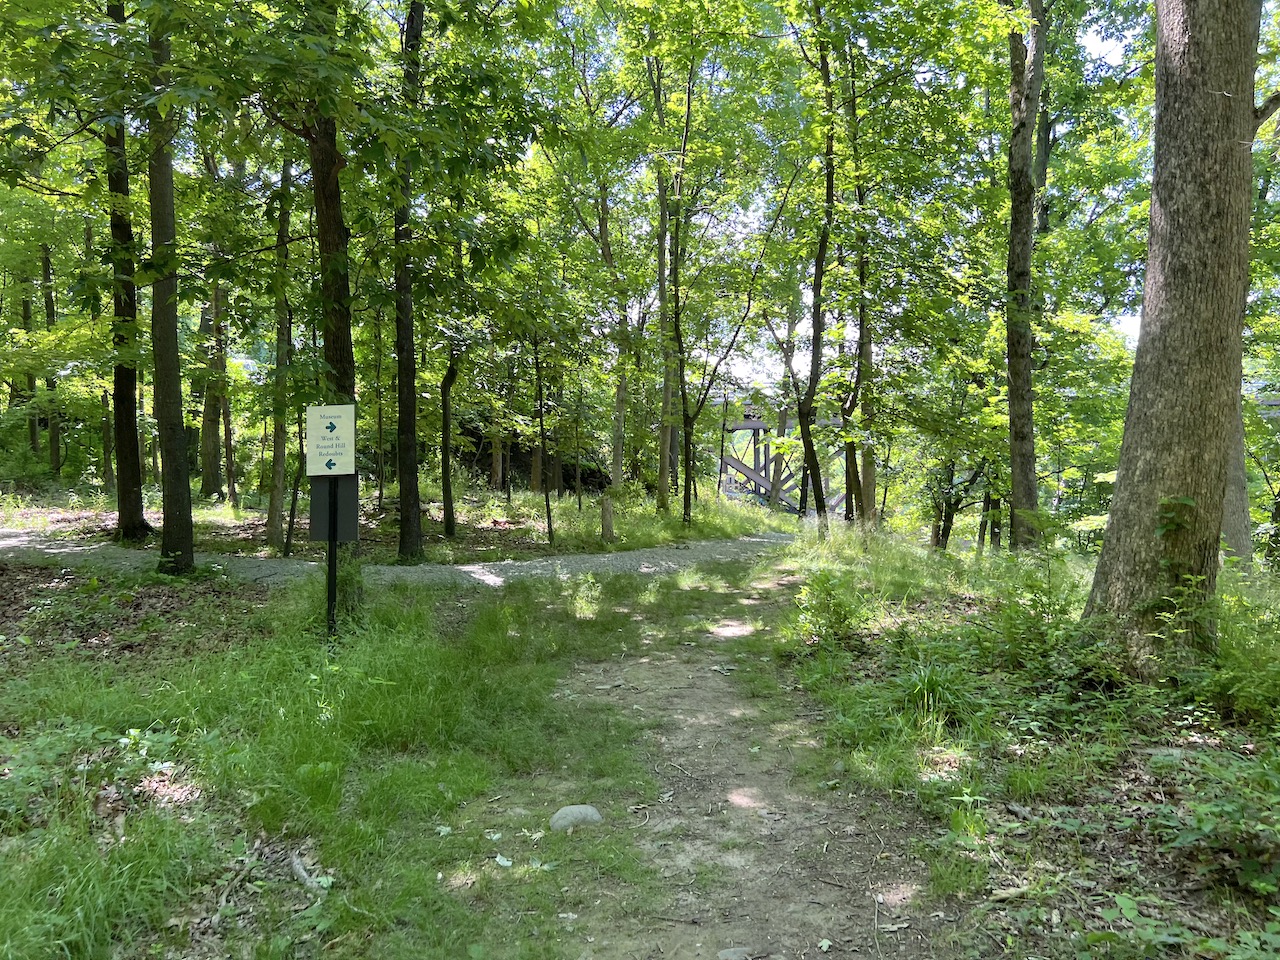
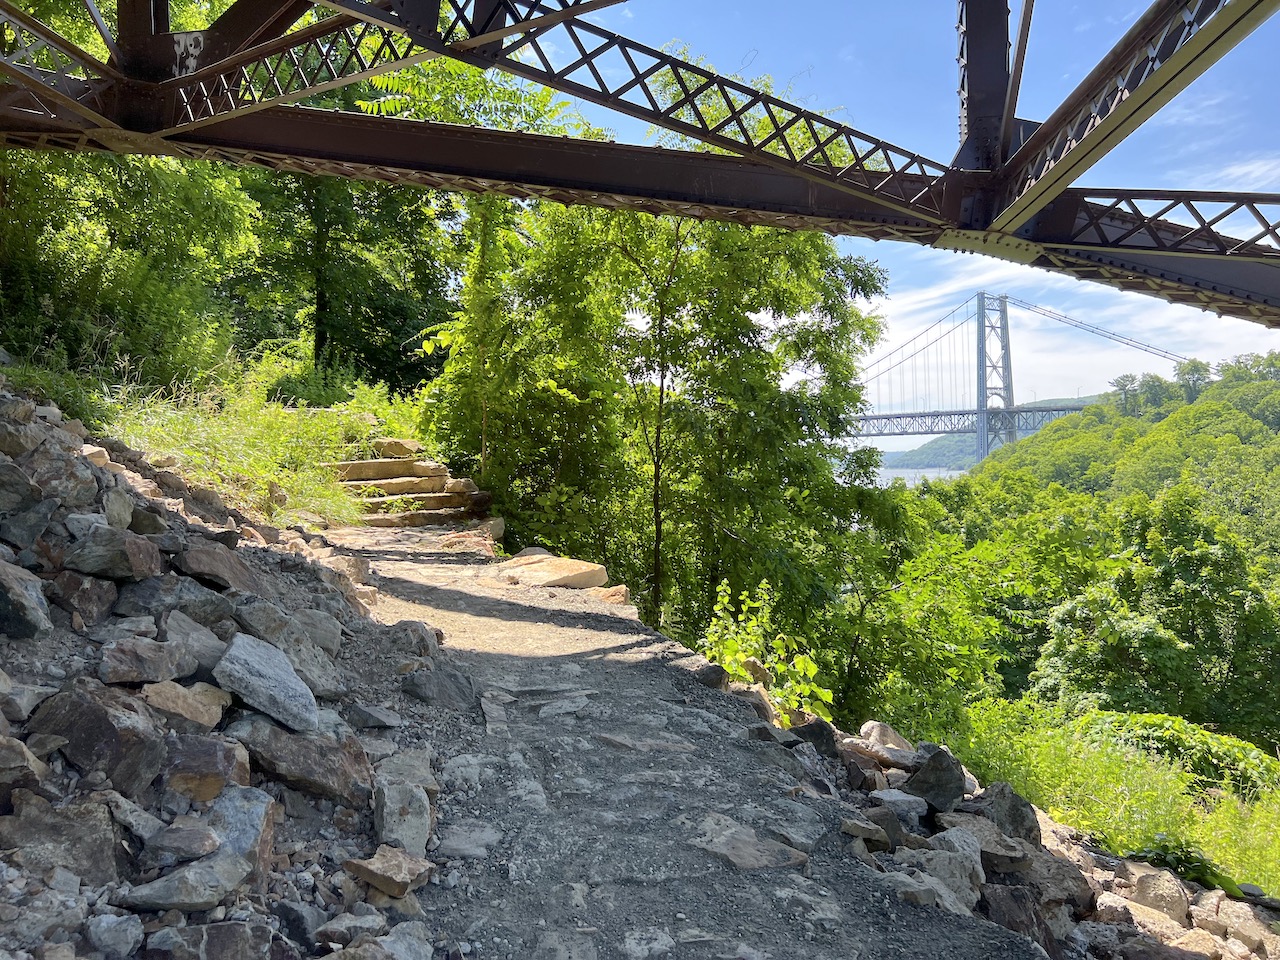
16) From there continue on the trail, follow the signs for “museum” and you will cross under the bridge and get to the historic site parking lot.
If you parked here you should be good to go. If you parked at the overflow parking, it is just another 5 minute walk along the highway.


While I understand that this may not be the simplest of trails, I can safely say that if you just have a navigation app open and have the route downloaded, logistics really should not be much of an issue.
With that said, the views from the summit are certainly worth it as you get to take in some of the best panoramas in the Hudson Valley.
If you do have any questions or comments about the trail, be sure to add them in below. Also don’t forget to check out some of the other New York itineraries and guides up on the site like the hike up Bull Hill and Storm King Mountain.
Have fun out there and safe travels!