Hands down, one of my favorite places I have visited over the years is the island of Java in Indonesia. While many people skip over Java for the beaches of Bali or the Gili Islands, they are missing out of some of the best that the country has to offer.
From historic temples to stunning waterfalls to volcano trekking, Java has it all and more. This one week backpacking Java itinerary will walk you through it all and how to put together a trip of a lifetime.
* Affiliate Disclosure: This post may contain affiliate links, which means I may receive a commission if you make a purchase through the links provided, at no additional cost to you. Thanks for supporting the work I put into TripTins!
A Backpacking Java Itinerary Overview
Below you can see a day by day breakout of what to expect over a week’s time backpacking Java. The rest of this guide will go through each day in detail and answer many questions you may have along the way.
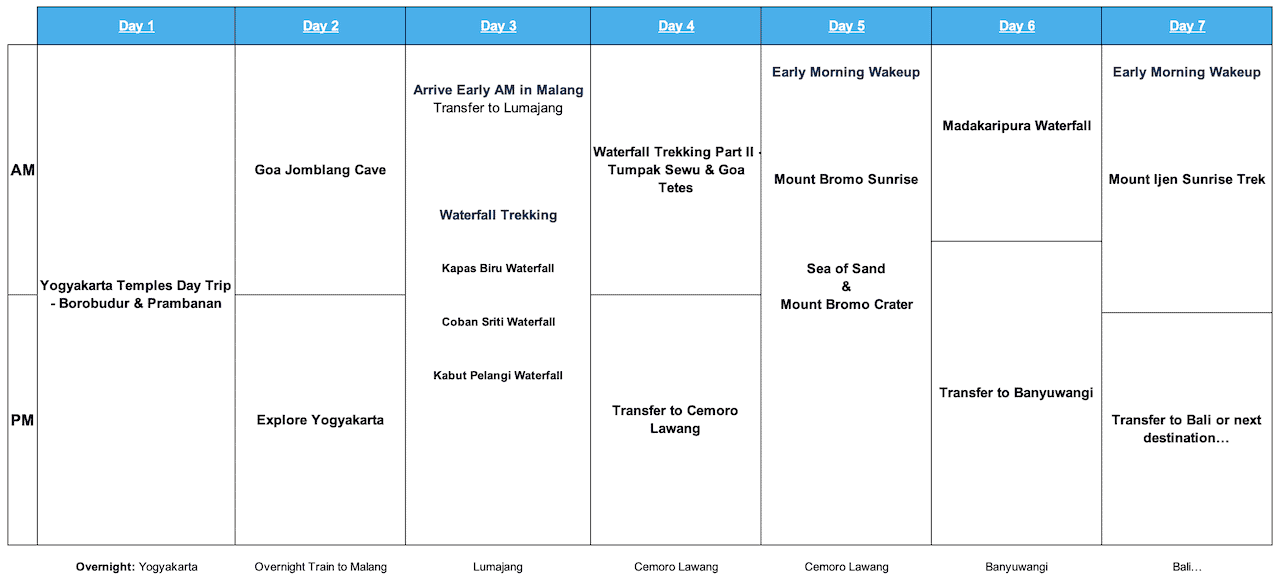
Java Backpacking Map
Below is a map with the route between the cities going west to east. I have also pin pointed down the rest of the attractions and activities that this itinerary talks about.
How to Get to Java
As you can see in the itinerary overview above, I begin this journey in the central Java city of Yogyakarta before heading eastwards towards the waterfalls, and then finishing up with Bromo and Ijen.
While I will go about this itinerary from west to east, it is important to note that you can decide to do this in the opposite direction – starting at Ijen and finishing in Yogyakarta.
Getting to Yogyakarta (also known as Jogja) will depend on where you will be coming from prior to Java.
The city does have an international airport (JOG) so you can fly in from a couple other countries including Singapore and Malaysia (Kuala Lumpur).
You can also fly into the airport if coming from other places within Indonesia beforehand. Another option is to take a bus or train from Jakarta for example, but I would honestly recommend the quick and cheap flight as those options can take 8+ hours.
If you are doing this itinerary in the opposite direction (starting at Ijen), then you will most likely be coming from Bali beforehand.
To reach Ijen from Bali, you will first want to make your way to the very western end of the island to the Gilimanuk port.
From Gilimanuk you will hop on a super quick boat ride to Ketapang on the island of Java (boats leave constantly between the two). Once off the boat, take a short ride to Banyuwangi, where you will stay before heading over to Ijen.
Java Travel Notes
» This is less so going to be a relaxing vacation and more so going to be a constant adventure. Expect some early wake ups, long days and lots of physical activity.
» While I do consider this mostly a backpacking itinerary as it is exactly what I did when I backpacked the region, not all recommendations here will be the cheapest of options.
This is mostly due to being able to fit in everything mentioned in just one week (i.e. private vs public transport). If you have additional time to spare and want to save even more money, then you can go even cheaper.
» Going off of that point, I would recommend hiring private drivers during some portions of the trip (more so recommended if you are with a group of people).
You will have instances where you can decide to spend $15 per person (depending on your group size) to have a driver take you somewhere in 5 hours vs. taking $5 public transportation for 10 hours.
» You will see a mixture of hotels and home stays on a trip like this. Expect some accommodations to be simple and just enough for what you need. In some of these places there are few or no real hotel options.
» Mostly everything here will be done in cash so do be sure to have enough of it with you throughout your time in Java (and Indonesia in general)
» Get ready for a mixture of both hot and cold as well. When spending time in the Bromo and Ijen areas, the temperature will drop dramatically so you will want to come prepared for different weather conditions.
A 1 Week Java Itinerary
Now that you have a quick background of the itinerary in general and how to get yourself to either Yogyakarta or Banyuwangi, let’s dive into the day by day details of the trip.
» The itinerary below is assuming you have 7 full days in Java, meaning you will be arriving sometime on day 0 before having a full day to explore Yogyakarta on day 1.
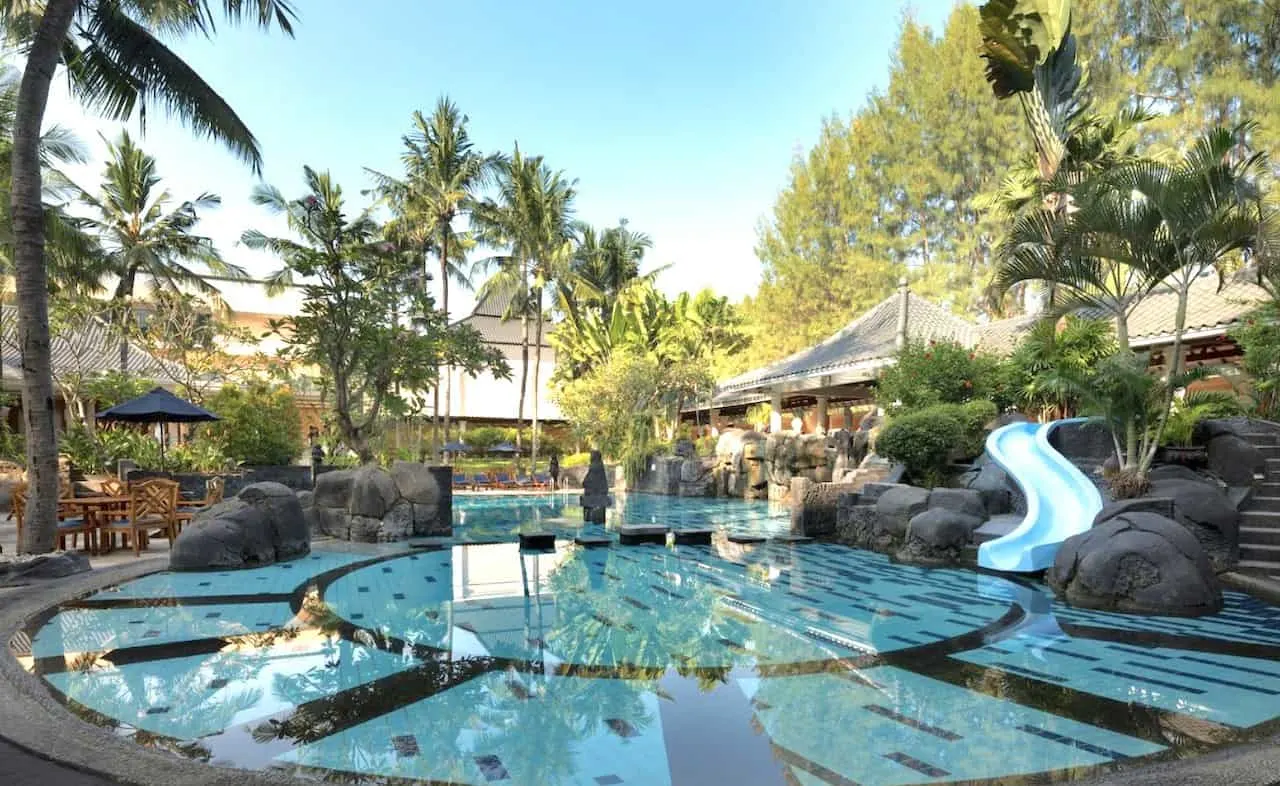
Once you arrive at the Yogyakarta airport, hop in a taxi that will take you to your hotel, where you will stay for the next 2 nights (day 0 and day 1).
Yogyakarta Recommended Hotel (nights 0 & 1) | BOOK TODAY → Melia Purosani Yogyakarta
Day 1 – Yogyakarta Temples
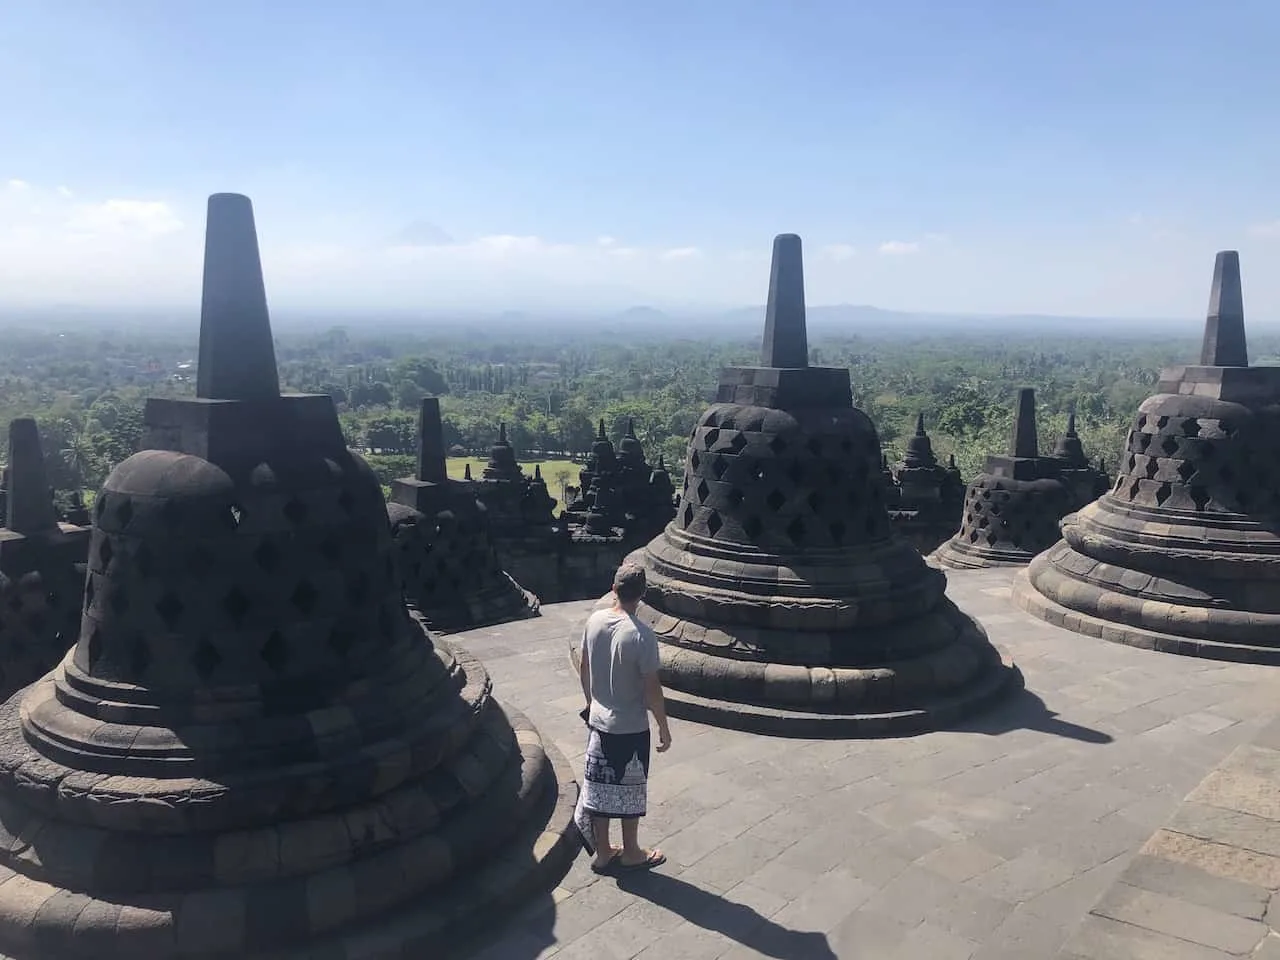
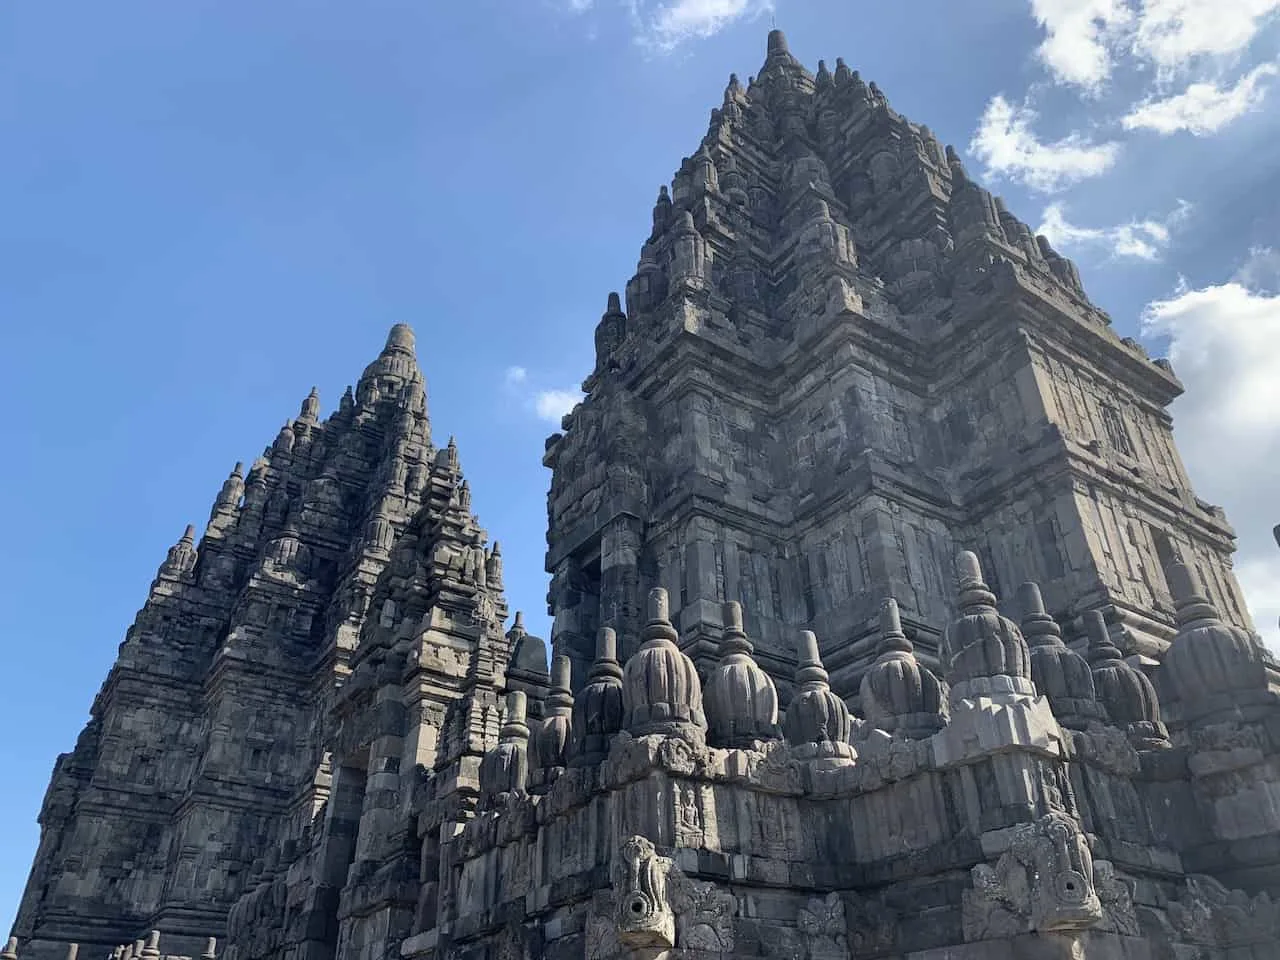
Arguably two of the most famous and important temples in all of Indonesia are the Borobudur and Prambanan Temples, both of which are in the vicinity of Jogja and which can be combined into a perfect day trip.
To go about your trip you can decide between a few different options – 1) have a driver take you around for the day 2) sign up for a group tour from Yogyakarta 3) take the local busses around or 4) rent your own motorbike and go about the day on your own.
You can start your day heading on the 1 hour drive to Borobudur, where you can explore the vast temple complex with volcanoes peeking out in the distance.
A popular option here too is to head there for sunrise as you get to see the first light of the day hitting the temple.
Once you are all set at Borobudur, make the 1.5 hour trip out to Prambanan, another beautiful temple complex.
Not only will you be able to enjoy the main temples here but you can also make the walk around to three other temples in the larger complex – Candi Lumbung, Candi Bubrah, and Candi Sewu.
The trip will end with the drive back to Yogyakarta, where you can end a successful day exploring some of Indonesia’s best temples.
» I would highly recommend that you read the Yogyakarta Temples Guide I put together so you have a better sense on how to go about a day trip there.
Day 2 – Goa Jomblang & Exploring Jogja
» You will want to ask your hotel for a late check out here as you won’t arrive back from Goa Jomblang until 1-2PM.
After temple hopping on day 1 of your Java adventure, it is time to head back out of the city and to the Goa Jomblang cave.
This is not your ordinary cave though. Over the course of a few hours, you will experience a rappel down to the cave entrance, a muddy trek within the cave, and of course the “light from heaven”.
» The Goa Jomblang Cave guide will go over all you need to know about this experience
There are a couple ways to go about a trip to Goa Jomblang depending on how many people you are traveling with. If you are more than 1-2 people, I would recommend hiring a driver for the day to pick you up from your hotel, drive you to the cave, and then drive you back.
This should come out to around $30 total for a group. The other option is to sign up for a group tour from Yogyakarta – I would recommend this if you are traveling solo and want to head out there with other travelers.
The cave itself is no cheap activity though to take part of – around $45 per person. But when it comes to unique experiences to take part of in Java, this is certainly one of them.
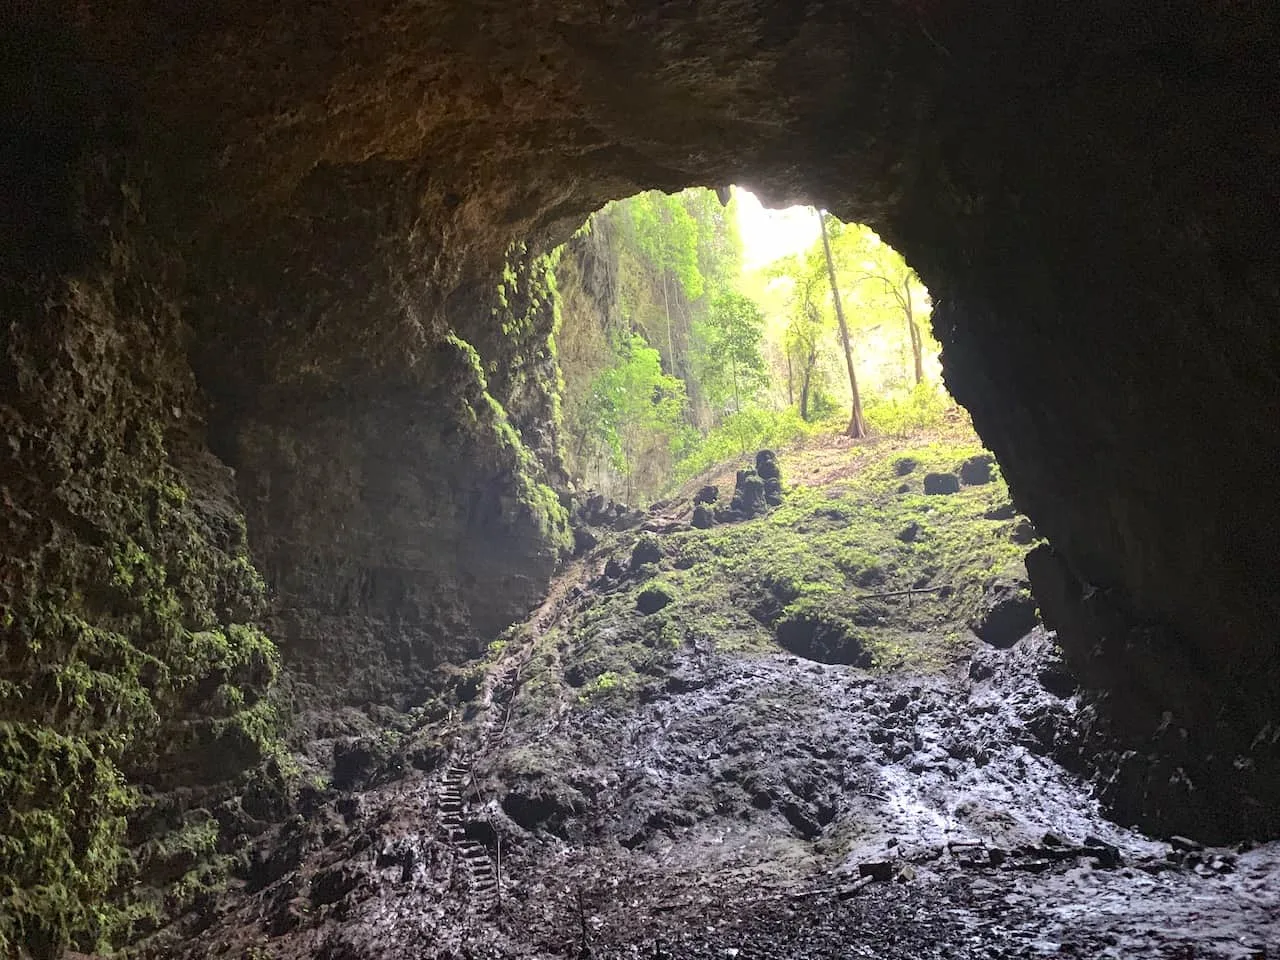
You will start off the day at Goa Jomblang by grabbing your mud boots and helmet, before rappelling down to the bottom of the cave entrance.
Once you are at the bottom of this crater, you will make a 30 minute walk through the muddy, dark cave until you reach the end of it.
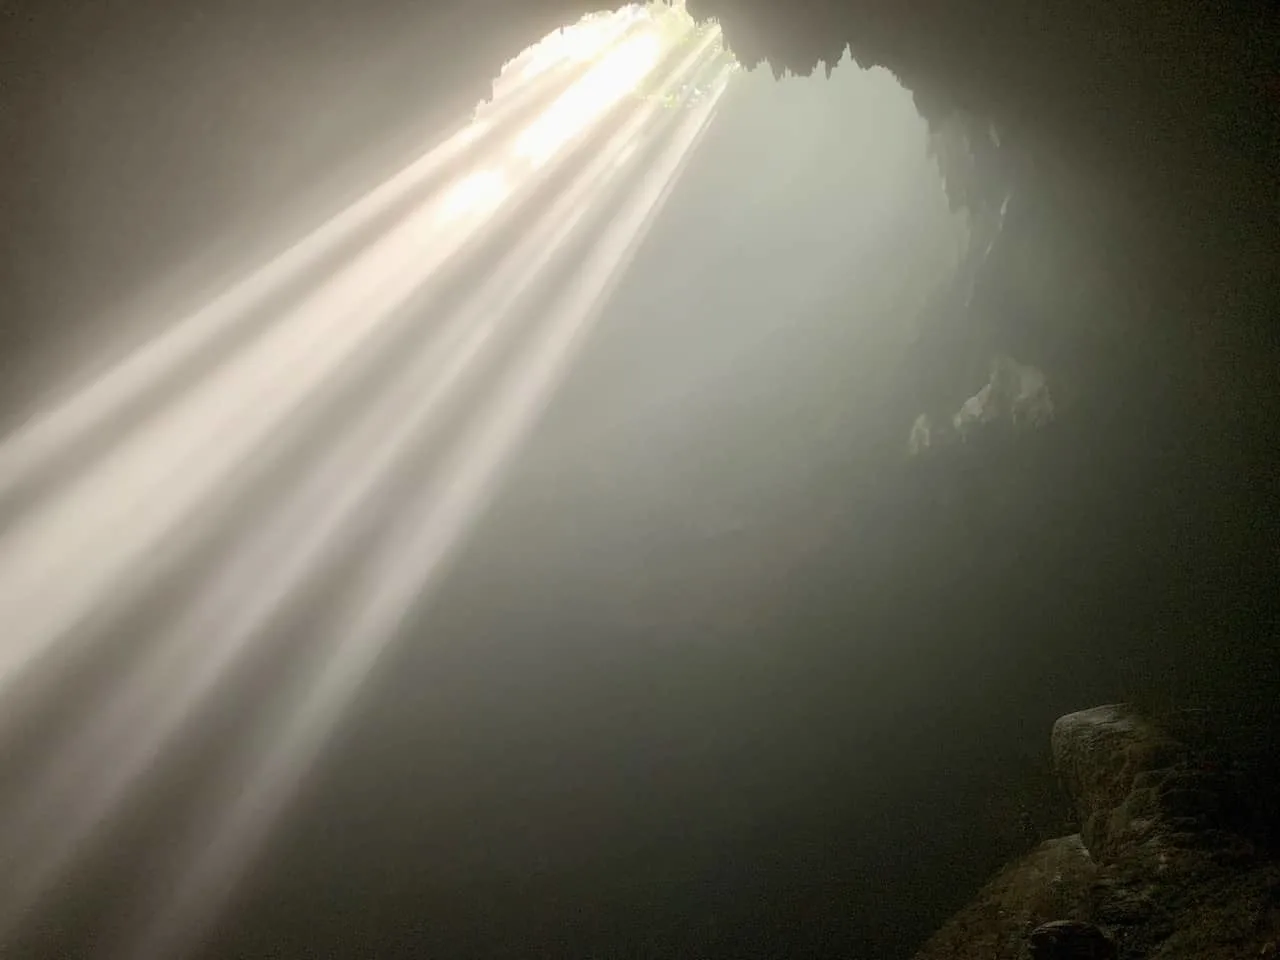
Here is where you will wait until the sun hits the cave opening at just the right angle and you will see the beams of light streaking through.
After enjoying the light from heaven, it is back on the muddy trek towards the cave entrance, where you will once again rappel back up to safety.
After washing yourself off, you can have the provided lunch before heading back to Yogyakarta in the early afternoon.
Note: many people opt to combine a trip to Goa Jomblang with cave tubing nearby at Goa Pindul. You can choose to do this if interested or you can spend the afternoon checking out some sites in Yogyakarta itself.
Once you make it back to Yogyakarta, you can wash up, change clothes, check out, and start walking around the city. A few of the highlights located within the city center include:
A) Taman Sari Water Castle
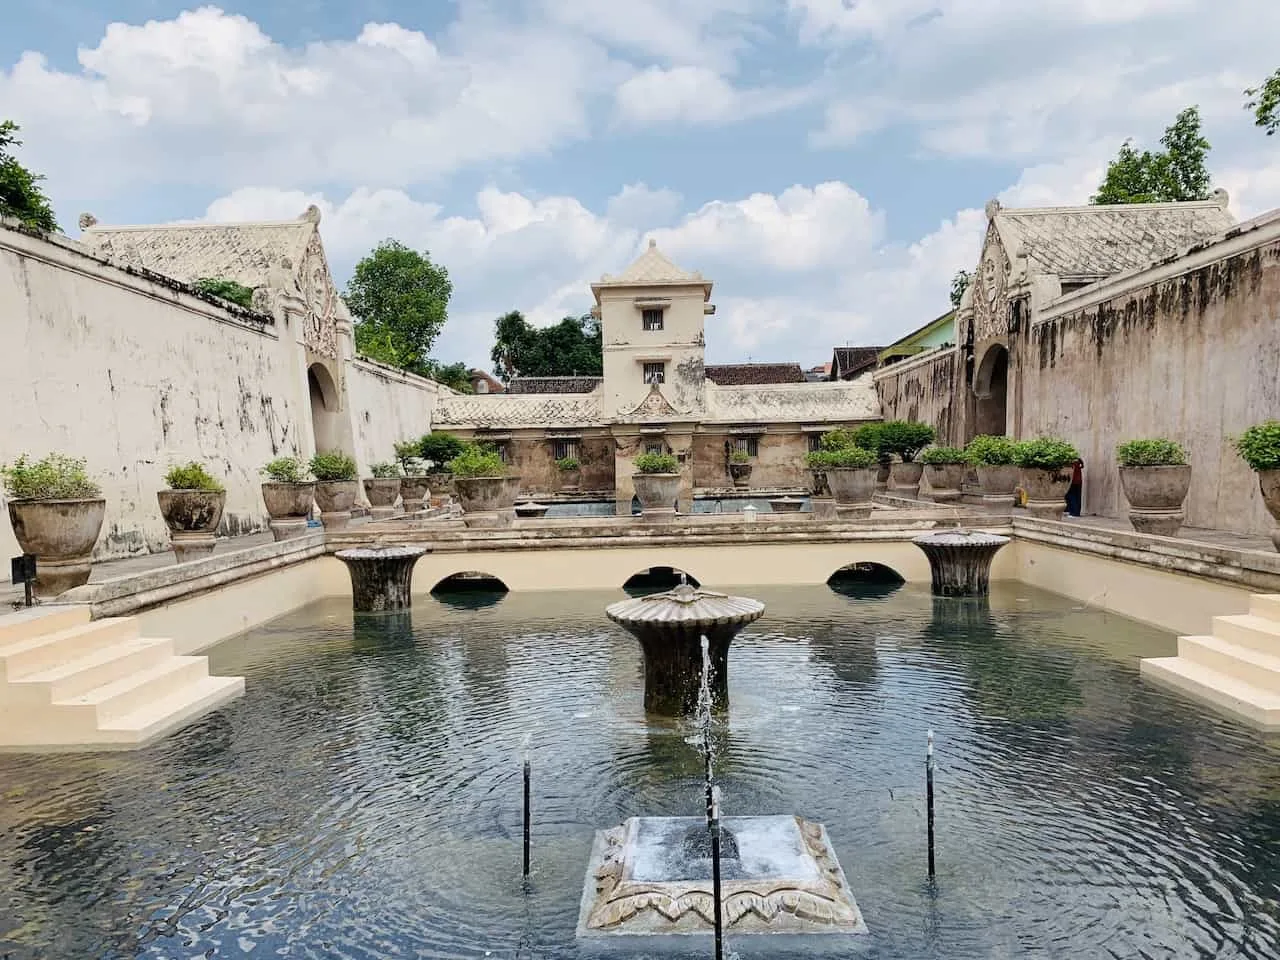
This complex was once used by the Sultan for all types of functions. Today, the central bathing area is the most preserved part of the complex and you can spend some time exploring the various rooms and pools around the area.
The entrance fee for the water castle is just 15,000 IDR, only about $1 USD. And be sure to keep your ticket when you visit the underground mosque mentioned next.
B) Sumur Gumuling Underground Mosque
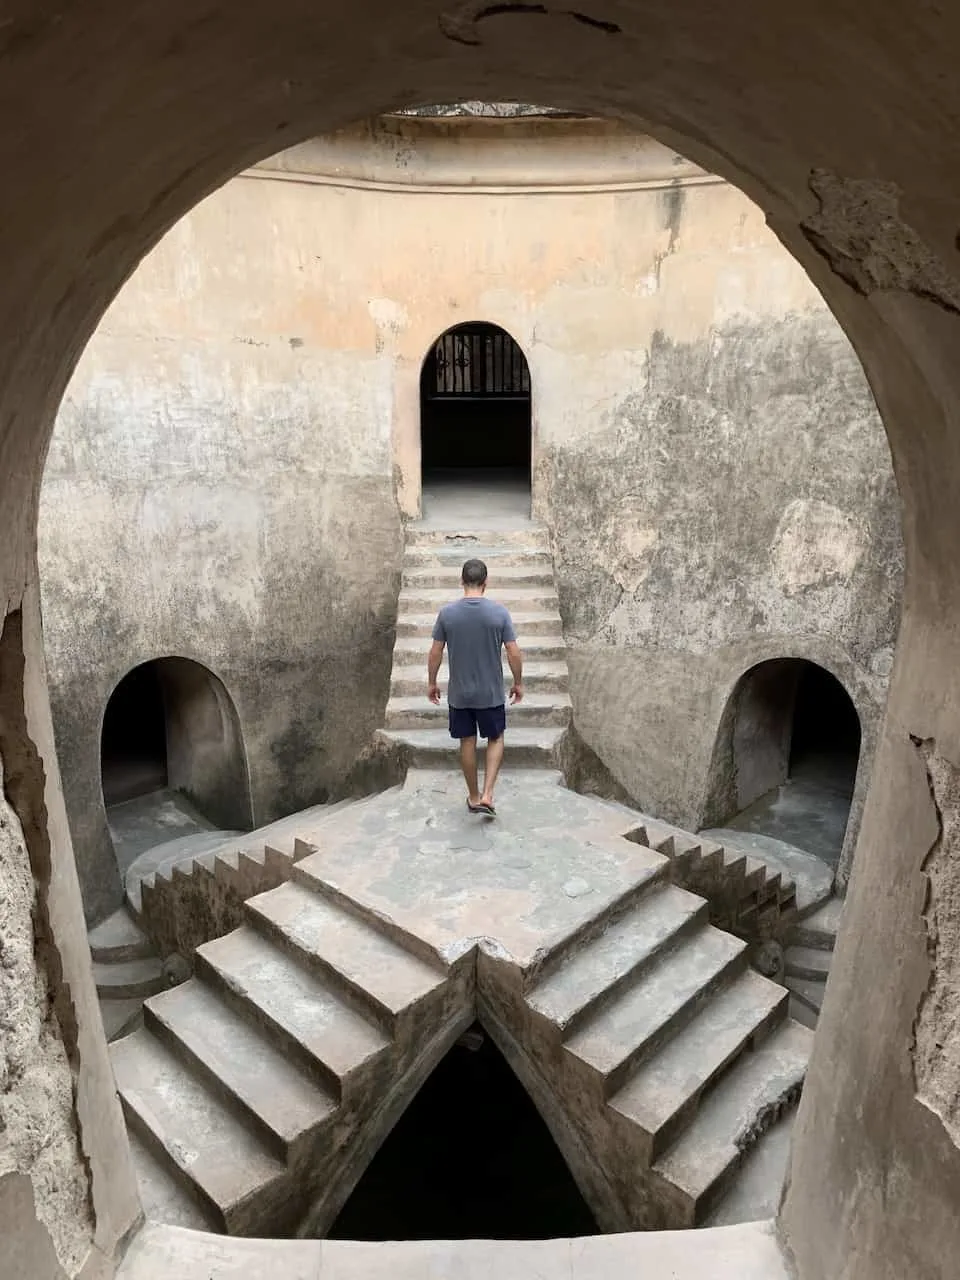
Located less than 10 minutes away by foot from Taman Sari is the Sumur Gumuling Underground Mosque.
While it is located within the original larger complex, to get to the mosque from the water castle, you will need to make your way through some of the surrounding streets.
While not in operation, the mosque is truly impressive, with its various staircases stretching from the bottom to the top of the complex. There are several hallways and rooms to explore as you make your way through.
C) Malioboro Street
At one point or another, you are sure to pass by the main Malioboro Street.
As you walk along the street you are sure to find plenty of smaller markets and shops lined up all throughout. It is a great place to explore during the day and/or night as it is one of the most happening places in the city.
In the evening, you will be hopping on an overnight train from Yogyakarta to the city of Malang in East Java. The train ride is 5-6 hours and you should arrive in Malang very early in the morning around 4AM-6AM. Feel free to check out the train schedules and book your ticket before you go.
Day 3 – Chasing Waterfalls Part I
Right from the Malang train station, you will head directly to the Lumajang Regency – an area full of majestic waterfalls that you will be exploring over the next couple days.
Note: set up a driver beforehand by speaking with your hotel/homestay in Lumajang. They can easily book a driver for you so once you are off the train, you will have someone waiting.
The drive from Malang to Lumajang will take a couple of hours as you catch up on some sleep. Once you arrive in Lumajang, you may want to relax/sleep for a little longer before starting off your day.
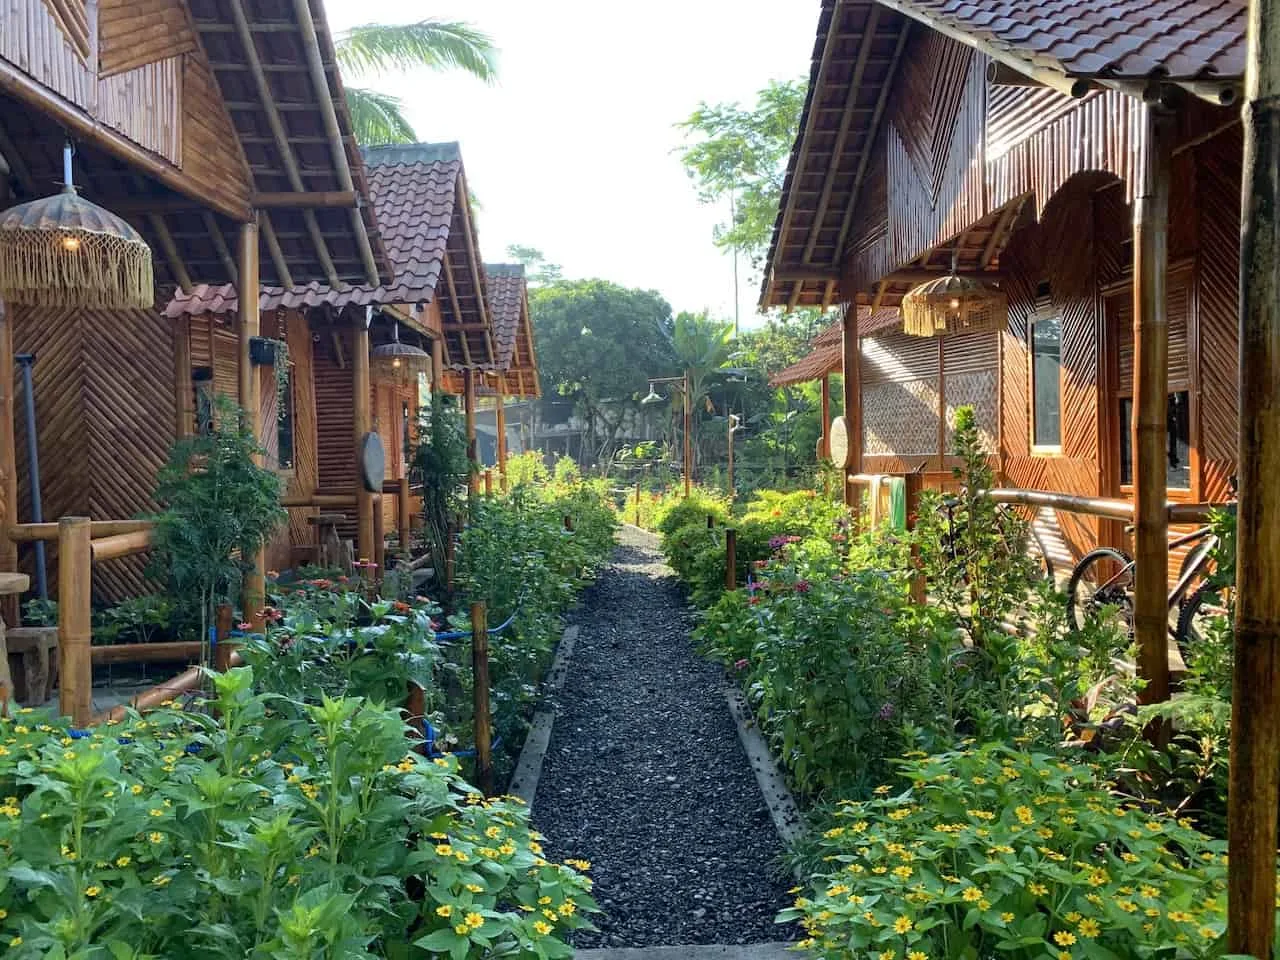
During your stay in Lumajang, I would HIGHLY recommend staying at Dear Traveller Guest House.
The owners and staff there were some of the most accommodating during my trip and they will help you with anything you need.
They set up the driver from Malang to the guesthouse, local guides to explore the waterfalls with, and a driver to Bromo. They also cooked all our meals and stayed up to talk and hang out with us in the evening. A truly incredible place with even better people.
Lumajang Accommodation (night 3) | Book Your Stay at the Dear Traveller Guest House
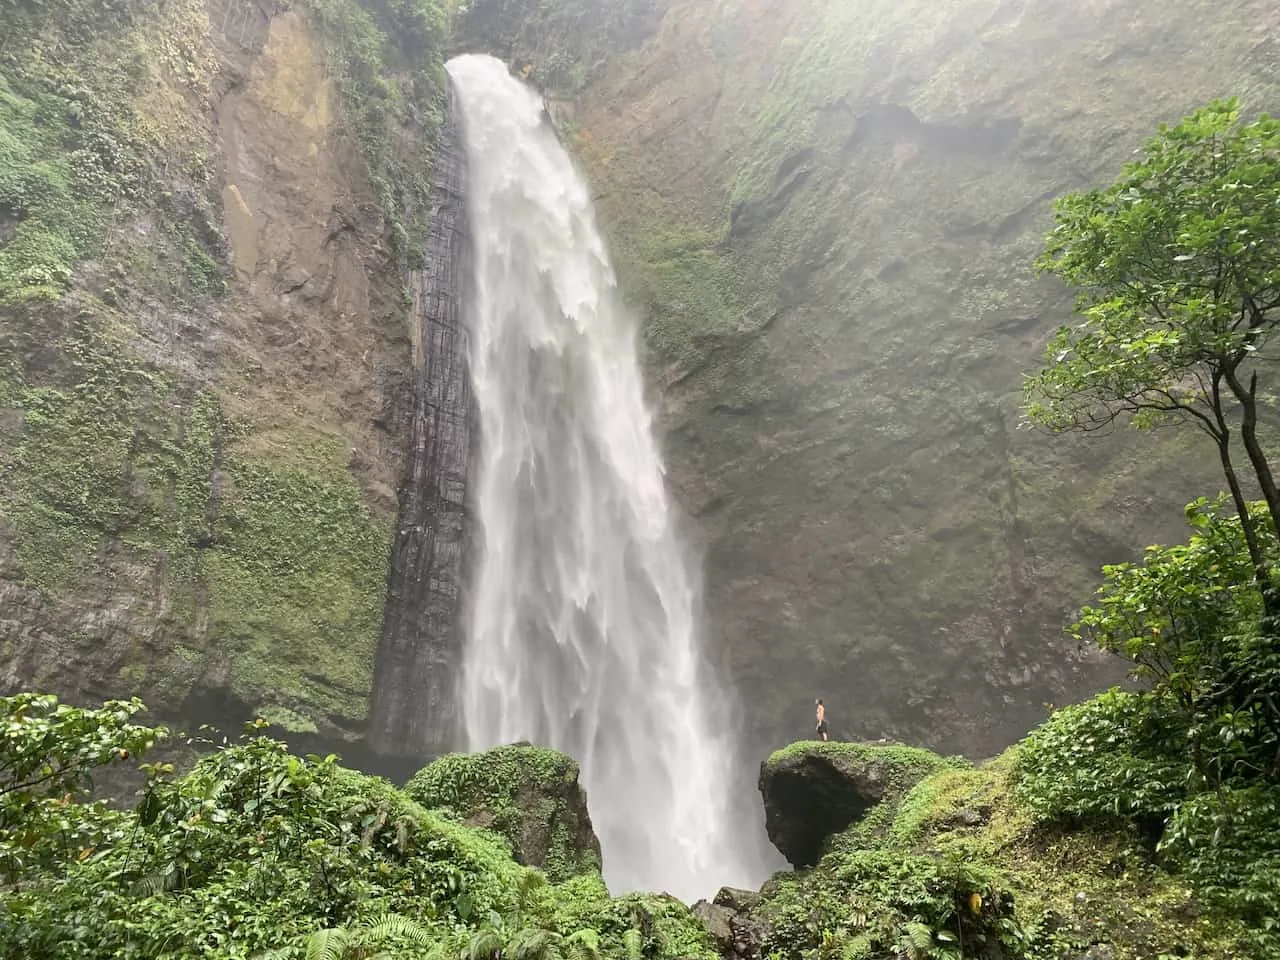
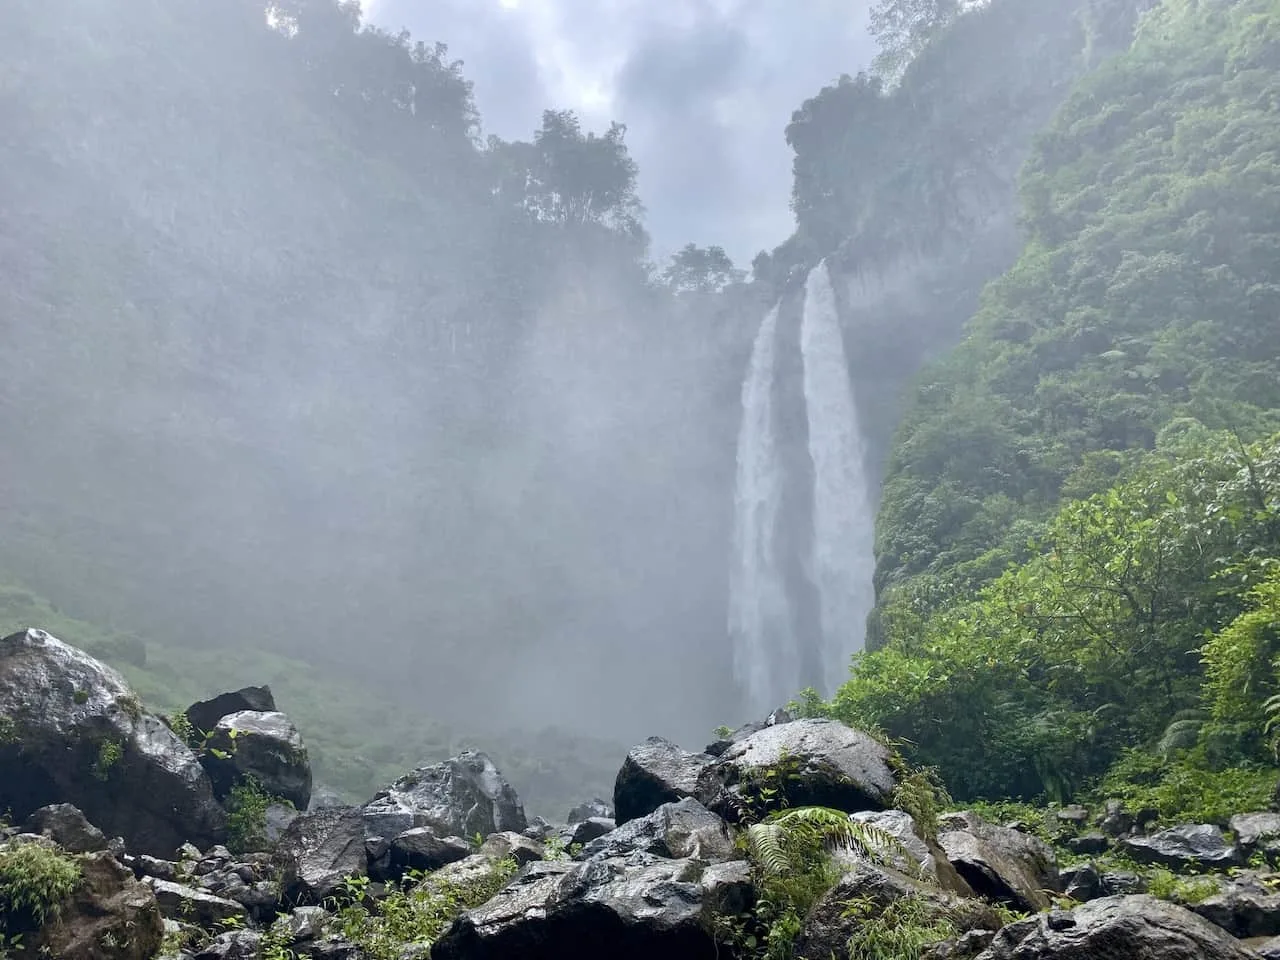
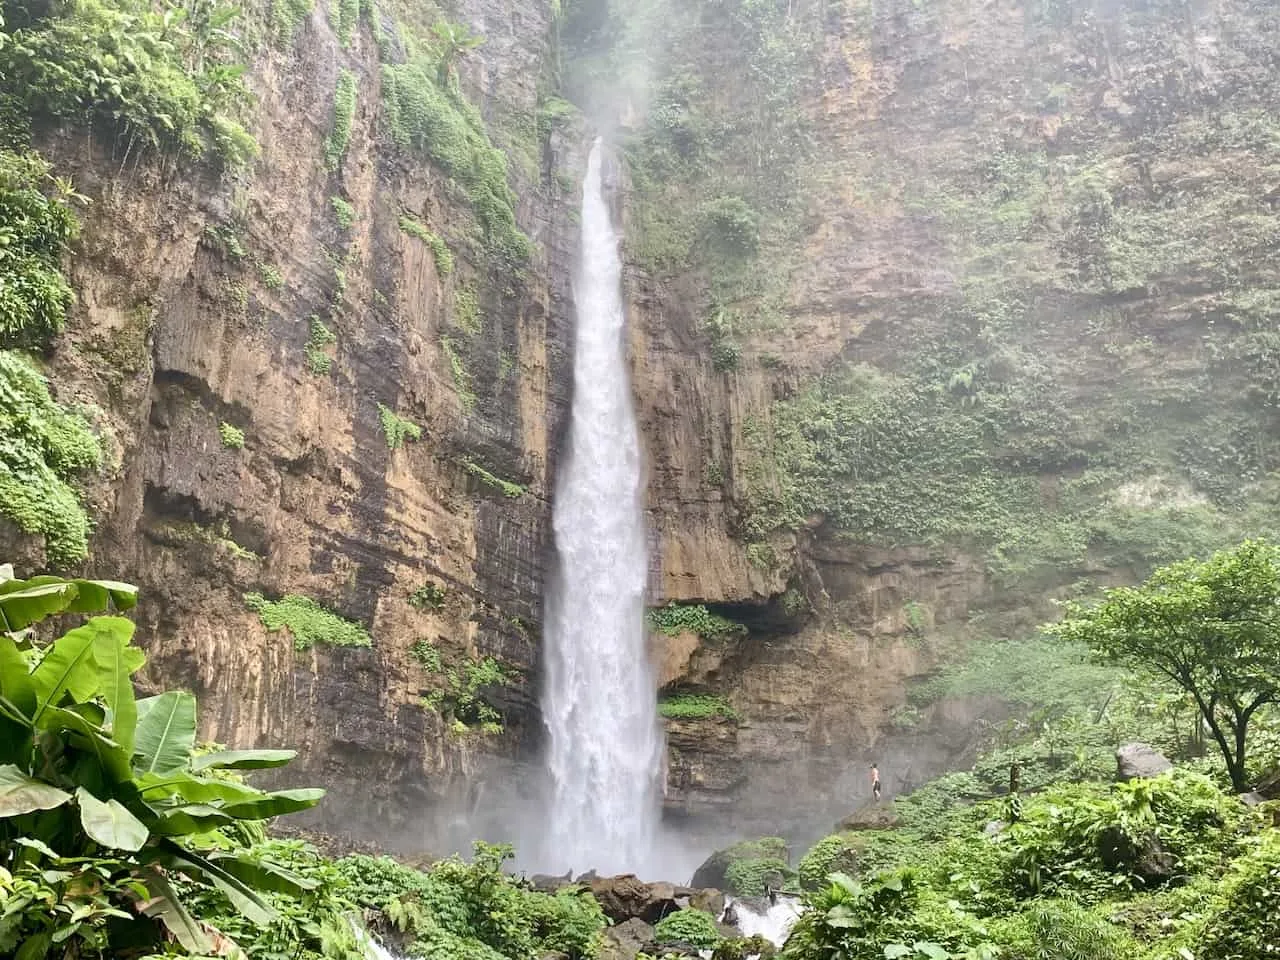
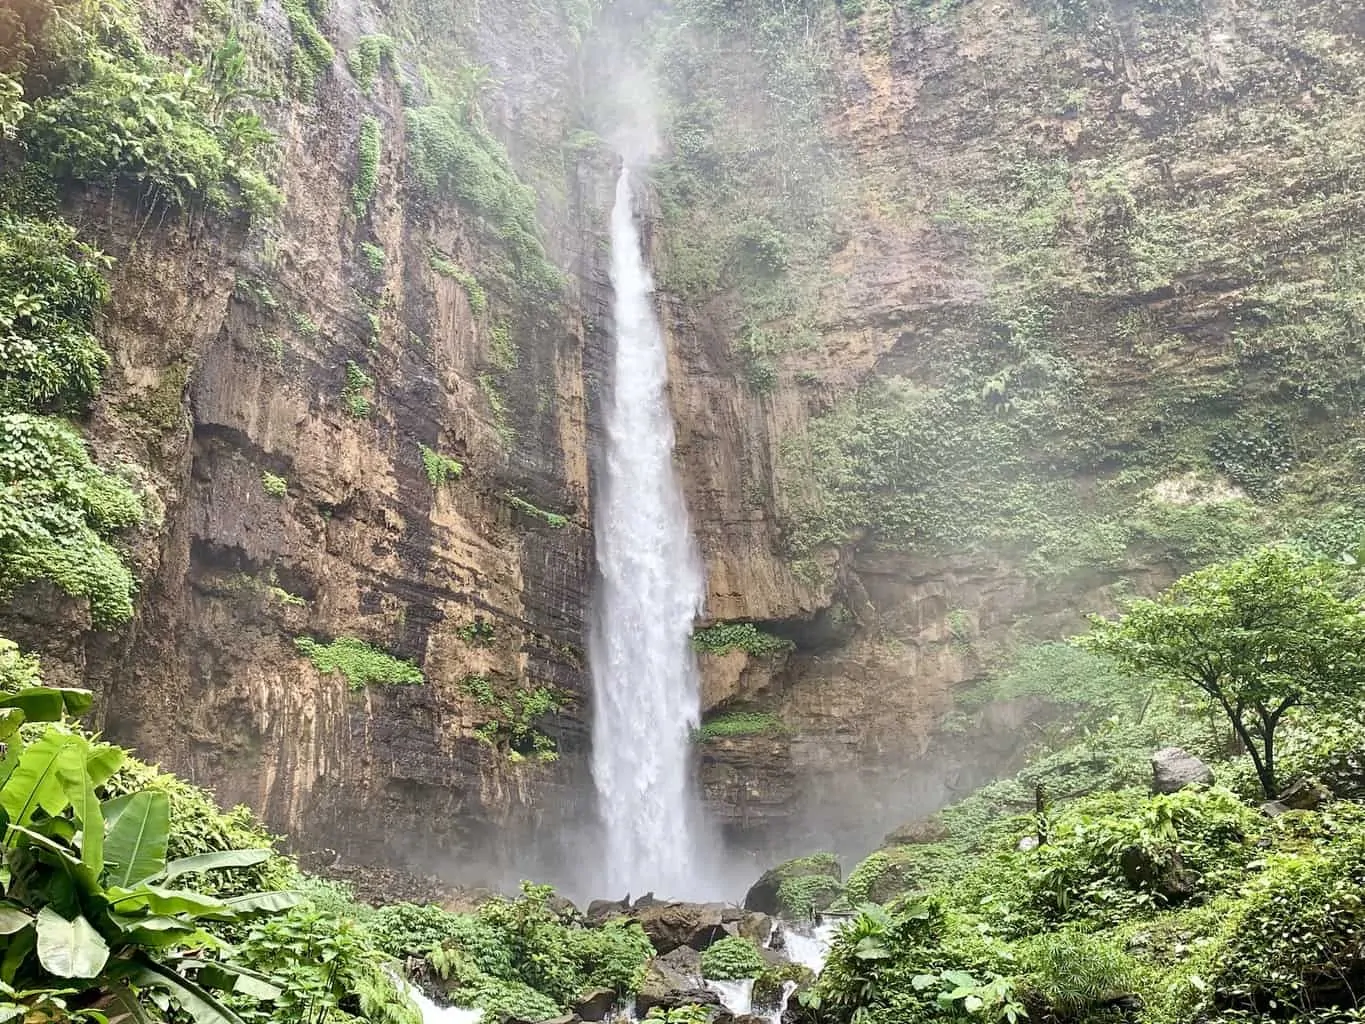
Once you are all ready, it is time to begin day 1 of waterfall trekking as you explore 3 different waterfalls nearby – Kapas Biru, Coban Sriti, and Kabut Pelangi.
While you can technically go to the waterfalls without a guide, I would recommend having one with you to show you the way.
The cost for the day is around $15 total (for an entire group), which includes transportation to the waterfalls and then a guide to take you down and back up safely. Your guesthouse can easily set this up for you as well.
You can expect the actual trekking time to be around 1 hour round trip for each one of these waterfalls. I would say you are looking at anywhere around 1.5-2 hours total for each one, depending on how long you want to spend at the waterfalls themselves.
Day 4 – Chasing Waterfalls Part II
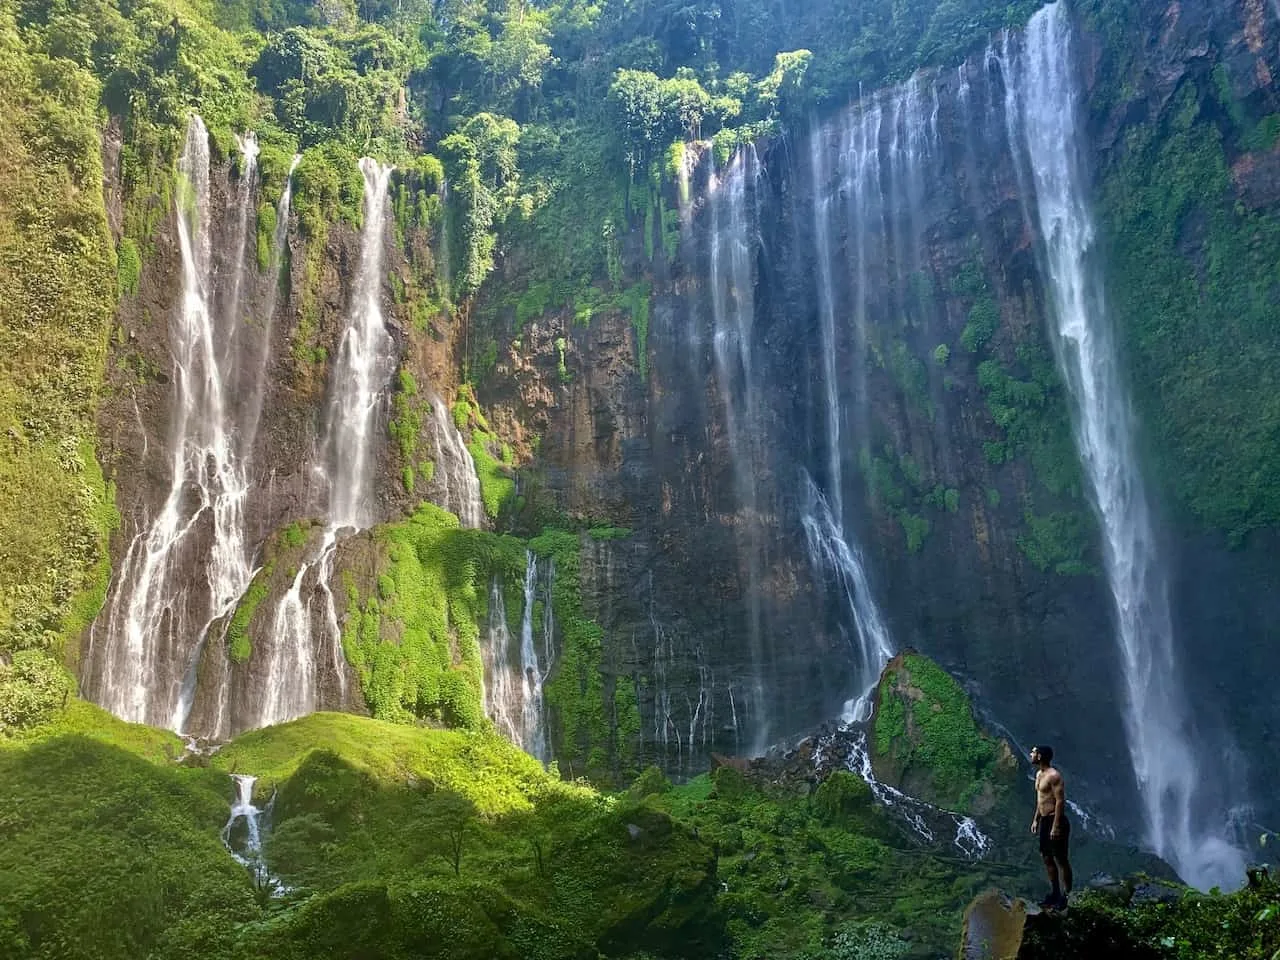
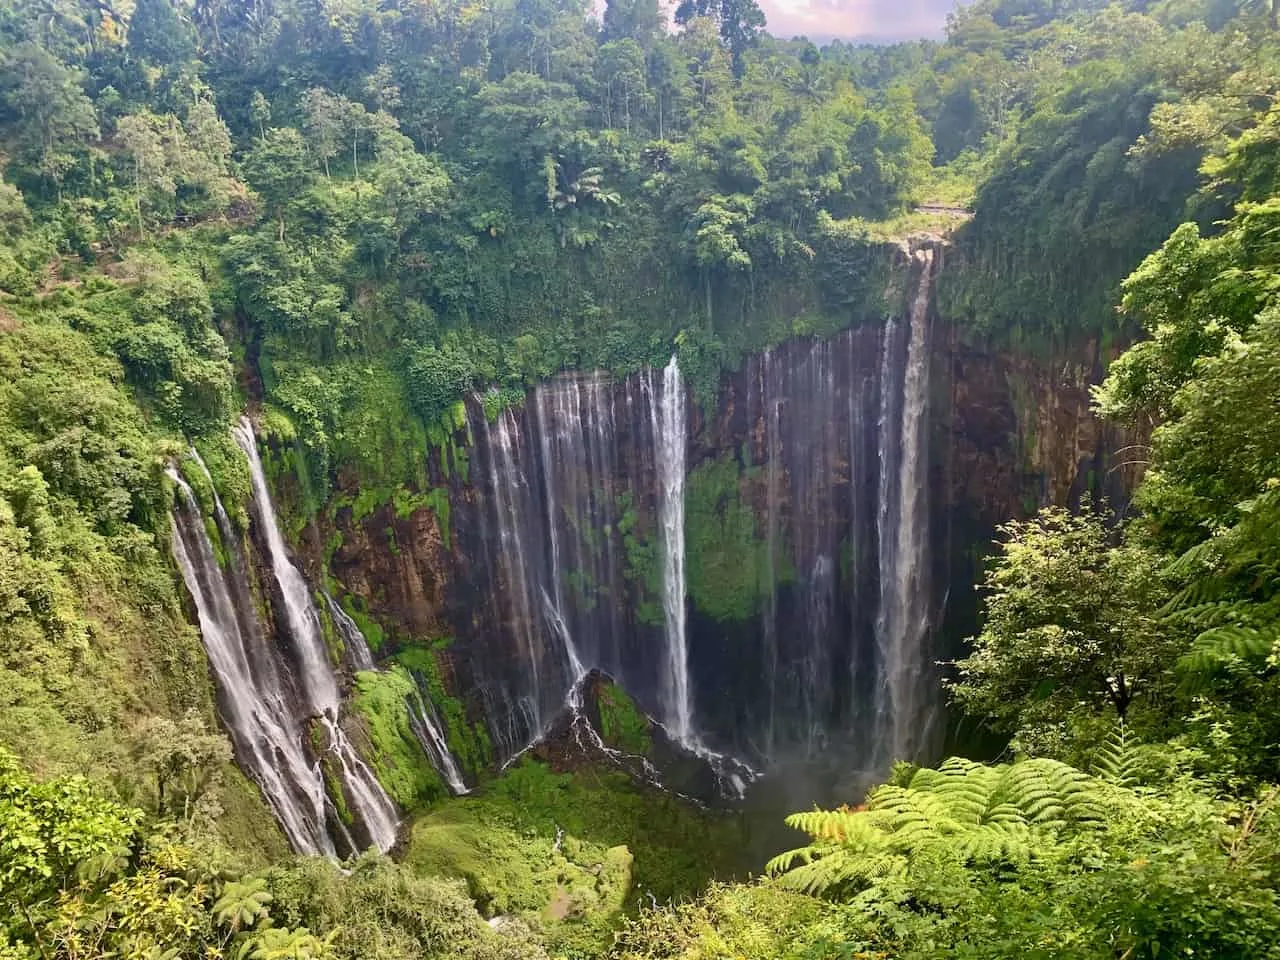
Day 2 of waterfall chasing will take you to the grand finale of them all – Tumpak Sewu. Arguably the most famous waterfalls in Indonesia, Tumpak offers one of the largest and spectacular waterfalls I have ever seen.
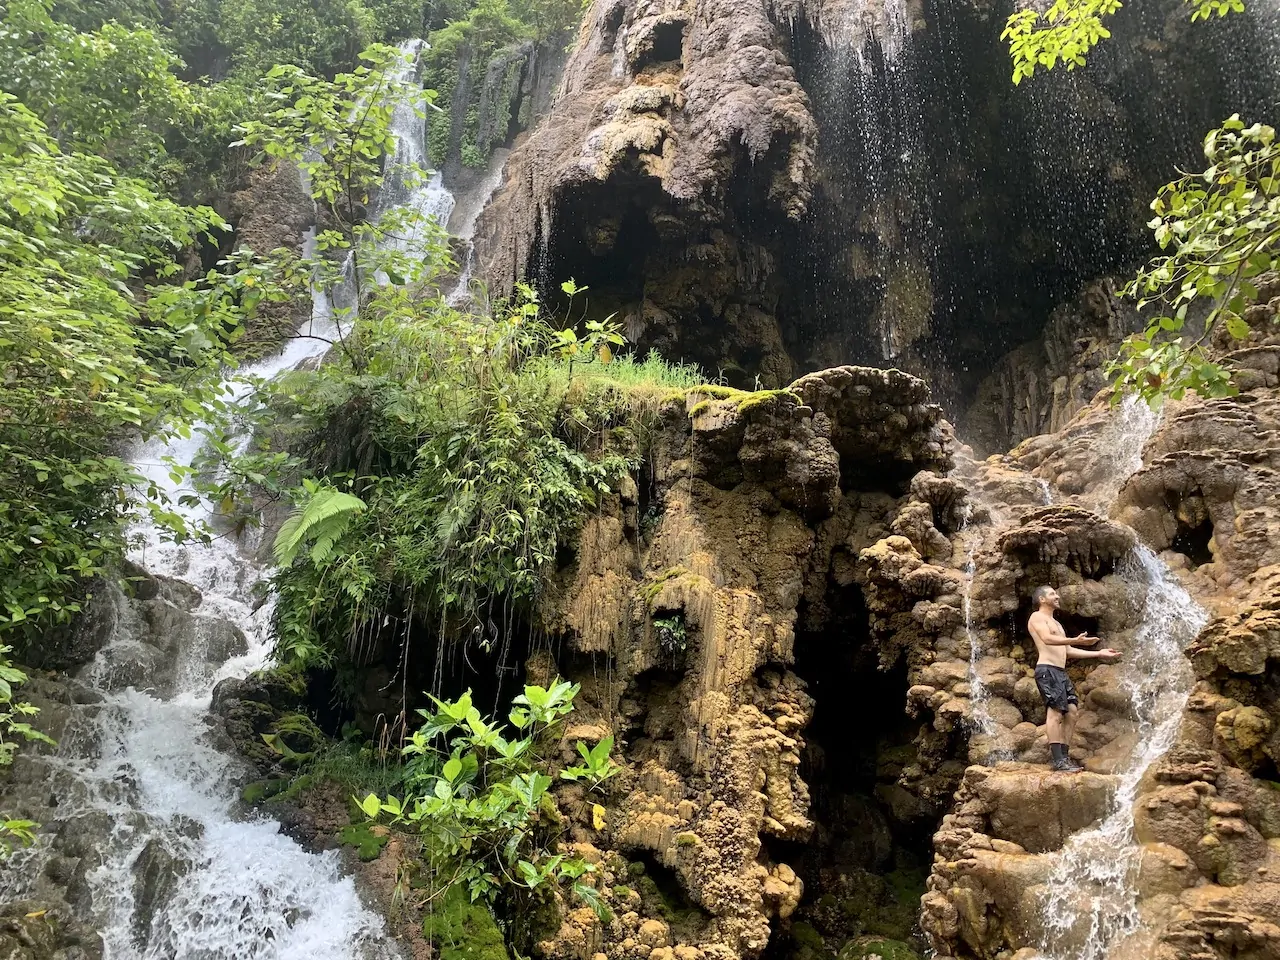
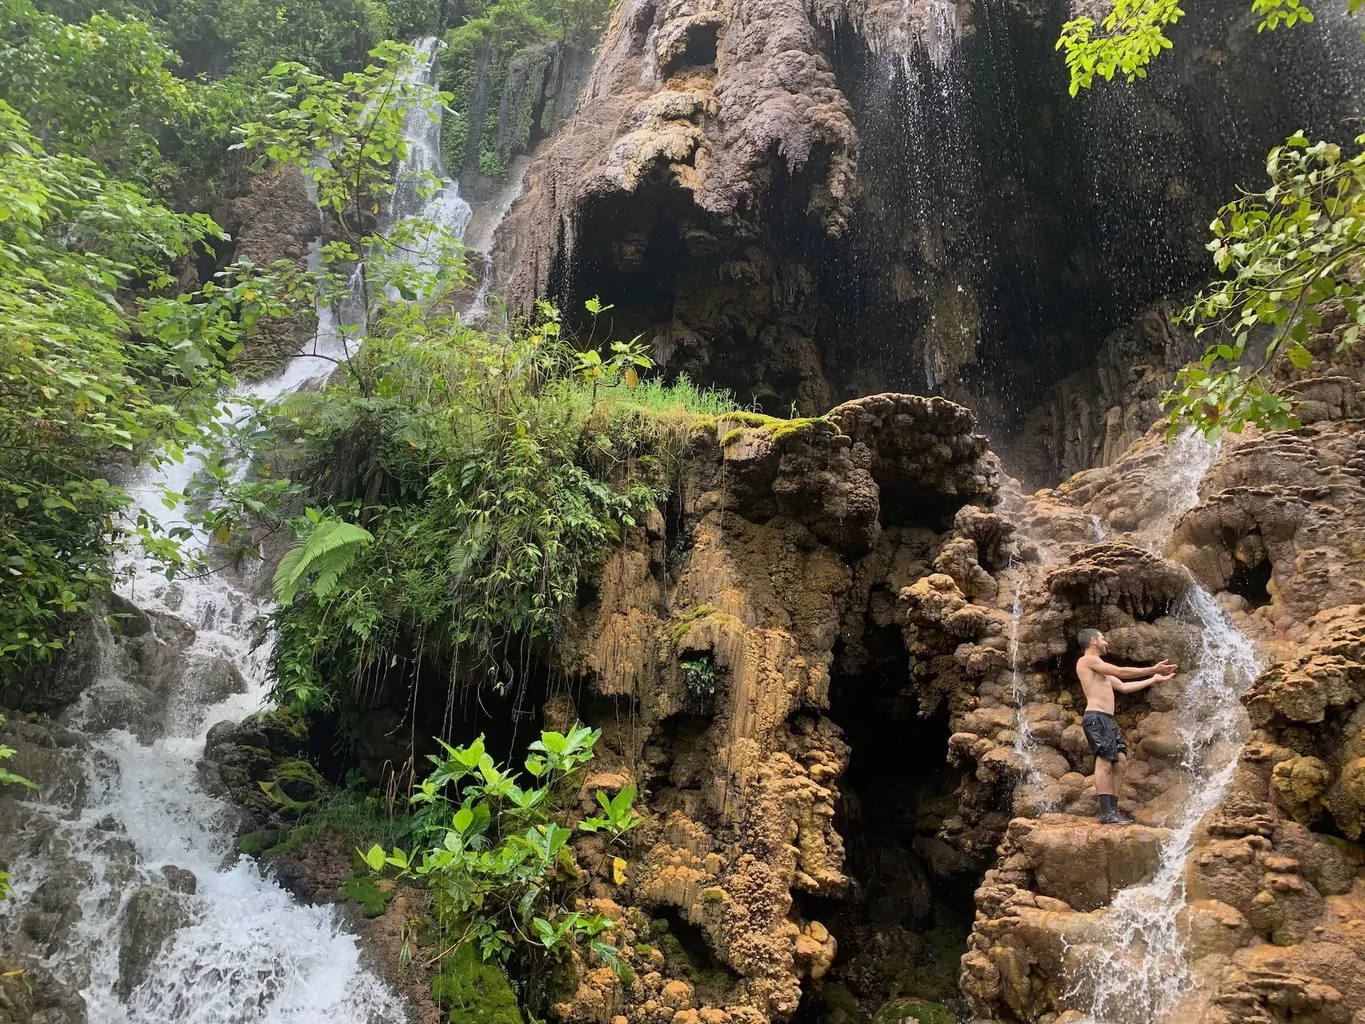
On top of enjoying Tumpak Sewu, you will also be able to explore another waterfall located in the same valley – Goa Tetes.
Similar to day 1, I would advise heading off with a guide, who will drive you over to Tumpak and then bring you down into the valley to the waterfalls. Not only is a guide nice to have from a logistical standpoint, it is also a nice thing to help support the local community.
While total trekking time for the two waterfalls should be around 1-1.5 hours, I would plan on spending some additional quality time at both of these waterfalls.
You will also get the chance to enjoy a viewing platform, where you will see the panoramic Tumpak Sewu from up above.
» The Tumpak Sewu and Goa Tetes waterfall guides dive deeper into what to expect at each one of them
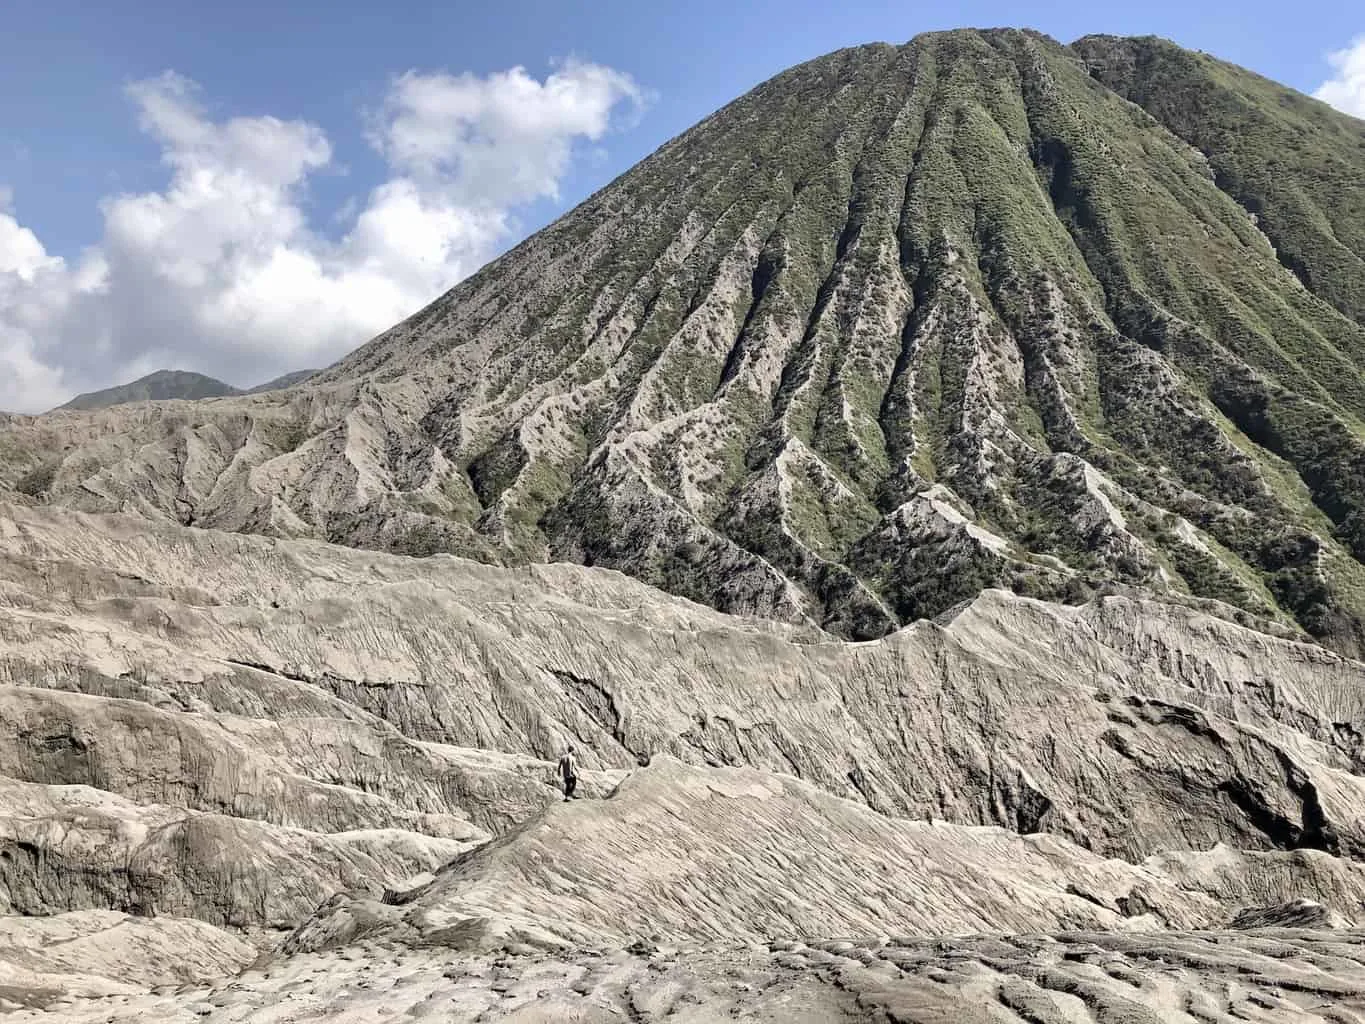
After taking in everything that Tumpak Sewu has to offer, it is time to head off to your next destination in Java – Cemoro Lawang. This small town is the base for those that want to enjoy a sunrise over Mount Bromo and a visit to its crater.
Once again, having your homestay set up a driver for you and your group will be your best bet here. Plan on leaving in the afternoon and then making the 4 hour drive from Lumajang to Cemoro Lawang.
Once at your hotel / guesthouse in Cemoro Lawang, you will want to plan to get to sleep on the earlier side. Sunrise over the Sea of Sand with Mount Bromo and several other volcanoes out in the distance is truly one of the top highlights in all of Indonesia.
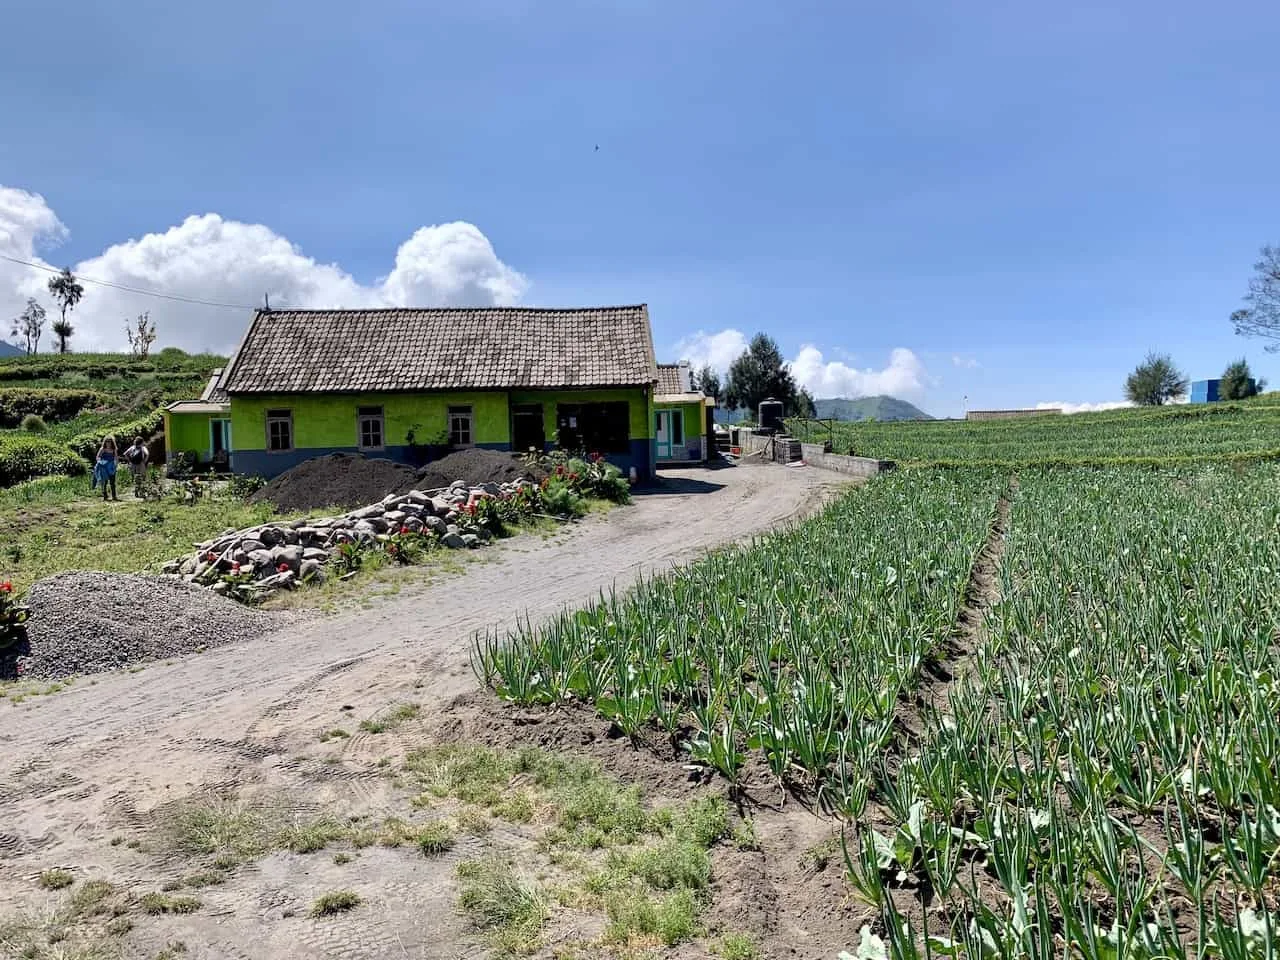
Note: the village of Cemoro Lawang is mostly filled with small homestays to stay in, however there are some more expensive hotel options as well. I ended up staying at the Cayho Homestay, which was a very basic but affordable option.
Recommended Cemoro Lawang Accommodation (nights 4 & 5) | Cayho Homestay
Day 5 – Mount Bromo
To get to the sunrise spot on top of King Kong Hill, you will need to leave Cemoro Lawang around 3 hours or so prior to sunrise. This will give you enough time to make the walk through town and then up the hill to one of the various viewing spots.
While the walk to the base of the hill is pretty easy and straightforward, the hike in the dark up the mountain can get a bit tougher. You will be gaining some elevation here and will be trekking through the dense trees.
I would advise on bringing a headlamp, as well as layering up to keep warm. Cemoro Lawang is at a much higher elevation (over 7,000 feet) so you can imagine it does get quite cold up there in the early hours of the day.
Once you reach the top of King Kong Hill you can choose from a variety of lookout spots, where you can take in the view of the sunrise over the crater and Cemoro Lawang down below.
» The Mount Bromo Sunrise guide goes into detail on exactly what to expect for the day and how to best prepare for the experience
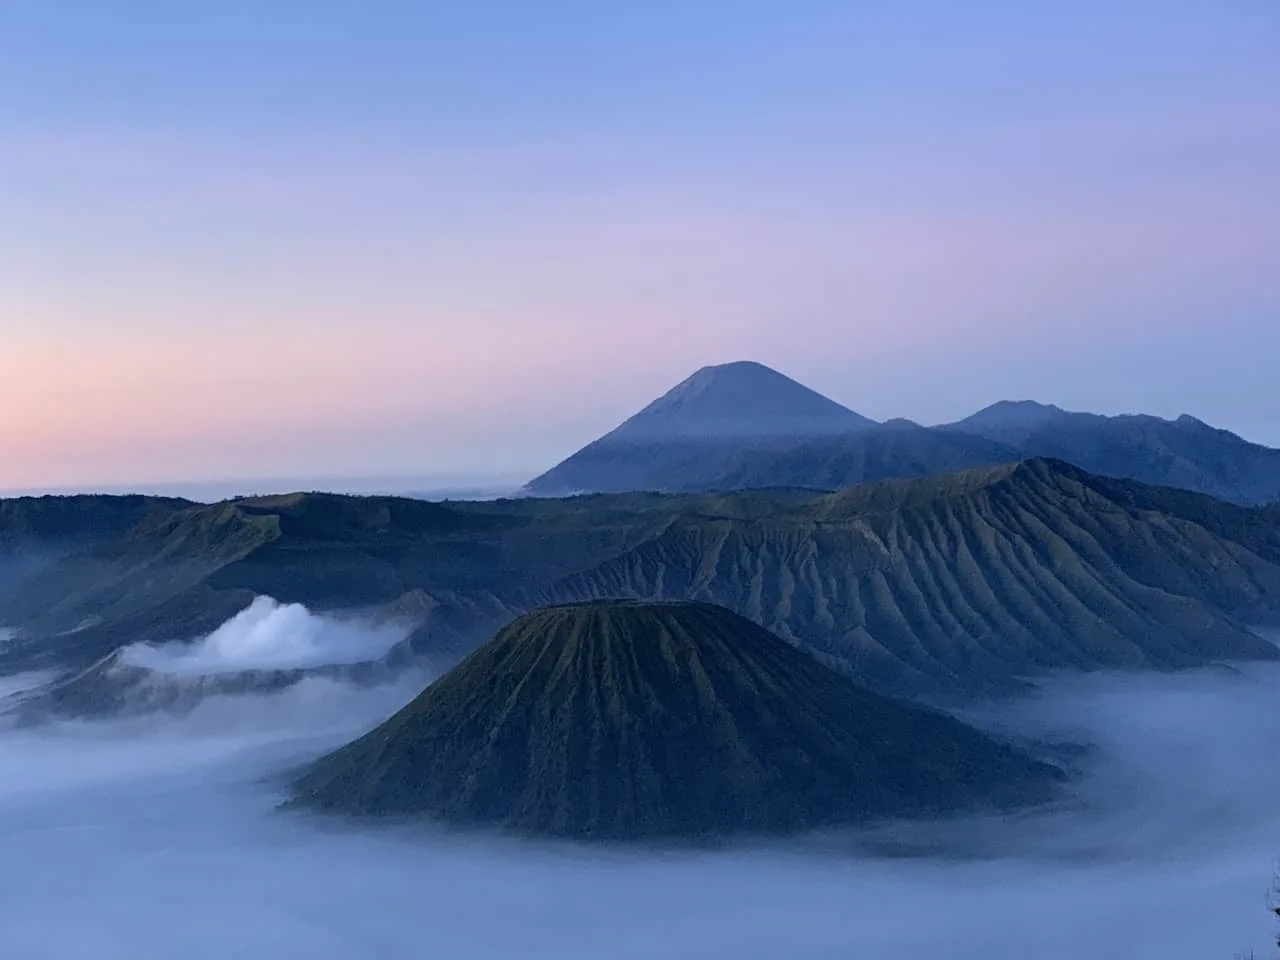
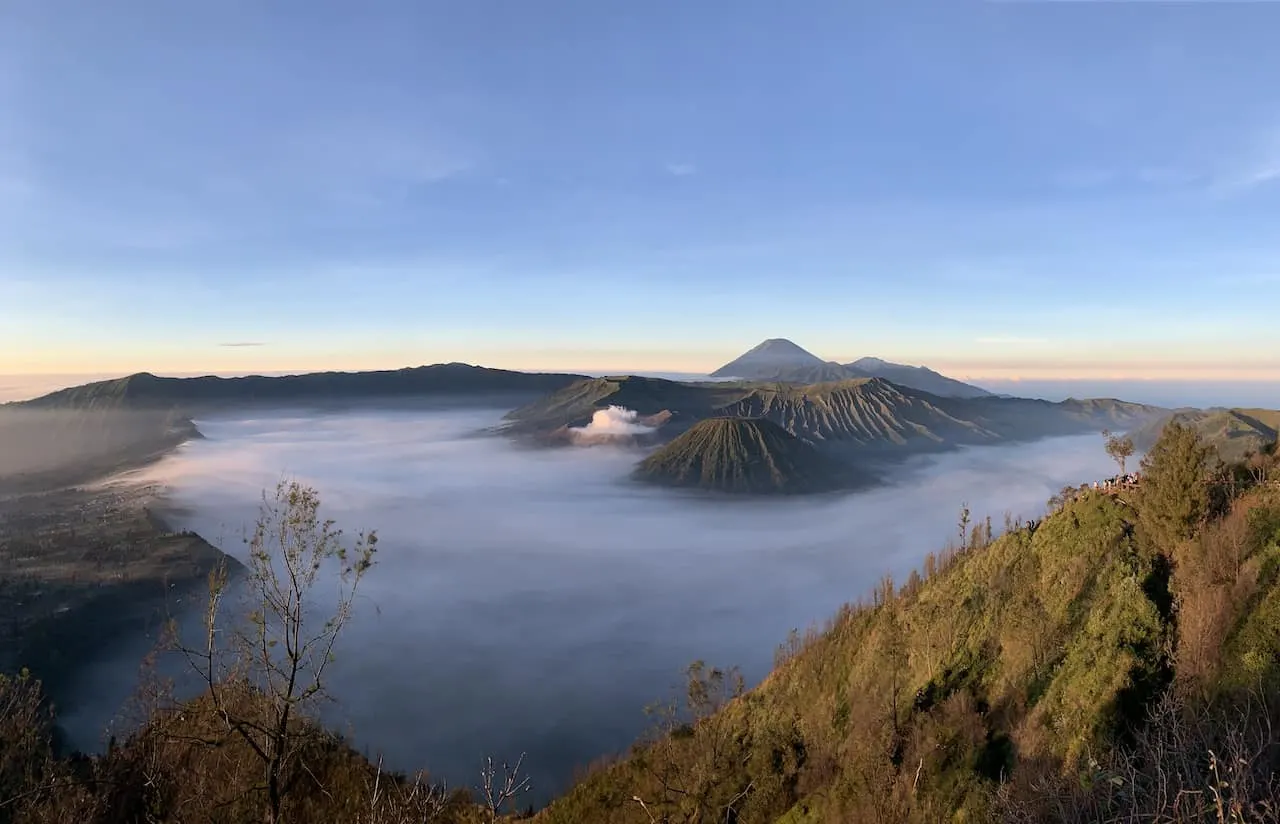
After enjoying a sunrise, it is back down the hill towards Cemoro Lawang, where you can opt for a nice post hiking meal in town. Whenever you are ready, it is then time to make your way down into the vast crater itself.
Here is where you will take part of the journey through the Sea of Sand. You can do so by walking across yourself, taking a horseback ride, or hopping on the back of a jeep or motorcycle.
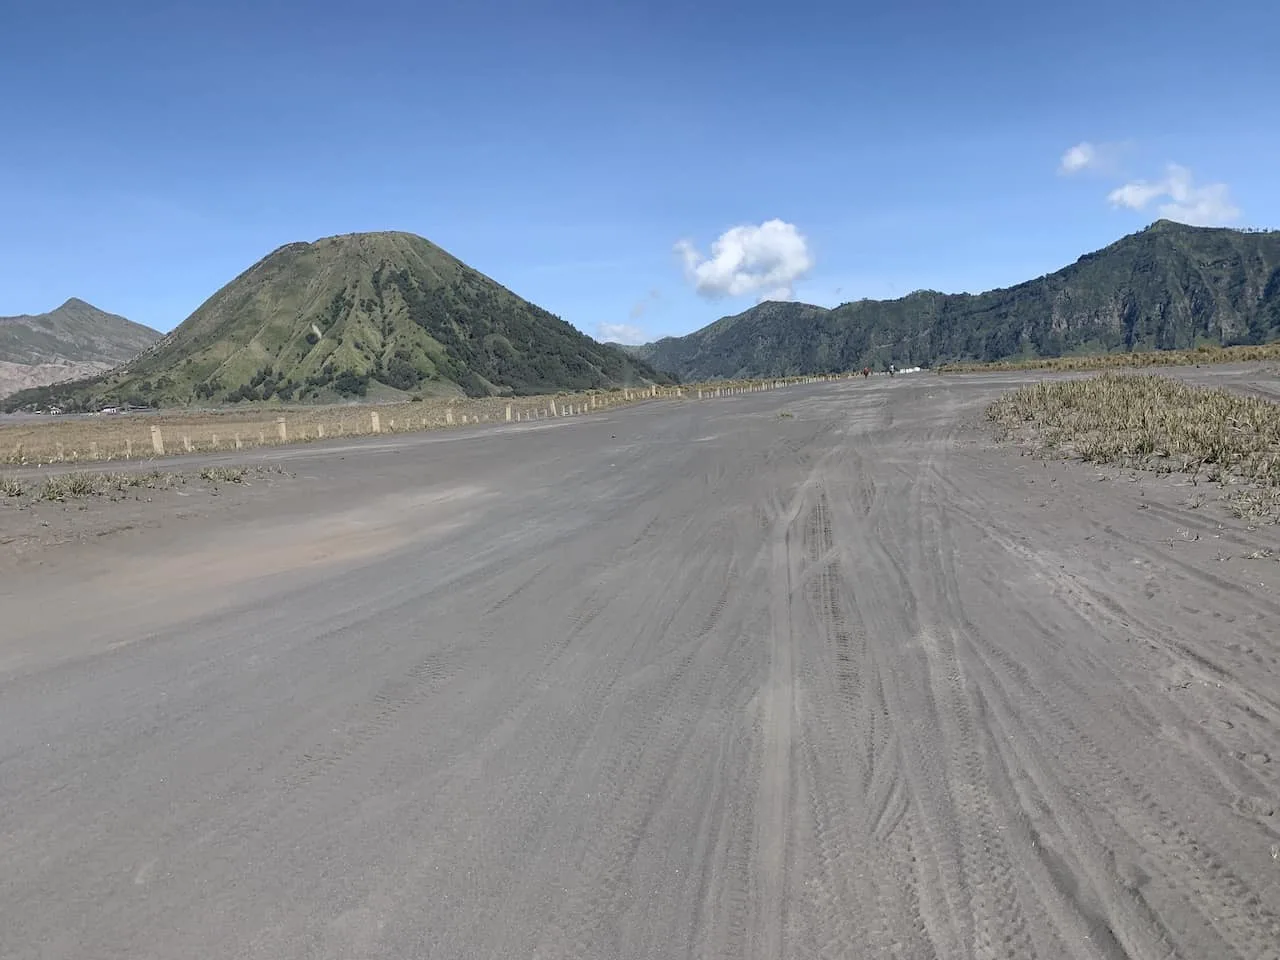
After passing through the Sea of Sand you will arrive at the bottom of Mount Bromo itself.
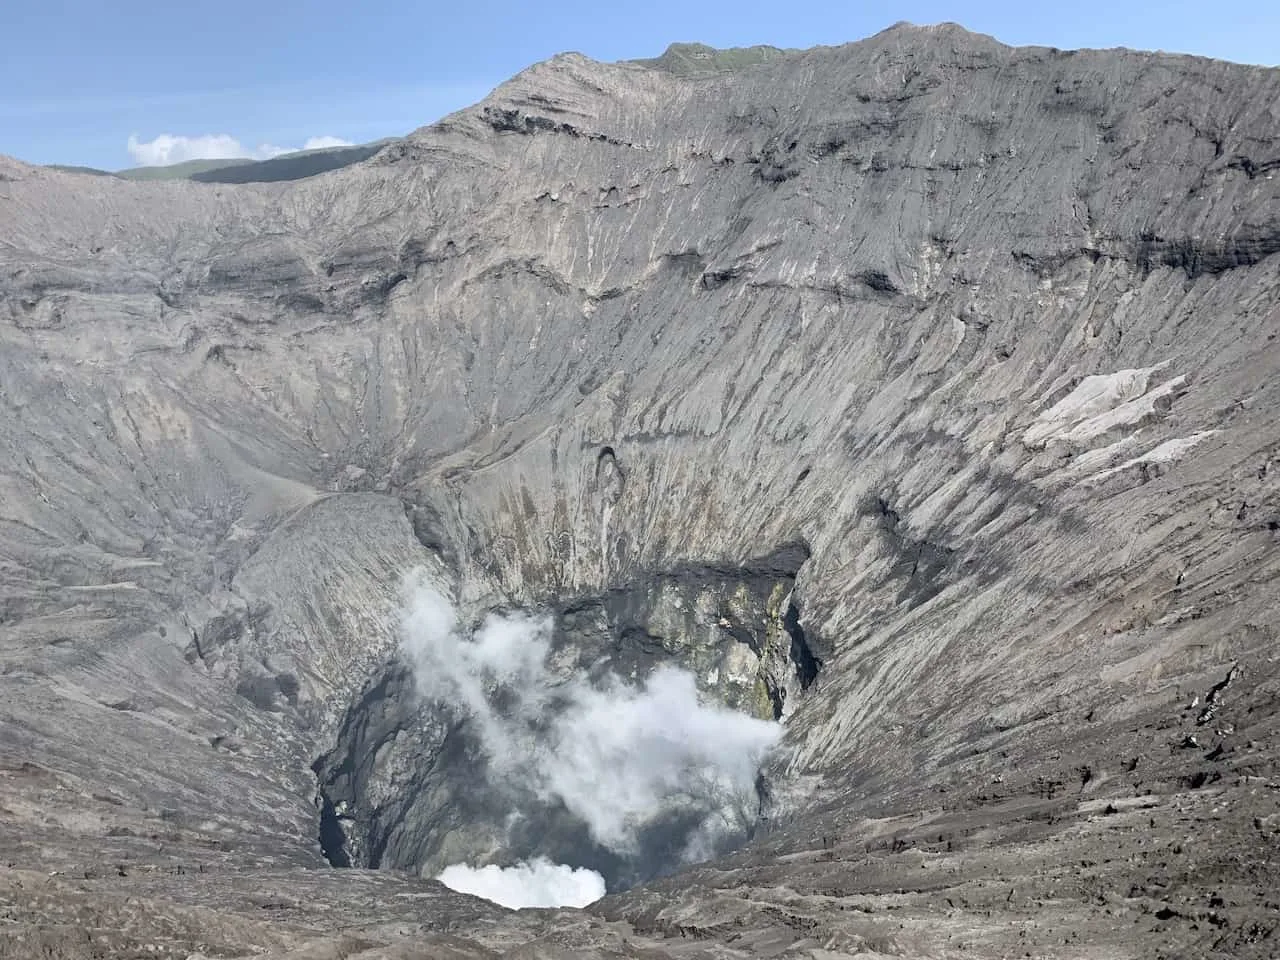
From here, head up the staircase to the crater rim, where you will be able to see the volcanic steam down below and the Sea of Sand all around you.
Make your way back to Cemoro Lawang, where you can take a well-deserved rest.
Day 6 – Madakaripura Waterfall & Travel to Banyuwangi
While much of day 6 may be a travel day to get you closer to Mount Ijen, you will also be able to enjoy another incredible East Java waterfall along the way.
After leaving Cemoro Lawang, you will first make the hour or so drive down to the entrance of Madakaripura. At the entrance you can hop on a motorbike for a few dollars that will take you to the trailhead of the waterfall.
It is then another serene journey, following the river with various waterfalls and greenery in all directions. During this trek you will most certainly get wet as there is a ton of water dripping down the cliff-sides and onto the trail.
After walking through the valley you should soon arrive at the base of this massive waterfall, where you can decide to opt for a swim or just take it all in from land.
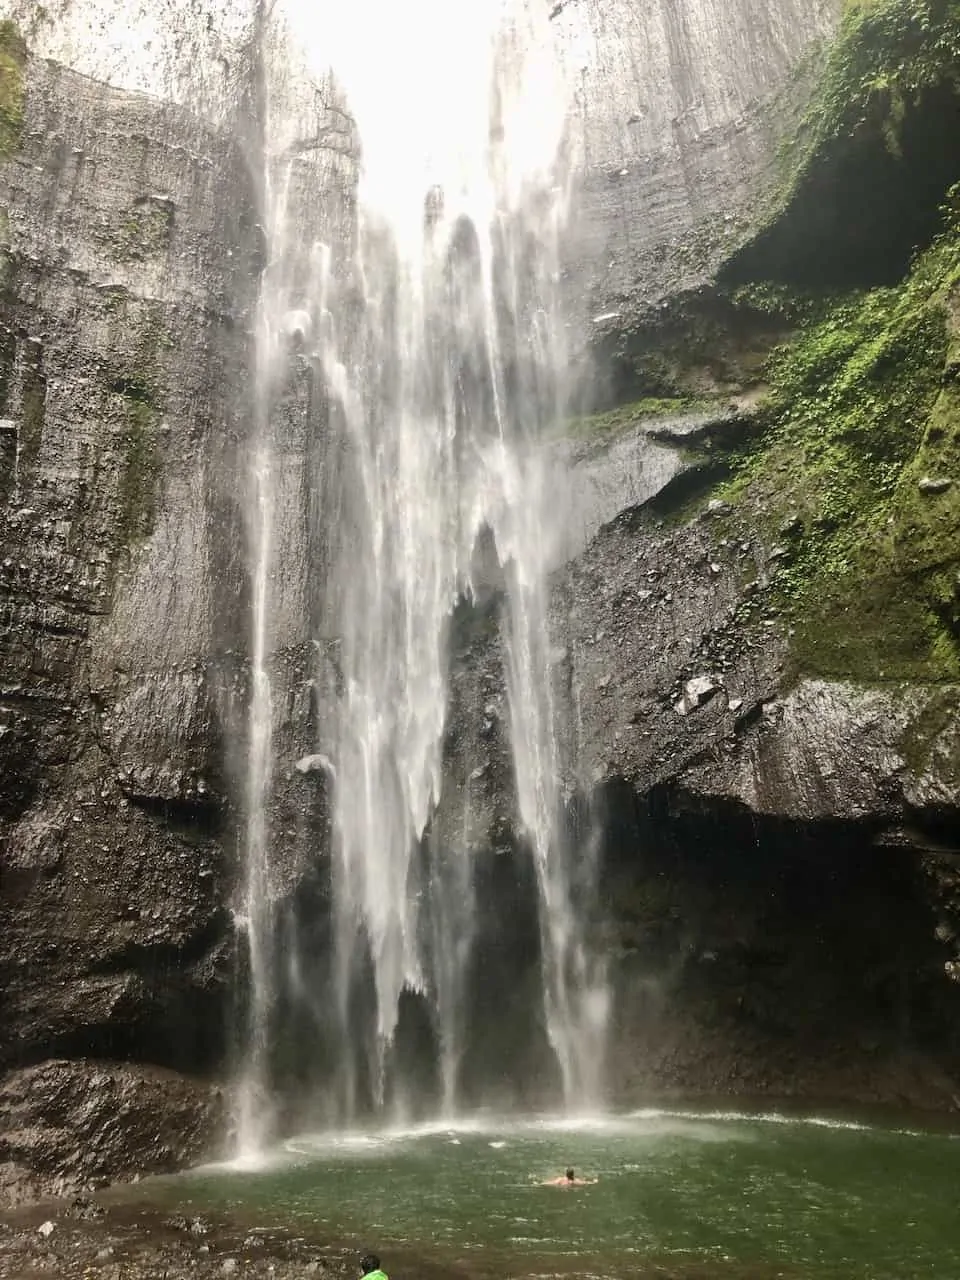
It is then back to the car, where you will continue on with your journey towards Banyuwangi for the next 4-5 hours.
Public transportation is also an option here, as you can take a shared taxi from Cemoro Lewang to Probolinggo and then a train or bus to Banyuwangi. If you do decide to do this, you probably won’t be able to head to the waterfall though.
Recommended Banyuwangi Hotel Option (night 6) | Aston Banyuwangi

This will be another evening when you want to get to sleep early as the hike up to the Ijen Crater for sunrise will begin in the middle of the night.
Day 7 – Ijen Volcano & Depart Java
After another early morning (late night?) wakeup, it is time for your second sunrise hike on Java. This time it is to visit Kawah Ijen and its Blue Flames.
I decided to head to Ijen with a local guide (set up beforehand, which also included a round trip transfer), who took our group up and down the volcano. While a guide is not a necessity, it did feel like the easier and more dependable option here.
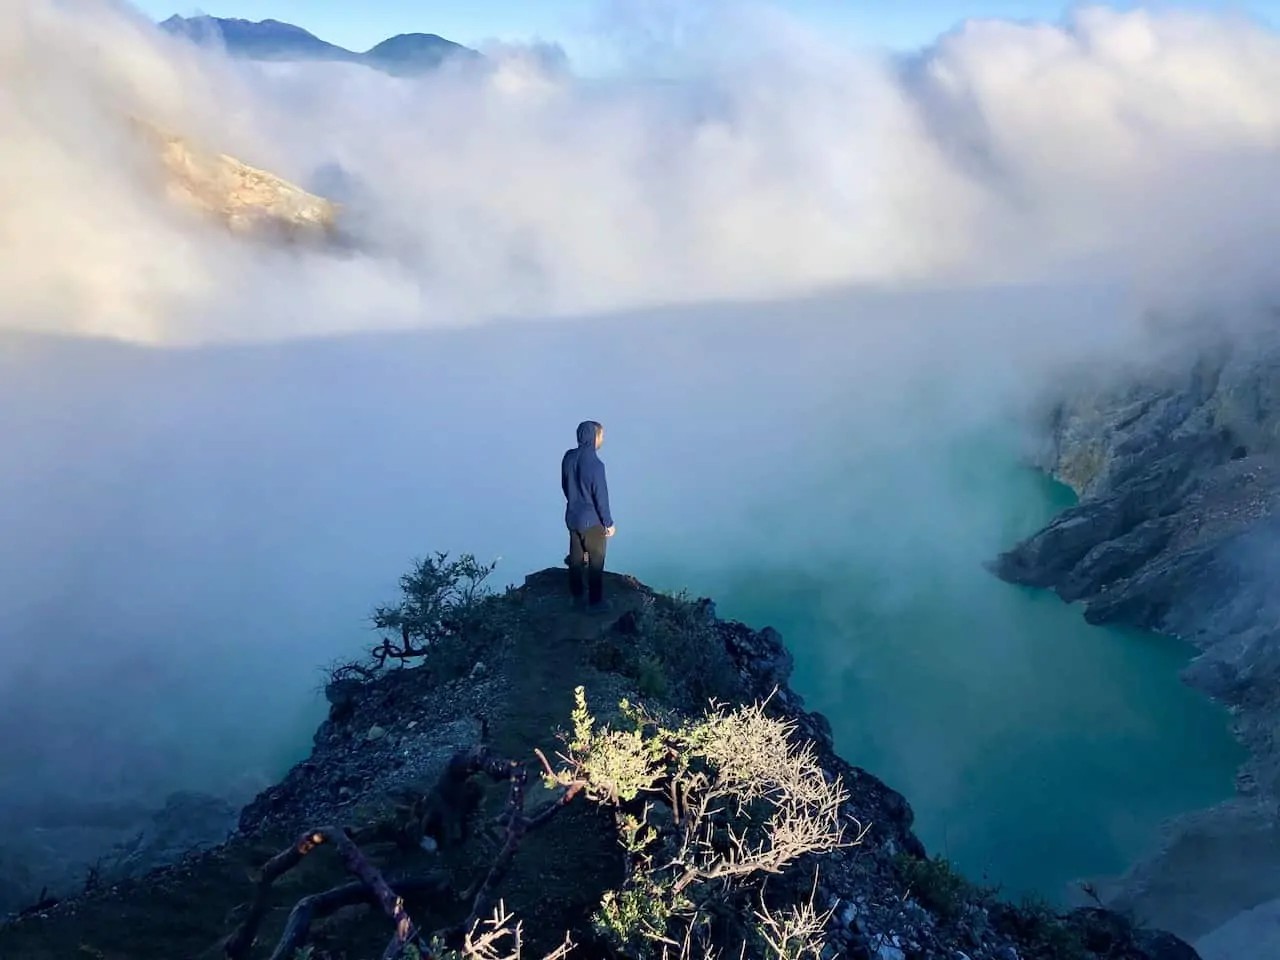
Ijen is a bit of a different volcano, as there are dangerous fumes coming from the crater down below. Due to this, you must wear a gas mask for a portion of the trail so you do not breathe in the air. If going with a guide, they should have these ready for you beforehand.
If staying in Banyuwangi the drive over will take around an hour until you reach the parking lot.
From there, the trek up should take around 2-2.5 hours, which also may include a side hike down into the crater to see the blue flames. These blue flames occur due to the combustion of the sulfuric gasses but be warned that they are not always seen.
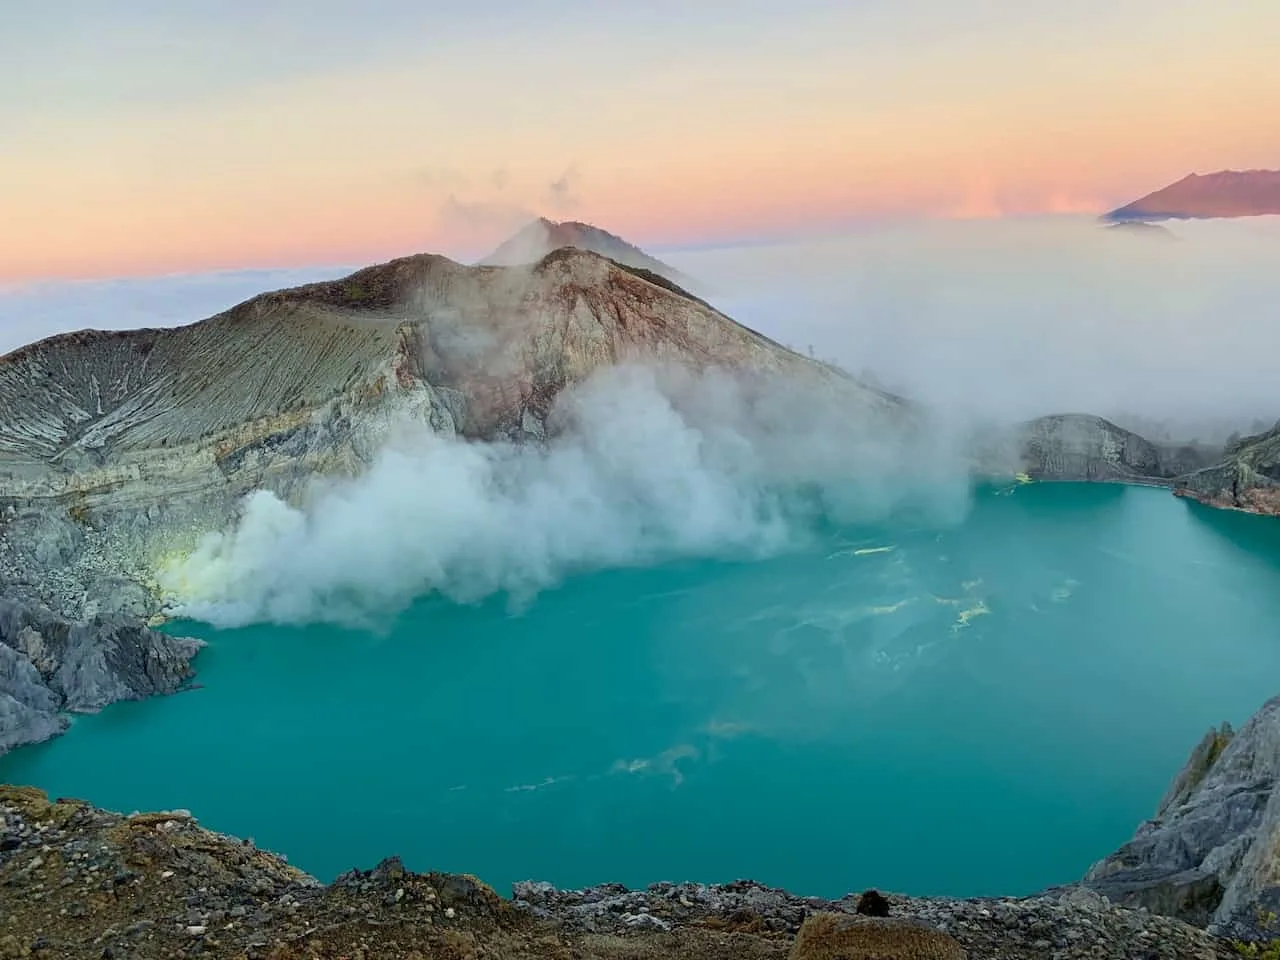
Once at the sunrise area though, you will see the sun come up in one direction, while the crater and its green colored crater lake will be in the other.
It is just a beautiful site to see and definitely one of the more unique hiking experiences I have taken part of over the years. Once all done by the crater rim, it is back down to the parking lot and off to Banyuwangi.
» Read more about the sunrise hike in the Ijen Volcano Trekking guide up on the site
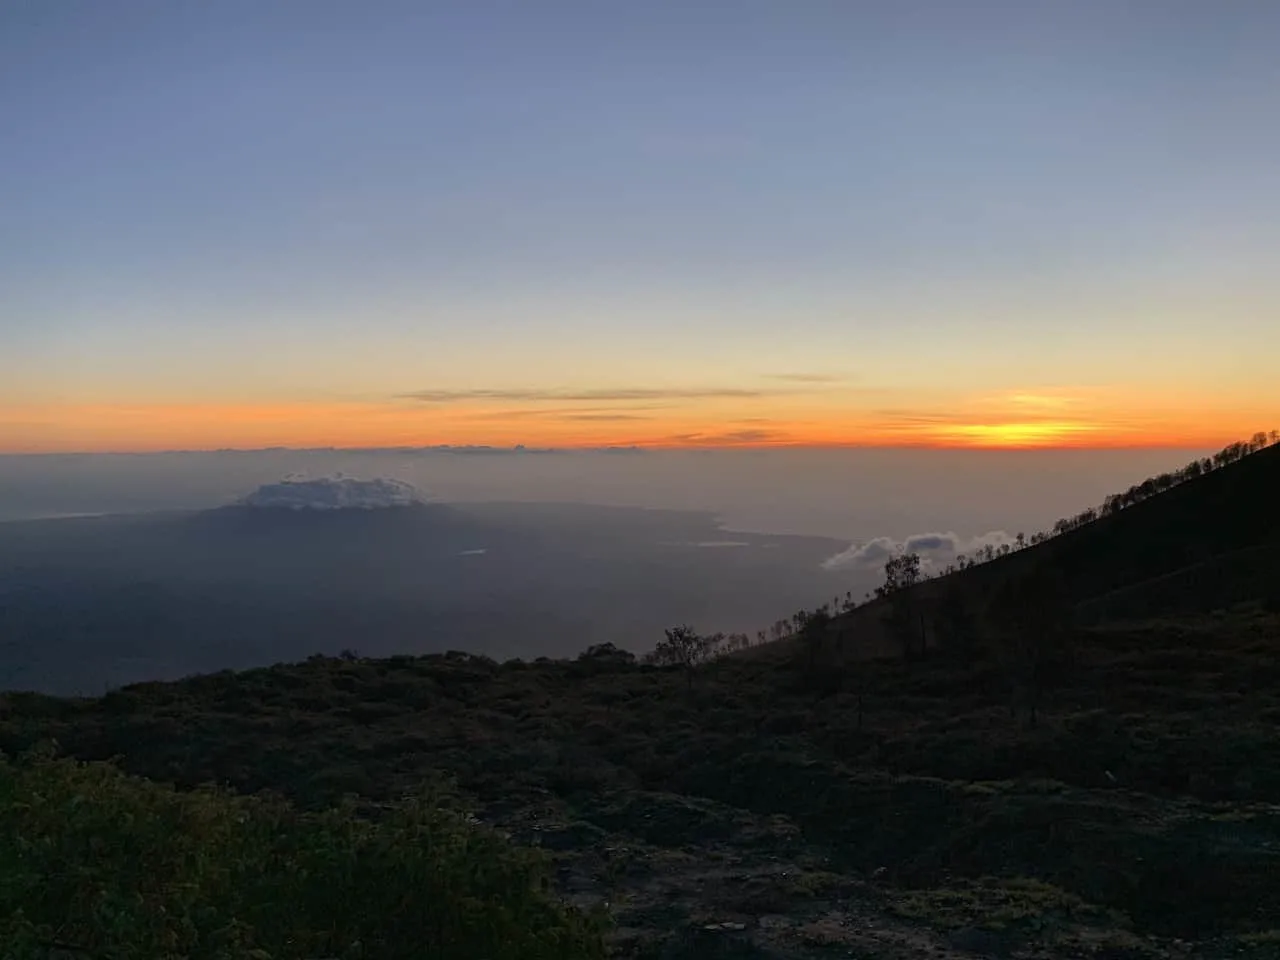
Since you will be arriving back in Banyuwangi by late morning, you should still be able to head back to your hotel to shower and pack up before leaving. I would just be sure that you are able to checkout from your hotel around noon or so.
Up next is up to you! Most likely, the easiest option is to make the trip over to Bali. You can do so by taking the quick ferry over from Ketapang to Gilimanuk on Bali. Once there it is time to enjoy even more that the country of Indonesia has to offer.
You can check out this one week Bali itinerary I put together for more info about what to do there. If you have more time, be sure to head over to Gili Trawangan or Komodo National Park (where you will find highlights such as Padar Island)
And that about wraps up a one week backpacking Java itinerary! As you can see this is going to one jam packed week, but it will one of the best you can ask for. If you do have any questions or comments about the itinerary feel free to add them in below.
Also don’t forget to check out the other Indonesia itineraries and guides up on the site.
Have fun out there and safe travels!


Mark
Sunday 9th of October 2022
Looking to do similar trip with my 28yr old son early Dec. How long are most of these hikes/walks & do you recommend hiking shoes/boots or just good runners? Did you do anything re possibly getting malaria in Java?
Charles
Tuesday 11th of October 2022
Hi Mark - each of the hikes mentioned should have a hiking guide linked so you can learn more details about each one. On average, I would say between 2-5 hours depending on the hike. I would recommend hiking shoes or trail shoes in general. While some hikes may not need them, during others you will find it beneficial. And no, I did not take any malaria pills while on Java but best to ask your doctor about the latest.
Enjoy the trip!