Are you looking for a day by day Everest Base Camp trek itinerary?
Well, you have come to the right place because this guide will walk you through exactly what to expect during your 11 days in the Himalayas as you explore the region.
It will go over trekking stats such as distance, duration, and elevation gain, as well as what each day out on the trail will be like. Hope you enjoy it!
* Affiliate Disclosure: This post may contain affiliate links, which means I may receive a commission if you make a purchase through the links provided, at no additional cost to you. Thanks for supporting the work I put into TripTins!
Everest Base Camp Trek Overview
If you are doing your research on the Everest Base Camp trek I am sure you will come across plenty of itinerary variations. While Everest Base Camp is a true highlight of the region, there are plenty of other additions that can make the ordinary 11-day trek into a 3+ week trek.
This guide however, will just focus on the classic 11 day Everest Base Camp trek itinerary without any of the additional add-ons or side treks.
It is the perfect hiking experience for those who want to get a taste of the Himalayas and get up close and personal to the highest mountain in the world.
» Be sure to check out this in depth guide to the Everest Base Camp Trek that goes into detail about everything and anything you will need to know for your time in the region.
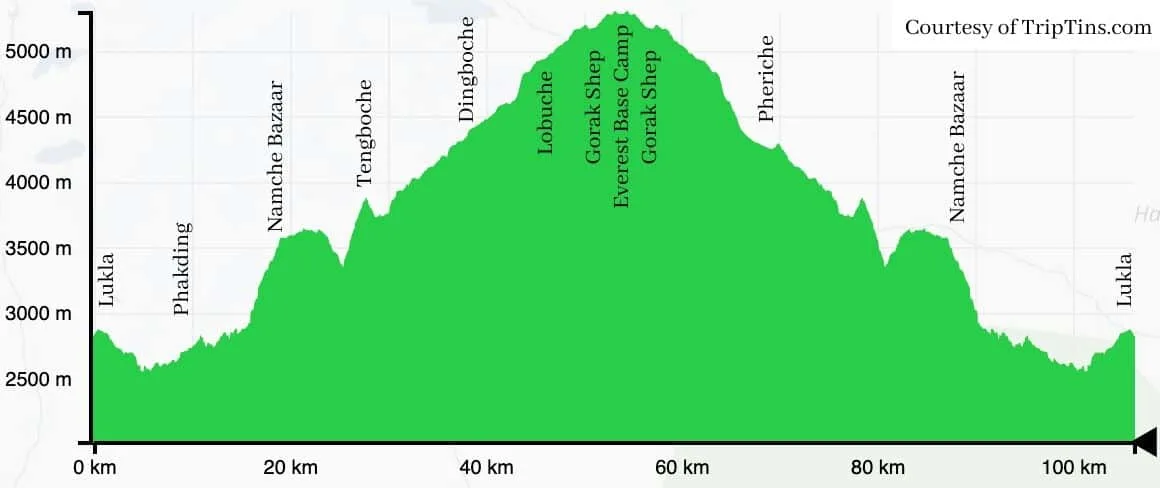
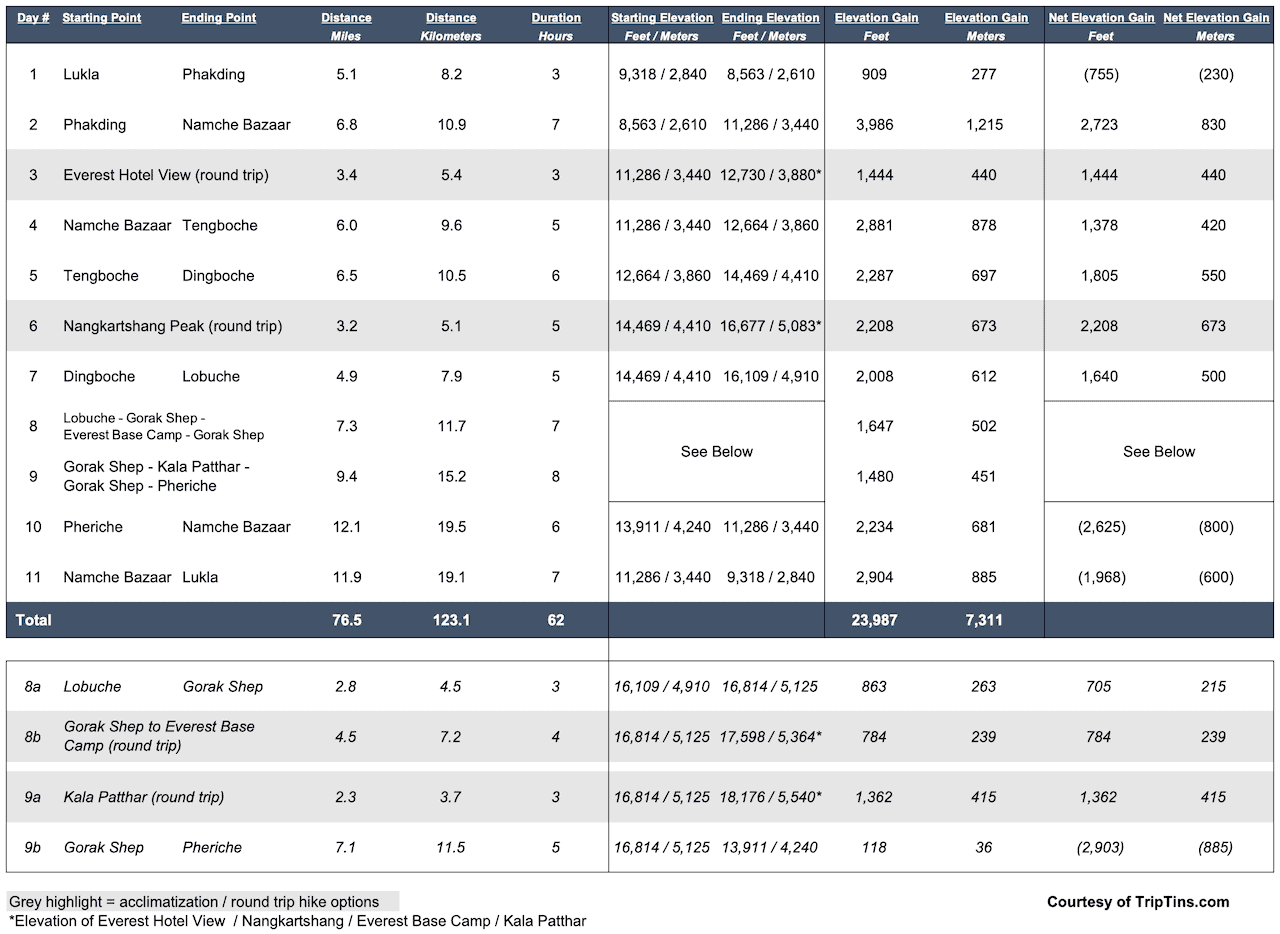
Below is the 11 day overview of the trek alongside the elevation profile and some helpful daily statistics:
Day 1: Fly to Lukla | Hike to Phakding
Day 2: Phakding to Namche Bazaar
Day 3: Acclimatization Day | Hotel Everest View
Day 4: Namche Bazaar to Tengboche
Day 5: Tengoche to Dingboche
Day 6: Acclimatization Day | Nangkartshang Peak
Day 7: Dingboche to Lobuche
Day 8: Lobuche to Gorak Shep to Everest Base Camp to Gorak Shep
Day 9: Kalapattar Trek | Gorak Shep to Pheriche
Day 10: Pheriche to Namche Bazaar
Day 11: Namche Bazaar to Lukla
Day 12: Morning flight to Kathmandu
Everest Base Camp Packing List
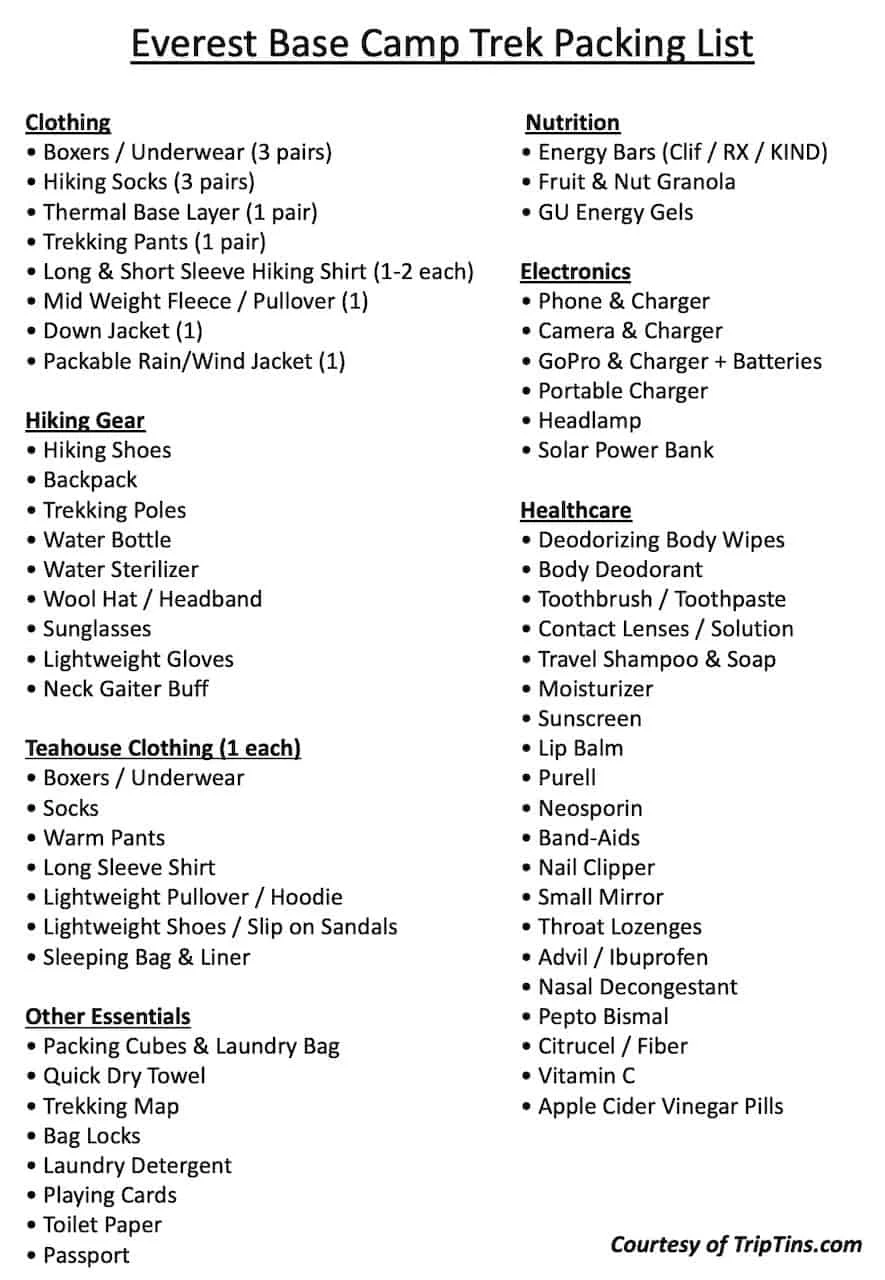
To have a successful Everest Base Camp trek, you will need to come prepared with the right gear.
Remember, this is an 11 day trek and it will very likely include some cold conditions along the way. By utilizing the packing list below, you should be in great shape with all necessary gear and other essentials.
The Everest Base Camp Trek Packing List I put together goes into detail about everything to bring along and will explain more thoroughly why certain items are recommended.
Considering travel insurance for the Everest Base Camp Trek?
World Nomads offers coverage for more than 150 adventure activities as well as emergency medical, lost luggage, trip cancellation and more.
For years, World Nomads has been protecting, connecting & inspiring independent travelers, offering travel insurance & safety advice to help you travel confidently. Their mission is to support and encourage travelers to explore their boundaries.
World Nomads has simple and flexible travel insurance that has been designed by travelers for travelers. Even if you leave home without travel insurance or your policy runs out, you can buy or extend out on the road.
Get a quote for a World Nomads travel insurance policy today!
Day 1 – Fly to Lukla | Trek to Phakding
Duration: 3 Hours
Distance: 5.1 miles / 8.2 km
Starting Elevation: 9,318 ft / 2,840 m
Ending Elevation: 8,563 ft / 2,610 m
True Elevation Gain: 909 ft / 277 m
Net Elevation Gain: -755 ft / -230 m
Learn More → Lukla to Phakding Day 1
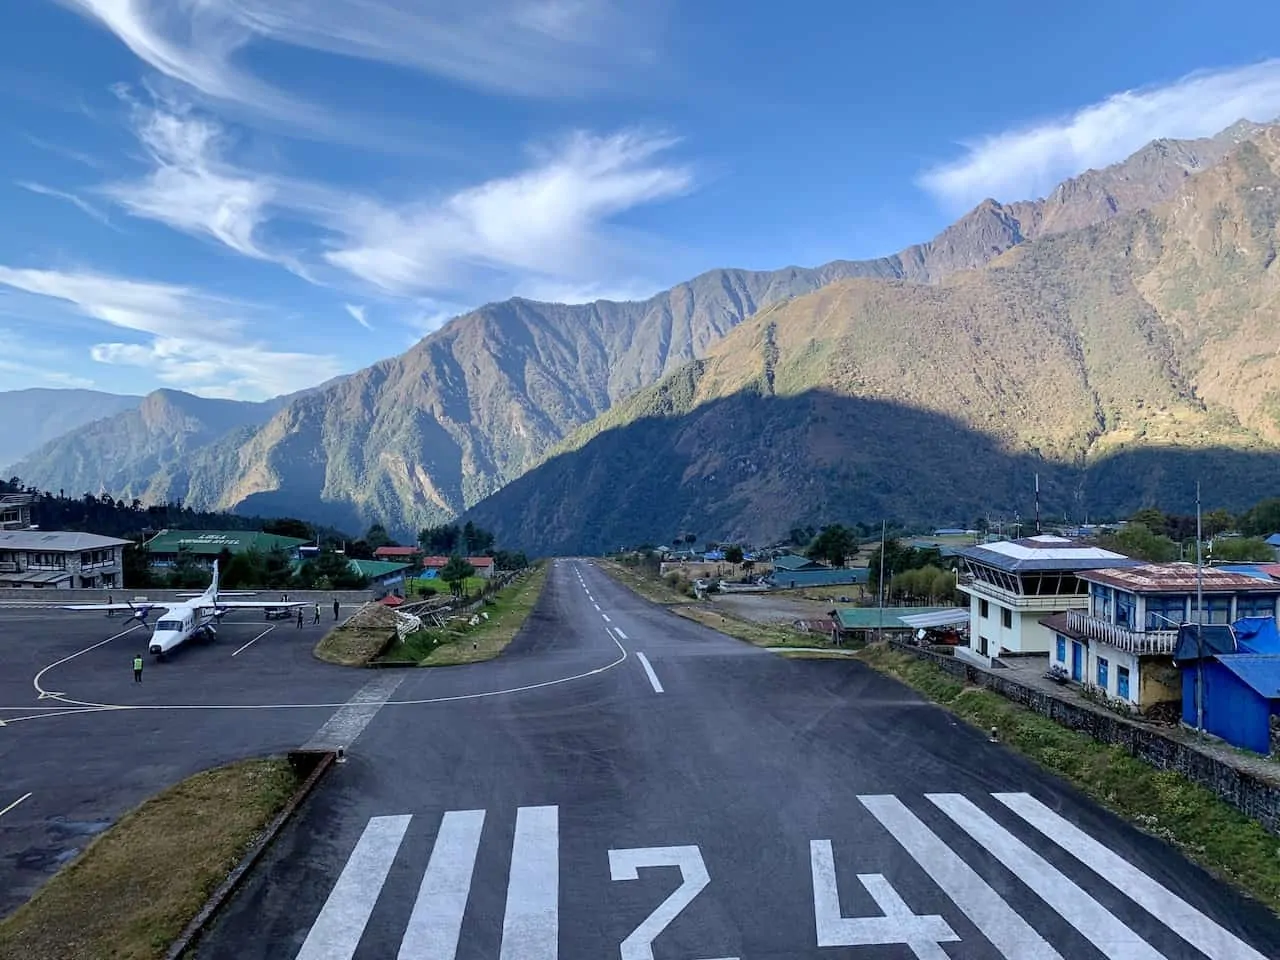
Before heading off on the trek, you will first need to get yourself from Kathmandu to Lukla on a short 30 minute flight.
The Kathmandu to Lukla flight is one of the most memorable routes in the world, and soon enough you will be landing on the short mountainside strip of runway.
Once you are off the plane and collect your bags, you can grab a nice breakfast in town before starting the hike towards Lukla.
Important Note: Flights sometimes only depart from Ramechhap, a 5-6 hour drive from Kathmandu. Be sure to check the latest flight schedules to better understand if Kathmandu offers departures during your trip.
This will be one of the shortest and easiest days of the trek, as you will only be hiking for about 3 hours and you will actually be heading downhill for most of the journey.
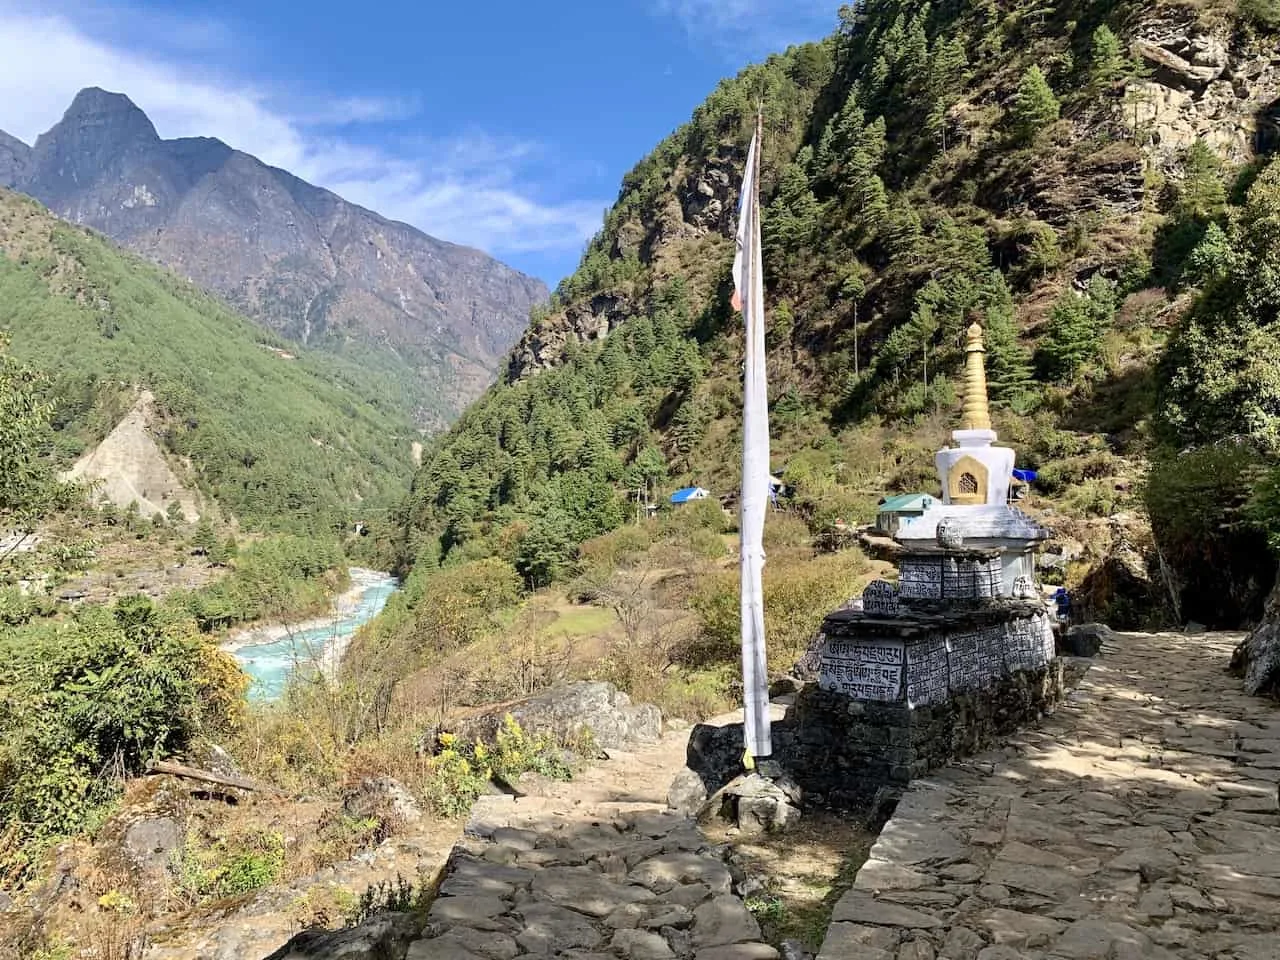
The trail will be a mixture of paved pathways, dirt, and navigable rock as you pass by some smaller villages and make your way further into the Khumbu Valley.
Since you will be on some of the lower portion of trail, you will have plenty of greenery all around you with some snowcapped mountains further out in the distance.
A few days into the trail, you won’t have much greenery at all as you increase your elevation so it is definitely a unique portion of trail to trek through.
You will also have the first glimpse of the Dudh Kosi river down below, which you will be following throughout a large portion of the trek. As you approach Phakding, you will head across a few suspension bridges before making it into town center.
Day 2 – Phakding to Namche Bazaar
Duration: 7 Hours
Distance: 6.8 miles / 10.9 km
Starting Elevation: 8,563 ft / 2,610 m
Ending Elevation: 11,286 ft / 3,440 m
True Elevation Gain: 3,986 ft / 1,125 m
Net Elevation Gain: 2,723 ft / 830 m
Learn More → Phakding to Namche Bazaar Day 2
Today will be a big day as you head towards the largest village of the trek – Namche Bazaar. Over the course of 7 hours you will make your way up the valley, as you cross plenty of suspension bridges and smaller villages along the way.
You will want to pace yourself during the trek as you gain nearly +4,000 feet of elevation over the course of 7 miles. Be sure to take frequent breaks, stay hydrated, and fuel up along the way.
Similar to the first day, you will have a mixture of terrain on day 2. It will include everything from an easy paved stone pathway to more technical uneven rocks later on in the day.
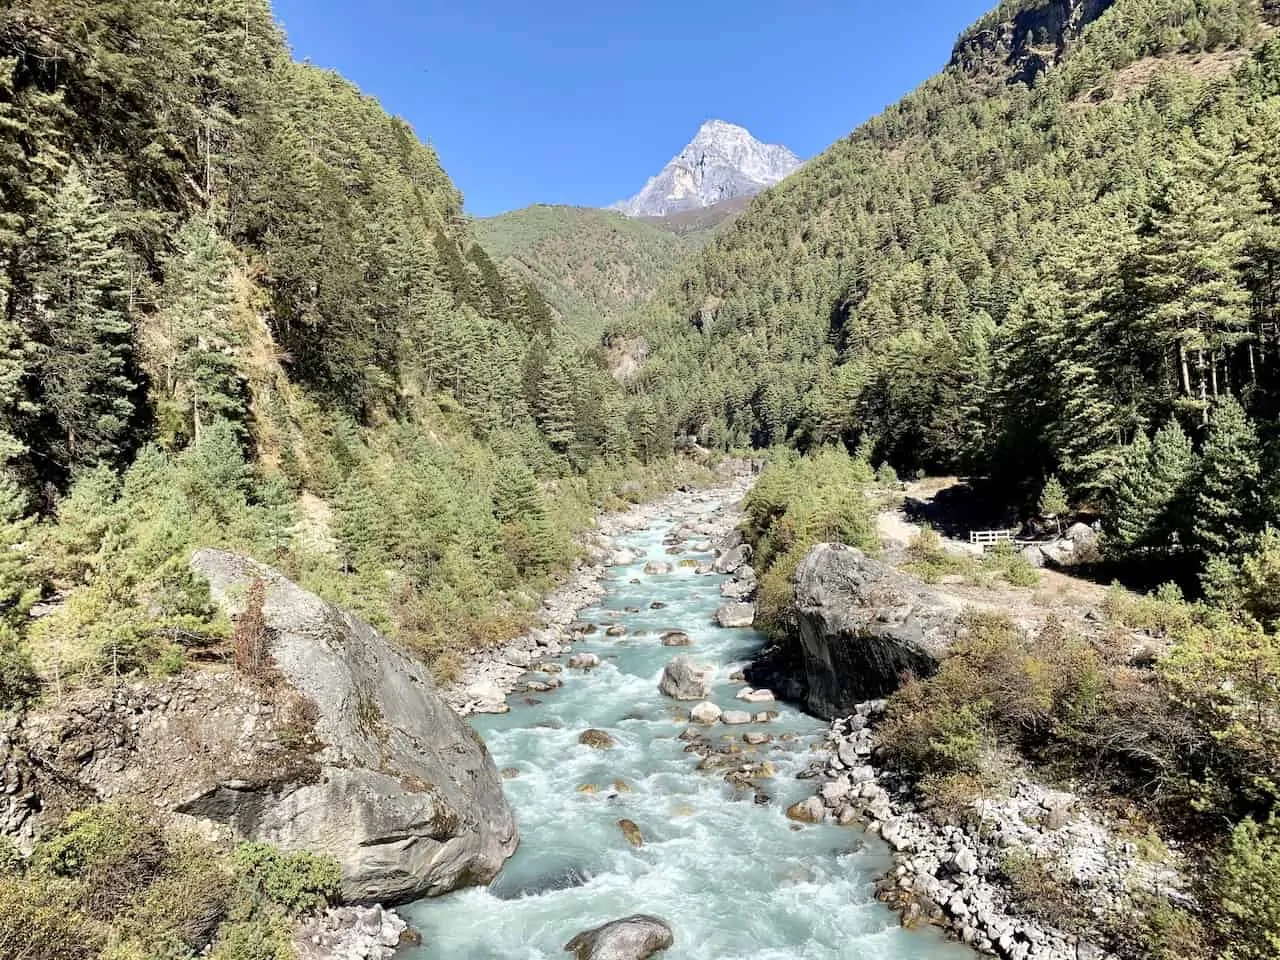
The route will follow the river further into the valley as you get the chance to take in some stunning views of the water down below and mountain peaks up high. It is also the one of the days with the most amount of suspension bridge crossings as you zig zag your way into Sagarmatha National Park inching closer to Namche.
While the route is a moderate uphill climb for most of the way, the final 2 or so miles are the toughest as the incline gets steeper and steeper. Here is where you will find some of that more uneven terrain as you rapidly gain altitude.
Not too far from Namche, you will come across one last main resting area, where you will get to see your first glimpses of Mount Everest itself through the trees (at least on a clear day that is).
It is then one last push towards Namche Bazaar, where you will be staying for the next 2 nights of your journey.
Day 3 – Namche Bazaar Acclimatization
Duration: 3 Hours
Distance: 3.4 miles / 5.4 km
Starting Elevation: 11,286 ft / 3,440 m
Ending Elevation: 12,730 ft / 3,880 m
True Elevation Gain: 1,444 f / 440 m
Net Elevation Gain: 1,444 f / 440 m
Learn More → Namche Bazaar Acclimatization Day 3
Instead of continuing the trek towards Everest Base Camp, on day 3 you will take part of an acclimatization hike to better prepare your body for the continuous high altitude that is yet to come.
A popular day hike from Namche Bazaar to take part of is the one up to the Hotel Everest View, located around 1,400 feet above the town center. You will be able to leave your heavy pack at the teahouse and just head up with a small daypack as you get to enjoy a few hours of trekking.
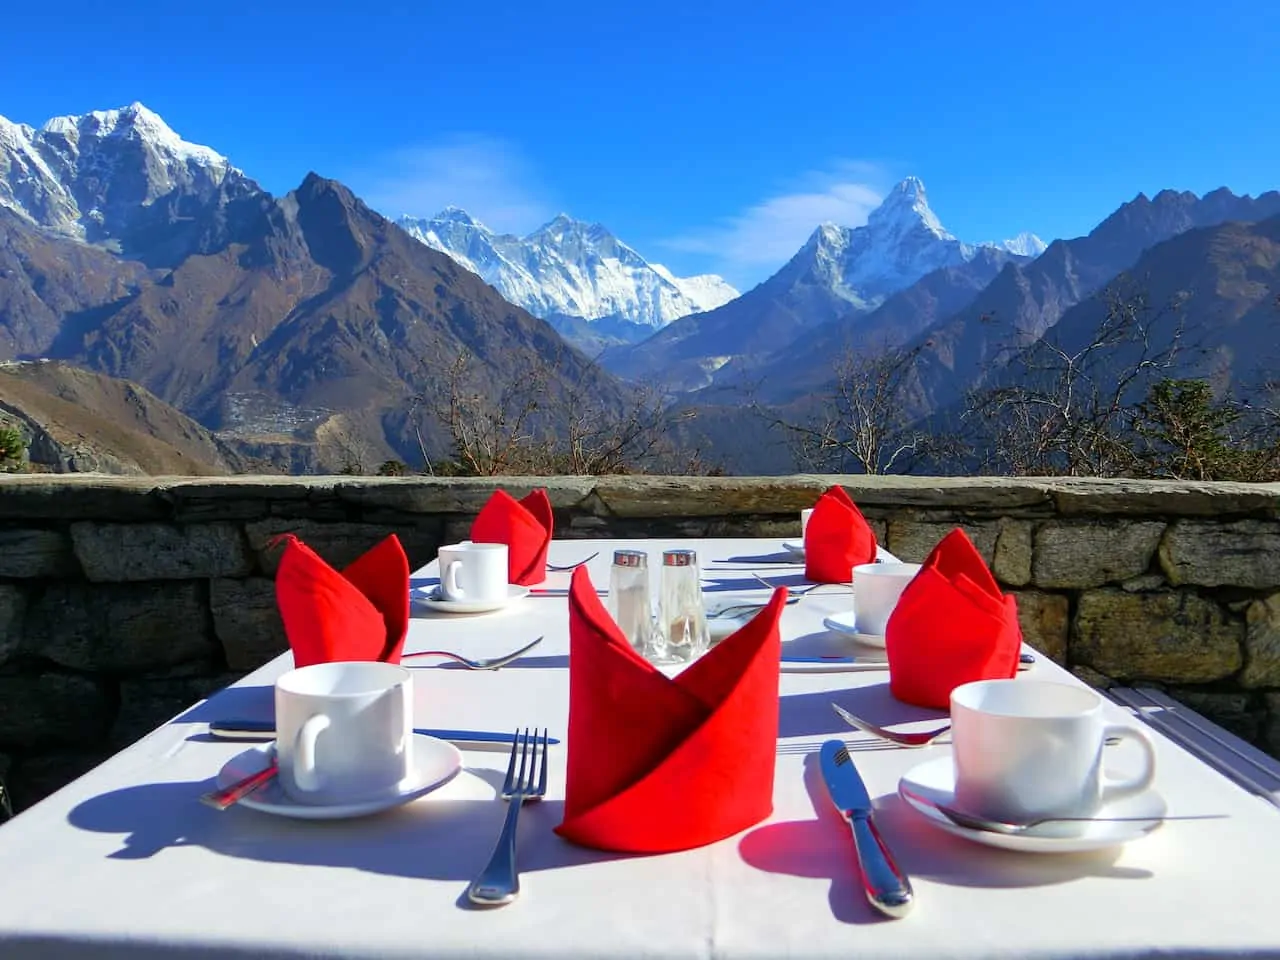
Along the way you up will get glimpses of the famous Ama Dablam mountain and the Everest mountain range (Everest, Nupste, and Lhoste).
Eventually you will reach the hotel itself, where you can head onto the back-patio area to relax for a bit. From the patio area you will have some fantastic views of Everest way out in the distance as you grab some food and drinks.
Once you are all set at the hotel, you can make your way back down the same way you came up and then enjoy another night in Namche Bazaar.
Day 4 – Namche Bazaar to Tengboche
Duration: 5 Hours
Distance: 6.0 miles / 9.6 km
Starting Elevation: 11,286 ft / 3,440 m
Ending Elevation: 12,664 ft / 3,860 m
True Elevation Gain: 2,881 ft / 878 m
Net Elevation Gain: 1,378 ft / 420 m
Learn More → Namche Bazaar to Tengboche Day 4
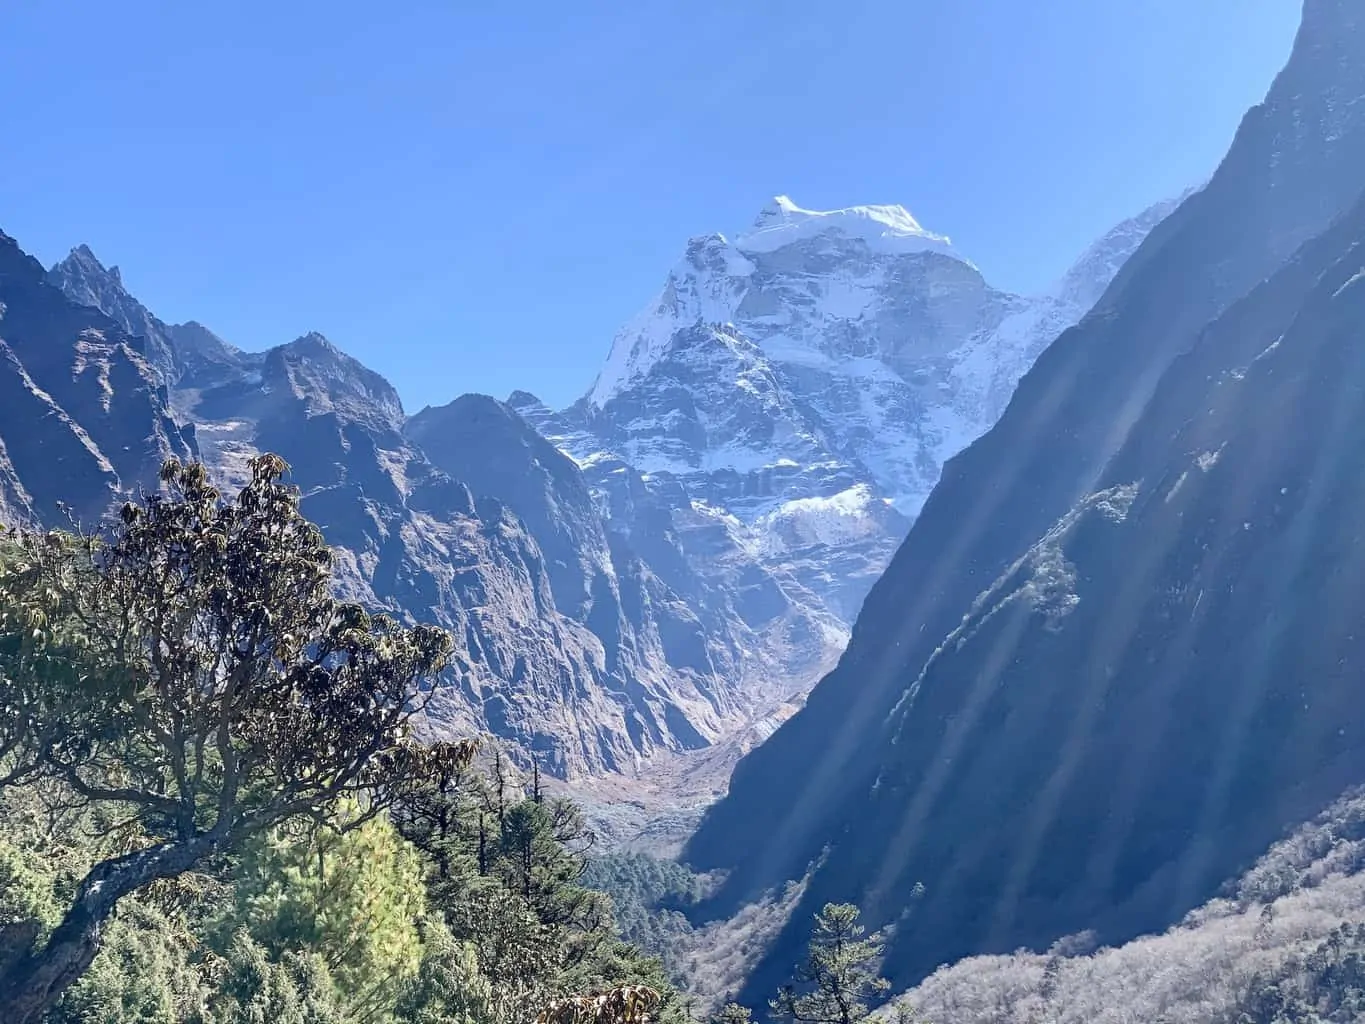
After 2 nights in Namche, it is time to pack up your bags and make your way towards the village of Tengboche. Today’s journey will take you high up alongside the valley wall as you slowly gain elevation throughout the way.
For a solid portion of trail you will have vast views of the Everest mountain range and the mountain of Ama Dablam. On a clear day, these views are tough to beat and this is one of my favorite parts of the entire trek.
Although it is an incredibly scenic route, the trail will soon become more and more difficult. Instead of continuing higher up in elevation towards Tengboche, the trail will head all the way down towards the valley floor on some uneven and rocky terrain.
After crossing a suspension bridge, it is time to gain all of that elevation right back (and then some) as you make the final tough ascent to Tengboche. It certainly isn’t an easy climb as you gain over 1,500 feet in this last portion of trail on some tricky terrain.
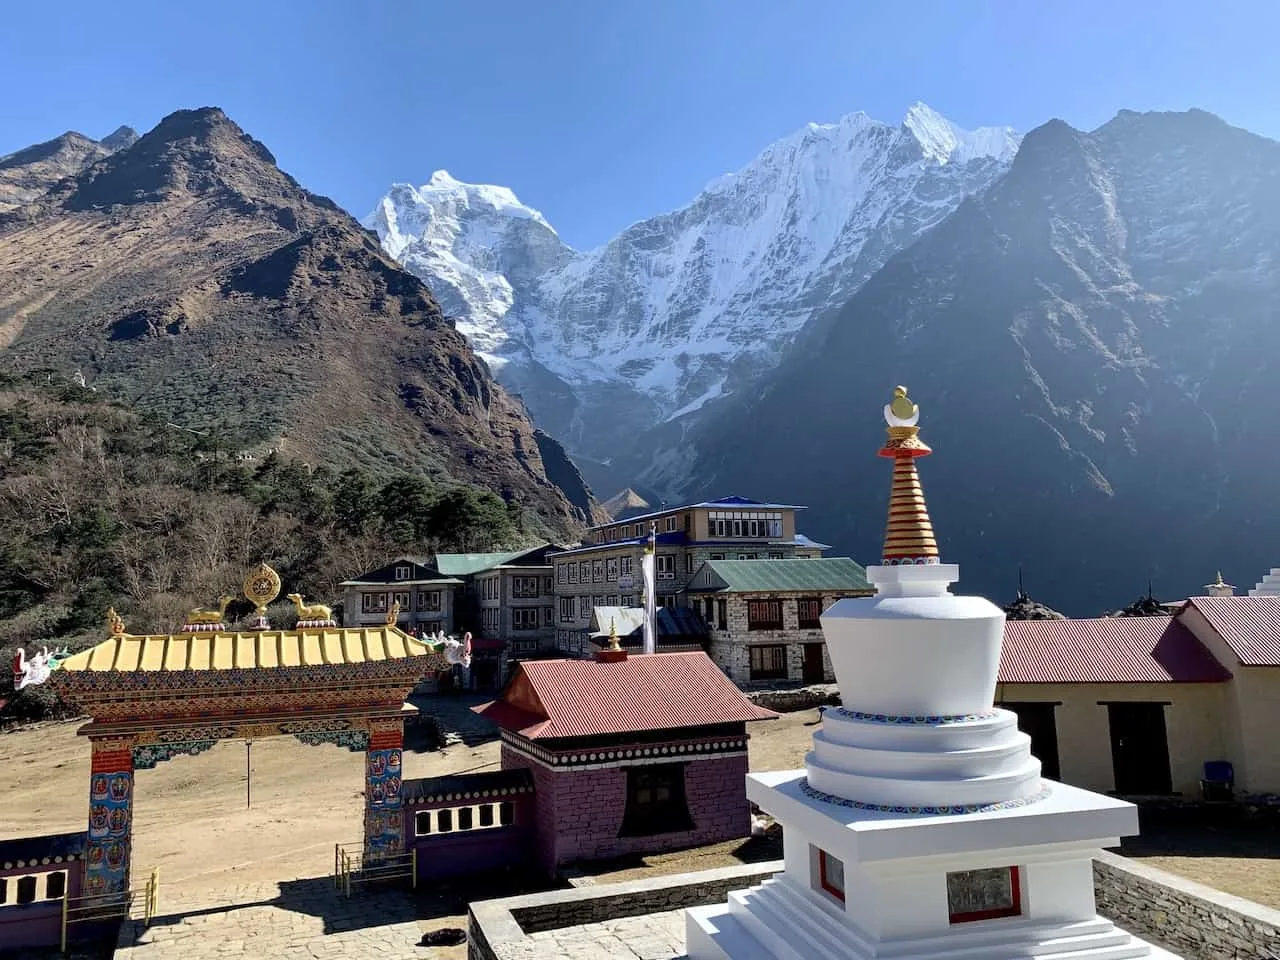
Soon enough though you will approach the village of Tengboche, where you can head on over to your teahouse to spend the night.
Bonus: be sure to check out the Tengboche Monastery during your time in the village
Day 5 – Tengboche to Dingboche
Duration: 6 Hours
Distance: 6.5 miles / 10.5 km
Starting Elevation: 12,664 ft / 3,860 m
Ending Elevation: 14,469 ft / 4,410 m
True Elevation Gain: 2,287 ft / 697 m
Net Elevation Gain: 1,805 ft / 550 m
Learn More → Tengboche to Dingboche Day 5
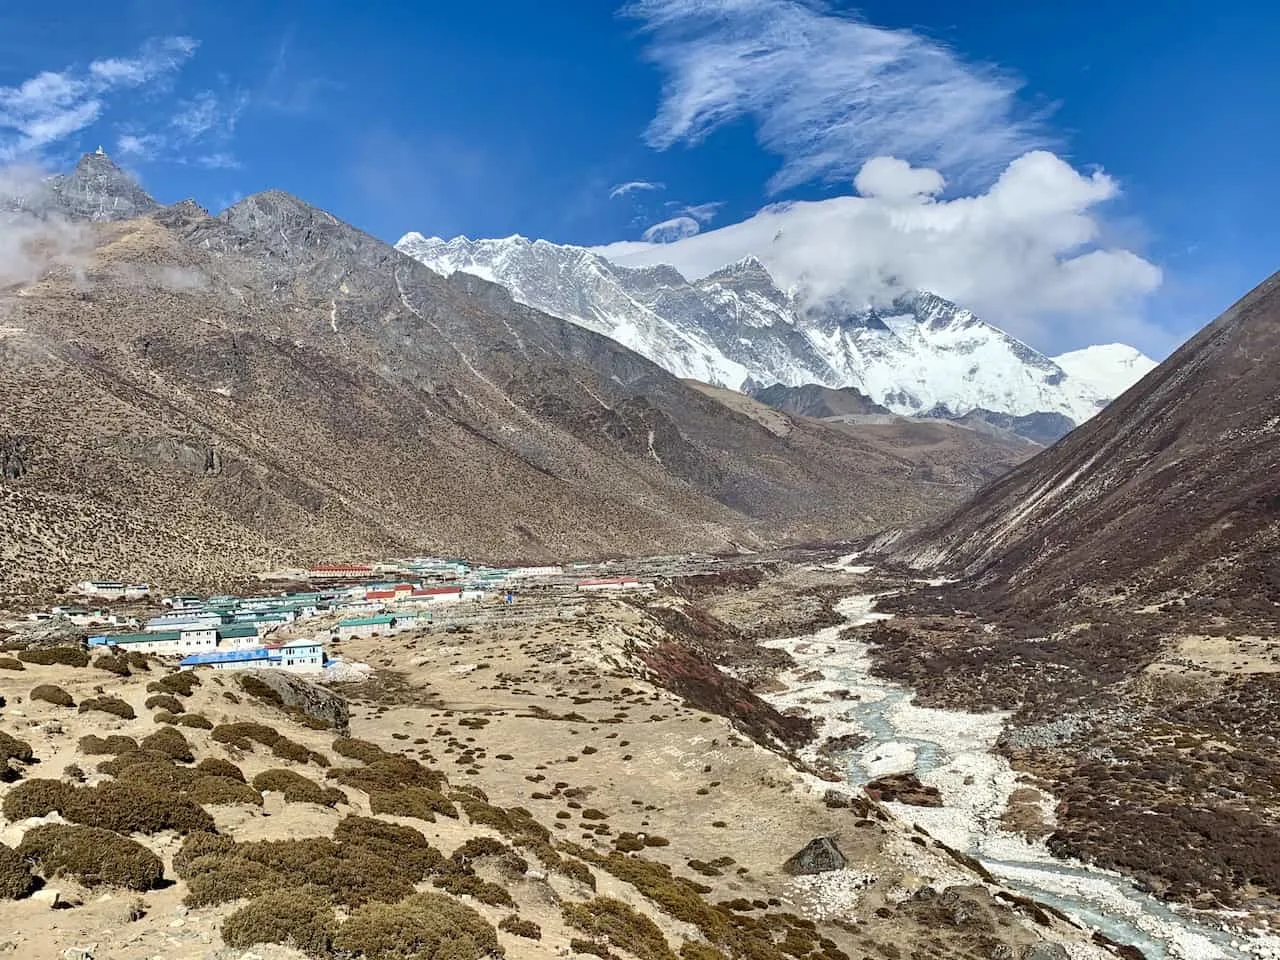
Next up on the Everest Base Camp trek itinerary is the village of Dingboche, where you will be spending two nights to better acclimatize to the altitude.
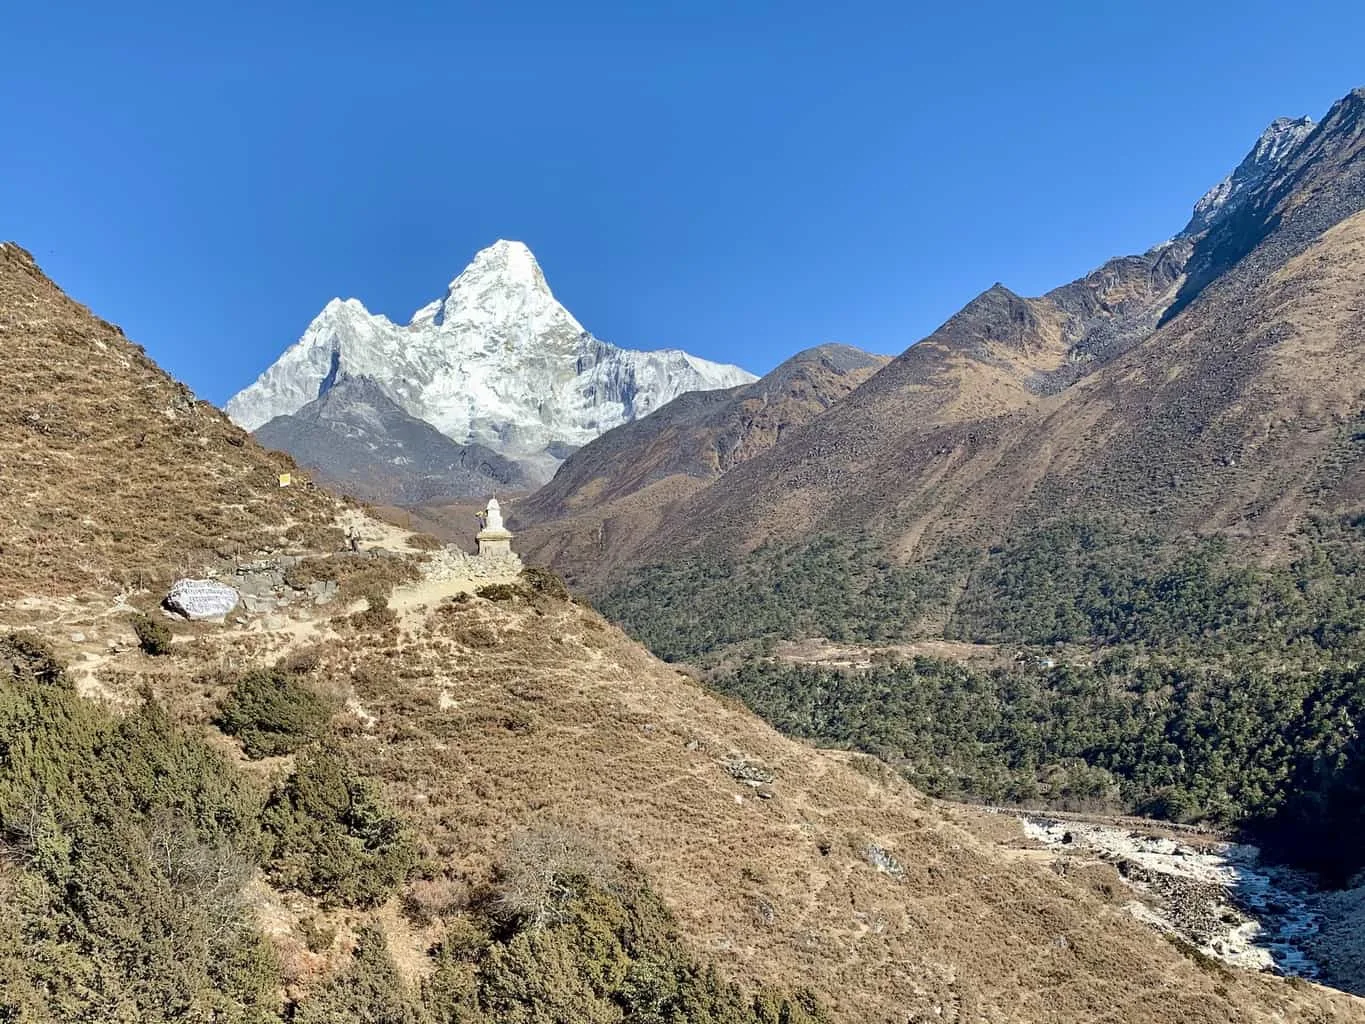
While you will be gaining a bit over 2,000 feet of elevation throughout today’s hike, nearly all of it is done at a gentle incline. You will have some similar views to the previous day as you get to enjoy more of Ama Dablam and the Everest mountain range.
Now that you are getting closer to the mountain range itself, you will begin to lose the views of the top of Mount Everest but you will still get to take in the views of the neighboring mountains.
In the middle of the hike, you will also pass through the village of Pangboche, which can be a great spot to relax, have some food, and enjoy the view of the Everest mountain range out in front of you.
It is then onwards and upwards towards Dingboche as you experience some new surrounding landscapes. The village will soon come into view as you finish up day 5 and head to a teahouse for the next two nights of the trek.
Day 6 – Dingboche Acclimatization
Duration: 5 Hours
Distance: 3.2 miles / 5.1 km
Starting Elevation: 14,469 ft / 4,410 m
Ending Elevation: 16,677 ft / 5,083 m
True Elevation Gain: 2,208 ft / 673 m
Net Elevation Gain: 2,208 ft / 673 m
Learn More → Dingboche Acclimatization Day 6
It is now time for yet another acclimatization day as you spend some additional time around Dingboche. A popular day hike is to head up the mountain just behind the village – Nangkartshang Peak.
It certainly isn’t an easy climb as you gain over 2,000 feet of elevation in just 3 miles but the views on the way up and from the peak are well worth the effort.
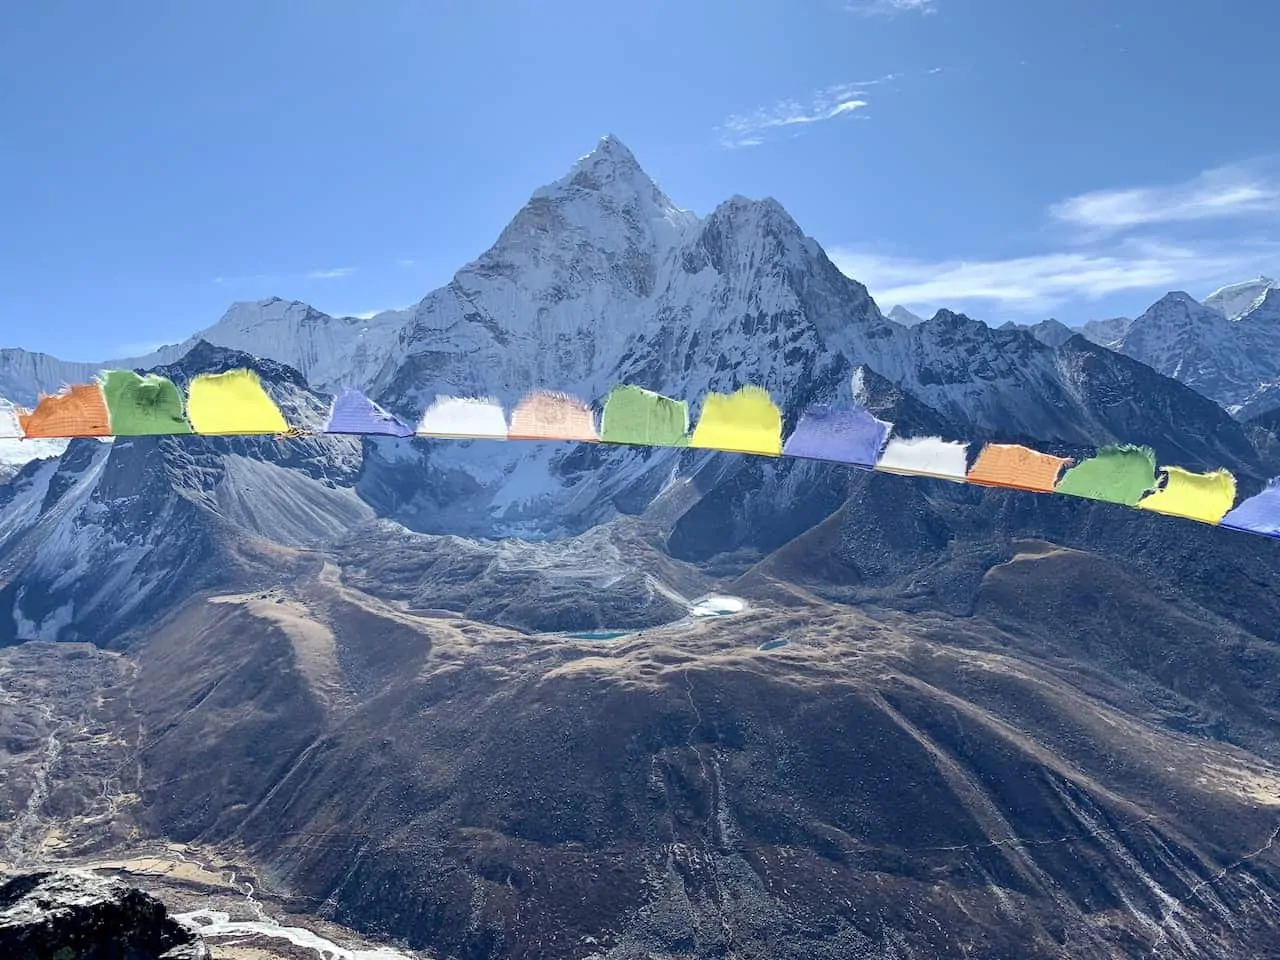
After having some breakfast at your teahouse, you can grab your daypack and follow the zig zagging route up the mountain. As you ascend Nangkartshang you will be begin to take in some beautiful views of the surrounding valleys.
Behind you will be views of the route that you came in on, to your left will be the valley towards Lobuche (which you will be heading to on day 7), and to your right will be views of Ama Dablam and several other scenic mountains.
Since this route does gain quite a bit of elevation and is an uphill climb throughout, be sure to take frequent breaks as you make your way up. This way you not only can have a rest, but it also gives you a chance to just sit back and enjoy the views in all directions.
As you continue your way up, the terrain will begin to get a bit trickier as you maneuver your way through a rocky terrain towards the summit. Once you reach the top of Nangkartshang, get those photo ops in and take in one of the top views of the entire trek.
Day 7 – Dingboche to Lobuche
Duration: 5 Hours
Distance: 4.9 miles / 7.9 km
Starting Elevation: 14,469 ft / 4,410 m
Ending Elevation: 16,109 ft / 4,910 m
True Elevation Gain: 2,008 ft / 612 m
Net Elevation Gain: 1,640 ft / 500 m
Learn More → Dingboche to Lobuche Day 7
After spending 2 nights in Dingboche and getting your body better acclimatized, you can continue on to the next village of this Everest Base Camp trek itinerary – Lobuche.
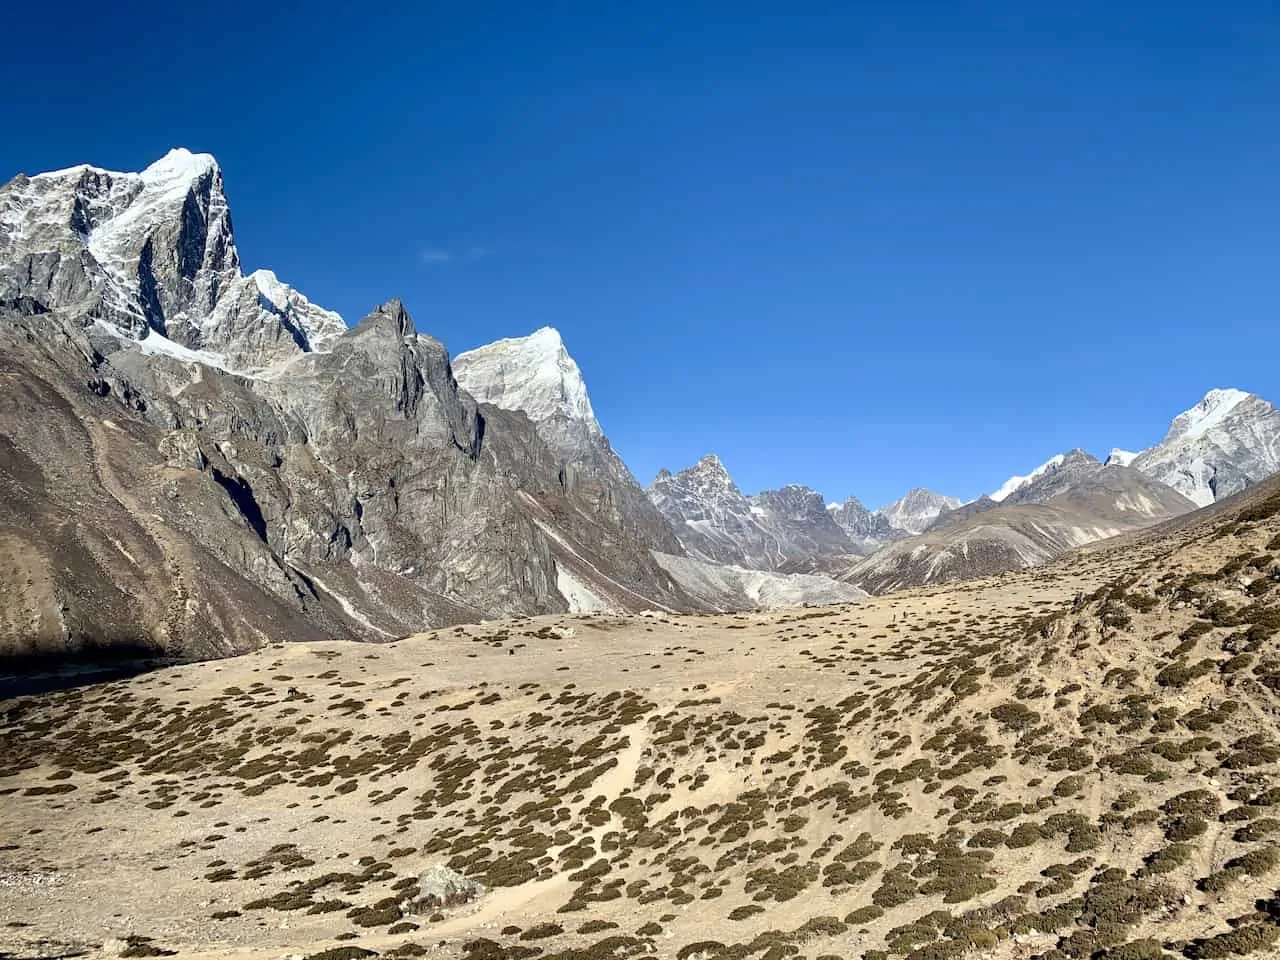
This is one of the easier days of the trek as you make your way through the valley and up towards the famous Khumbu Glacier. A good portion of the day will be spent trekking on the path etched into the valley wall. For the most part, there will just be a slight incline throughout as you slowly gain elevation.
As you approach the base of the glacier, you will reach a tiny village called Thukla. This is a great spot to take a break and relax at as the next portion of trail gets tougher.
There will be a ~45 minute climb up the Thukla pass, which will be the hardest part of the day. Once you are through the climb though you will begin to walk right up alongside the glacier and towards Lobuche for night 7 of the trek.
Day 8 – Lobuche to Gorak Shep + Everest Base Camp
Duration: 7 Hours
Distance: 7.3 miles / 11.7 km
Starting Elevation: 16,109 ft / 4,910 m (Pheriche)
EBC Elevation: 17,598 ft / 5,364 m
Ending Elevation: 16,814 ft / 5,125 m (Gorak Shep)
True Elevation Gain: 1,647 ft / 502 m
Net Elevation Gain: 1,489 ft / 454 m (Lobuche to EBC)
Learn More → Lobuche to Gorak Shep & Gorak Shep to EBC Day 8
Up next is the highest village of the trek, Gorak Shep. Not only that, but you will also finally be heading to Mount Everest Base Camp itself!
» A quick tip here – I would recommend getting an earlier start to your day. Not only because you will have a lot of trekking in front of you but also due to the fact that rooms at teahouses in Gorak Shep can sell out (in peak season). By starting early you can better guarantee a spot and not be stuck sleeping in the common area.
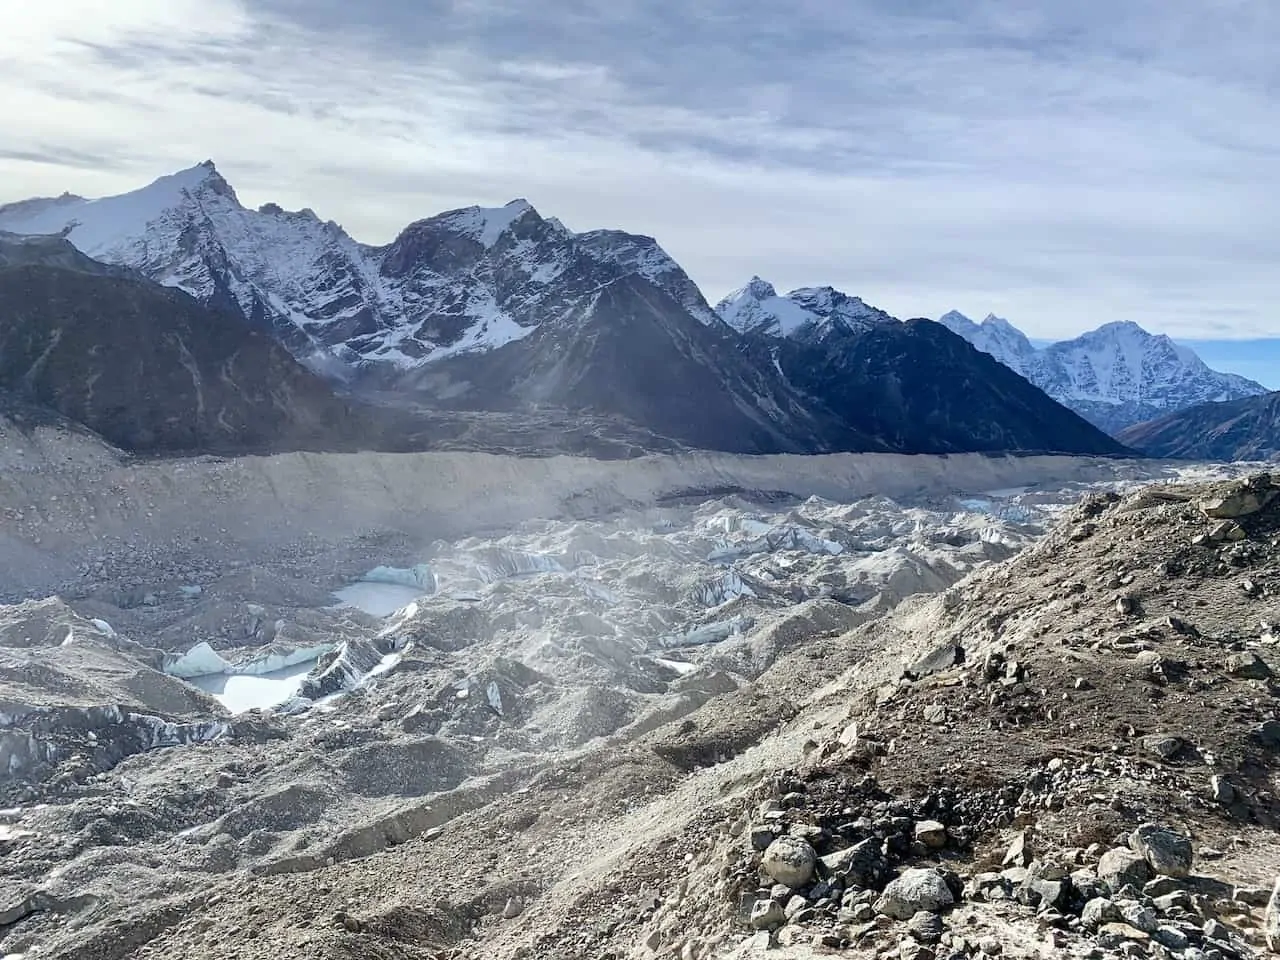
You will start the day by heading out of Lobuche and walking alongside the Khumbu Glacier towards Gorak Shep. Most of the trek up will be pretty straightforward, however you will find short steeper sections as well.
As you continue the climb up, you will begin to get better and better views of the Khumbu Glacier, the Everest mountain range, and surrounding peaks. At some point you will be able to see a very tiny sliver of the top of Everest as well.
Around ¾ of the way through the trail, you will come to a section where you must cross over a glacier. Here is where the trail can get pretty tricky so be sure to watch your step all the way through.
Don’t worry – you wont be walking on slippery ice. The glacier here is covered with sand and rock, so you should always have a solid grip.
Once past the glacier section though, you will be welcomed to the tiny village of Gorak Shep. Head on over to your teahouse, where you can check in, drop your belongings, and have some lunch before continuing on with your day.
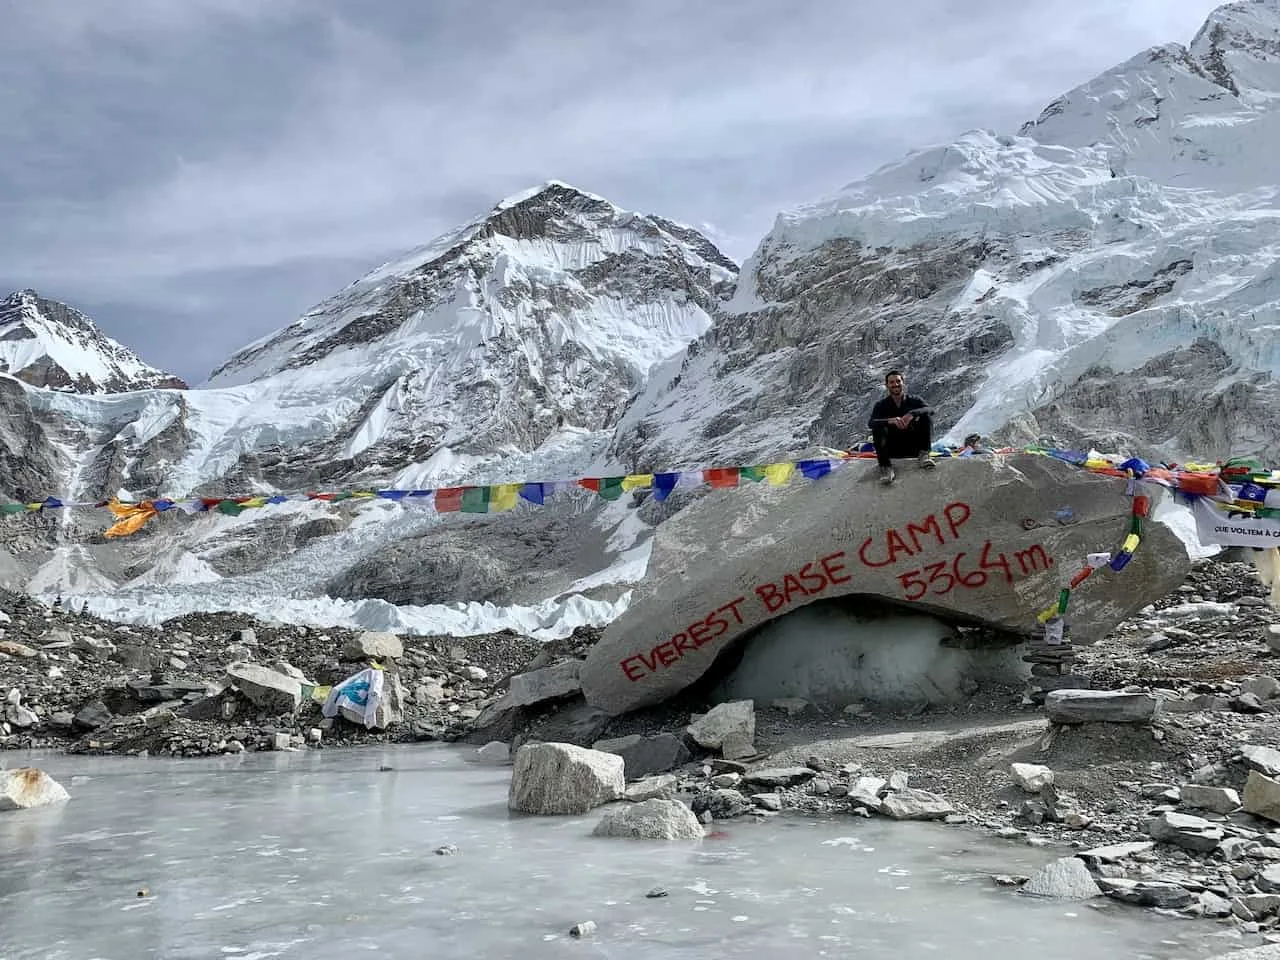
It is now time to head over to Everest Base Camp. This 4 hour round trip hike will take you to the starting point where mountaineers begin their ascent up the tallest mountain in the world.
The hike will take you right alongside the Khumbu Glacier as you head towards the end of the valley. You will have some great views of the glacier and surrounding mountains all the way through.
While the terrain isn’t too steep here, it can get quite technical as much of the trail is actually done on the edge of the Khumbu Glacier itself.
After some time of hiking, you will begin to see the famous Khumbu Icefall (the first part of the Mount Everest climb), as well as the top of Mount Everest itself.
Soon enough, the famous Mount Everest Base Camp rock will come into view. Surrounded in Sherpa prayer flags, the rock is the final stop for trekker’s base camp.
If you are heading to the region around April/May, you will see mountaineers’ base camp further out in the distance right next to the bottom of the icefall.
After enjoying base camp for a bit and wandering around the area, it is the same route back towards Gorak Shep, where you will spend a night.
Day 9 – Kalapathar + Gorak Shep to Pheriche
Duration: 8 Hours
Distance: 9.4 miles / 15.2 km
Starting Elevation: 16,814 ft / 5,125 m (Gorak Shep)
Kala Patthar Elevation: 18,176 ft / 5,540 m
Ending Elevation: 13,911 ft / 4,240 m (Pheriche)
True Elevation Gain: 1,480 ft / 451 m
Net Elevation Gain: -2,903 ft / -885 m (Gorak Shep to Pheriche)
Learn More → Kala Patthar Trek & Gorak to Pheriche Day 9
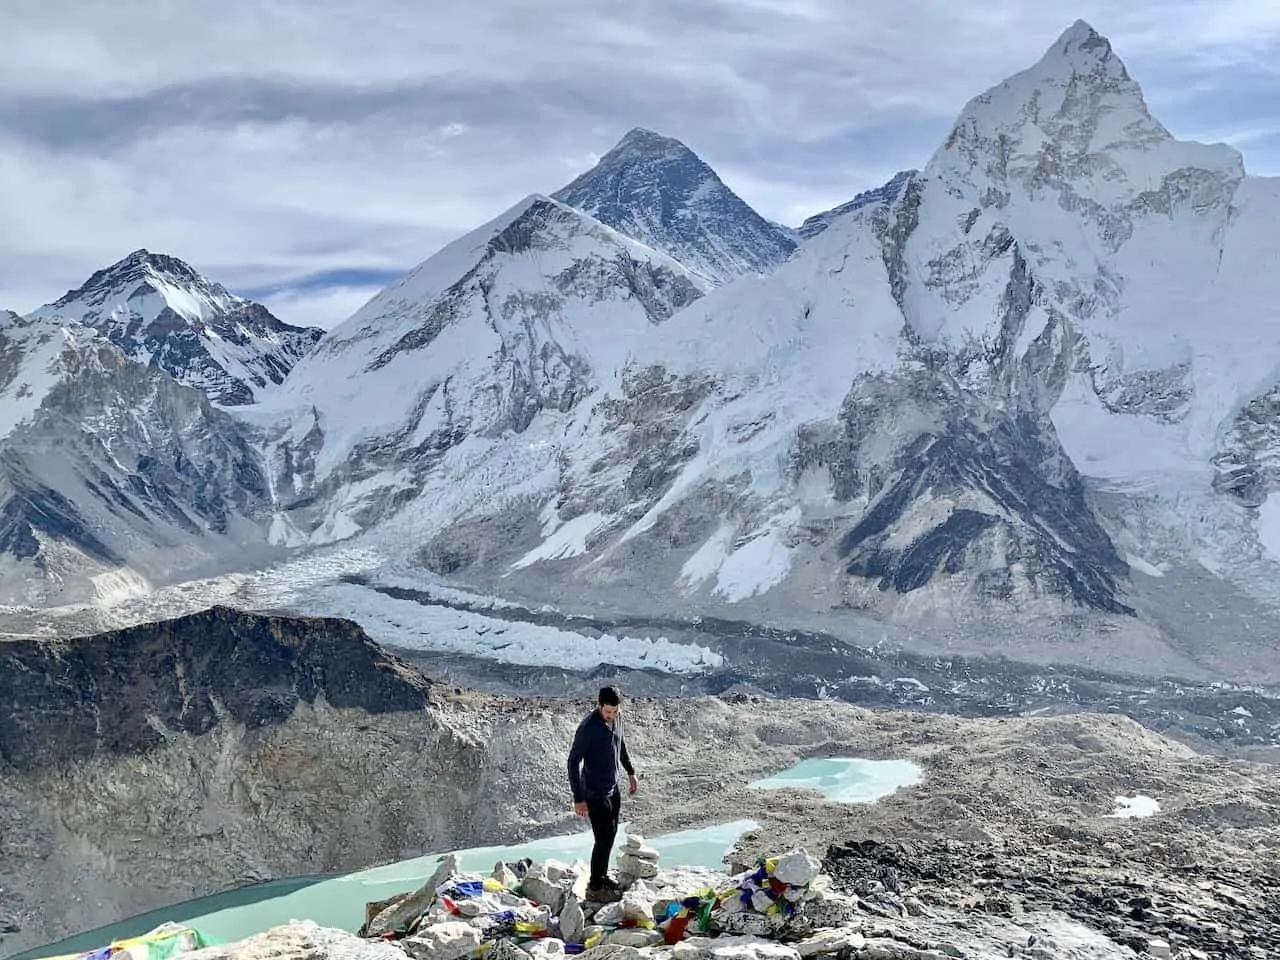
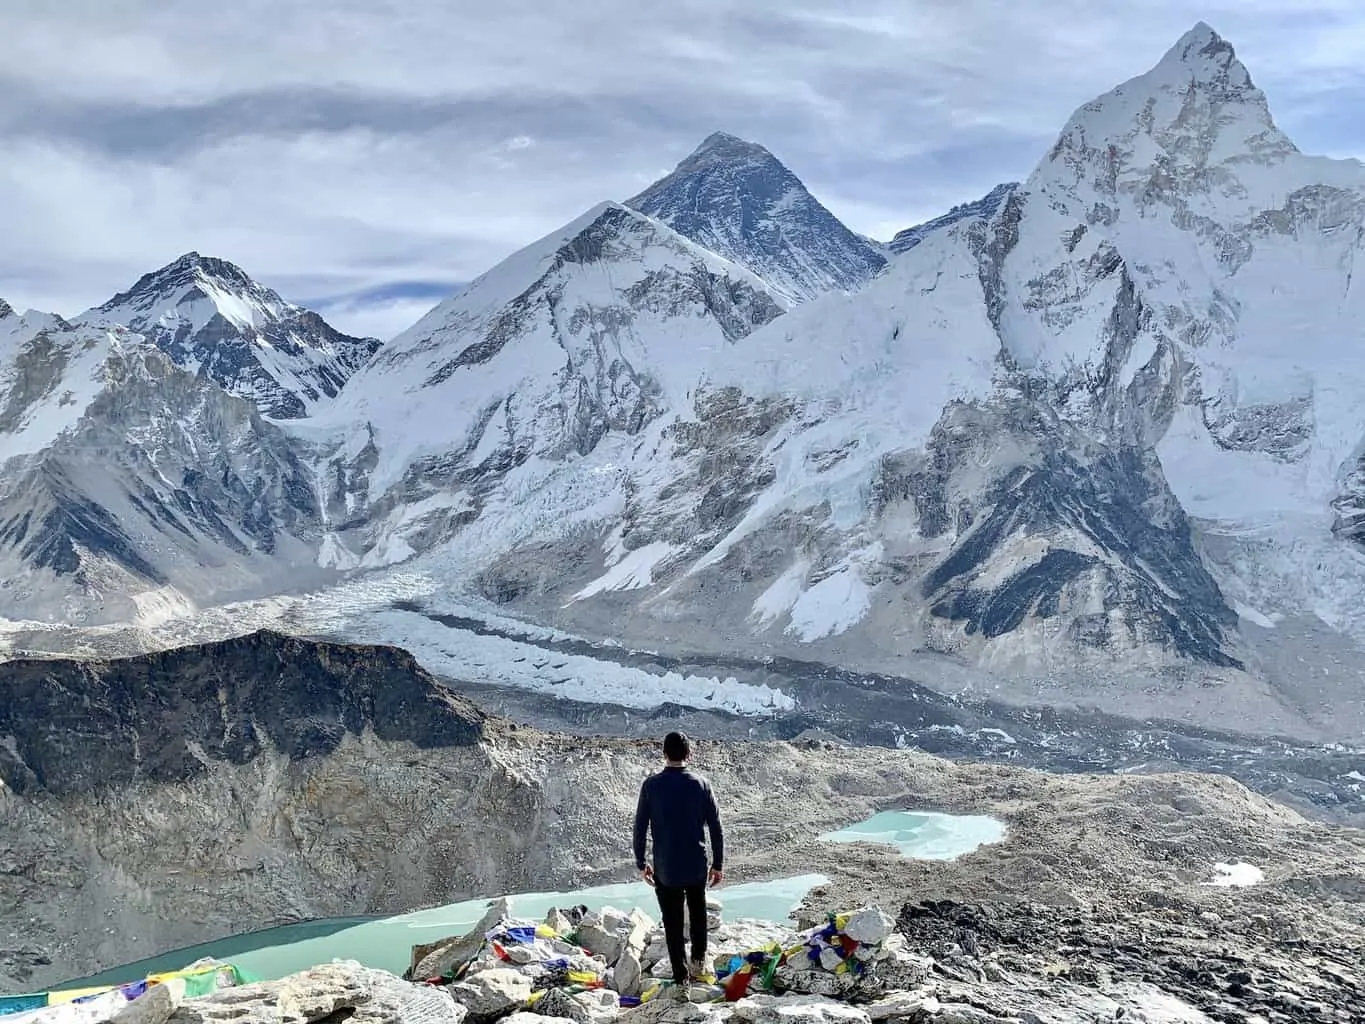
It is now time to start the trek back towards Lukla, but not before heading up to the peak of Kalapathar to take in one of the best Mount Everest views of the trek (which also happens to be the highest point of the trek at 18,176 feet / 5,540 meters).
The most popular option here is to head to the peak for sunrise, head back down to Gorak Shep for breakfast and then make your way to Pheriche. While you can’t go wrong with that option, I would also recommend switching Kalapathar to sunset of day 8 ONLY if the weather is clear.
The reason I recommend this is because the sun sets in the opposite direction of Everest, lighting up the mountain and the sky during a sunset.
Sunrise on the other hand comes up from behind Everest, so you won’t experience the “lighting up” of the mountain, rather it will be more of a silhouette.
The reason why a sunrise on day 9 is more popular than a sunset on day 8 is because the weather in the afternoon/evening times are usually cloudier with less visibility than the mornings. So again, I would only recommend a sunset on day 8 if the weather is clear.
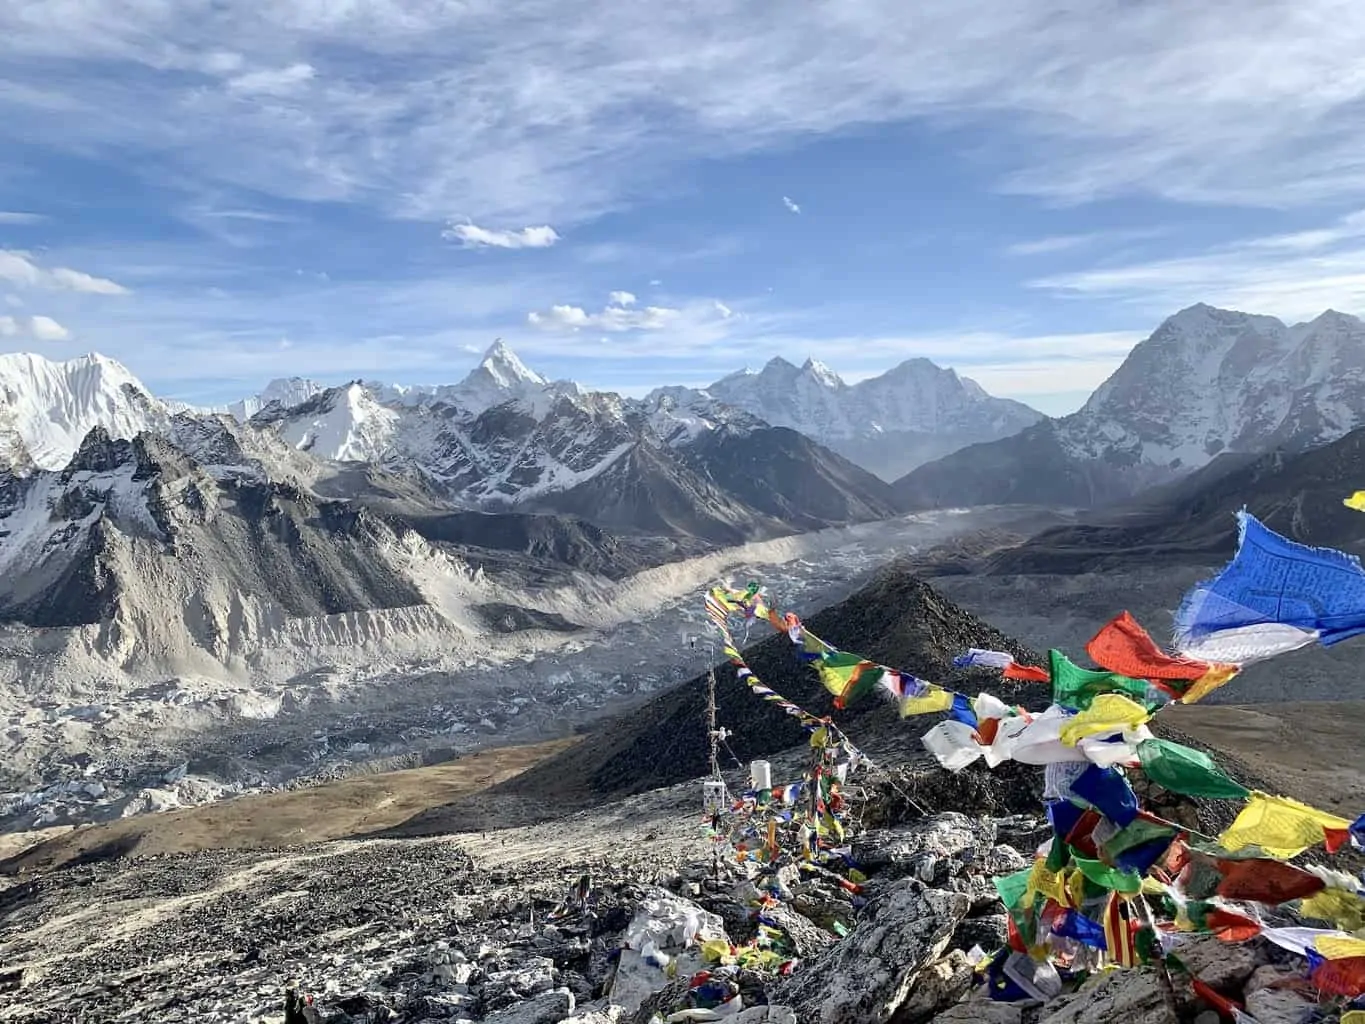
The trek up Kalapathar will take 1.5-2 hours as you slowly gain elevation and leave Gorak Shep behind. The views will continuously get better and better, as you enjoy the Khumbu Glacier, Khumbu Icefall, and of course Mount Everest itself.
Once you reach the Kalapathar summit you will have 360 degree views of Sagarmatha National Park, and will either be able to enjoy the last moments of sun (sunset on day 8), or the first moments of light (sunrise on day 9).
After making your way back down the mountain, head to your guesthouse, grab some food and then get ready for the trek back to Pheriche.
The hike to Pheriche will essentially be the same exact route that you took on days 7 and 8 as Pheriche lays just below Dingboche.
First you will make the hike to Lobuche as you cross back over the glacier area as you leave Gorak Shep and then slowly lose elevation towards Lobuche.
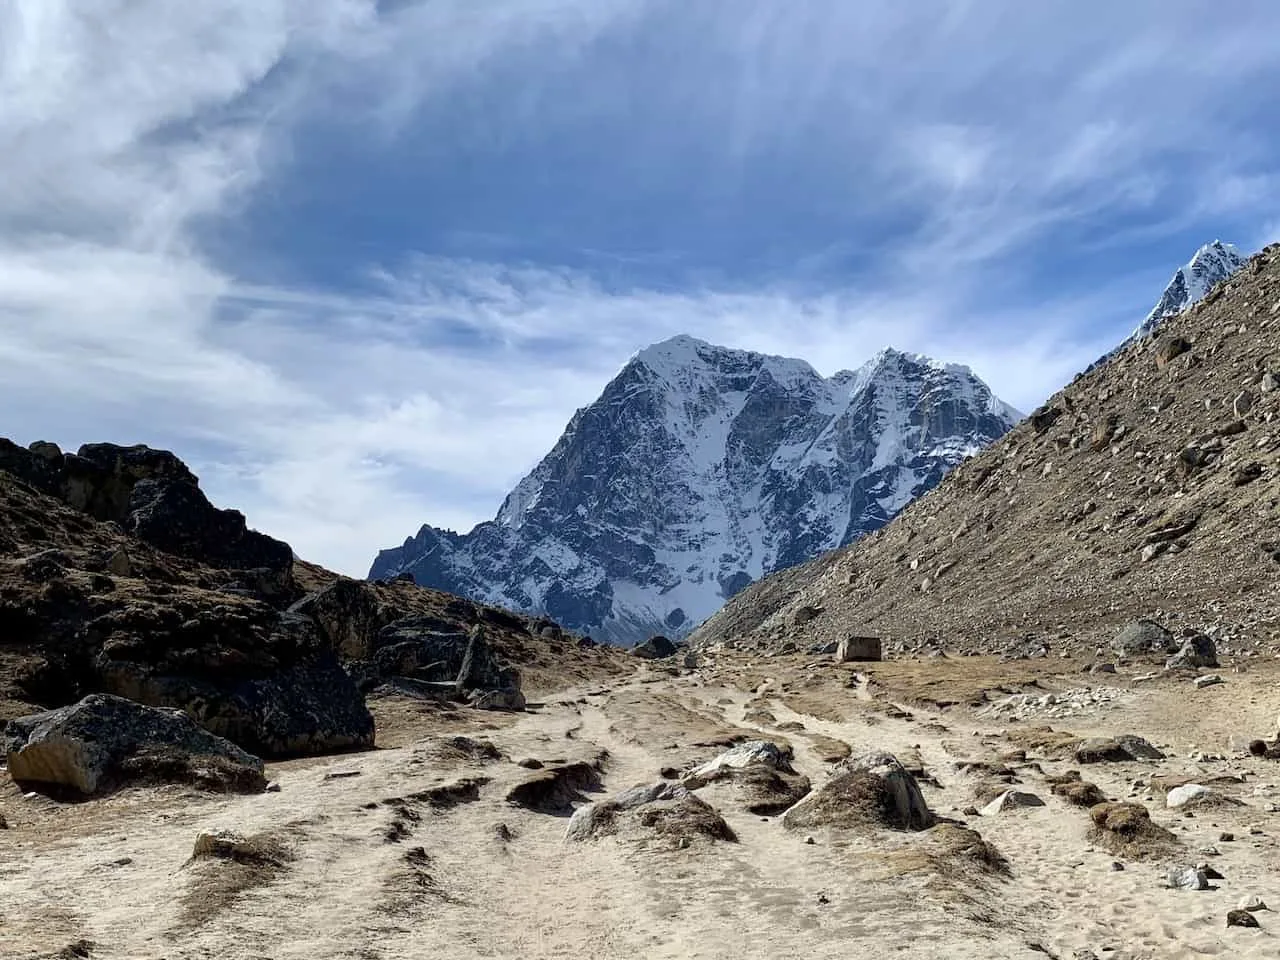
You will have some beautiful views right down the valley with the Khumbu Glacier off to your left. You can stop in Lobuche for some lunch before continuing on with your day.
It is then following the path along the Khumbu, until you head on to the Thukla Pass and back down towards Pheriche.
Once down from the pass, you will cross the river and take the low route towards Pheriche (on the way up you would have taken the higher route from Dingboche). You will soon reach the village, where you will stay for the night before heading back to Namche.
Day 10 – Pheriche to Namche Bazaar
Duration: 6 Hours
Distance: 12.1 miles / 19.5 km
Starting Elevation: 13,911 ft / 4,240 m
Ending Elevation: 11,286 ft / 3,440 m
True Elevation Gain: 2,234 ft / 681 m
Net Elevation Gain: -2,625 ft / -800 m
Learn More → Pheriche to Namche Bazaar Day 10
While you will continue losing net elevation on day 10, you should expect quite a bit of elevation gain as well along the way. On your second to last day of trekking you will retrace your steps from days 4 and 5 of the trek as you head towards Tengboche and then to Namche Bazaar.
You will gain some elevation right from the start before starting the slow but steady decline down the valley. As you approach Tengboche, there will be a bit of an uphill until you reach the village itself.
This will be your half way point of the 12 mile trail, so feel free to rest up a bit and have some lunch somewhere in Tengboche (and feel free to visit the monastery if you haven’t yet).
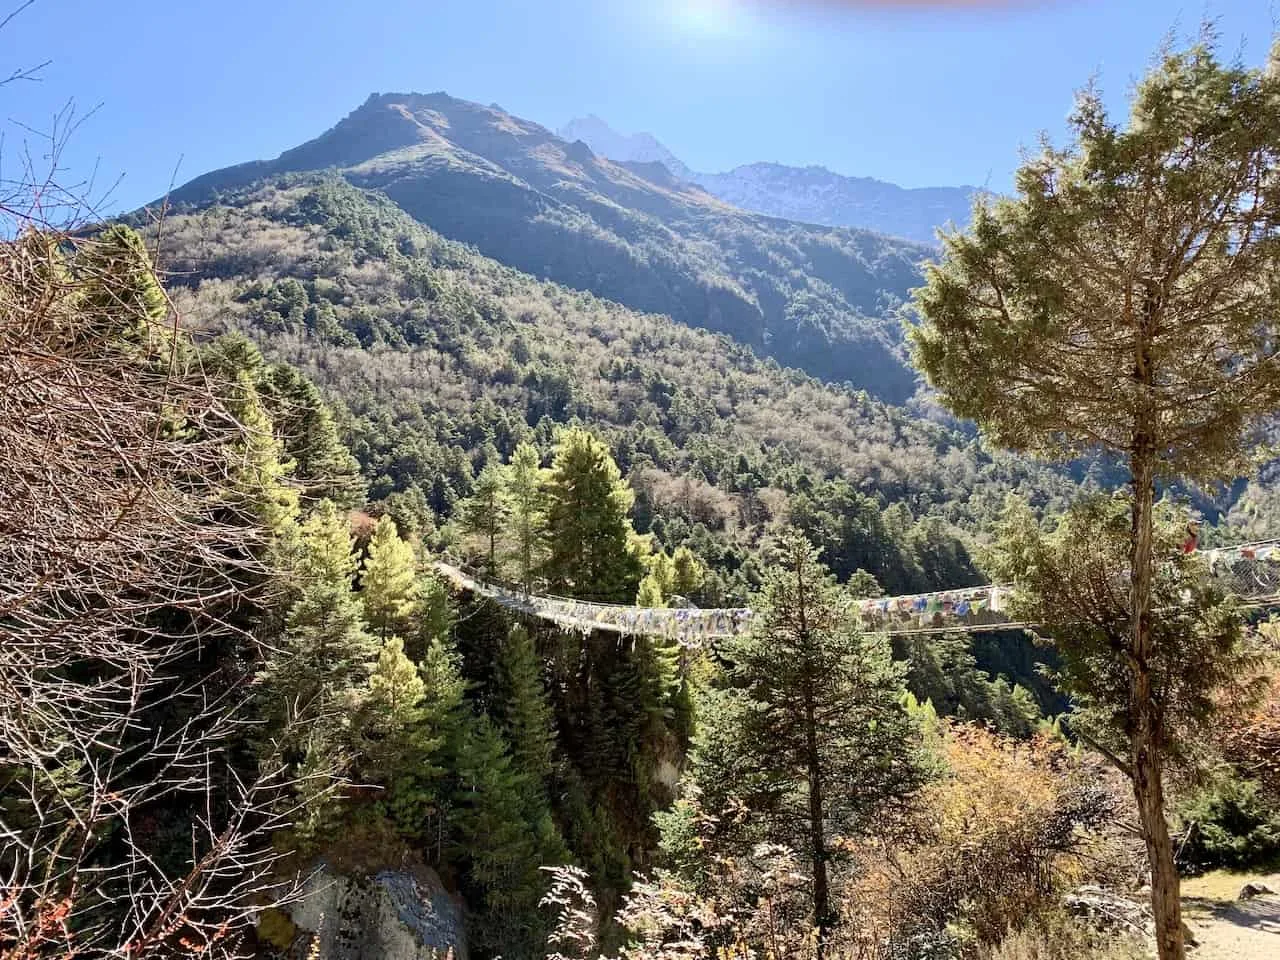
From Tengboche you will immediately lose a large chunk of elevation as you make your way on the tricky and uneven terrain downhill. It is then back up from the bottom of the valley as you gain elevation until you reach the path etched into the valley’s wall.
After going through this tough portion of elevation gain, it is a nice stroll alongside the valley wall until you reach Namche Bazaar.
Day 11 – Namche Bazaar to Lukla
Duration: 7 Hours
Distance: 11.9 miles / 19.1 km
Starting Elevation: 11,286 ft / 3,440 m
Ending Elevation: 9,318 ft / 2,840 m
True Elevation Gain: 2,904 ft / 885 m
Net Elevation Gain: -1,968 ft / -600 m
Learn More → Namche Bazaar to Lukla Day 11
On the final day of your Everest Base Camp itinerary, it is time to make the hike to Lukla. This will be the same route that you came in on during days 1 and 2 of the trail.
It will be another long hiking day as you trek for the final 12 miles of the route. And again, while this will be a big net loss for the day in terms of elevation, there will still be plenty of uphill sections to make your way through as well.
After leaving Namche though, you will immediately lose a vast amount of the elevation as you head out of town and down the rocky terrain. You will soon come across the resting platform (from day 2), where you can now enjoy your last view of Mount Everest.
It is then more river views and suspension bridges as you head down the trail (with some uphill sections too) and towards the village of Phakding. Here you can have your final lunch break, before finishing the trek to Lukla.
Remember, Phakding is actually located lower in elevation than Lukla. This means that for the last portion of trail you actually will have a continuous elevation gain until you reach the end. For the most part this portion of trail is pretty maintained as you slowly head back up towards Lukla.
After 11 days of trekking in and out of Sagarmatha National Park, enjoying Mount Everest and the rest of the Himalayan landscape, you will now have completed the Everest Base Camp trek.
Head on over to a teahouse in town, where you will stay one last night before taking an early morning flight back to Kathmandu.
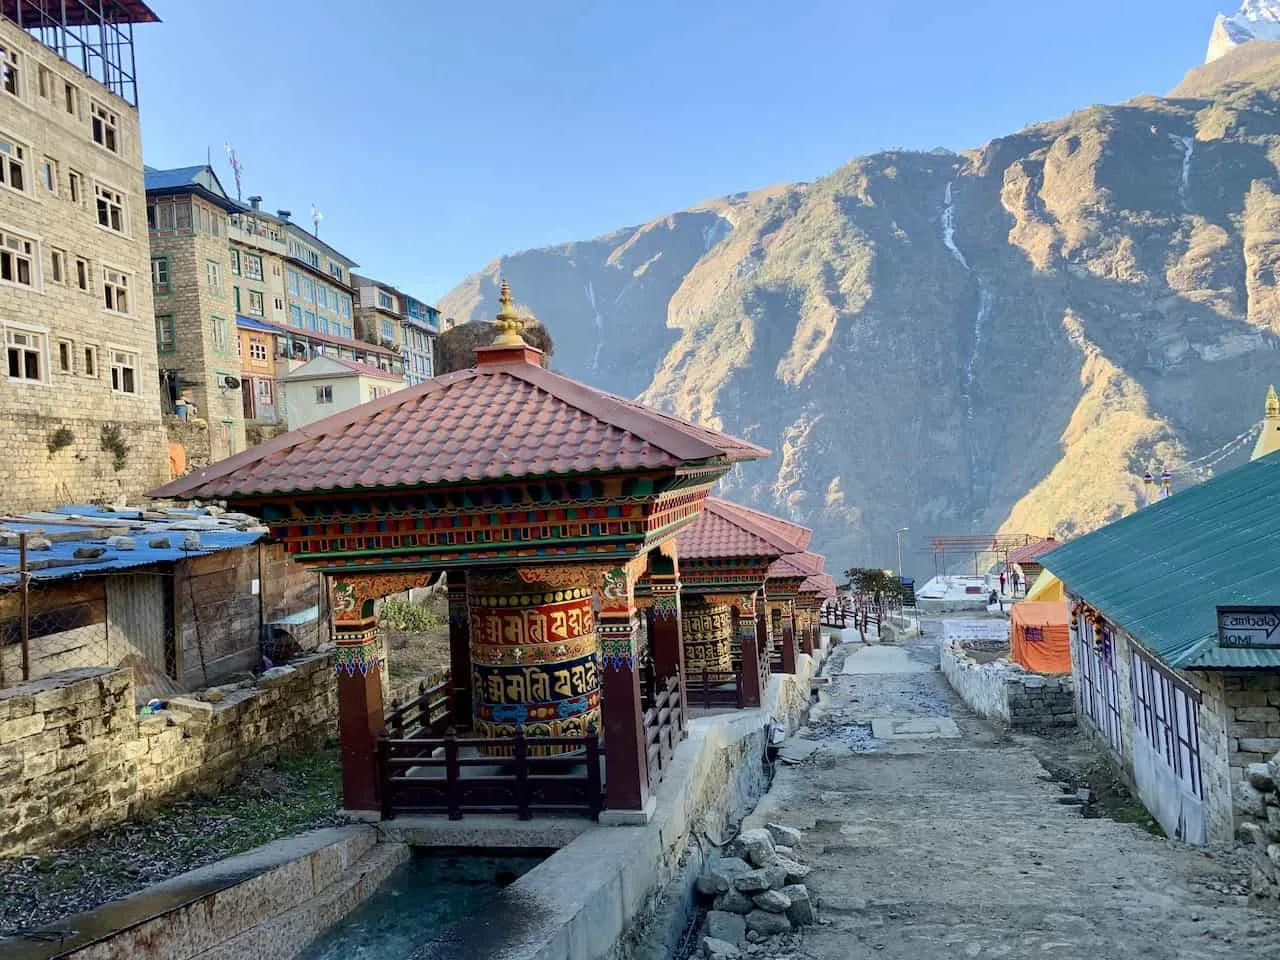
I hope this guide has given you a better sense of how to go about an Everest Base Camp trek itinerary. If you have any questions or comments about the hike, feel free to add them in below.
Also, don’t forget to check out the other Nepal itineraries and guides up on the site, which have a ton more helpful info about the region.
Have fun out there and safe travels!

Bharat
Thursday 7th of September 2023
Most detailed and informative information I have seen in any blog so far. Amazing work. Thanks for sharing. I am going to use this for my upcoming EBC trek.
Charles
Friday 8th of September 2023
Glad you found it all helpful. Hope you have a great time!
Himalayan Vista Trekking
Sunday 16th of July 2023
Such an informative blog, thank you for sharing, we are a trekking agency based in Kathmandu, Nepal, and offers Everest Base Camp Trek.
Ace Vision Treks
Thursday 1st of June 2023
Thank you for sharing your experience about EBC Trek. Your post is helpful who willing to visit Nepal.
Himalayan Wander Walkers
Thursday 23rd of February 2023
Good read of this EBC trek
Amigo Treks
Tuesday 7th of June 2022
It is extremely useful and informative for Everest base camp trekkers. We are a local trekking agency in Kathmandu that provides Everest Base Camp treks.