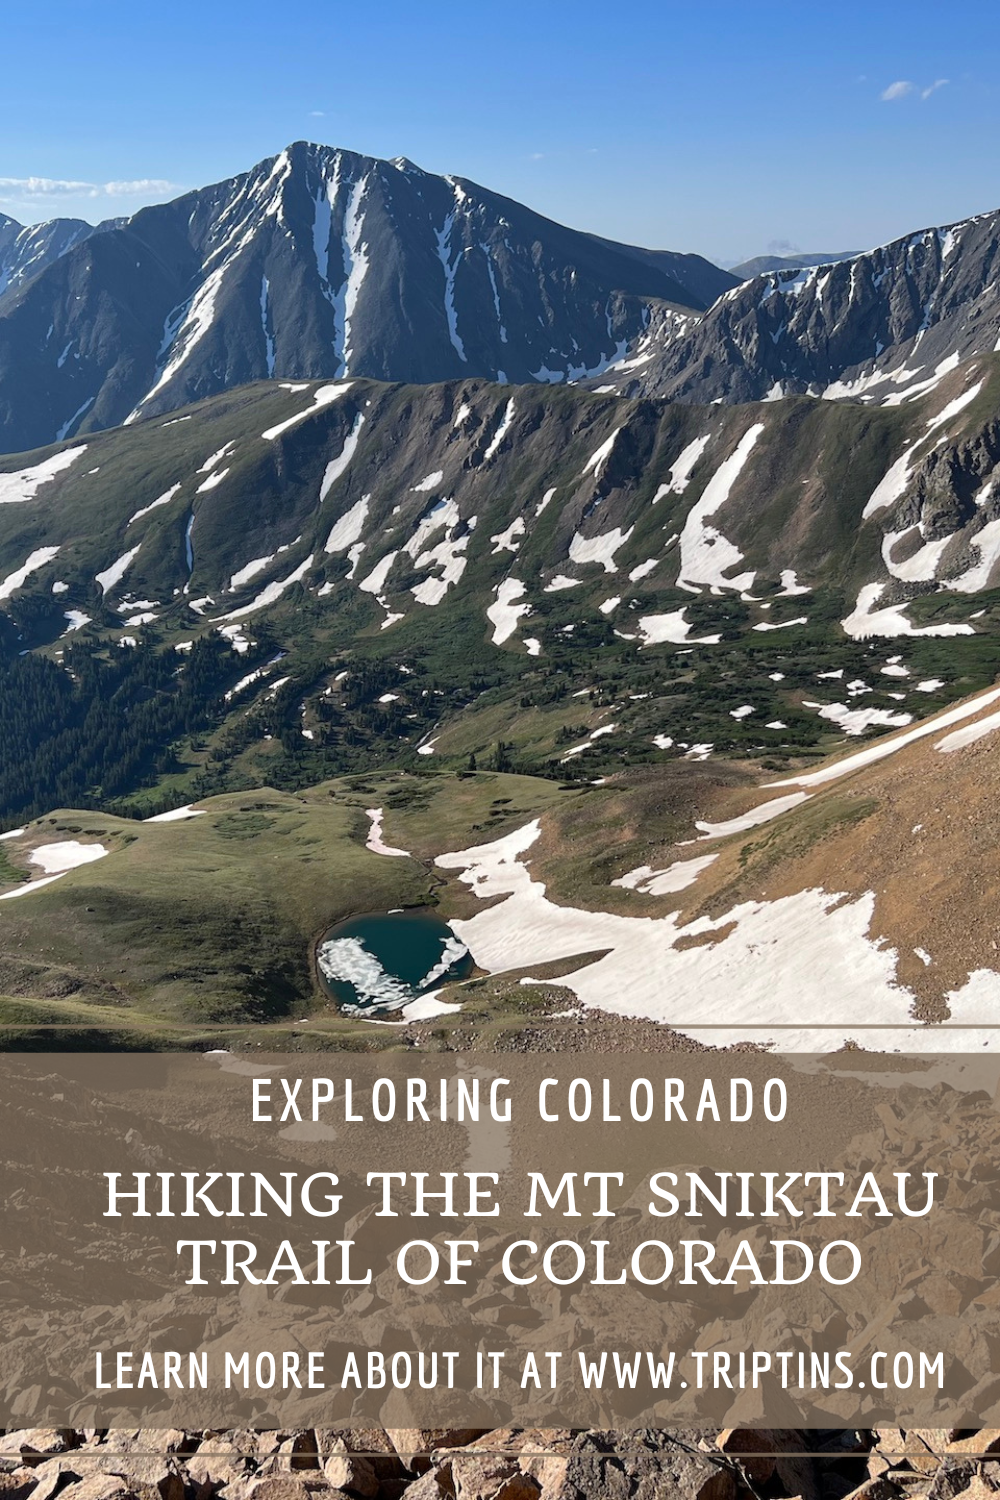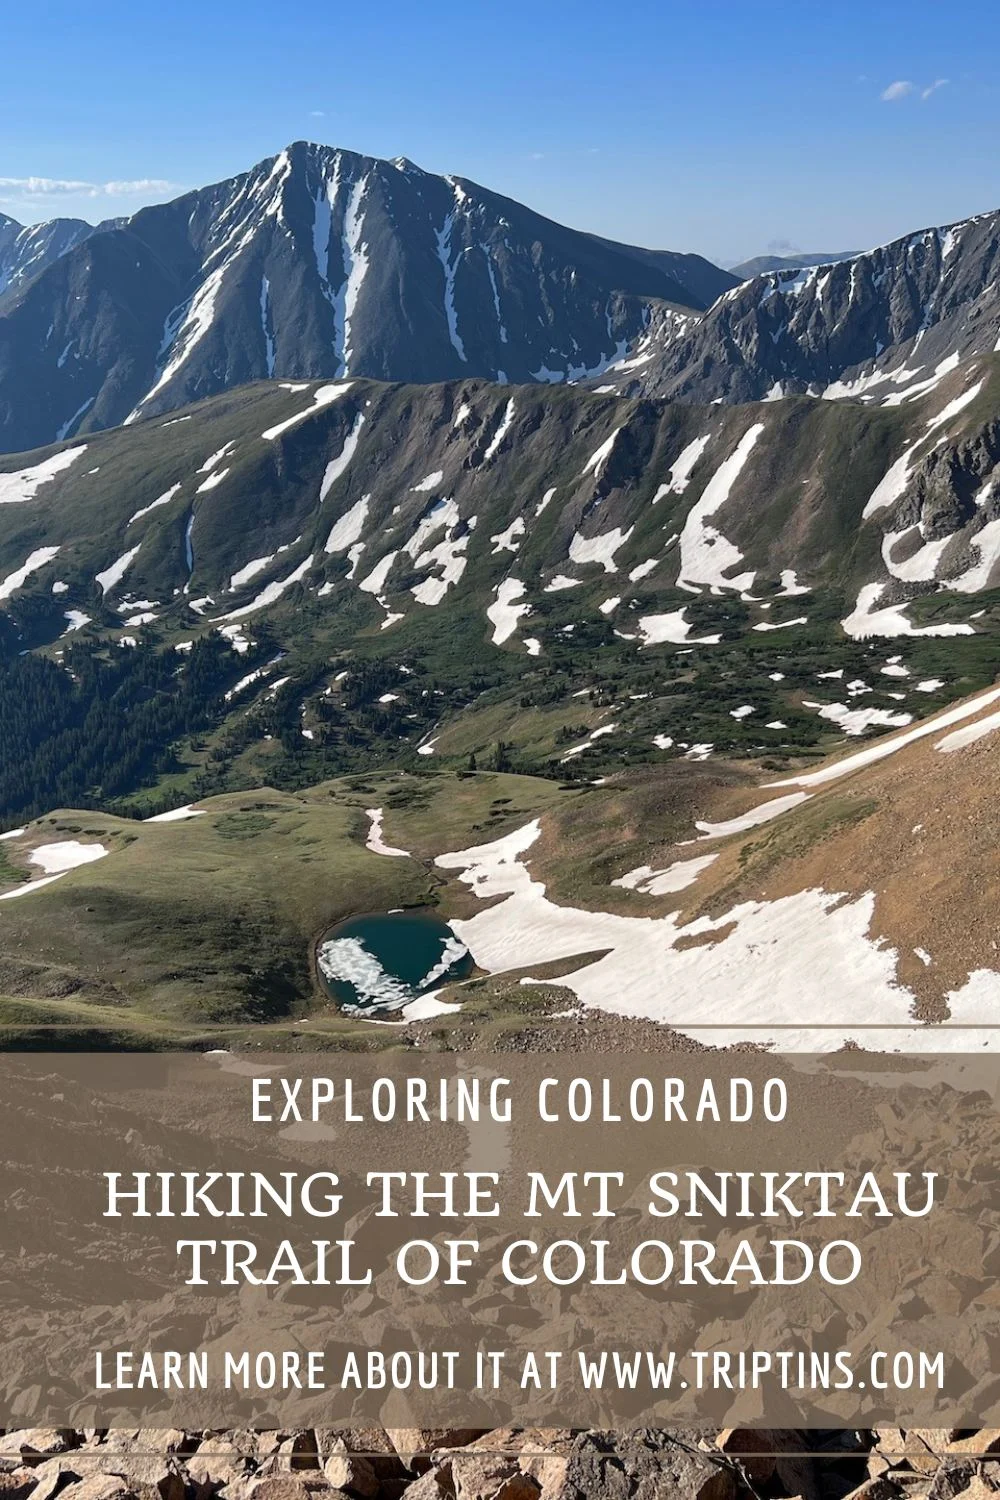
Regarded as one of the most beautiful and accessible 13ers in Colorado, Mt Sniktau offers everything you could want in a day hike.
While it is not the easiest trail to take part, the views along the way and from the summit are some of the best that you can ask for.
This hiking overview will talk through all the important things to know when taking on the Mount Sniktau trail and help better prepare you for the hike!
* Affiliate Disclosure: This post may contain affiliate links, which means I may receive a commission if you make a purchase through the links provided, at no additional cost to you. Thanks for supporting the work I put into TripTins!
1) Hiking Overview
Let’s start off with some basic round trip hiking stats regarding the out & back trail to Mt Sniktau.
- Trail Name: Mt Sniktau
- Mt Sniktau Elevation: 13,219 feet
- Trailhead Location: Loveland Pass
- Distance: 3.8 miles
- Elevation Gain: 1,550 feet
- Duration: 3-4 hours
- Trail Type: Out & Back
- Terrain: Dirt & Rocks
While these trail stats are for the out & back route up Mt Sniktau, there is a longer version of the hike for those up for it. Instead of just going to Mt Sniktau, you can also head to Cupid Peak and Grizzly Peak.
A hike to all three peaks comes in at around 8 miles and 3,000 feet of elevation gain (essentially double the length and difficulty of just the Sniktau route).
Whatever you choose though, you are sure to enjoy some top views all along the way!
2) Mt Sniktau Trailhead & Parking
The Mt Sniktau trailhead is located directly on the side of the road on top of the Loveland Pass / Continental Divide.
On Google Maps, you may see the trailhead parking lot named “Grizzly Peak Trailhead” as this is also the starting point for the Grizzly Peak trail. Here you will find around 25-30 spots to park.
Many people park at this lot, not only to take part of the hike offerings but also to simply visit the Continental Divide, which is directly across the street from the trailhead.
Due to this, the lot will fill up early and often. However, people do come and go, and spots can open up constantly throughout the day.
If you arrive at the trailhead parking lot, and it is completely filled up, there are a few more options to consider.
About 0.3 miles further down the road (heading south), there are two more parking lot areas. These can fit an additional 15-20 cars each. And if all three of those are full, another 0.3 miles down the road is the Pass Lake parking lot.
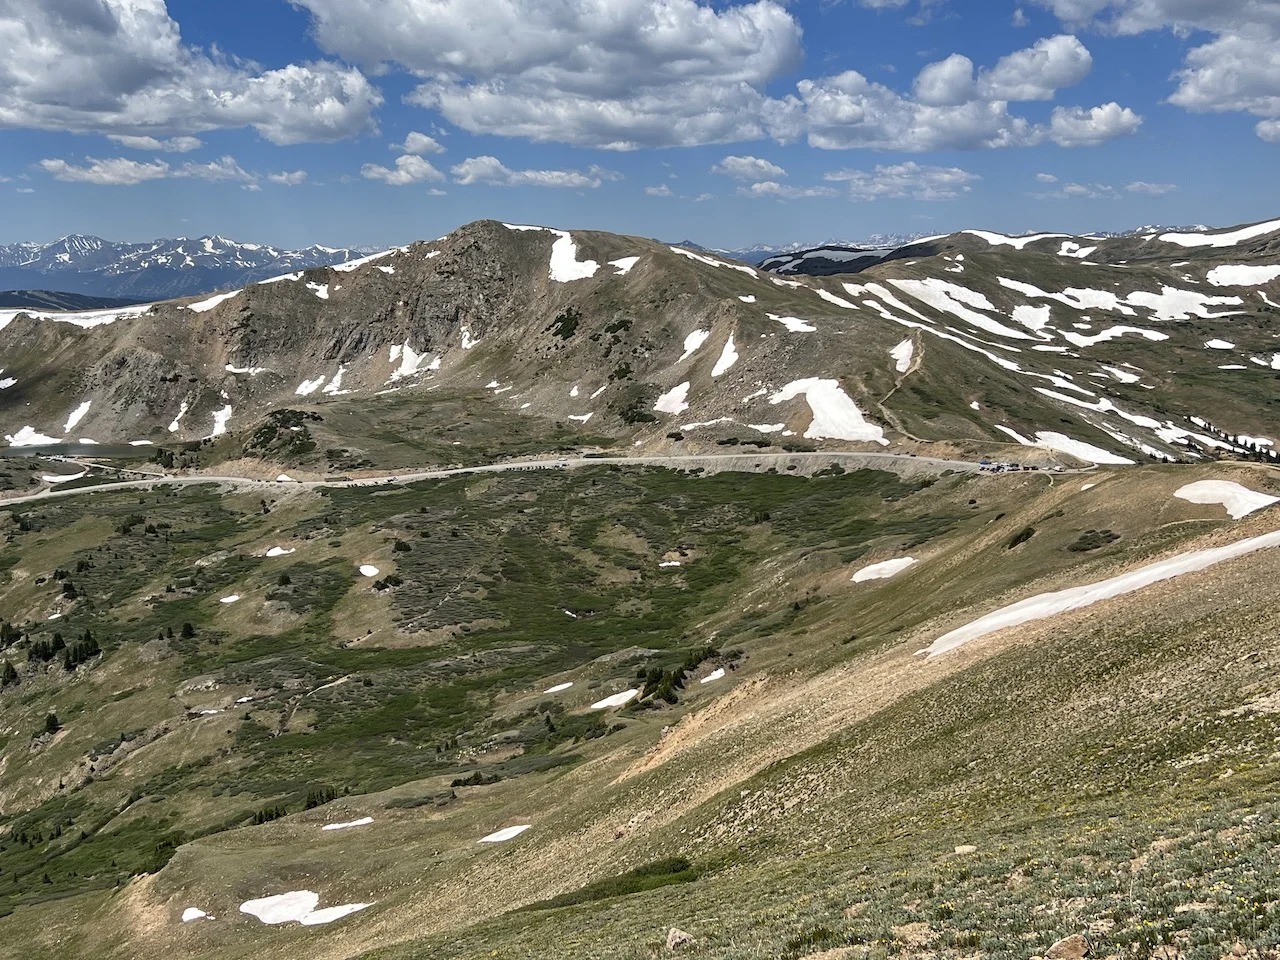
In the photo below (taken from the trail), you can see the 4 parking areas along the road. Hopefully this can give you a better sense of the parking lot situation near the trailhead.
During my time on the trail, I arrived around 6:30AM on a summer weekend and grabbed one of the last spots in the main lot. I assume during the week, there is a bit more flexibility on getting there early.
Colorado Car Rental: Looking for a rental car in Colorado? Check out Rentalcars.com for a variety of options that can work well on your trip.

3) Mount Sniktau Trail Map
To get a better sense of the trail route, trailhead, and parking locations, you can take a look at the map below that lays it all out.
4) Weather Forecast
When it comes to hiking up Mount Sniktau, it will be very important to pay attention to the weather forecast. Since all of the hike is done above the tree line, you have to be cautious for those thunderstorms that are common in the summer months.
In addition, the views are just so much better without those low lying or thick clouds. Saving this hike for a nice weather day is your best bet.
I would recommend checking out a few different weather forecasts prior to taking on the hike:
Also note, that the Loveland Pass area is known for its strong winds. Be sure to bring multiple layers to prepare for the weather, and the potential windy conditions.
Hiking Resources & Checklist
Before heading out for the trails, be sure to read up on some of the hiking resources up on the site. These are here to better prepare you for all types of outdoor adventure.
- Gear: Hiking Packing List
- Weather: How to Prepare for Hiking Weather
- Navigation: Hiking GPS & Navigation
- Tips: 20+ Hiking Tips & Tricks for the Trail
- Accommodation: Book Your Hotel Today
- Rental Car: Book Your Car Rental Today
5) Where to Stay
If you aren’t local to the area, then there are a few nearby towns to consider staying in during your trip. Spending a few days in the general area will have you nearby to many other top hikes that Colorado has to offer.
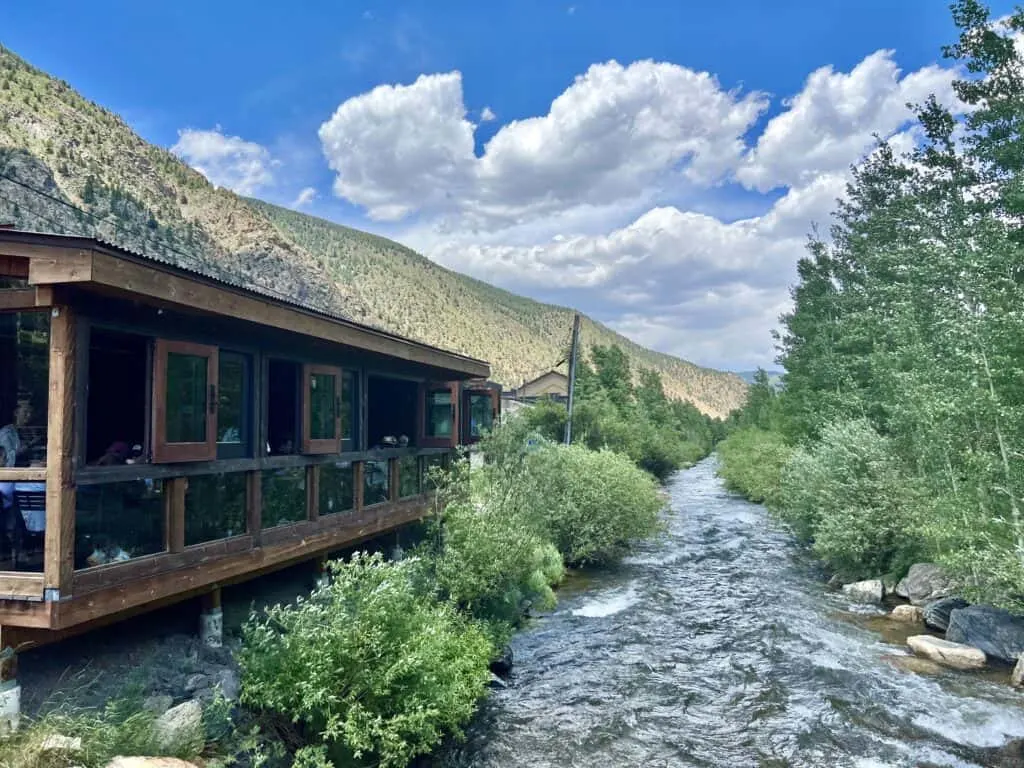
Georgetown
One of the more convenient locations to stay in would be Georgetown, which is located just 20 minutes away from the trailhead. It is a small historic town and makes for a relaxing stay. A few top options to consider include:
- Microtel Inn & Suites: while located just outside the town center, the hotel sits right on Georgetown Lake and is just minutes away from all that Georgetown has to offer.
- Georgetown Mountain Inn: if you are looking for a quiet, comfortable and affordable choice, the Inn has everything you need to enjoy a visit.
- Rose Street Bed & Breakfast: this B&B is located directly next to the town center and is the perfect choice for those that want a more homey feel when it comes to accommodation.
Silverthorne
A more major hub is Silverthorne, which is also located 20 minutes away from the trailhead. You may find more options around here; however, it will be a different type of feel compared to a small town like Georgetown.
- The PAD: whether you are looking for a hostel room or a comfortable room for the whole family, the PAD is one of the newer hot spots in town. It is a lively and fun place to spend your time at.
- Indigo Silverthorne: the top hotel option in Silverthorne is the Indigo, located right next to the new downtown. The rooms are beautiful, the amenities are plenty, and it offers everything you will need.

6) Colorado Hiking Tips
To better help prepare you for the trails, check out some helpful tips when it comes to hiking in Colorado.
Be aware of the elevation: hiking at altitude is no joke and you need to ease your way into the trails. Before taking on hikes from the start, give yourself a day or so to acclimatize.
Stay hydrated: to help with the altitude and the hiking itself, stay consistently hydrated. Take plenty of water and consider a Katadyn Filter Water Bottle for the trail.
Bring bug spray: the bugs can be out in full force on many trails. Put on some bug spray to keep yourself protected while hiking.
Apply sunscreen: the sun can be very strong in the mountains. Applying sunscreen (and wearing a hat / sunglasses), will be very important when it comes to protecting yourself.
Keep an eye on the forecast: the weather can turn suddenly out on the trails. Be sure to check the weather forecasts beforehand to avoid rain & thunderstorms. Afternoon storms can be more prominent in the summer months (so start early!).
Download offline maps: to keep yourself on track, download offline maps for the trail. This can be done by using navigation apps such as AllTrails, Maps.me, and Gaia. You should also download offline Google Maps, as cell service does not always work closer to the trailheads.
Check trail conditions: before committing to a trail, I would recommend looking at the latest trip reports on AllTrails (or 14ers.com for 14er hikes). This is more so important as the summer season starts & ends, as you can get a better idea of trail conditions & snow coverage.
7) The Mt Sniktau Trail
After finding parking at one of nearby lots (hopefully the trailhead one!), it is time to ascend to the top of Mt Sniktau.
From the trailhead parking lot, you will come across some stone steps that will begin the ascent up the mountainside.
This first portion of the hike is the toughest in my opinion. In just under 1 mile, you will gain around 1,000 feet of elevation.
This happens immediately from the start too. So, there is no warming up on some less steep terrain. It is just a constant uphill climb from the trailhead up to the saddle.
Be sure to take breaks as needed here as it is a difficult start. There are a couple very short flat sections, where you can do so.
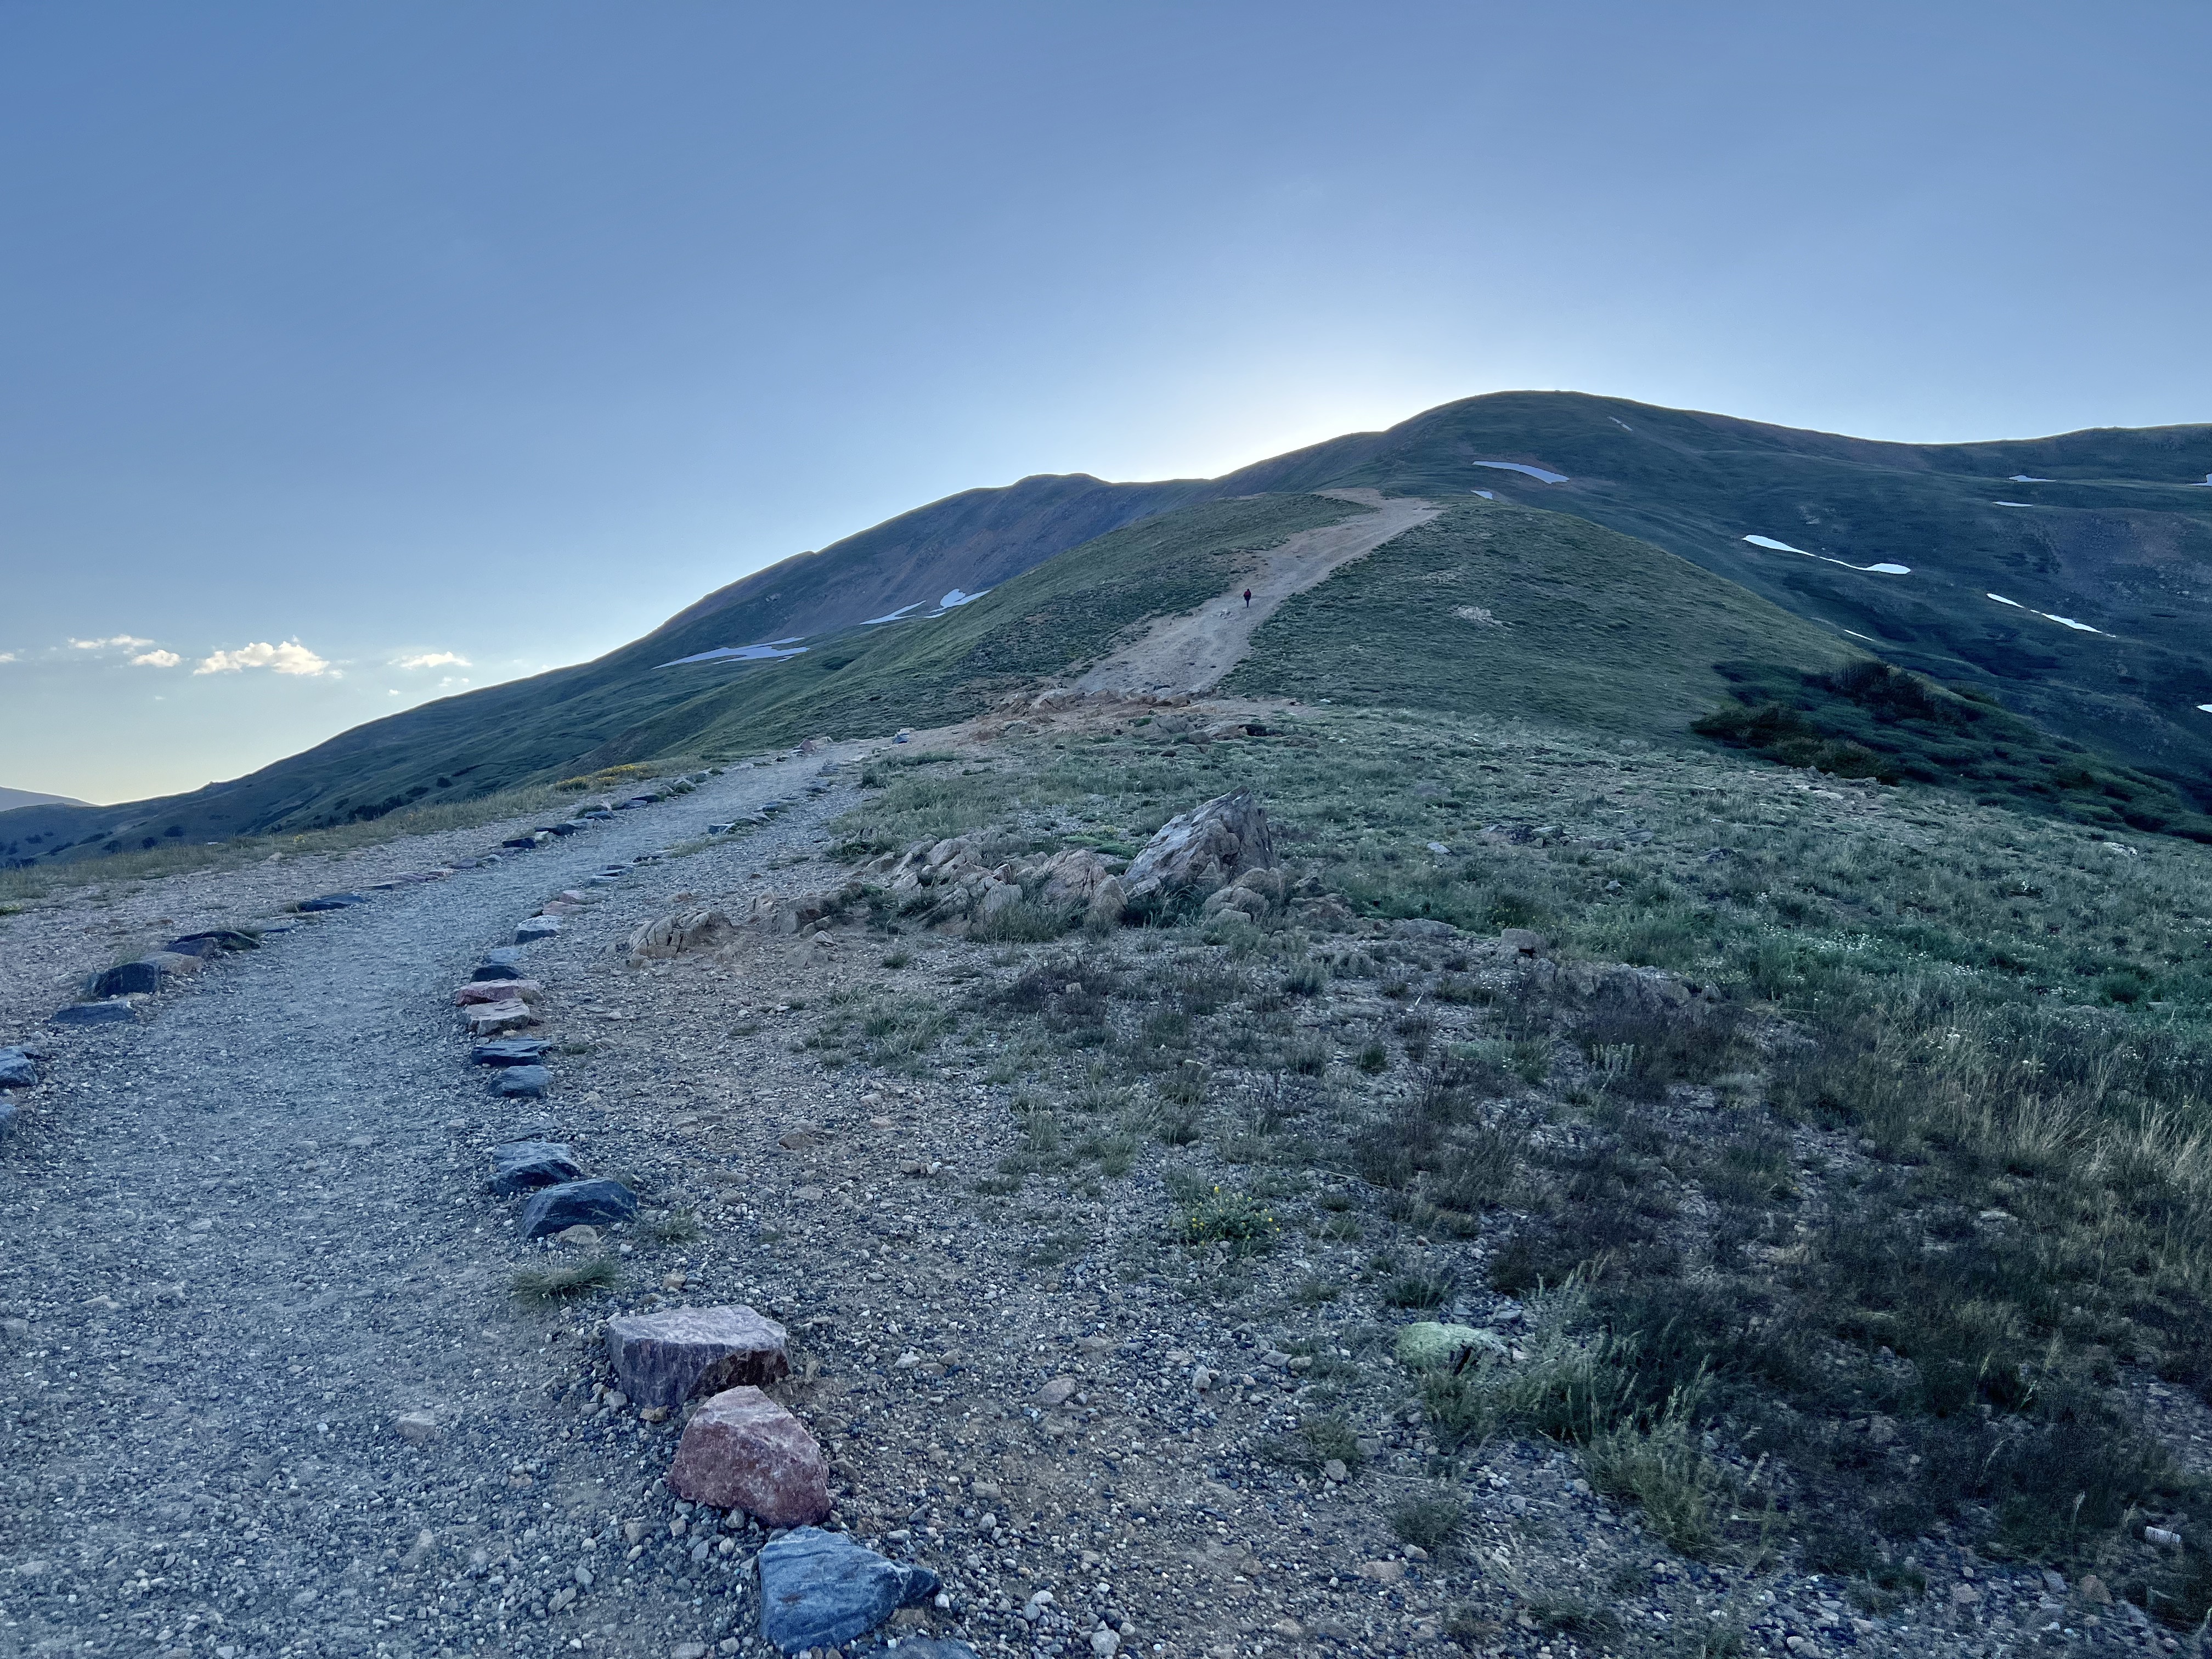
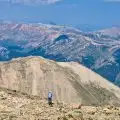
Also, be sure to take a few peeks out behind you. While you will get these views coming down, the surrounding mountain views will help distract you from the climb.

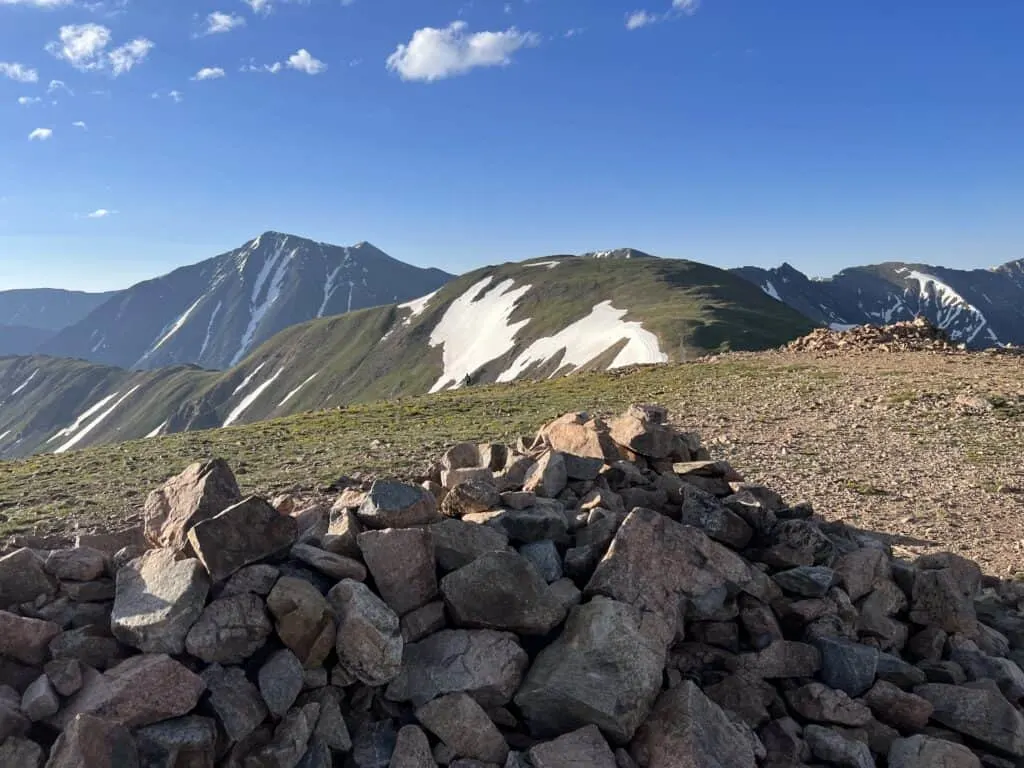
Once you reach the saddle, you will see trails going in either direction. To the right is the trail that continues to Cupid Peak and Grizzly Peak. To the left is the trail that heads up Mt Sniktau.
After taking a much-deserved break at the large rock pile, it is just another mile and ~500 feet of elevation gain to the summit (the photo below was taken at the saddle looking towards Cupid/Grizzly).

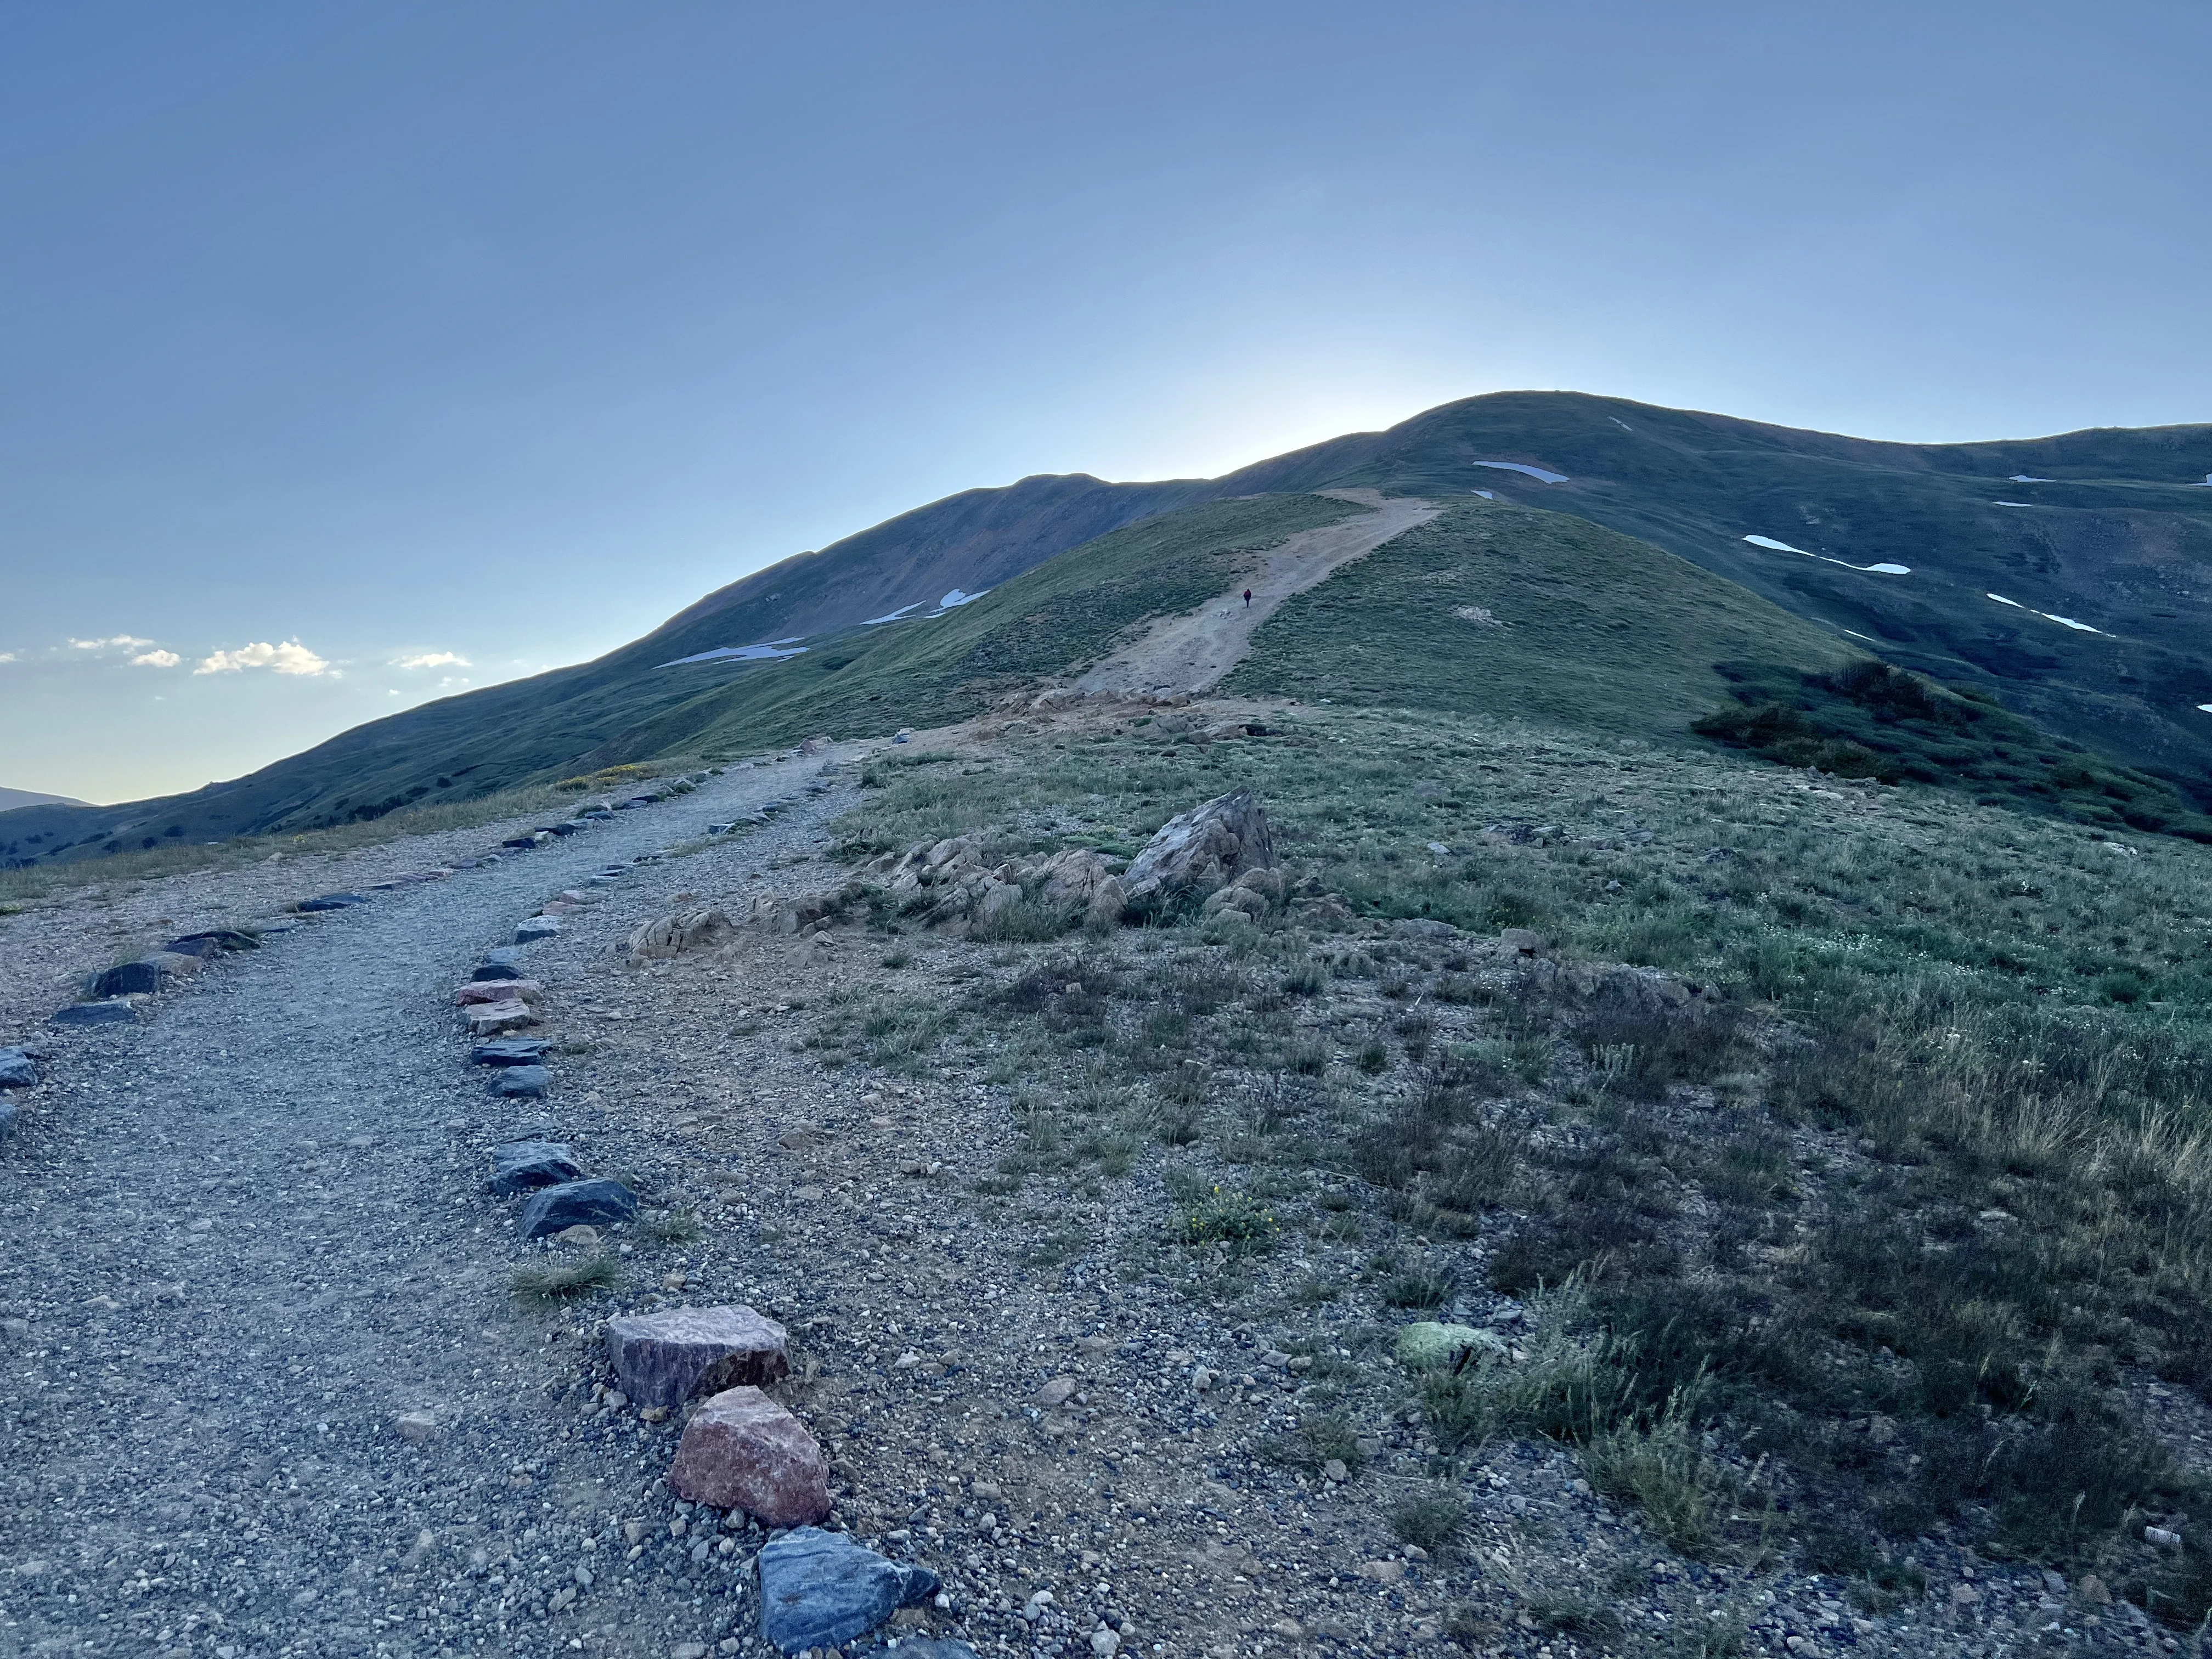
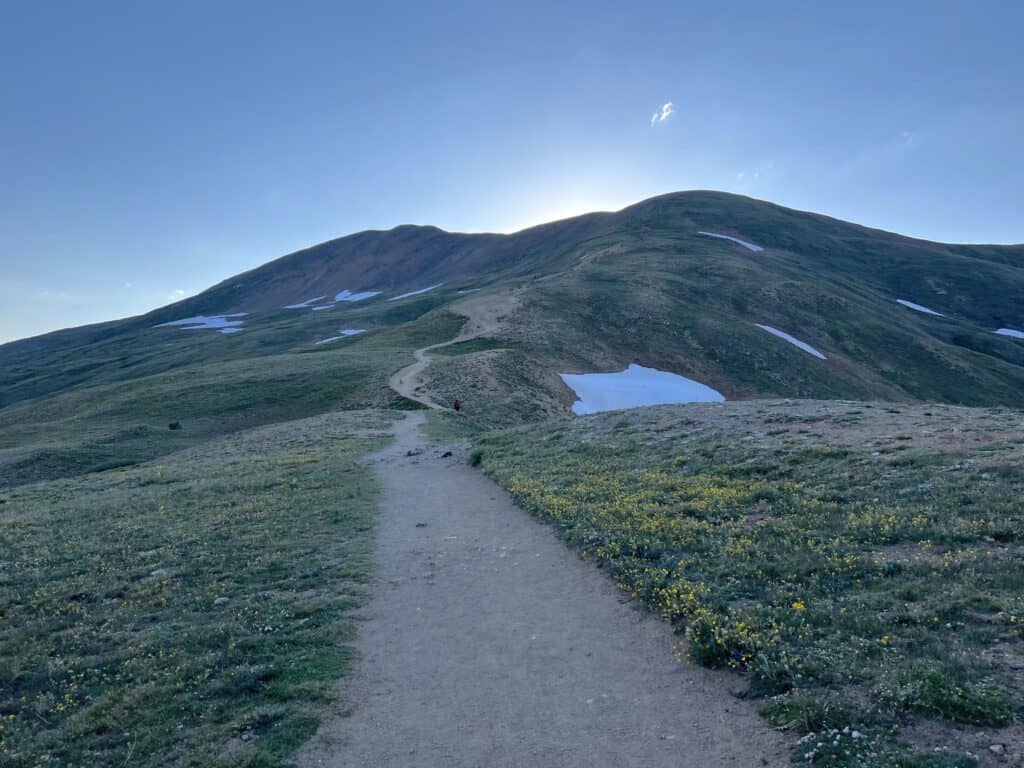
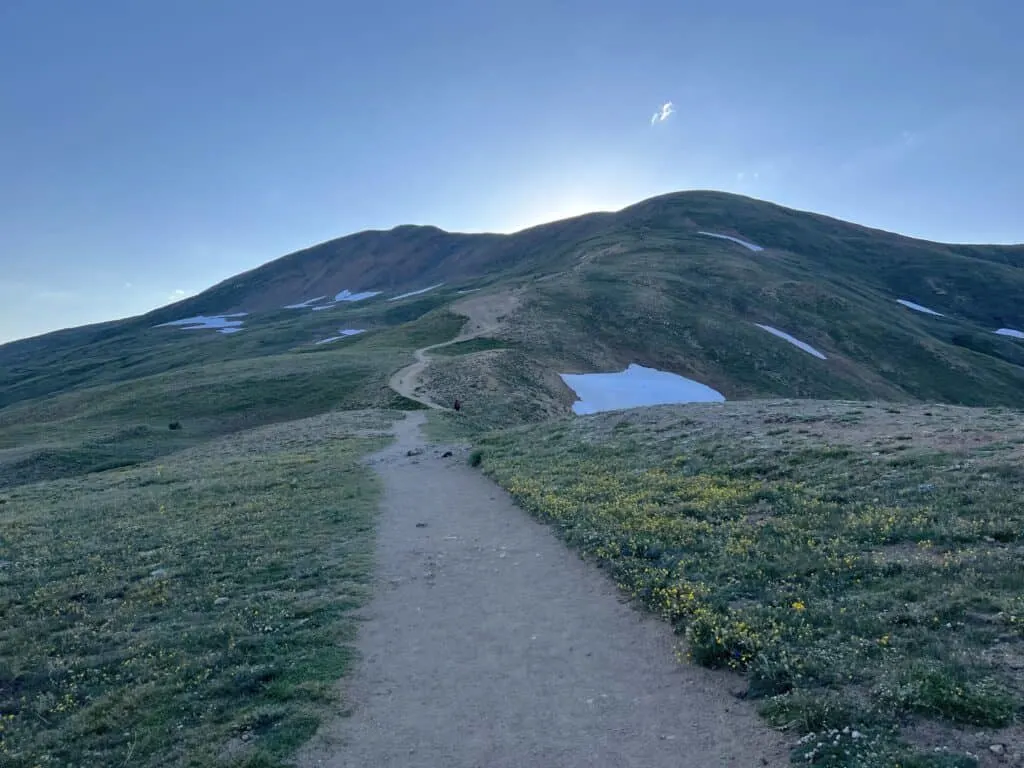
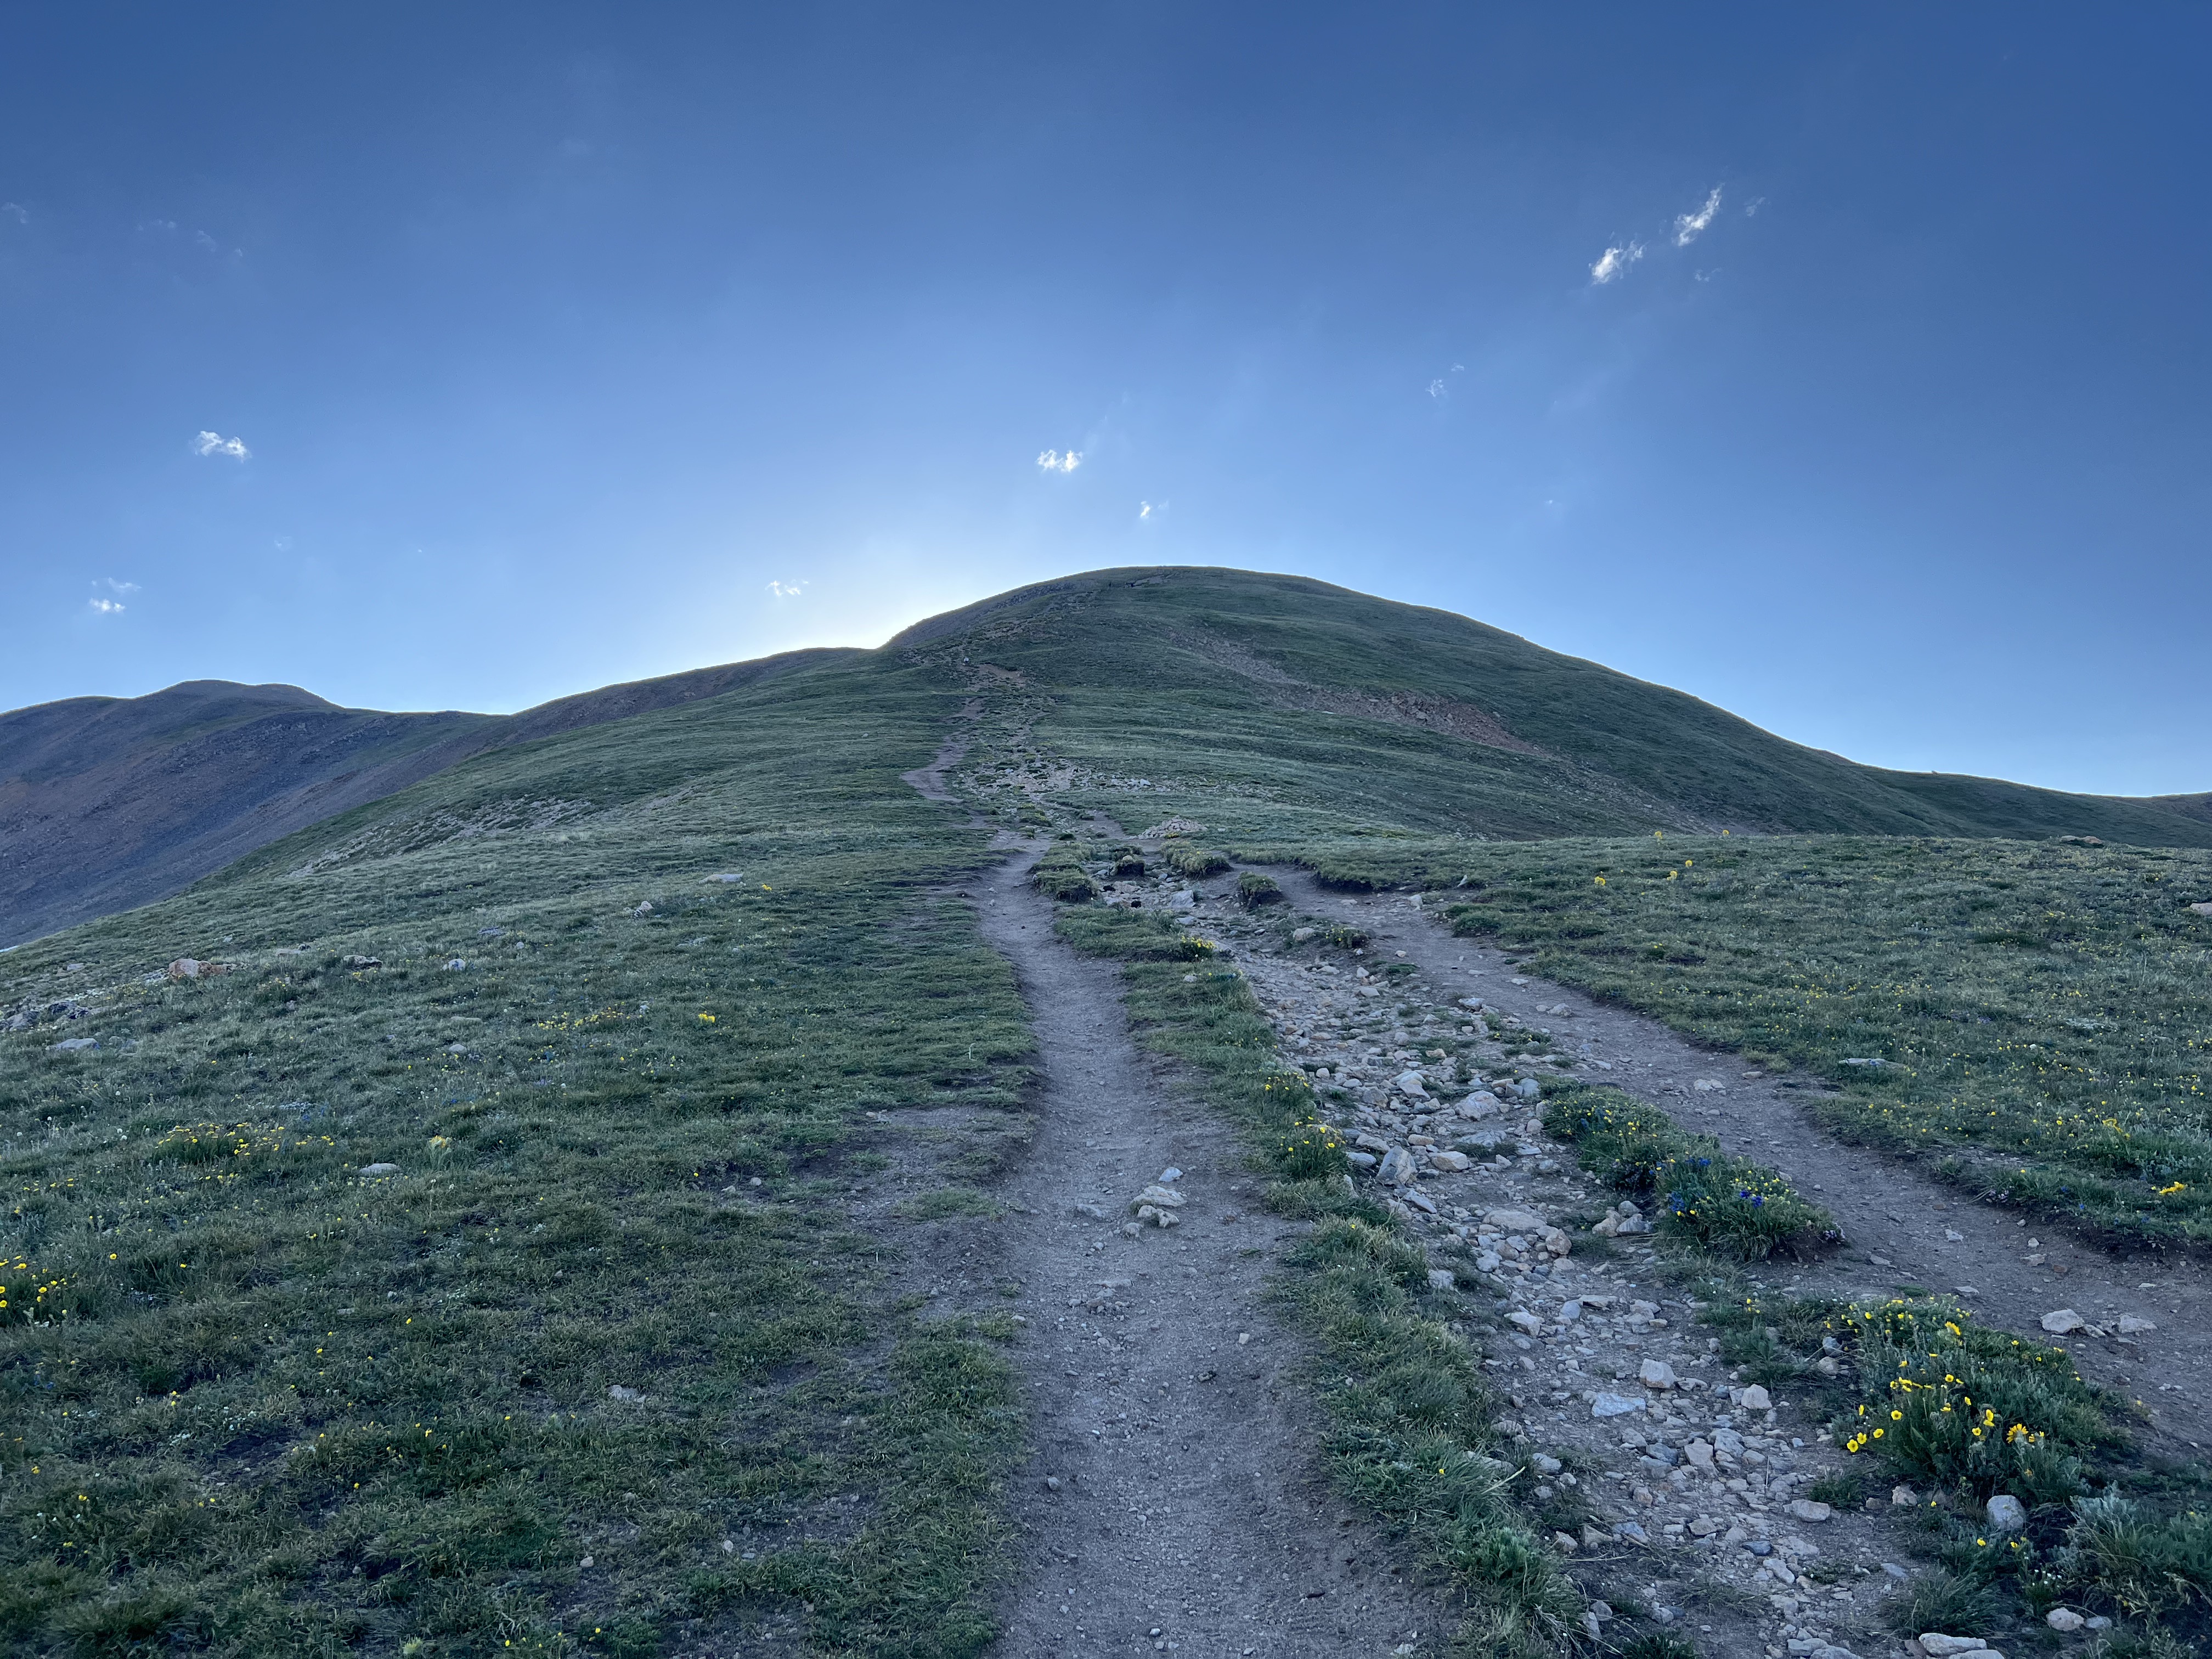
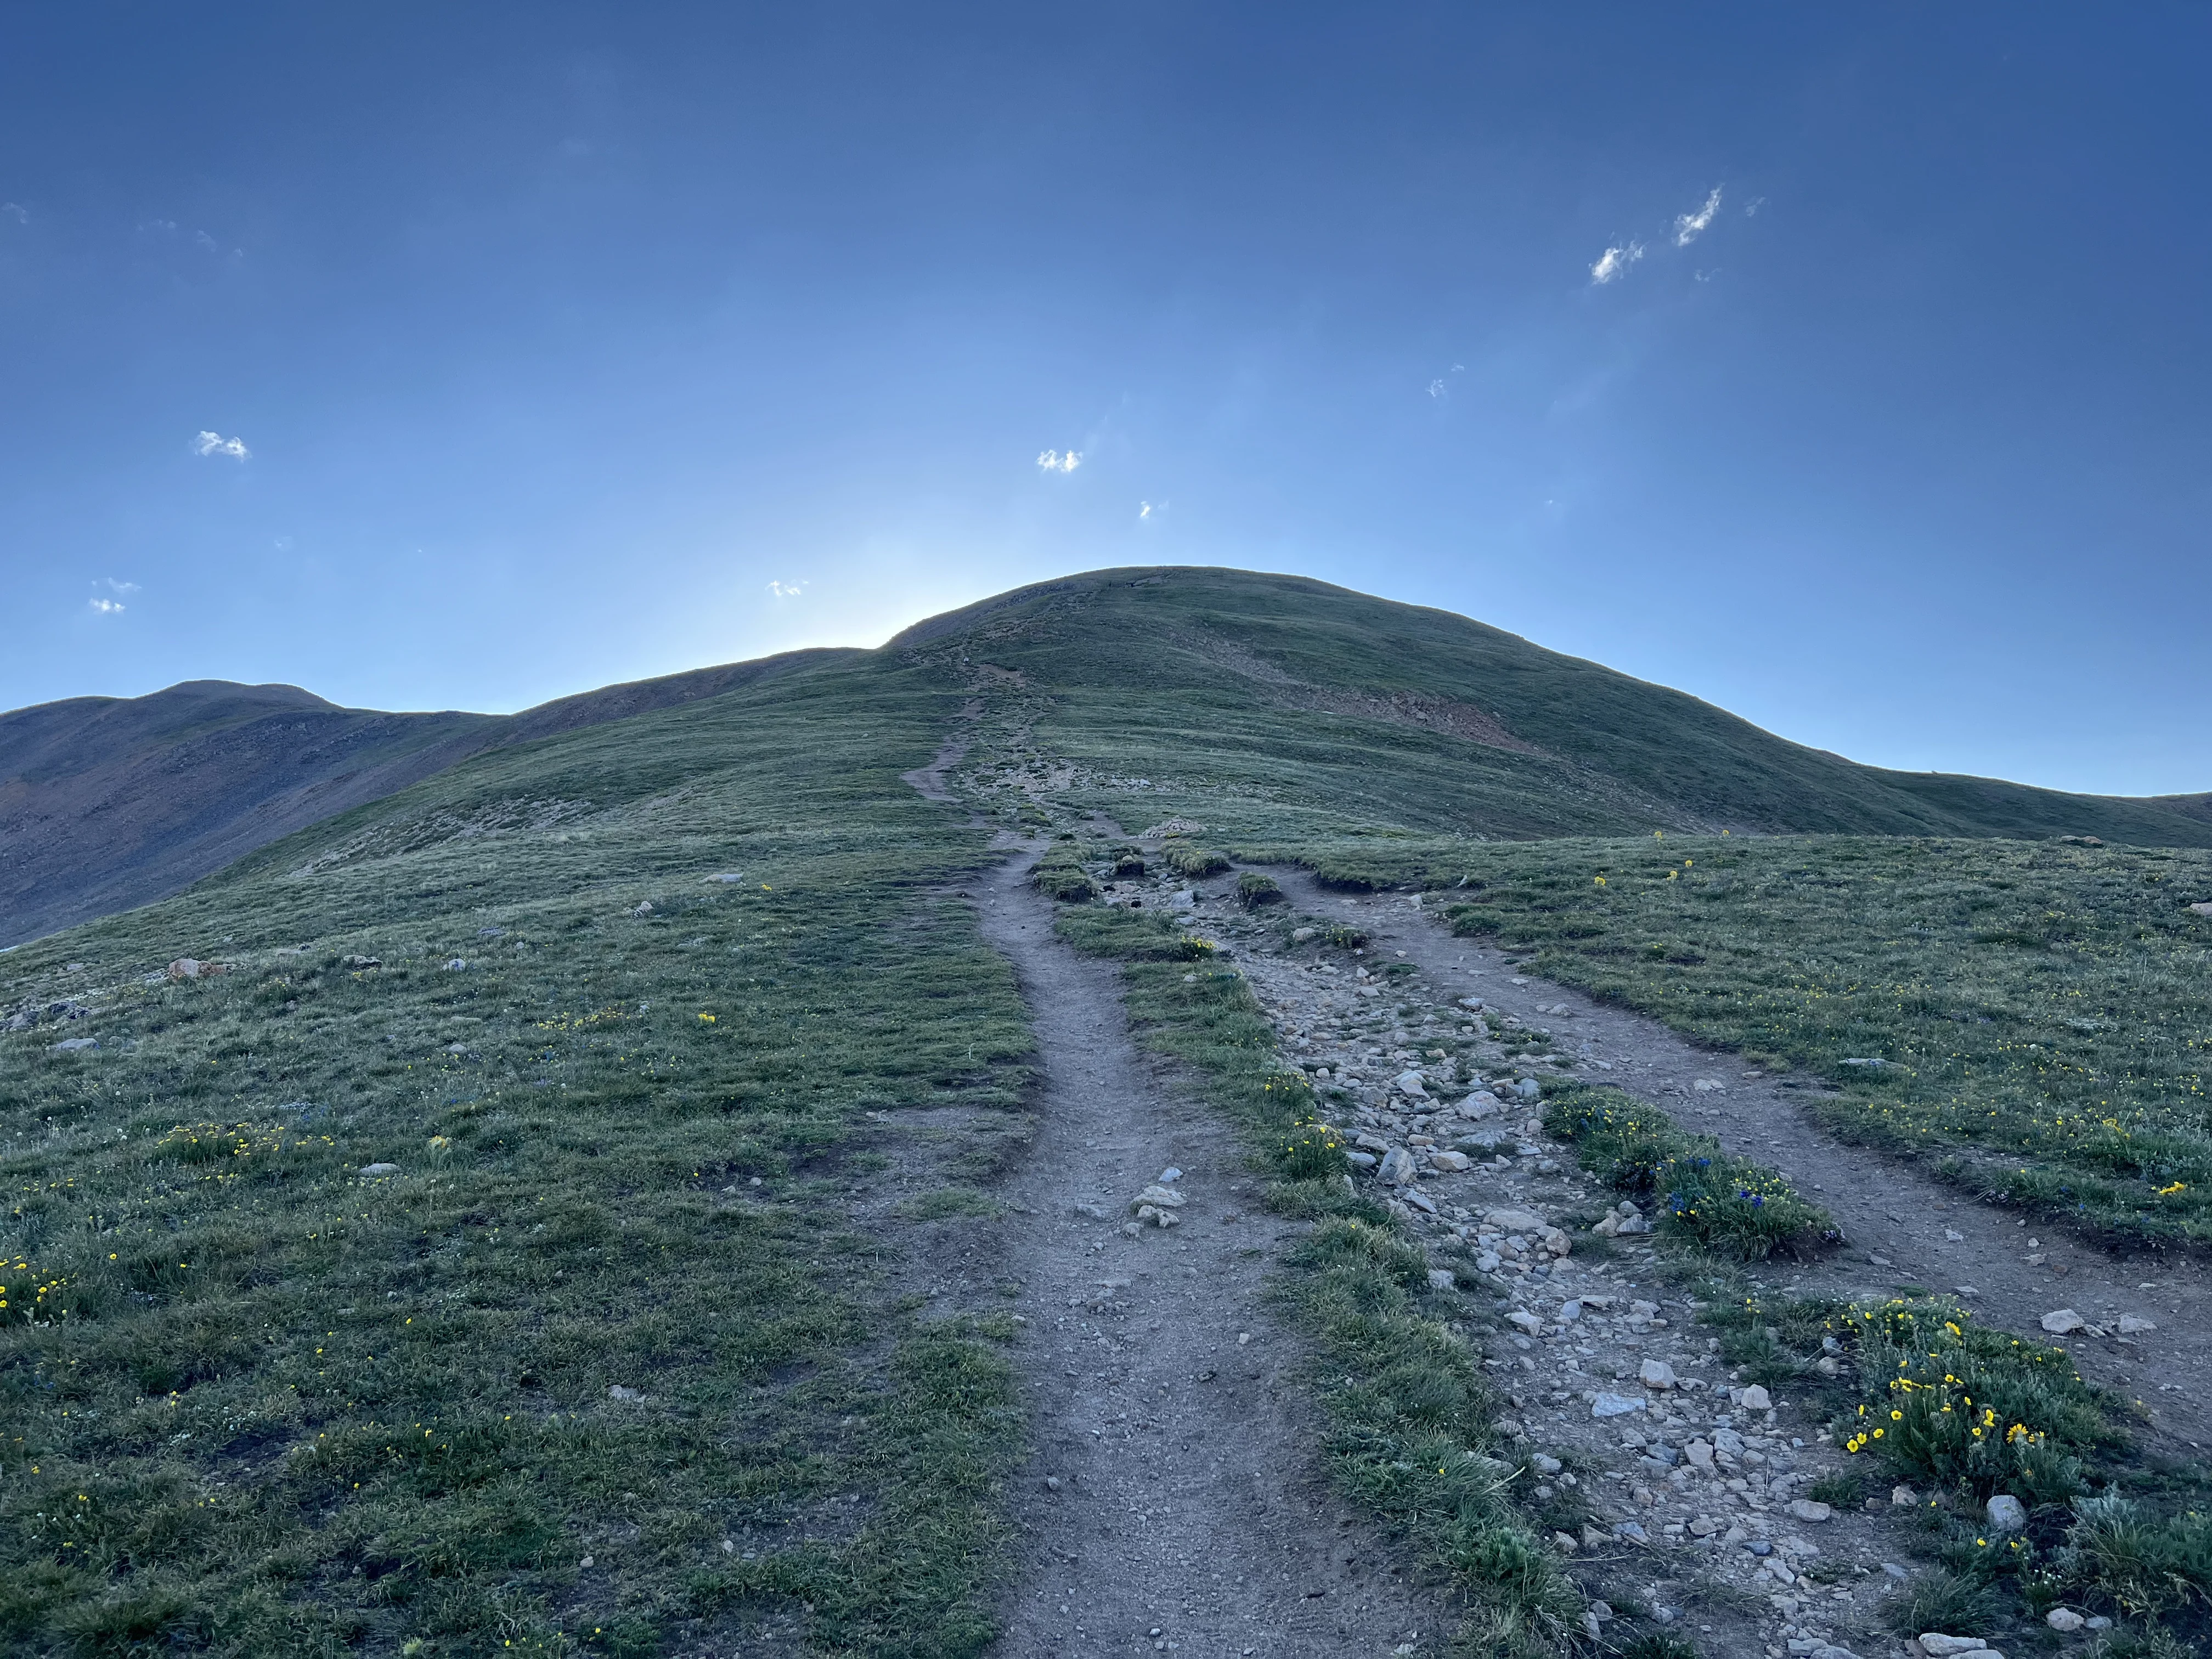
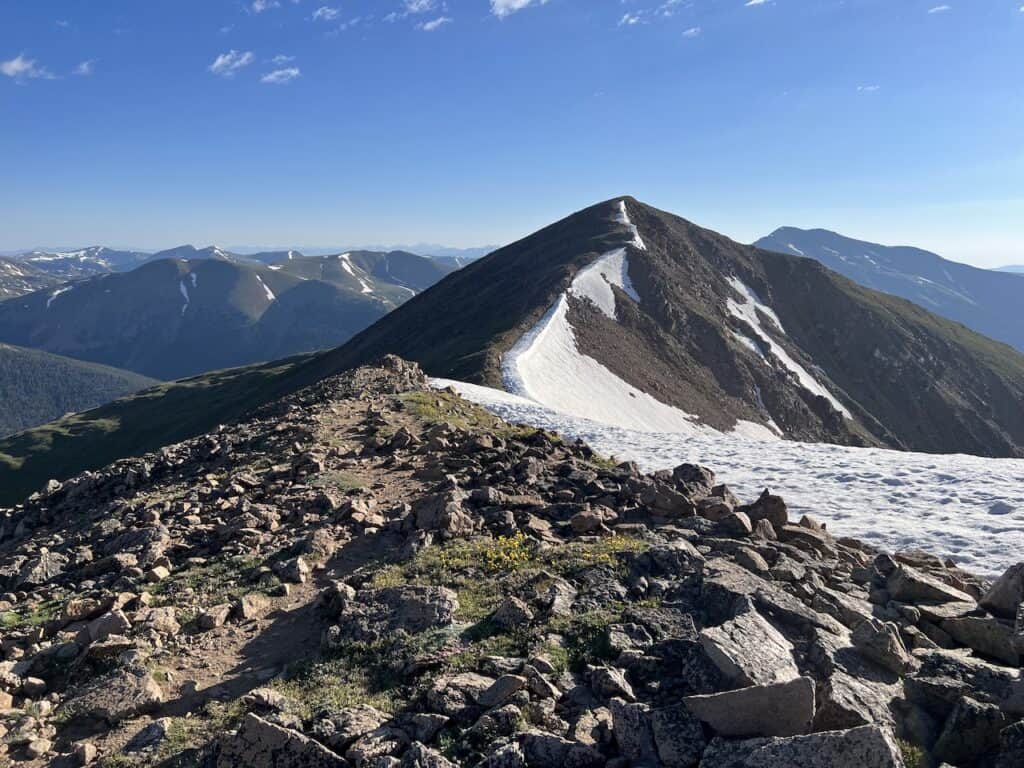
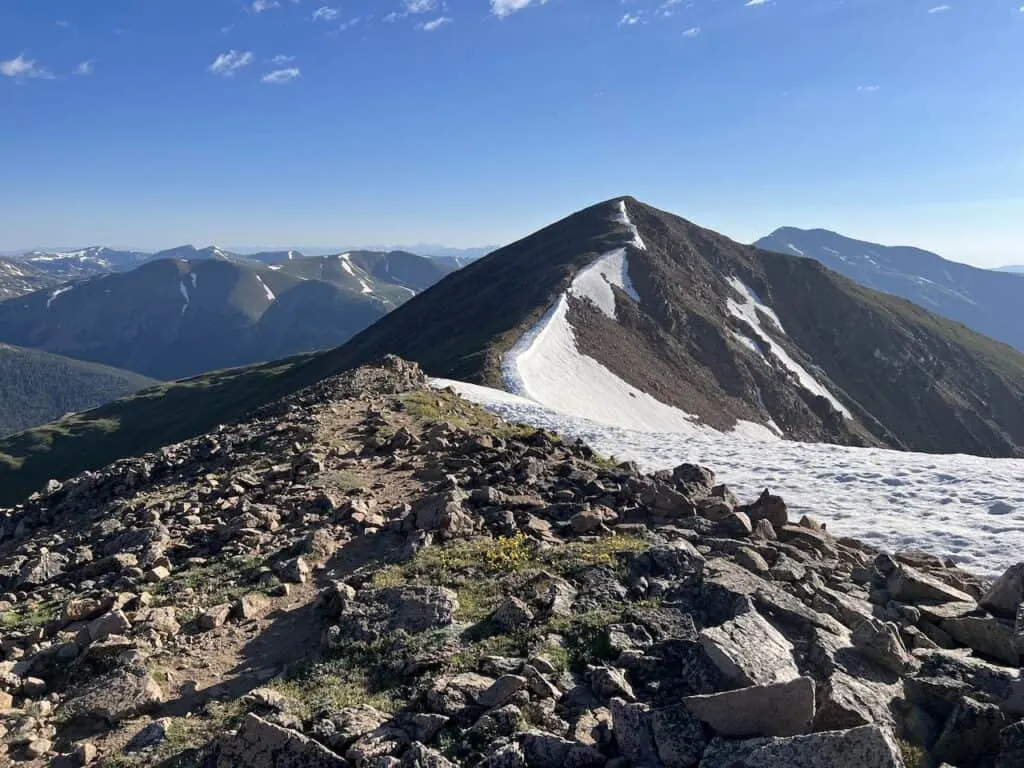
The next portion of the route will take you up a hillside. Note that this is not the top of Sniktau (but you won’t be too far!). You will gain some more elevation as you head up the trail, and come across a more rocky section, before the trail flattens out.
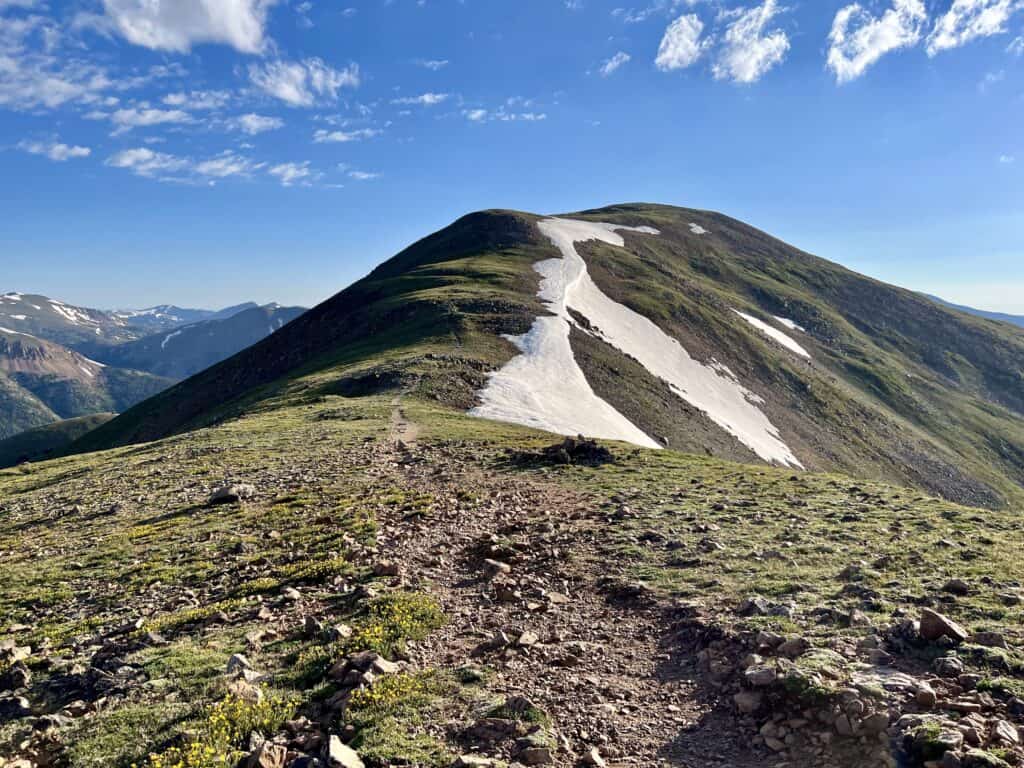
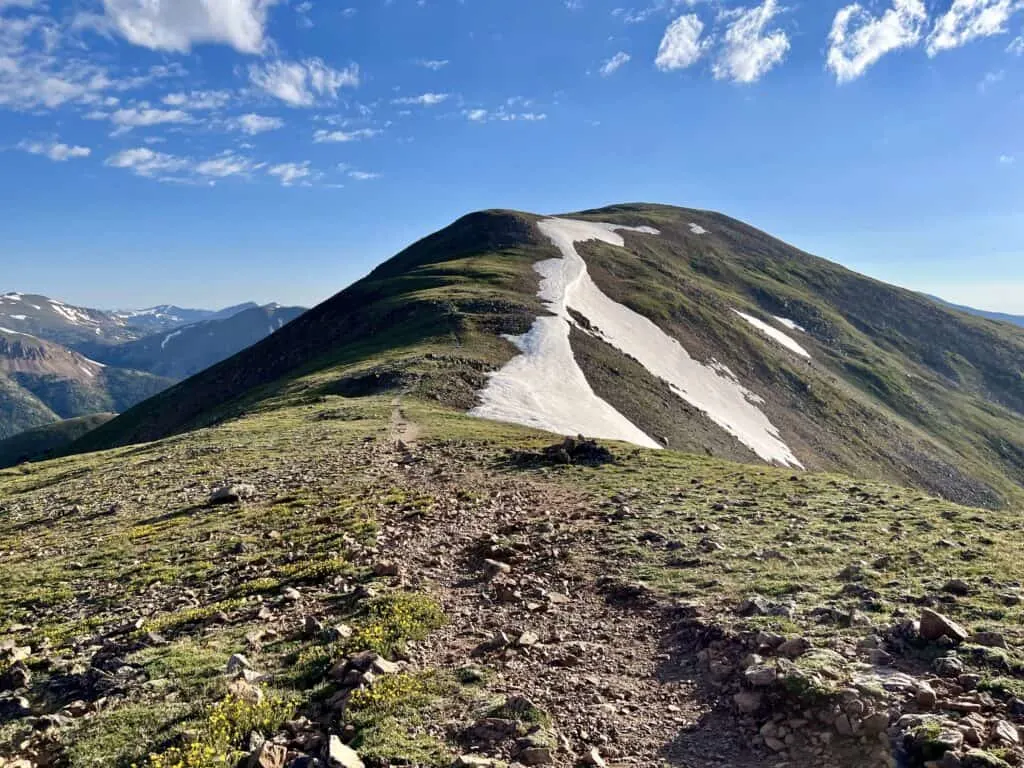


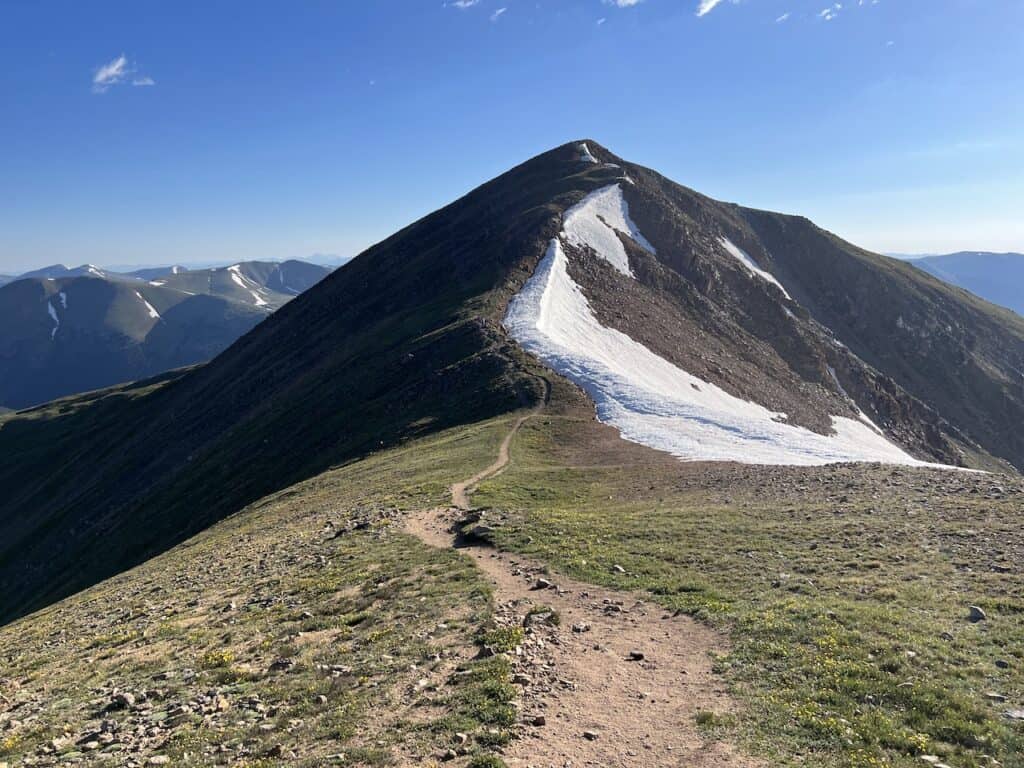
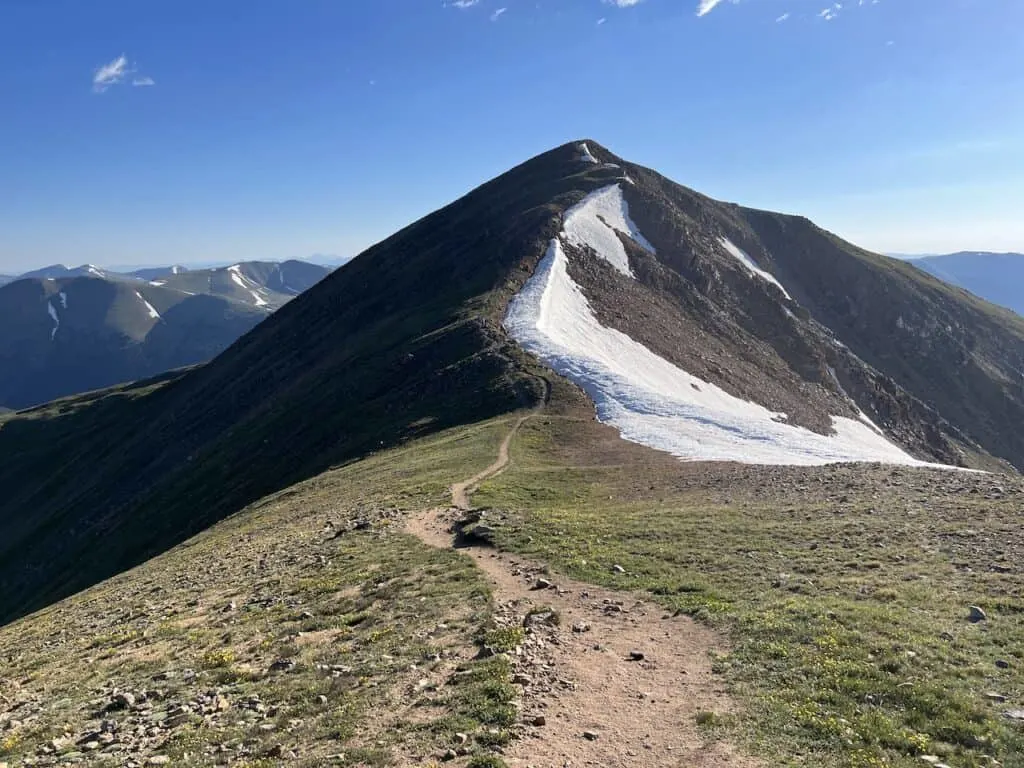
After an easy stroll for 5-10 minutes, you will soon be welcomed to Sniktau out in the distance.

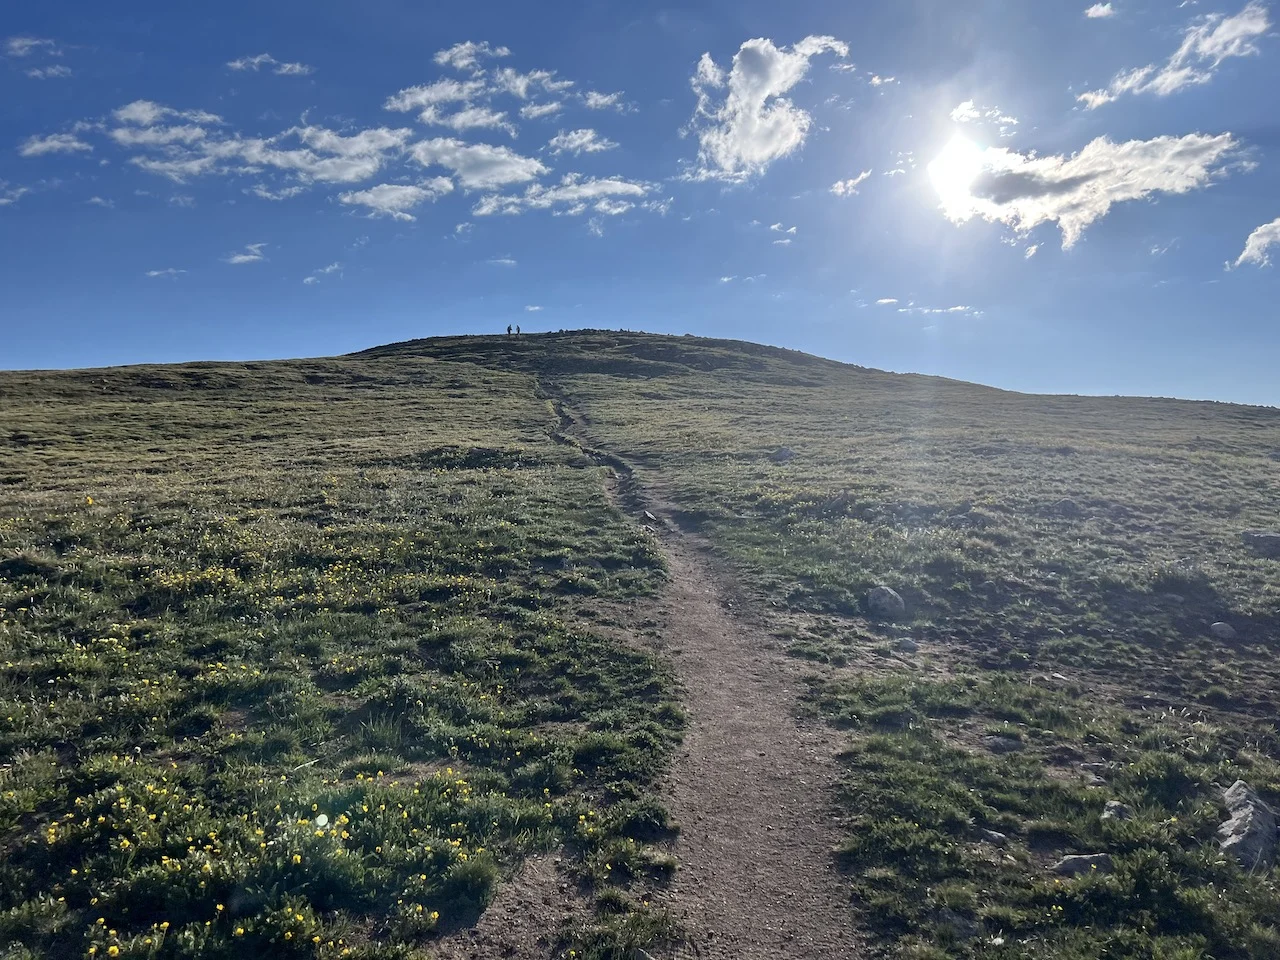
The trail will lose a little bit of elevation before heading straight up the ridge to the summit. It is just around 200 feet of gain from here to the top of Mt Sniktau, where you will soon be welcomed to beautiful views all around.
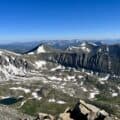
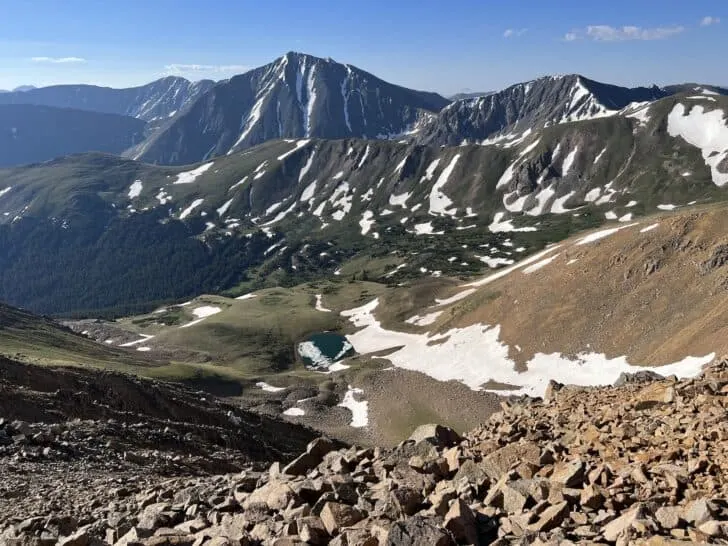
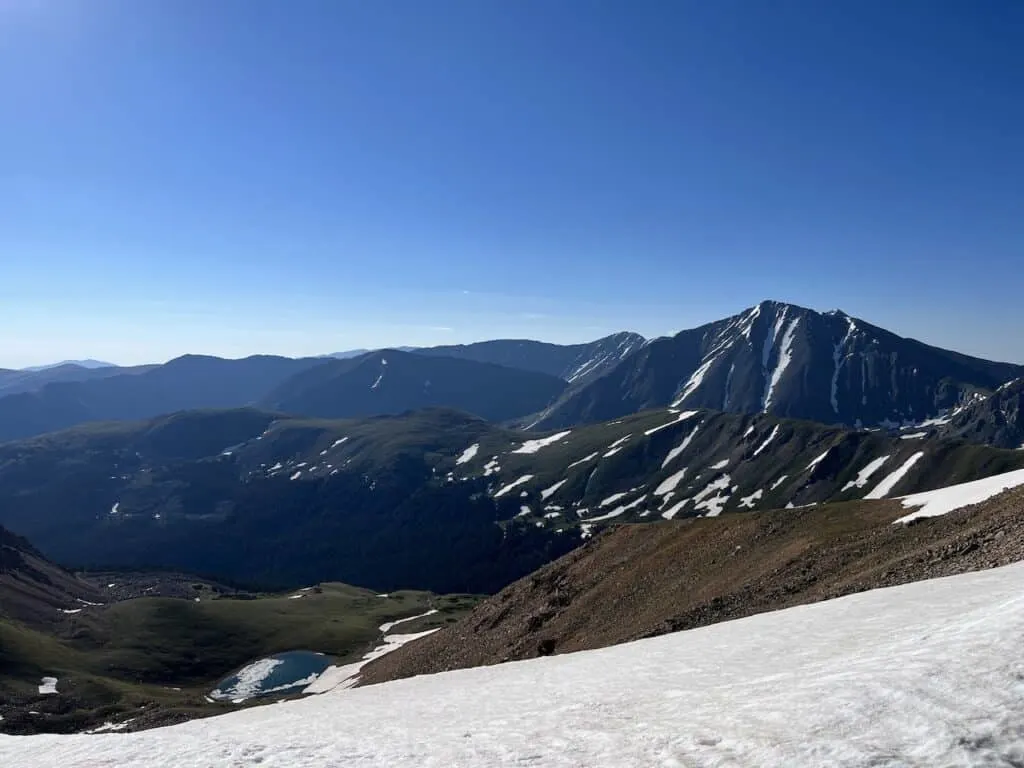
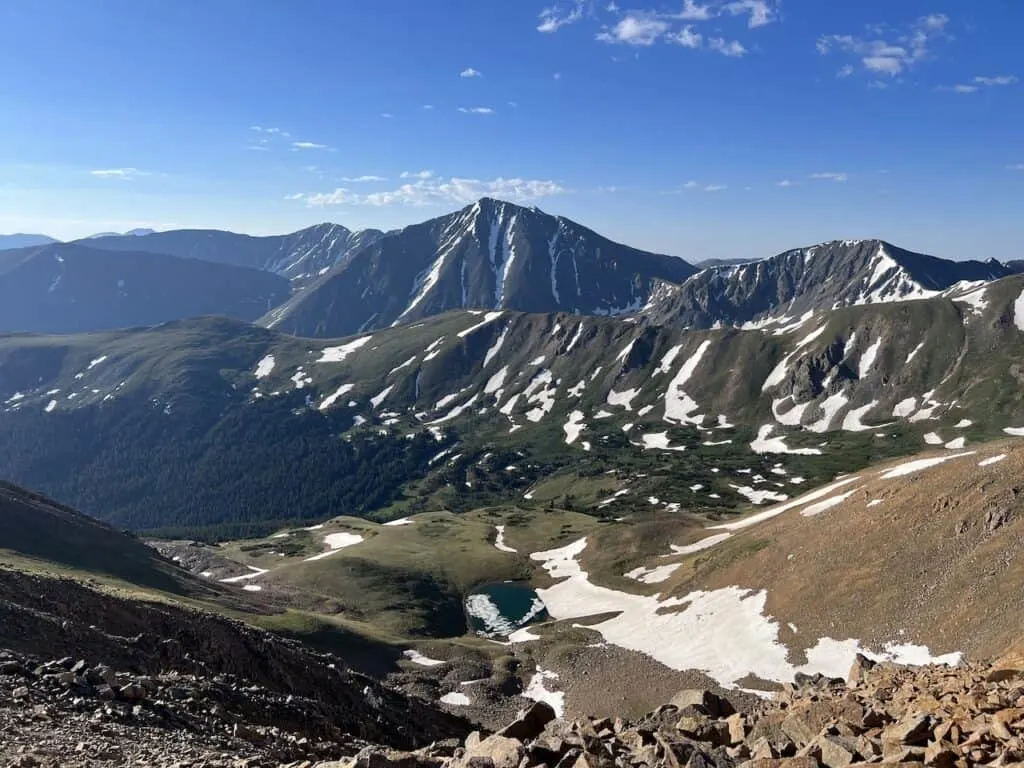
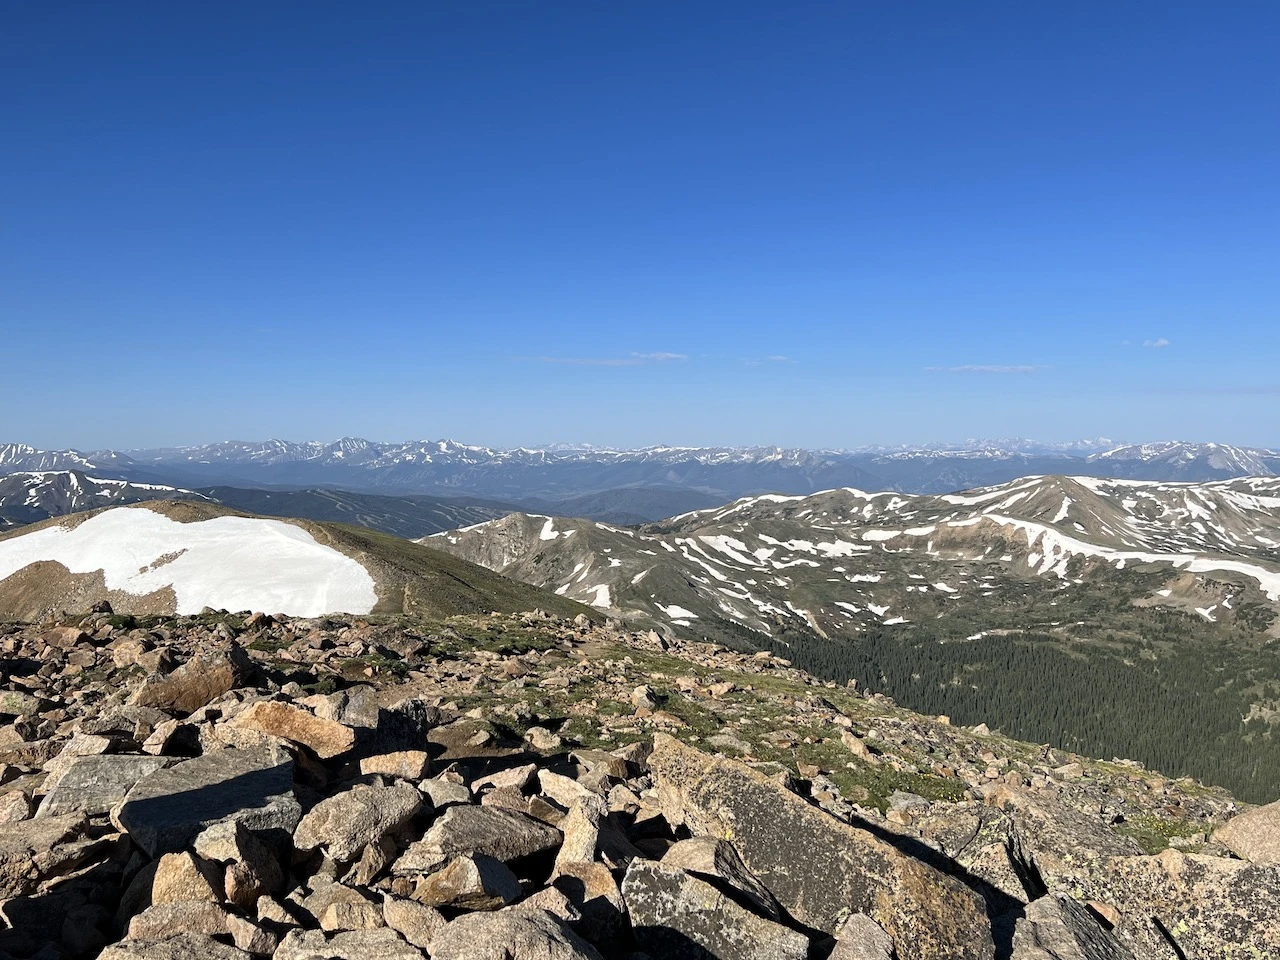
My favorite view from the summit is looking eastbound towards Torreys and Grays with the lake down below. You will see Torreys out in front with a glimpse of Grays out back.
In addition, Grizzly Peak is also in view if you happen to be adding that on to the day as well (mountain on the right hand side of the below photo).

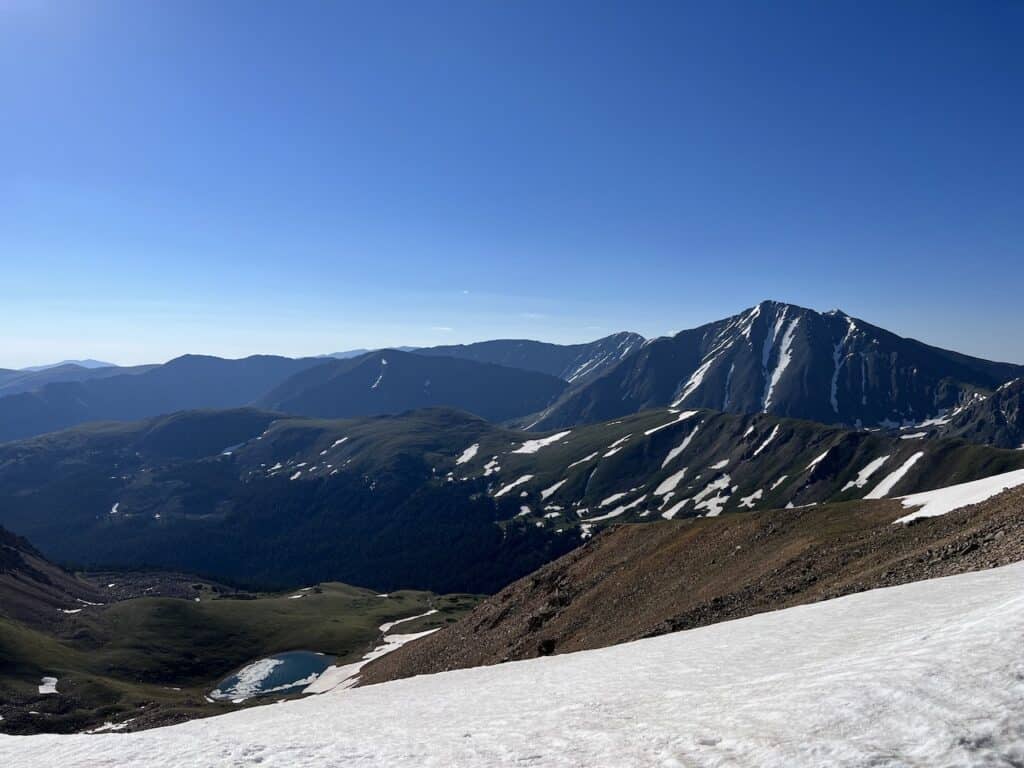
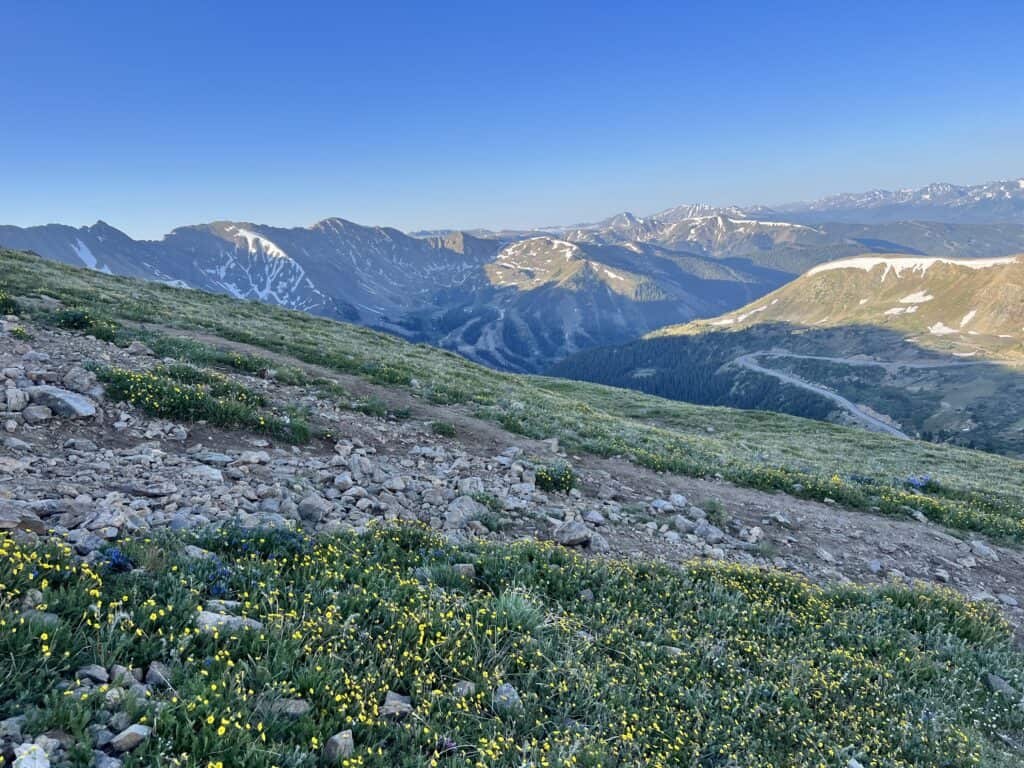
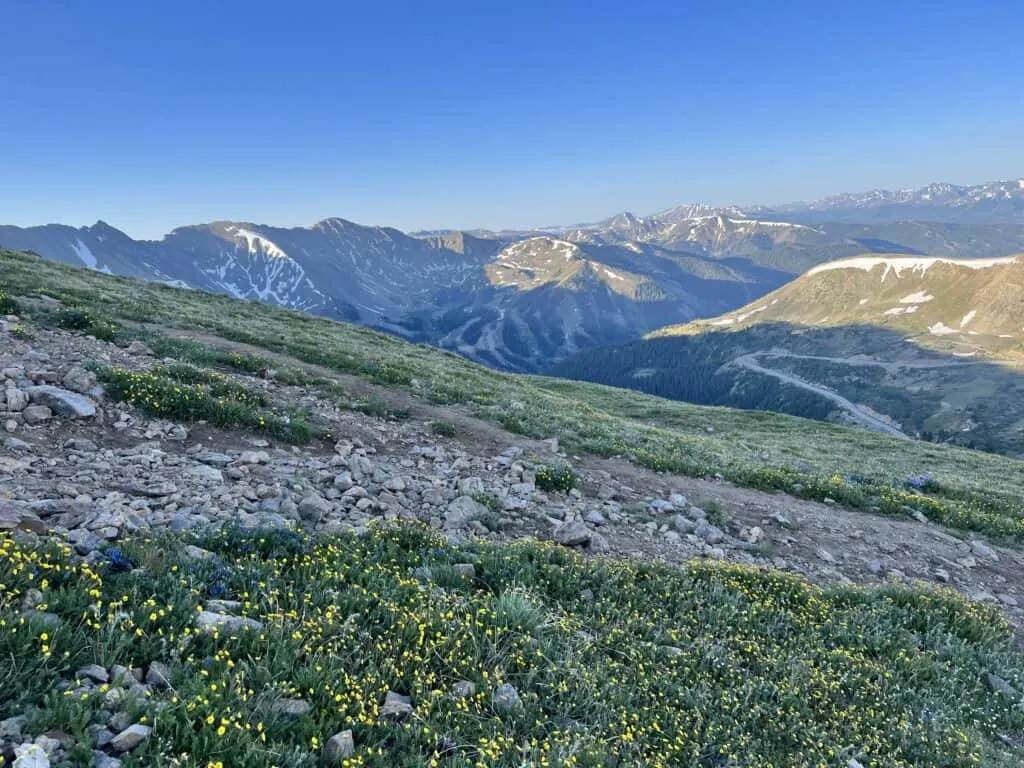
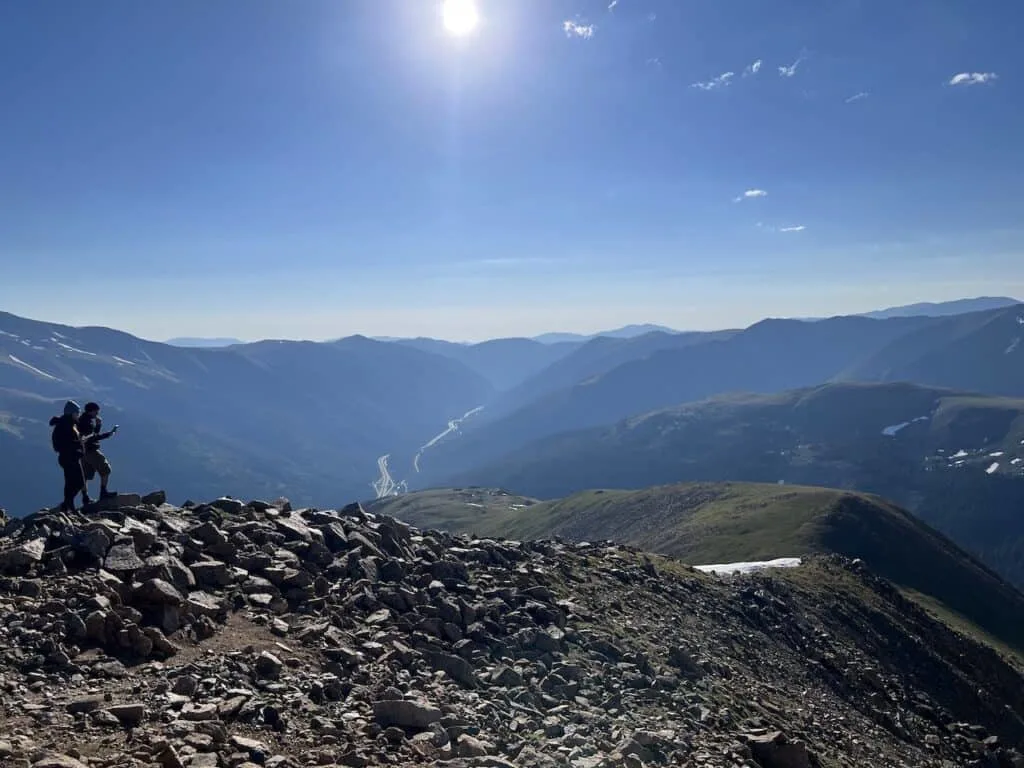
Looking northeast will be the I-70 in the valley surrounded by greenery filled hills on either side.

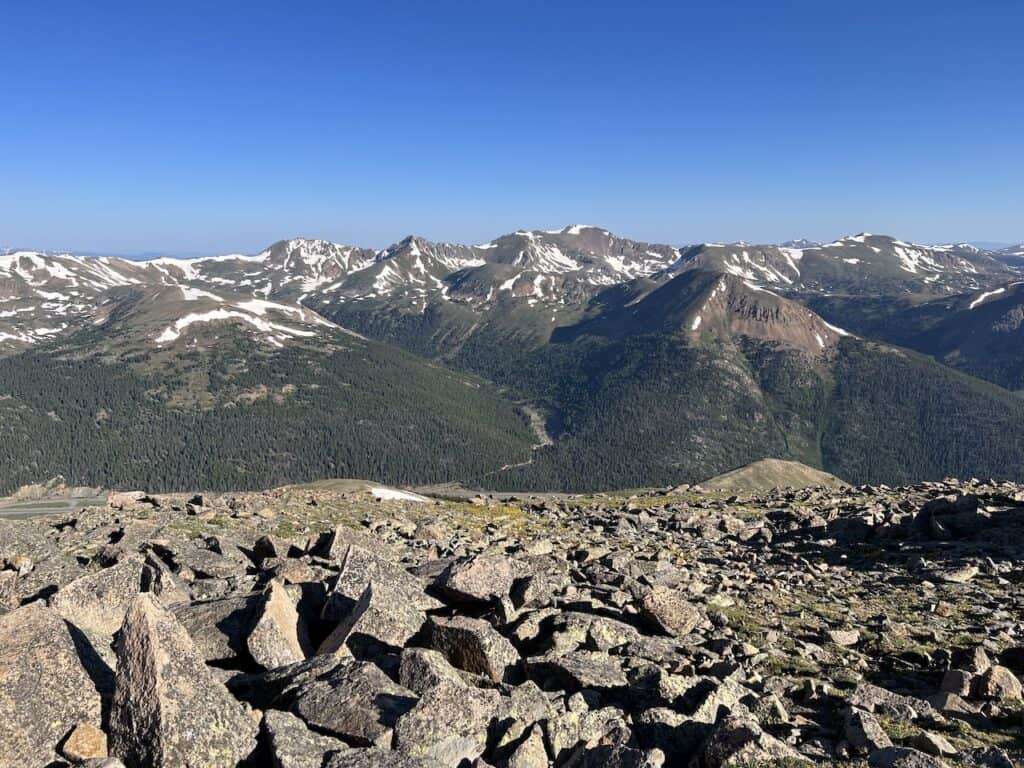
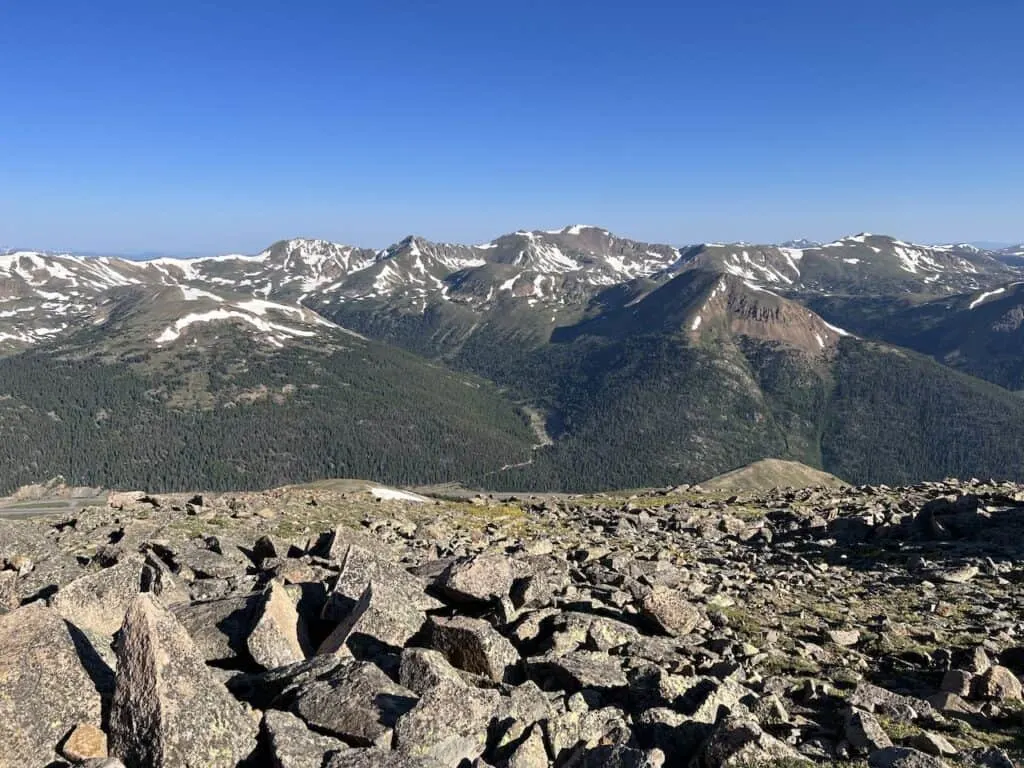
Out behind you will be more and more mountains that take up the full horizon. On a clear day some of these mountains include Quandary Peak, Mount Bierstadt, Mount Evans, Mount of the Holy Cross, among plenty others.

Take your time to enjoy it all from the summit, before beginning the descent back down to the trailhead. Heading back down is pretty simple as you retrace your steps.
Remember, if you are also considering hiking up Grizzly Peak, you will want to continue along the ridge line at the saddle. If not, simply make the right hand turn back down from the intersection point and to the parking lot.
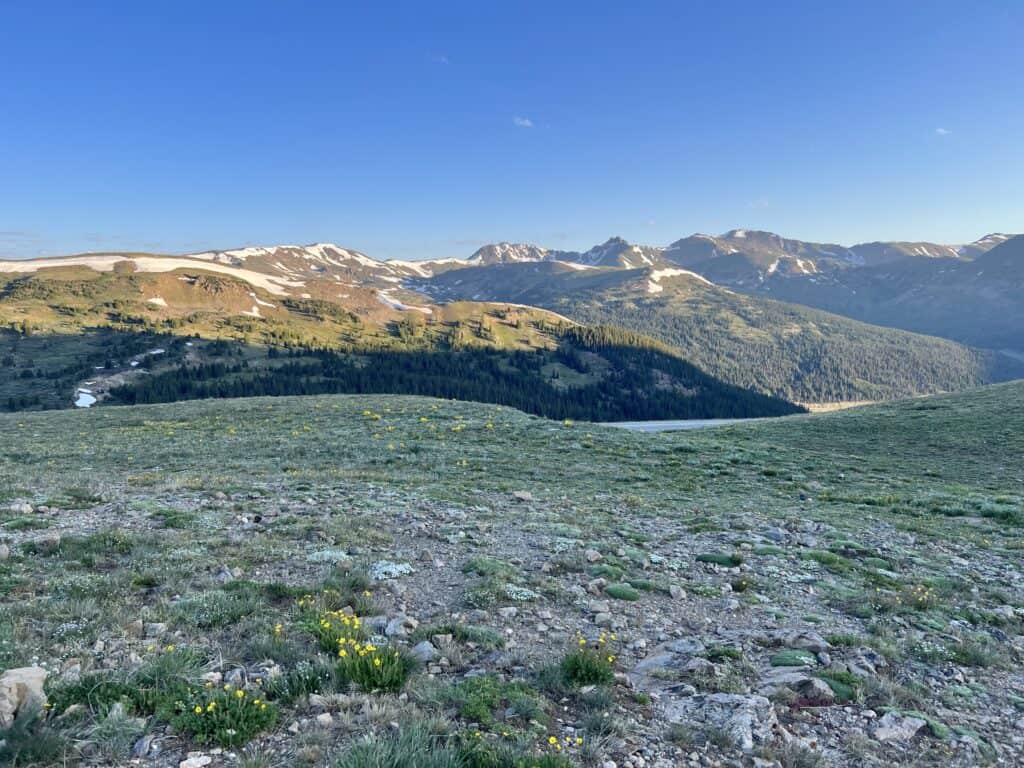
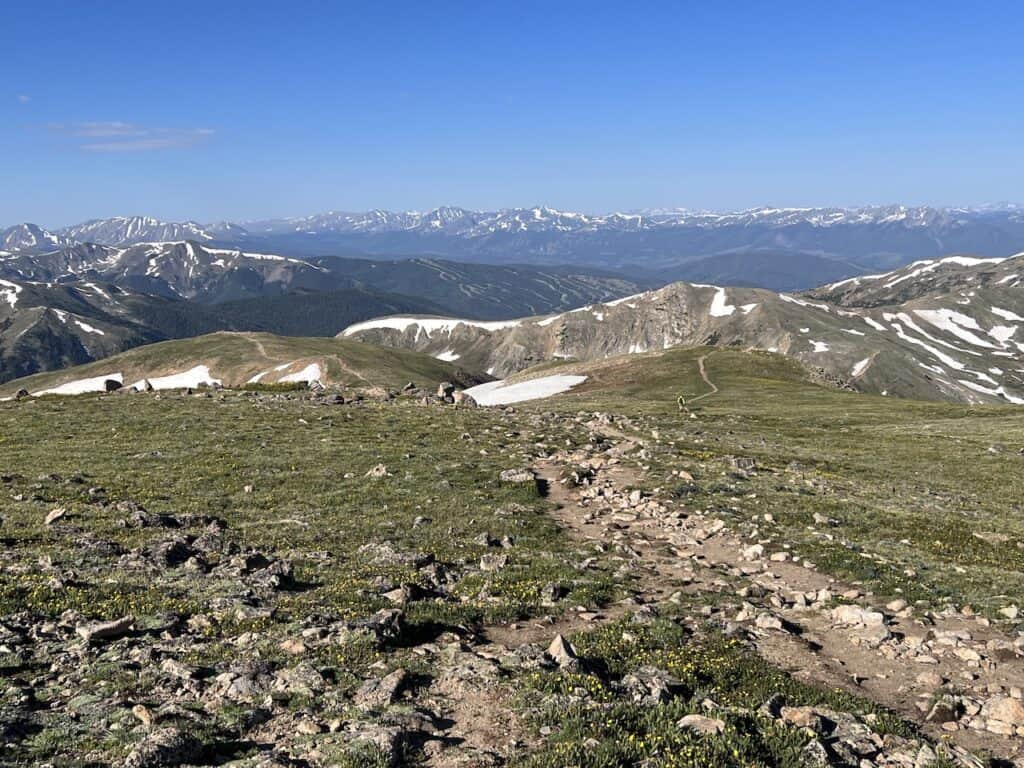
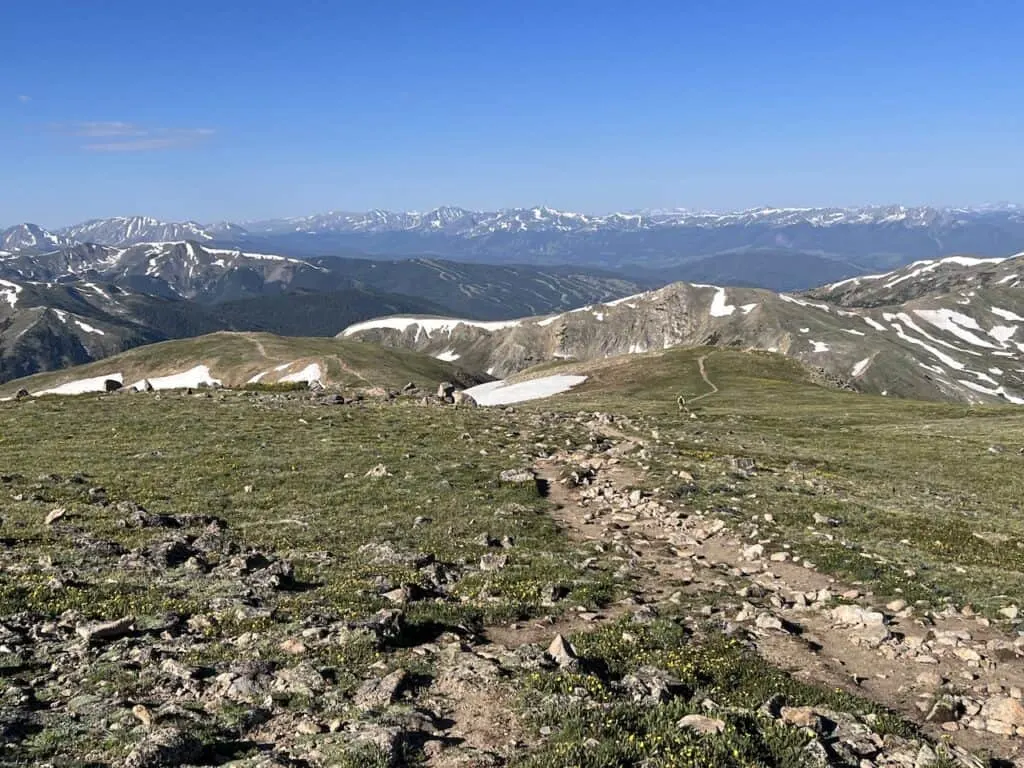
During this final portion, you will now have the mountains continuously out in front of you (on the way up, you may have been too busy just focusing on the ascent). Enjoy those views and safely make it to the trailhead.
That about wraps up an overview to the Mt Sniktau trail of the Front Range in Colorado. If you have any questions or comments, be sure to add them in below.
Also, don’t forget to check out the other Colorado hiking guides up on the site. One of my favorite short lake trails that is just 45 minutes away is Silver Dollar Lake – check it out to learn more.
Have fun out there and safe travels!
Looking for 14ers? Check out some more Colorado hiking guides for nearby peaks in the area including:
– Mount Elbert
– Huron Peak
– La Plata Peak
– Mount Yale
– Mount Harvard
– Mount of the Holy Cross
– The Decalibron
– Quandary Peak
– Mount Massive